| 1. Quick Start Level 1 (QS1) |
The attacahed manuals are intended as a quick guide to using ManEx. By completing each, you will be familiar with the look and feel of ManEx, and be able to confidently navigate your way through the system. These manuals are NOT intended to replace proper in-depth training. After you are familiar with ManEx, we recommend that you recieve detailed trainig to fully realize the power and utility offered by this system designed for your business. Before you begin, it is important to understand some of the basic buttons available throughout ManEx. You can read about these buttons here: Buttons |
| 1.1. Navigation Overview | ||||||||||||||||||||||
|
NAVIGATION OVERVIEW For all MANEX operations, the user starts with the shortcuts: To access, the user clicks on the appropriate icon.
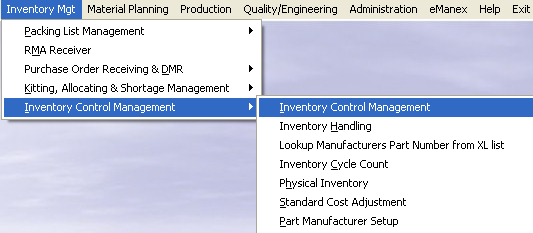
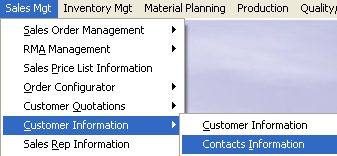
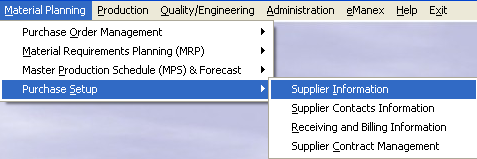
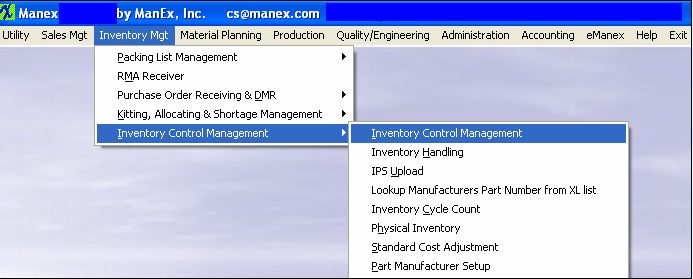
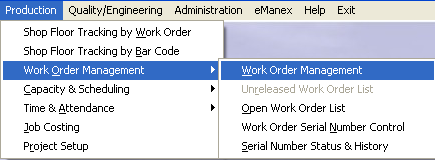
Many of the Main Menus have sub-menus. For example:
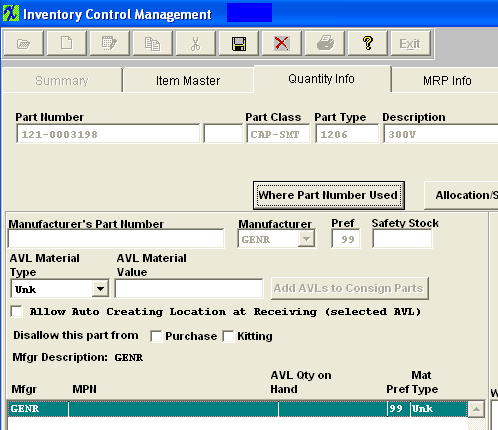
Selecting Inventory Control Management, for example, will bring up the Inventory Control screen:
Most MANEX screens have four sections: The Action buttons, Information Tabs, the Body, and Directive buttons. Action Buttons
These are the Action buttons that you will find in ManEx. Each button is a “smart” icon and will display its function if you place your cursor above it. Simple descriptions are shown below for each icon. Not all buttons will be available at one time. For example, the SAVE button is active only after initiating an ADD or EDIT action. Information Tabs The Information tabs will be different in each module. For example, in the Inventory Control Management module, the tabs appear like this:
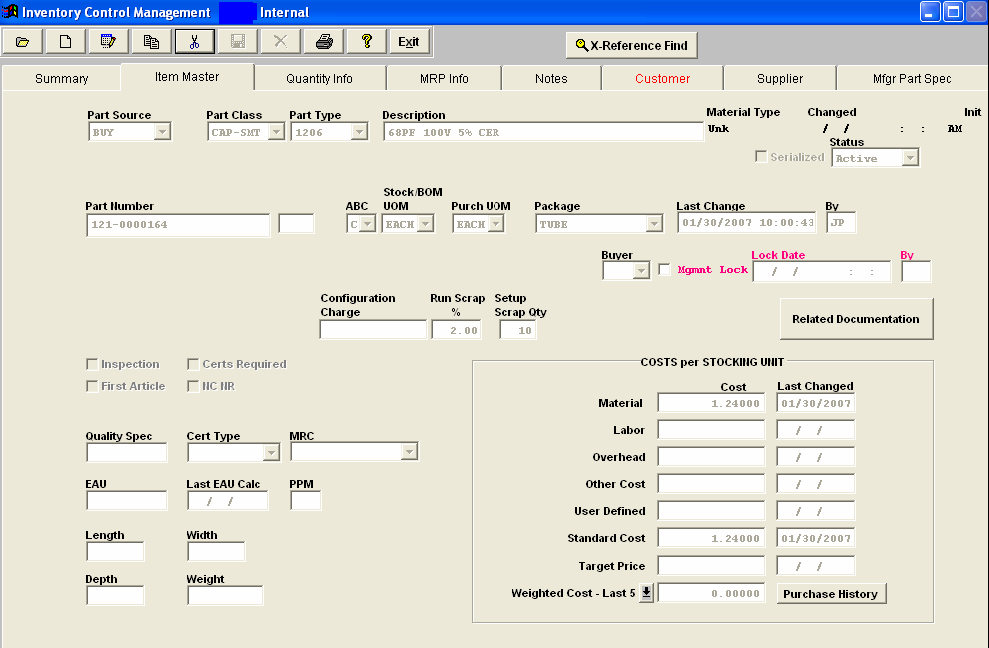
Pressing on each of these tabs brings up another screen, displaying the pertinent information relating to the tab pressed. The Body The Body of the screen is the area where information is displayed, entered or edited. For example, the Item Master tab displays the following:
Copy and Paste Functions
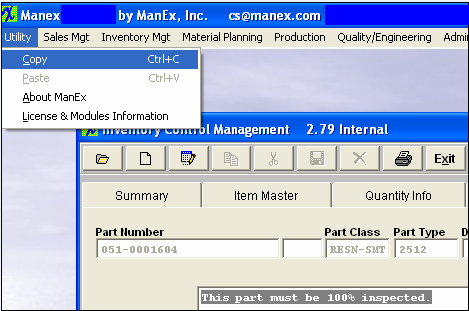
ManEx has a Copy and Paste function in the larger free-form fields like the Notes and Profile fields. Copy and Paste instructions are the same as most Windows applications: You must be in a field that is active for Copy and Paste. ManEx must be in Edit or Data Entry mode for Copy and Paste to be active. The cursor must be active in an editable text field. Tab or mouse click to go there. Highlight what you want to copy, as illustrated. Click on the MANEX Utility pull down menu, as illustrated. If the Copy option is lit, then the user may copy the wording highlighted. To paste, go to the destination and place the cursor at the place you want to paste and left mouse click.
|
| 1.2. Open ManEx | |||||||||||||||
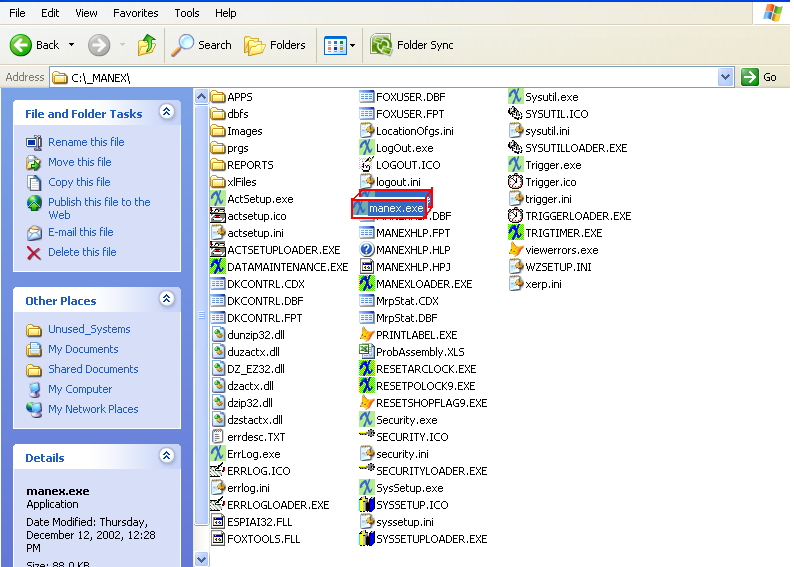
INTRODUCTION TO MANEX STARTING MANEX FROM THE WORKSTATION
|
Step 1
|
|
Step 2
|
|
Step 3
|
|
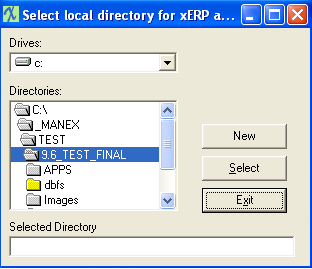
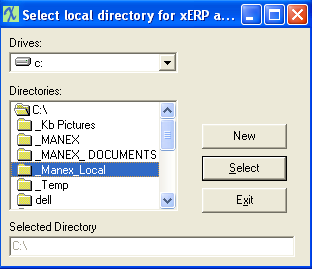
Step 4
|
Once the local drive appears in the Selected Directory window, depress the Select button. You will be asked to verify the location where you will be copying or creating files.
|
Step 5
|
And finally, you will be asked to enter your password for MANEX. For more information on Passwords, please see your System Administrator/Security module.
And the workstation is ready for business. |
| 1.3. Create a Customer in ManEx | |||||||||||||||
Although a customer has already been entered into your evaluation database, you may enter your own by following the 5 easy steps below:
Congratulations, you have now created a customer in ManEx! When you are ready to have ManEx run your business, you can complete the rest of the information for this customer. For the purpose of ManEx BHT, this is all that is required. For an in-depth explanation on completing the customer information, please refer to the Customer And Contact Information Management article. |
| 1.4. Create a Supplier in ManEx | |||||||||||||||
Although a supplier has already been entered into your evaluation database, you may enter your own by following the 5 easy steps below:
Congratulations, you have now created a supplier in ManEx! When you are ready to have ManEx run your business, you can complete the rest of the information for this supplier. For the purpose of these tutorials, this is all that is required. For an in-depth explanation on completing the supplier information, please refer to the Supplier Information Management article. |
| 1.5. Create a Part Number in ManEx | ||||||||||||||||||||||
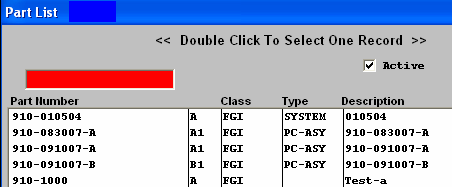
To create a part number in ManEx, simply follow the easy steps outlined below:
This tutorial will explain how to create a top level part number in ManEx. To add components to the system you can follow these steps, but alter Step 4 by setting the Part Source to "Buy" or "CONSG" and selecting a different part class and type. Click HERE for a video demonstration
Congratulations, you have now created a part in ManEx! ManEx also has the ability to track MRP information, set-up and run scrap, mfg drawings and much more! We strongly recommend that you get in-depth training on the features, uses, and benefits of inventory control management in ManEx. For more information, please refer to the Inventory Control Management article. |
| 1.6. Create a Sales Order in ManEx | ||||||||||||||||||||||||||||||
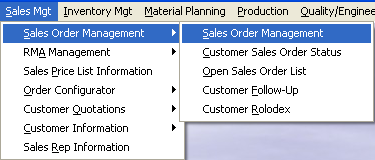
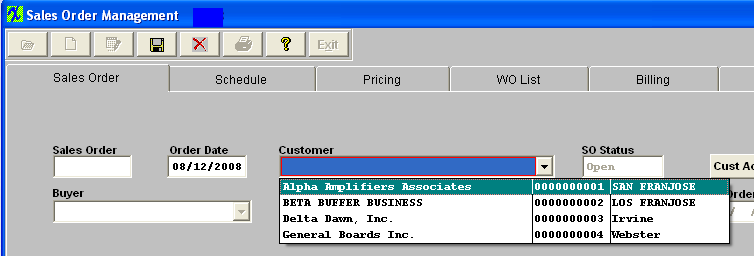
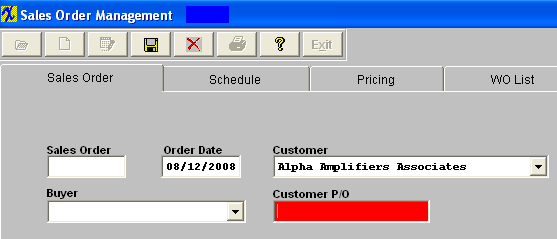
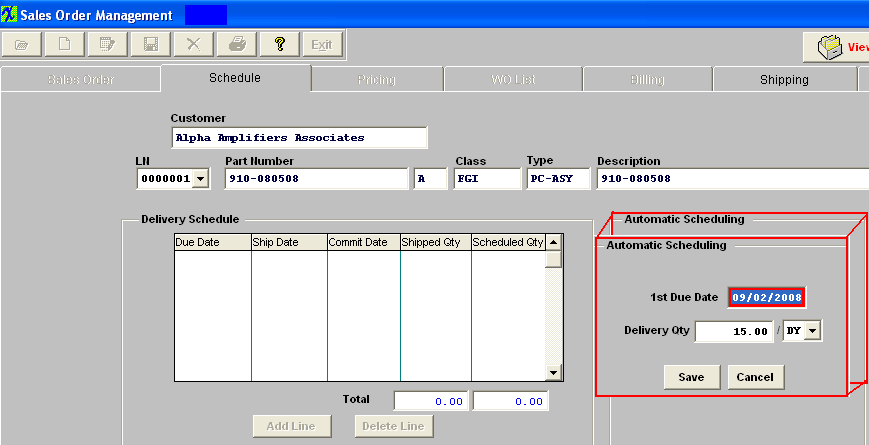
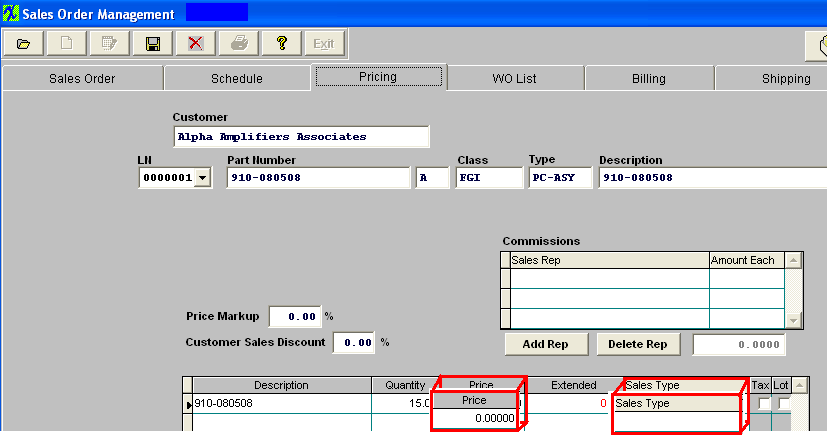
To create a sales order in ManEx, simply follow the easy steps outlined below:
Congratulations, you have now created a sales order in ManEx! ManEx also has the capability of creating and tracking work orders, verifying the sales order lead time, checking finished good inventory, and much more from this easy to use screen. We strongly recommend that you get in-depth training on the features, uses, and benefits of sales order management in ManEx. For more information, please refer to the Sales Order Management article. |
| 1.7. Create a Work Order in ManEx | |||||||||||||||||||||
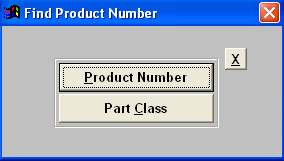
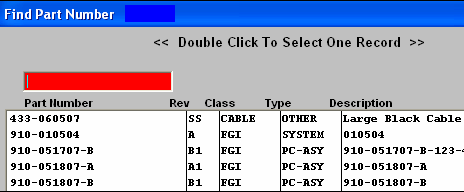
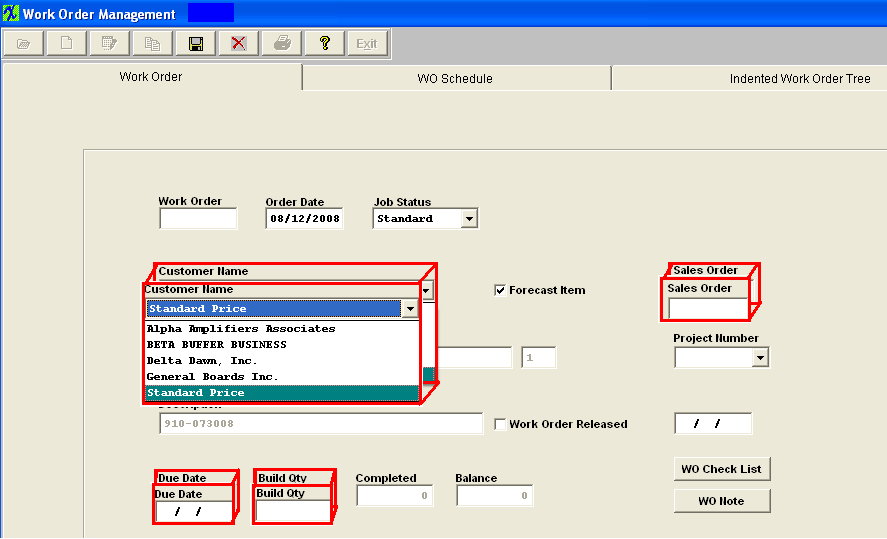
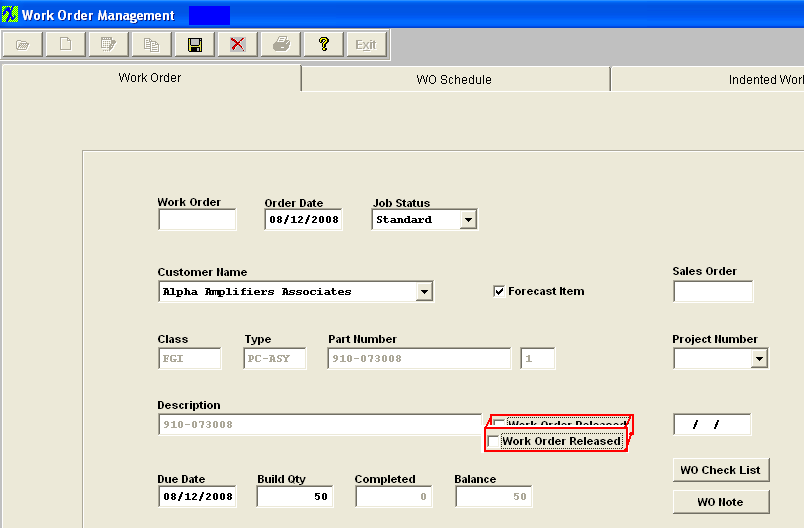
Creating a Work Order (WO) in ManEx is very easy. Simply follow the 7 easy steps below.
Congratulations, you have now created a Work Order in ManEx! When you are ready to have ManEx run your business, you can also use the "Job Status", "WO Check List", and other fields for additional tracking and system utility. For the purpose of this tutorial, this is all that is required. For an in-depth explanation on completing the work order information or using the Sales Order module to create work orders, please refer to the Work Order Management article. |
| 1.8. Track Production on the Shop Floor | ||||||||||||||||||
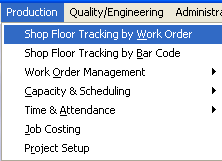
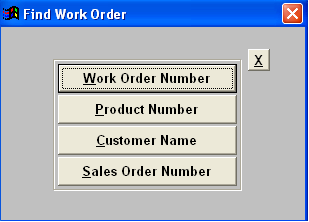
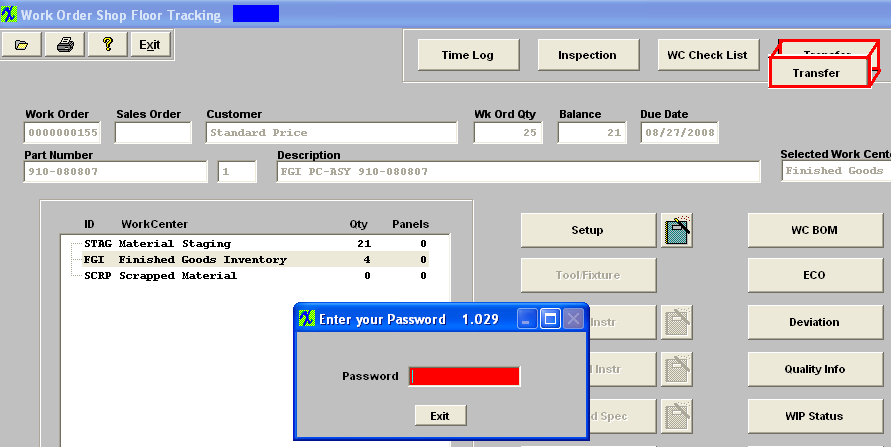
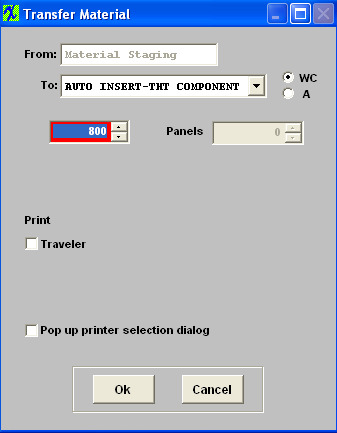
Tracking production using Shop Floor Tracking (SFT) in ManEx is very easy. Simply follow the 6 easy steps below. It is important that the work order you are working with has been released for production. You can learn how to do this by referring to the article Create a Work Order.
Congratulations, you have now processed a Work Order through the Shop Floor Tracking (SFT) in ManEx! When you are ready to have ManEx run your business, you can have ManEx track internal notes, documentation, transfer histories, quality control, and much more! For the purpose of this tutorial, this is all that is required. For an in-depth explanation on the features and options in the SFT module, please refer to the Shop Floor Tracking article. |
| 1.9. Create a Packing List in ManEx | ||||||||||||||||||||||||||||||
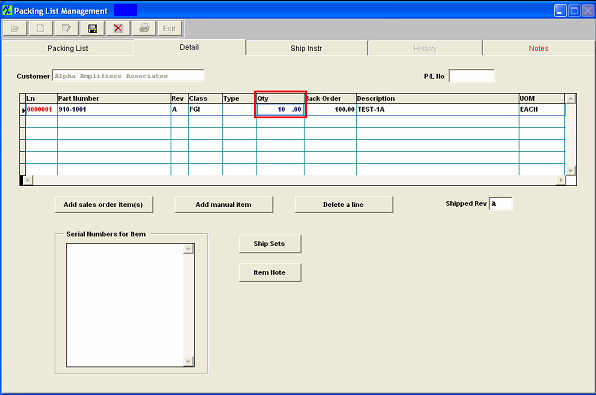
To create a packing list in ManEx, simply follow the easy steps outlined below:
Congratulations, you have now created a packing list in ManEx! ManEx also has the capability of tracking additional information from this easy to use screen. We strongly recommend that you get in-depth training on the features, uses, and benefits of packing list management in ManEx. For more information, please refer to the Packing List Management article. |

