| Open ManEx | |||||||||||||||
INTRODUCTION TO MANEX STARTING MANEX FROM THE WORKSTATION
|
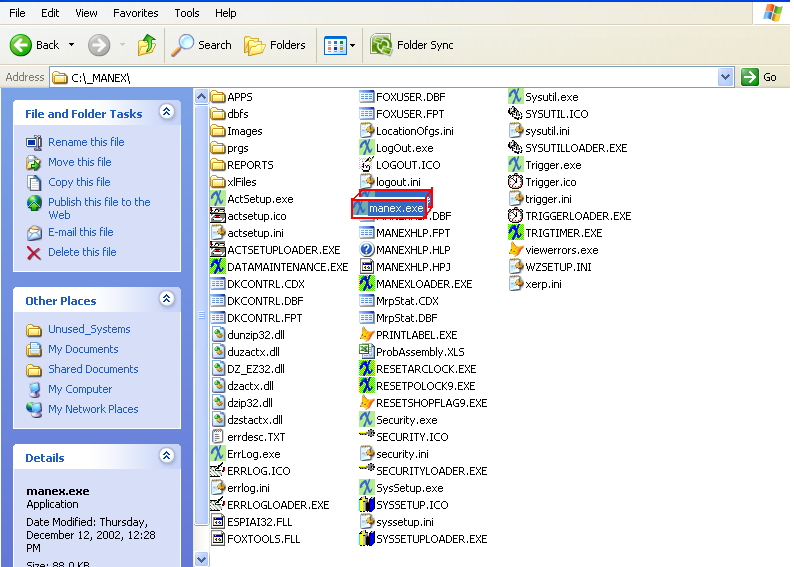
Step 1
|
|
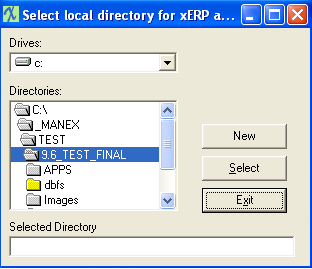
Step 2
|
|
Step 3
|
|
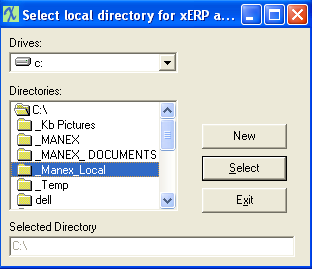
Step 4
|
Once the local drive appears in the Selected Directory window, depress the Select button. You will be asked to verify the location where you will be copying or creating files.
|
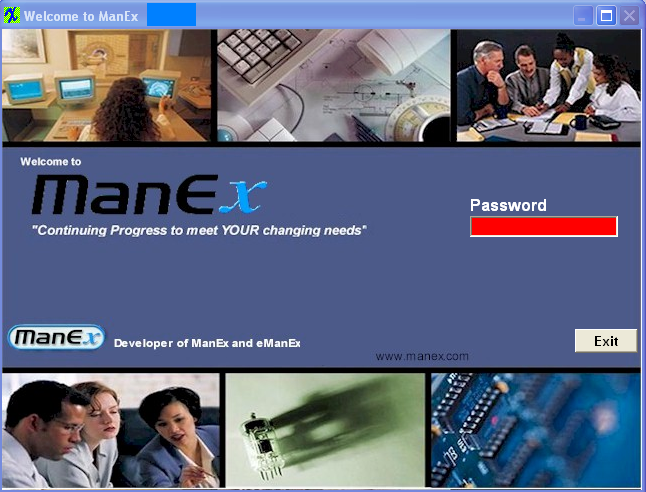
Step 5
|
And finally, you will be asked to enter your password for MANEX. For more information on Passwords, please see your System Administrator/Security module.
And the workstation is ready for business. |