| Adding Configurations To Sales Orders |
The user would open a sales order, and select the button called “Add Config” to add a configurable product. Then they can select from an already established “configuration type” as created in the Configuration Setup. Once the configuration is completed, the components of the configuration then become line items on the sales order. The configured assembly will show as a miscellaneous line item. The pricing should be either:
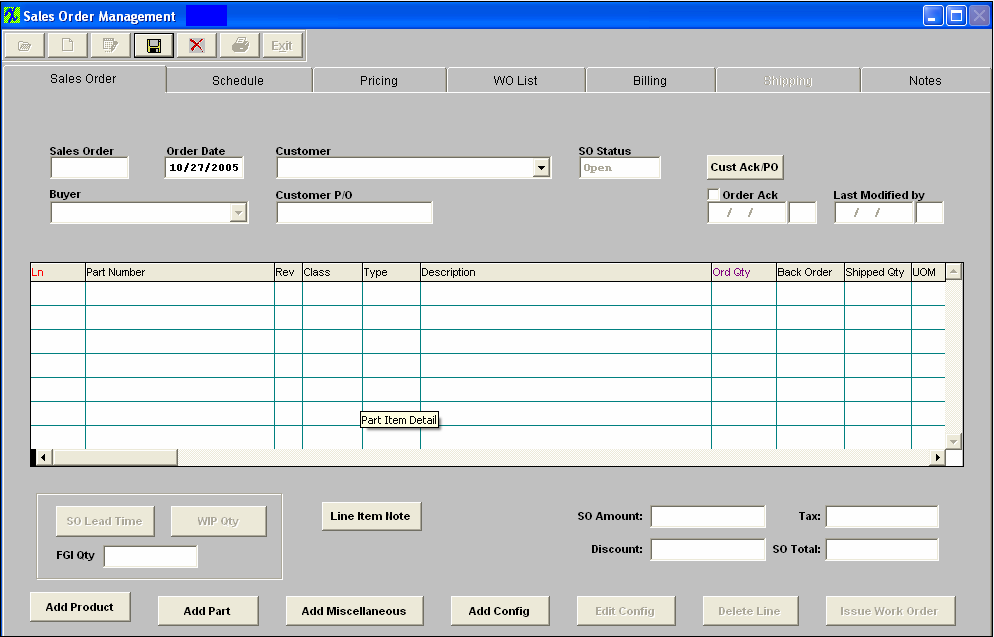
Once the Sales Order is saved, it will stand as a normal sales order, and any further changes would be made in the normal edit mode without further involvement with the configuration module. This would include the ability to delete the original Configuration Type, if desired, just leaving the selected components. Enter the Sales Order Management Module The following screen will be displayed:
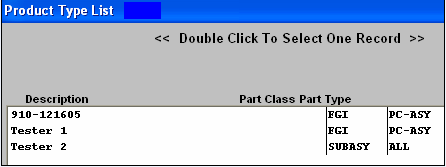
Depress the Add Record Icon, enter your password. Begin processing the order as you would a normal Sales Order record. Select the Customer Name, Buyer, etc. . . Depress the ‘Add Config’ button located at the bottom of the screen. The following selection screen will appear.
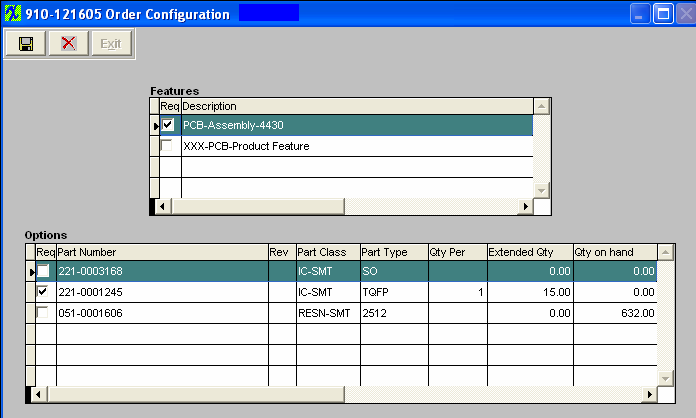
Note: that only Product Types associated with the selected Customer (or Standard Price) record within the Order Configuration Setup module will be pulled forward into this selection screen. Make your desired selection by double-clicking on the record. The following information will be pulled forward into the Sales Order module. Enter in the Order Qty. Enter in the Schedule information. Enter in the Pricing information. Return to the Sales order Main Screen. Depress the ‘Edit Config’ button located at the bottom of the screen. The associated Configuration information will be displayed.
Within this screen you will be able to make needed changes to the Qty Per and Req column if needed. The Extended Qty column will be calculated based on the Order Qty entered on the Sales Order. Once saved, the only editing possible is to the individual lines on the Sales Order, the same as on a regular Sales order. Depress the Save changes Action button and Exit the above screen. The system will then proceed to display the selection screen for each Part number.
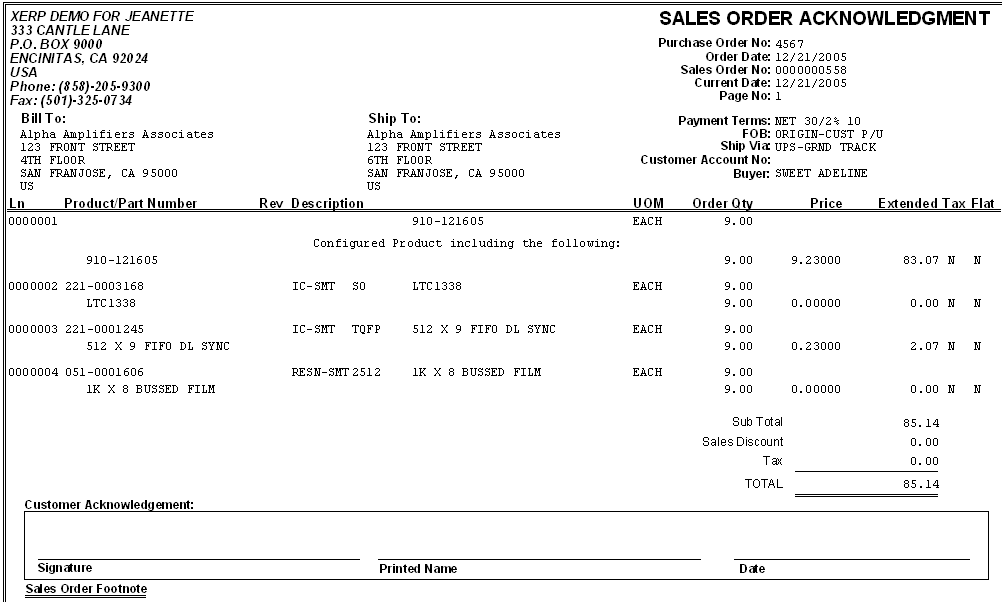
Select the desired AVL Location you wish inventory to be pulled from upon shipping. If no inventory is available a demand will be displayed in MRP. Note; each part number will be displayed in the Blue header bar. The Schedule information for each item will be the same as the added Config Line item. Each line item will pull the pricing information forward from the Sales Price List Information module. Note: While a user can include more than one configuration, it is not advised for ease of use during packing and shipping. Save the record. The Sales Order Acknowledgement report will display as follows:
|


