|
Enter the SQLMANEX.EXE (within the ManEx root directory)
This action will then prompt the user for a password
|
 |
| The following screen will be displayed, select Quality/Engineering/Corrective Action Request(CAR)/Corrective Action Request (CAR) |
 |
The following screen will be displayed:
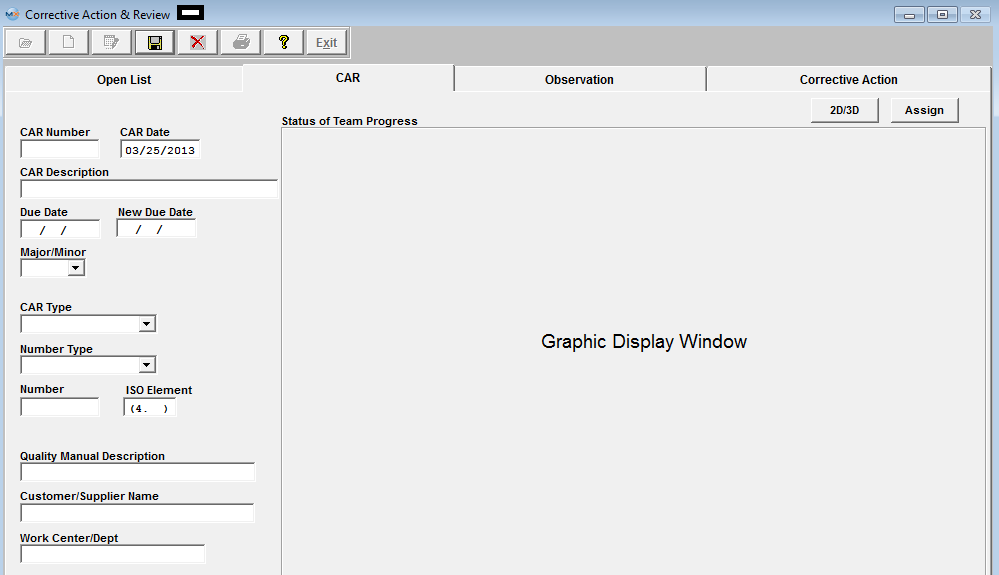
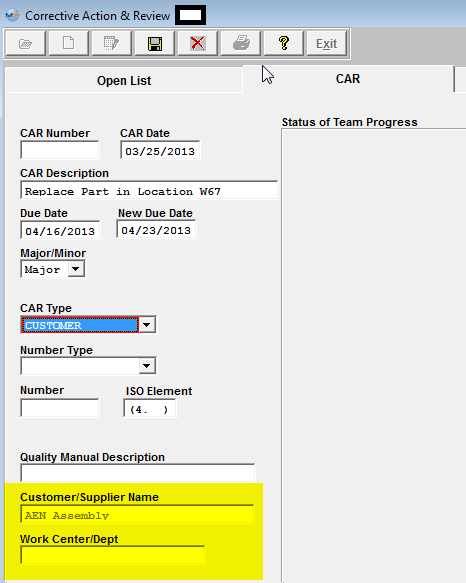
Depress the Add Record action button. The following screen will be displayed:
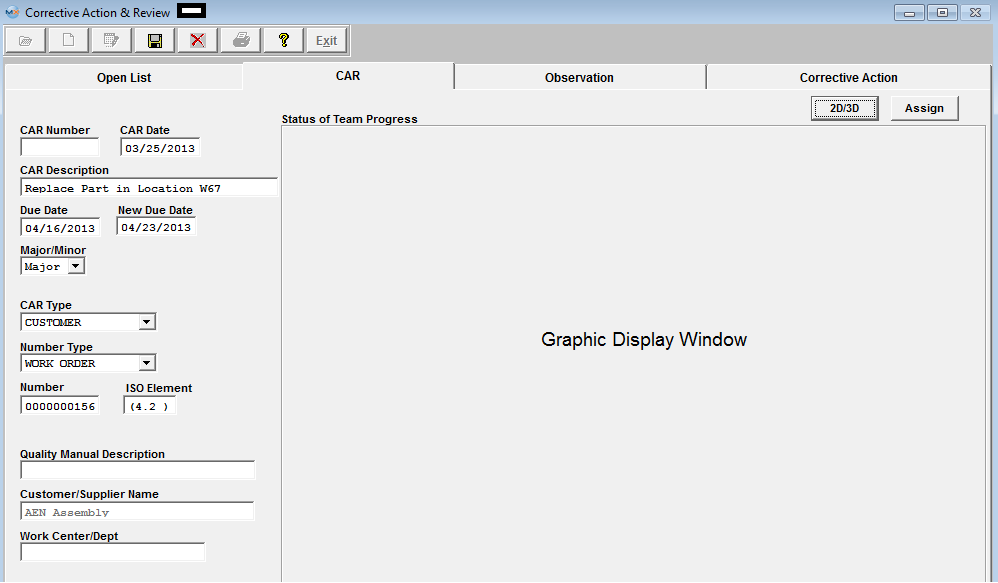
Enter the CAR Description, Due Date, and New Due Date.
| Depress on the down arrow to select whether the problem is Major or Minor |
 |
|
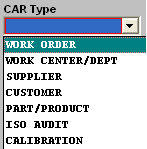
Depress on the down arrow to select the CAR Type:
|
 |
|
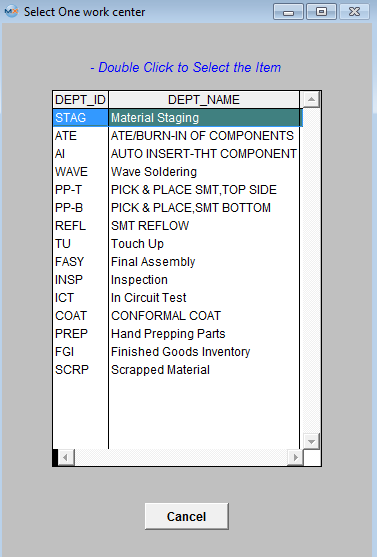
If you select Work Center/Dept, a further selection screen will appear.
|
 |
|
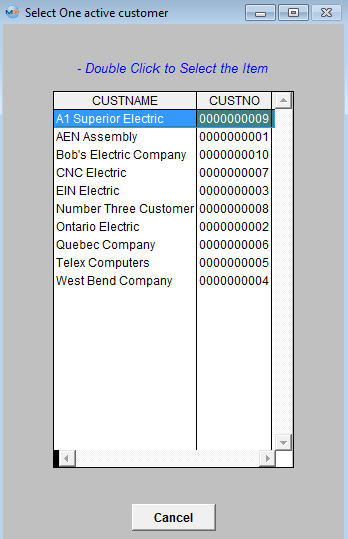
If you selected Customer or Supplier from the above as the CAR Type, a further selection screen will appear:
The Supplier List will be sorted by Supplier Number. The Customer List will be sorted by Customer Name in Alphabetical Order.
|
 |
| Upon selection, the name of the Work Center/Dept, Customer/Supplier will appear in the boxes below. |
 |
|
Depress the down arrow next to the Number Type field. The following list will appear:
Select the type applicable to the CAR.
|
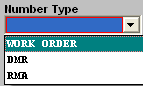 |
Enter in the Number (Work Order, DMR or RMA) and the ISO element.
Depress the Assign button and a list of employees will appear that have Add or Edit access rights to the CAR module setup in the ManEx System Security module. Users with “Supervisor Rights” will automatically have access. Make the selection for the Team Members.
Depress the OK button.
|
 |
Depress the Observation Tab to enter - Description of Condition, Apparent Cause, and Actual Cause information. Within this screen user can also Load a Picture if applicable.
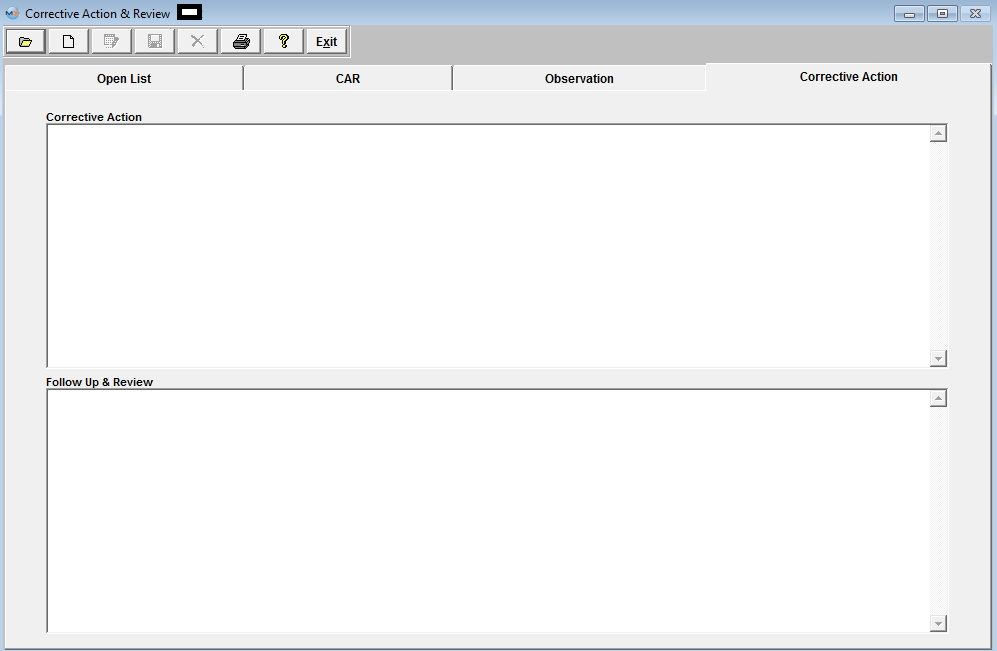
Depress the Corrective Action tab to enter the Corrective Action and Follow Up and Review information.
Once user has completed adding all the pertain information for the CAR. They may depress the Save button to save the changes or depress the Abandon Changes button to abandon all changes.
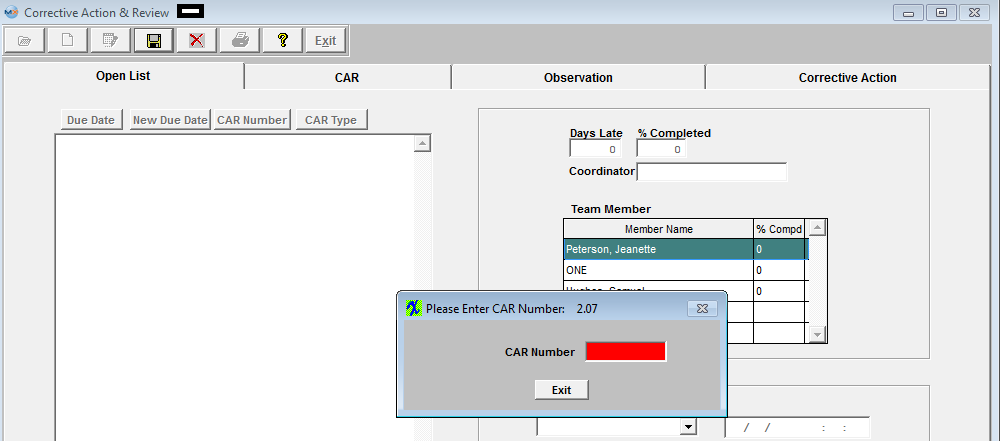
If Set to Manual numbering the following screen will be displayed upon the save to assign a number to the CAR created. If Set to Auto numbering the CAR will be assigned a number upon the save.
The completed screen should appear as follows:
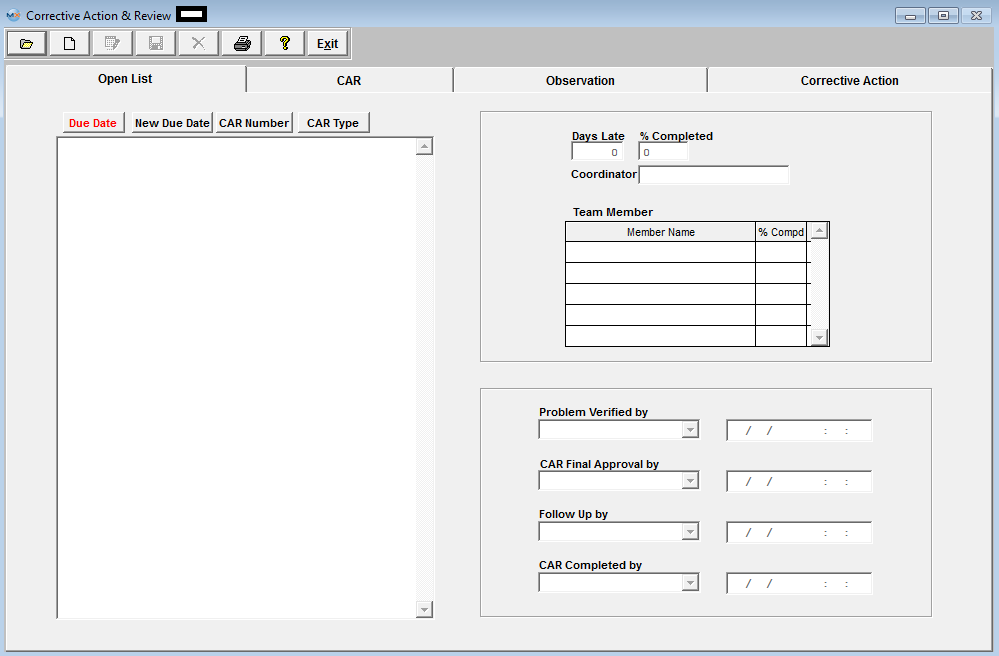
When entering the CAR module all Open CAR will be displayed listing the Due Date, New Due Date, CAR Number and CAR Type.
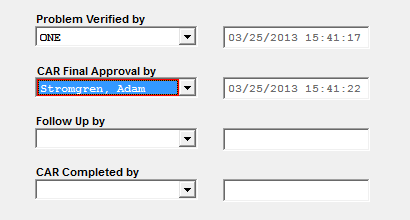
Highlight the CAR of interest and depress the Edit button and enter password. The Approval lists will be enabled:
To enter an approval, depress the down arrow button and a list of employees will appear that have add or edit rights to the CAR module setup in the ManEx System Security module. Users with “Supervisor Rights” will automatically have access. Make a selection and their name, date and time of selection will default into the appropriate fields. |
 |
To enter a percentage of completion, place the cursor in the % Completion column. Enter in the percentage completed. Depress the Enter key. You will be prompted for the password. The password entered MUST “MATCH” the name of the user.
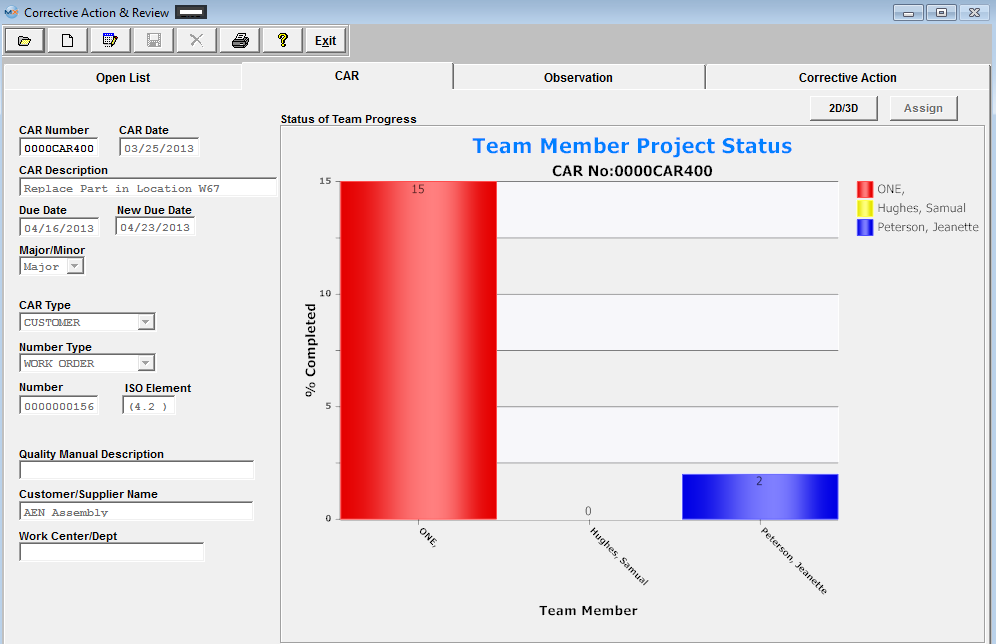
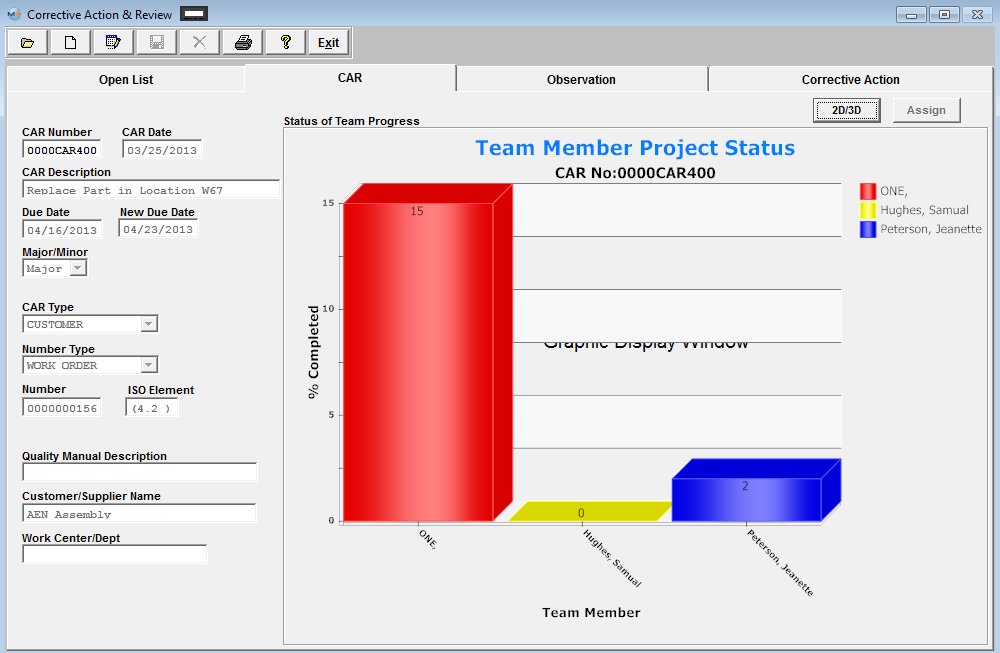
The user may then depress the CAR tab to view the Team Member Project Status of completion graph.
To obtain a 3D version, depress the 2D/3D button.
|