| 1. System Utilities |
| 1.1. Import Utilities |
Here is a list of our current Import Utilities: JEImportsql.exe - Journal Entry Import using an xlsx template to import Journal Entries into Manex System
UpdateSupplierStatusType.exe - Used to update Mass numbers of Suppliers Status and Type
Standard Cost Rollup Import - Please note this is designed to work with buy parts only because Make Parts need to be leveled and rolled differently
AddTargetPrice2Invt.exe- Used to do mass update of the Target Price in Inventory
PartClassTypeImport.exe - Import mass number of Part Class Types using an xlsx template (typically used during Manex implentation) CustomerImport.exe - Import Mass number of new customers using an xlsx template (typically used during Manex implementation) SupplierImport.exe - Import Mass number of new Suppliers using xlsx template (typically used during Manex implementation ImportInventoryReceiving.exe - Import mass numbers of Beginning receiving entries (typically used during Manex implementation) Partclasstypeimport.exe - Import mass number of Part Class Types using an xlsx template (typically used during Manex implentation) ImportRouting.exe- Import mass number of new routings using xlsx template (typically used during Manex Implementation)
Please contact manex if you have any further questions or need a template for any of the following Import Utilities.
|
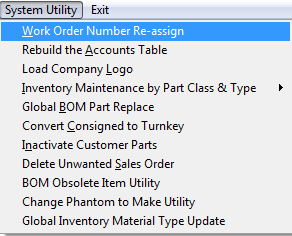
| 1.2. Work Order Number Re-assign |
| 1.2.1. Prerequisites for Work Order Number Re-assign |
|
After activation, System Utility access for each user must be setup in the ManEx Security module. Users with “supervisor’s rights” will automatically have access. This utility is designed only for users who use manual work order numbering. 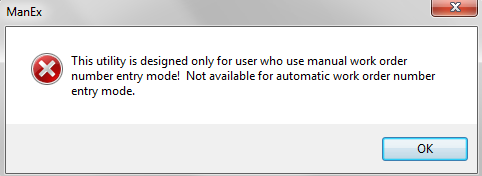 |
| 1.2.2. How To ..... for Work Order Number Re-assign |
| 1.2.2.1. Change a Work Order Number | ||||
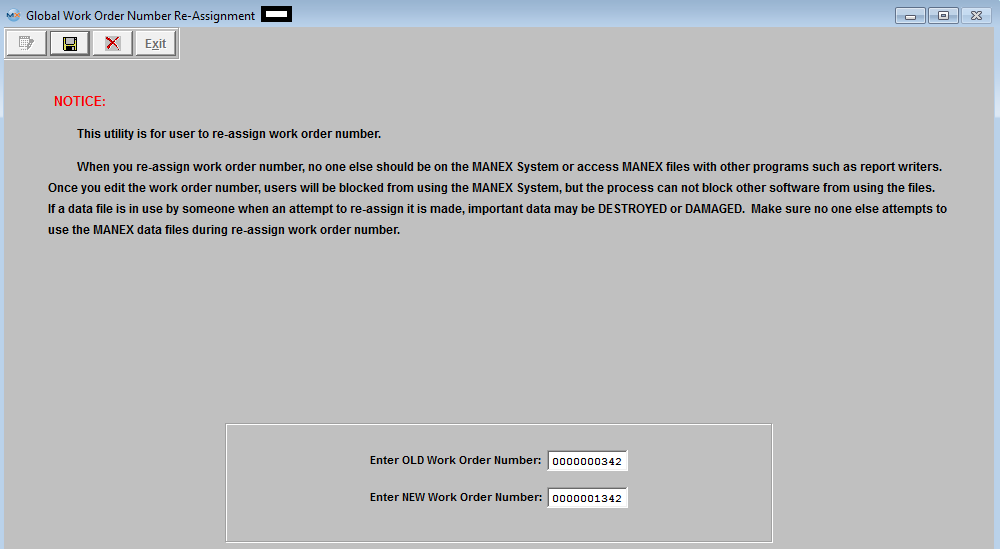
The following screen will be displayed:
Depress the Edit button. Enter the old Work Order Number and the New Work Order Number:
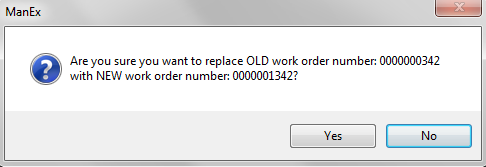
Depress the Save record button to save changes. Depress the Abandon changes button to abandon changes. If you depress the Save record button the following message will be displayed:
Depress "Yes" and the Work Order will be updated with change. Depress "No" and the Work Order will not be updated with change.
If the New Work Order number assigned already exists in system user will receive the following message:

|
| 1.3. Rebuild Accounts Table |
| 1.3.1. Prerequisites for the Rebuild Accounts Table |
| After activation, System Utility access for each user must be setup in the ManEx Security module. Users with “supervisor’s rights” will automatically have access. |
| 1.3.2. Introduction for the Rebuild Accounts Table |
| This module will Rebuild the entire chart of accounts. The entire chart of accounts will be recreated and balances recalculated. |
| 1.3.3. How To Rebuild Accounts Table |
| 1.3.3.1. Rebuild Accounts Table | ||||
The following message will be displayed:
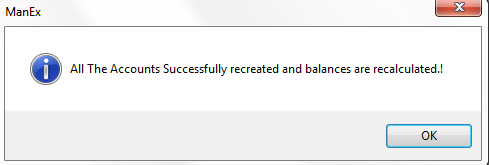
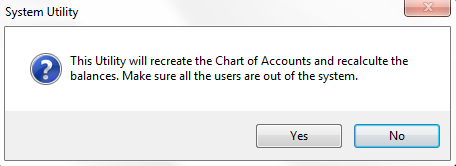 Depress the Yes button, and the system will begin the process of updating the accounts. The entire chart of accounts will be recreated and balances recalculated When the system has finished with this process the following message will be displayed.
 |
| 1.4. Load Company Logo |
| 1.4.1. Prerequisites for Load Company Logo |
After activation, System Utility access for each user must be setup in the ManEx Security module. Users with “supervisor’s rights” will automatically have access. |
| 1.4.2. Introduction to Load Company Logo |
| 1.4.3. How To ...... Load Company Logo | ||||
Image files may be retained on any server available to users. The most important concept is to understand that the folder(s) used must be shared and available to all users of ManEx both for end user workstations and the server itself to be accessible from Manexcloud. The complete path to the image is stored in the ManEx program. For example C:LOGO is where file is. That path needs to exist with the file in it on the server as well as all workstations.
The following screen will be displayed:
Depress the Load Picture button. Then the browser will be displayed:
 Locate your ManEx server (or wherever your images are stored), and select the appropriate folder until you arrive where your desired image resides. Once your find your desired image, click on the file name. Please note directory the file is located in must grant access to IIS_IUSRS Windows profile in security access for folder. This is needed so users IIS website can display image that is loaded on Manexcloud browser reports.
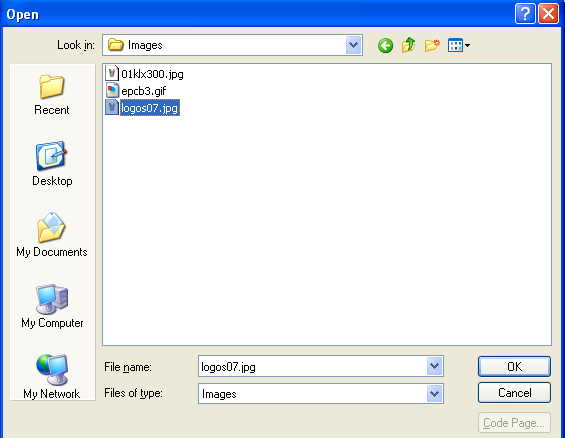 Depress the OK button, and the image should then display in the Load Customer Logo screen.
If you wish to remove the loaded image, then simply depress the “Remove Picture” button and the file will be removed.
Then the logo will print on all associated documents.
|
| 1.5. Inventory Maintenance by Part Class & Type |
| 1.5.1. Prerequisites for Inventory Maintenance by Part Class & Type |
After activation, System Utility access for each user must be setup in the ManEx Security module. Users with “supervisor’s rights” will automatically have access. |
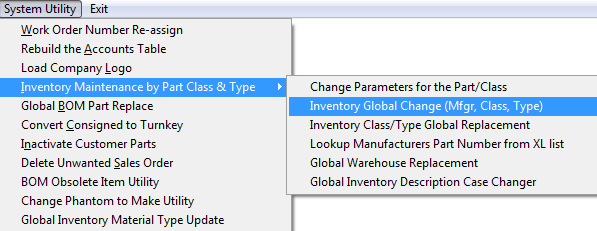
| 1.5.2. Change Parameters for the Part/Class | ||||
The following screen will be displayed:
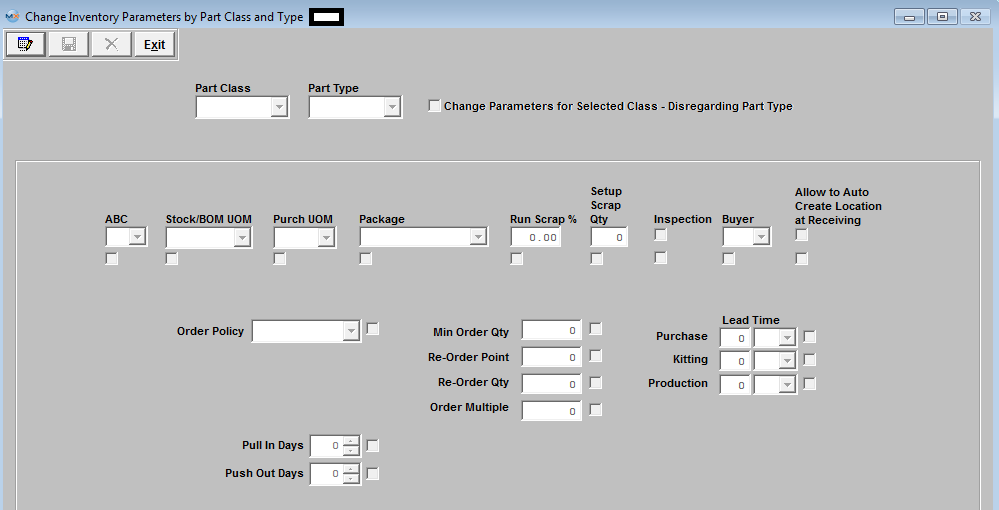 Depress the Edit action button, Select the Part Class and Type you want changes to affect. (Note: If you want the changes to affect all part types within the Part Class Check the "Change Parameters for Selected Class - Disregarding Part Type" box)
 Enter the changes, the boxes next to the fields being changed MUST be checked also for the changes to be implemented. If this box is NOT checked the change will NOT be implemented.
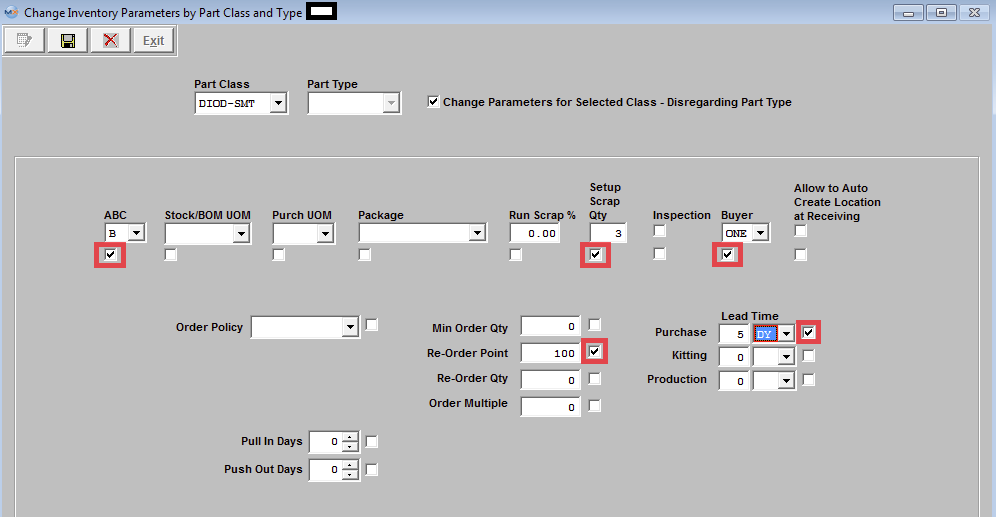 Depress the Save changes action button to incorporate changes to part class and type, or depress the Abandon changes action button to abandon changes.
|
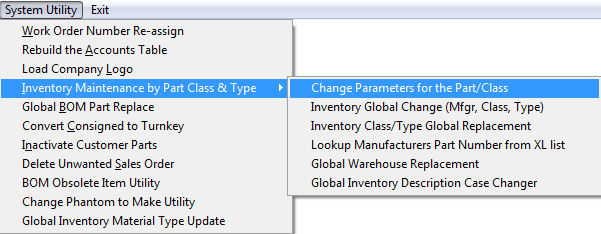
| 1.5.3. Inventory Global Change (Mfgr,Class,Type) | ||||
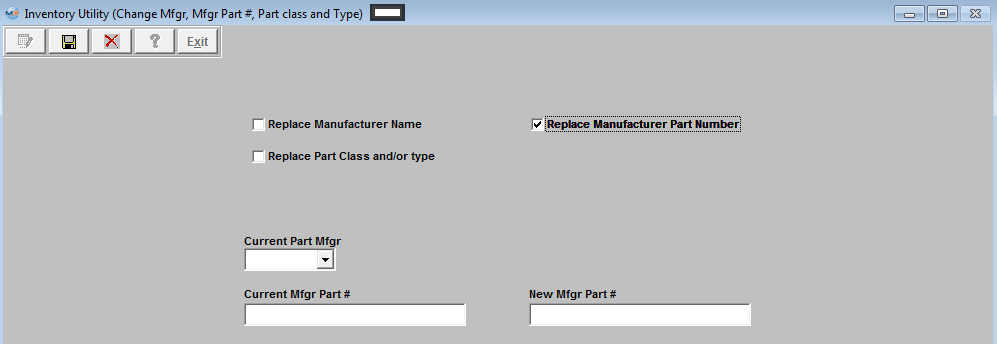
The following screen will be displayed:
 Depress the Edit button and select the Change.
If user selects "Replace Manufacturer Name" they will need to select the Current Part Mfgr and the New Part Mfgr from the drop down lists.
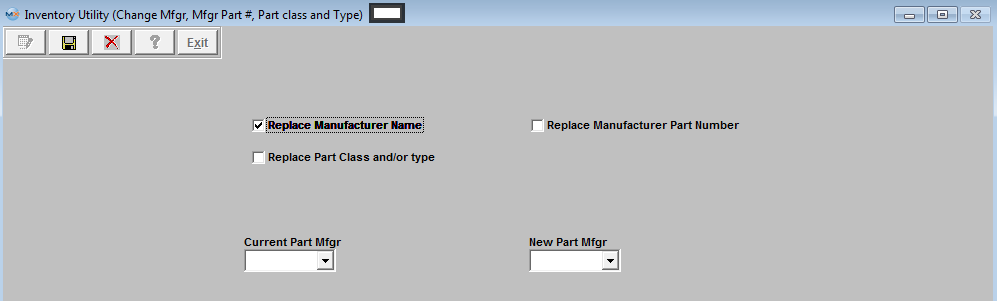 If user selects "Replace Manufacturer Part Number" they will need to select the Current Part Mfg from the drop down list, enter the Current Mfgr Part # and New Mfgr Part #.
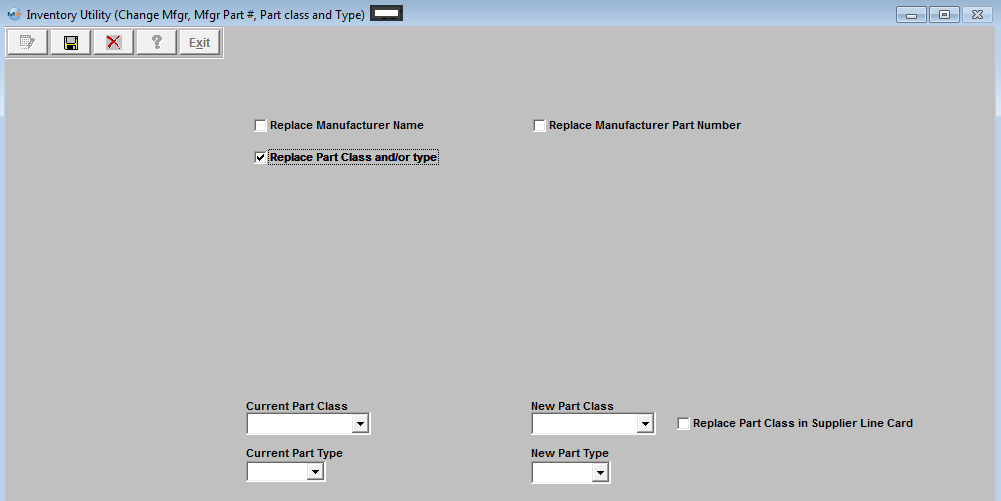
 If User Selects "Replace Part Class and/or Type" user will neet to select the Current Part Class and Current Part Type, and New Part Class and New Part Type from the pull down lists, then check the box if they choose to Replace the Part Class in Supplier Line Card module also.
 User may select to change more than just one option at a time.
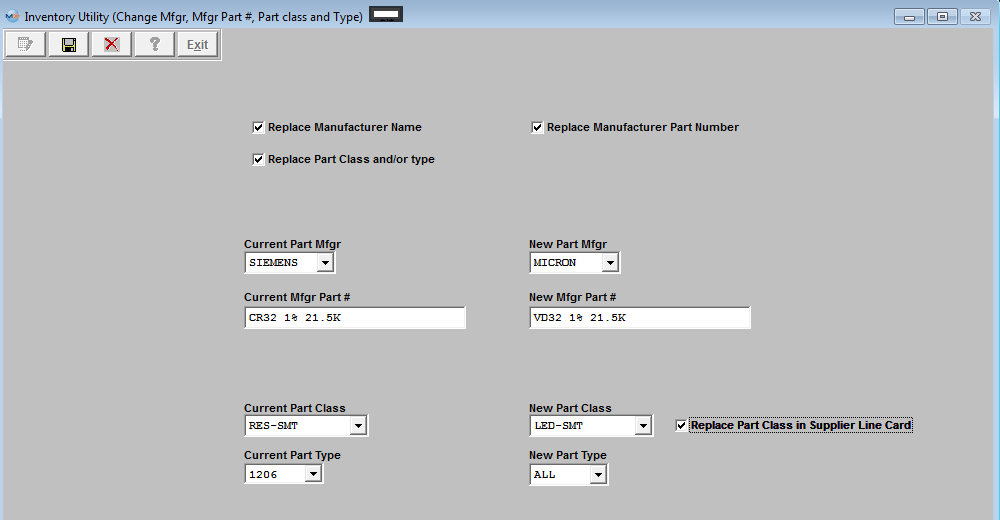 Depress the Save changes action button to proceed with the changes and the screen below will be displayed, or depress the Abandon changes action button to abandon changes.
 Note: All Purchase orders with Status of Open and Closed will be updated when changing the MFGR info. Users will NOT loose history when replacing a mfgr, part class and/or type. The history reports will still retain the transactions but the reports will show the new manufacturer, Class and/or type. They will NO longer display the old mfgr, class and/or type.
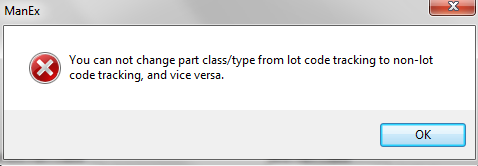
User will receive the following message upon save if they are attempting to change parameters from Lot Coded parts to Non Lot Coded parts or visa versa. This change can only be done within the Inventory Control module.
 |
| 1.5.3.1. Manex Minutes for Mfgr Change |
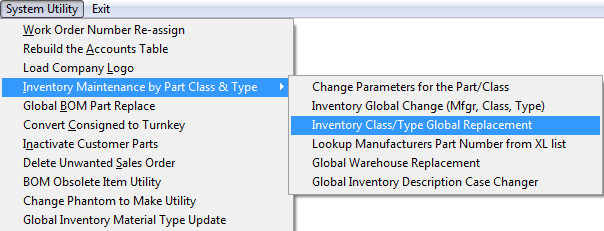
| 1.5.4. Inventory Class/Type Global Replacement | ||||
The following screen will be displayed:
Select the Existing Part Class from the Pull Down, and the part numbers that exist in this Part Class will be listed in the left as shown in the screen below.
 Select the Part Class and Type you are replacing the highlighted records with from the Pull downs. Select the Class/Type Parameters you want copied. Highlight the part numbers you want replaced.
 Once you have completed all of the required fields, depress the "Replace Highlighted Records" button, the Save action button, and the Abandon Changes button will become available. Depress the Save action button to make the changes, depress the Abandon changes action button to abandon changes.
 After the parts have been updated the parts replaced will disappear from the screen, and user may select another part class to change or depress the Exit button to exit this screen.
 User will receive the following message if they try and change a part from Lot Coded to Non- Lot Coded or visa versa using this utility. This change can only be done within the Inventory Control module.
|
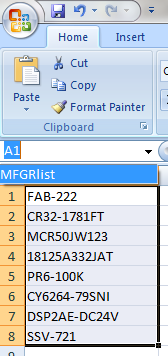
| 1.5.5. Lookup Mfgr Part Number from XL List | ||||||
The following screen will be displayed: (Be sure to read the Note)
Browse and find the xl spreadsheet you created. 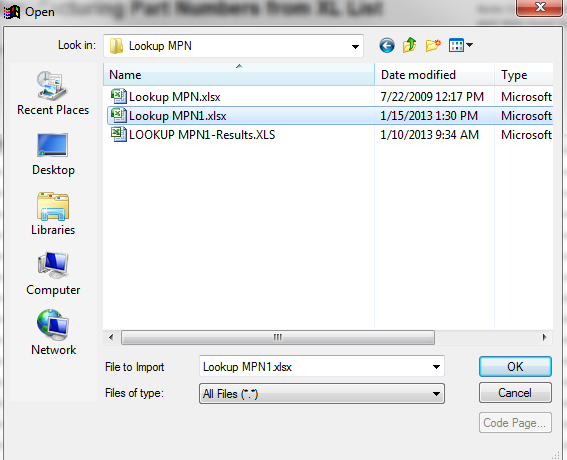 Depress OK and System will search for the Manufacturer Part Numbers within the Inventory Module and display the results:
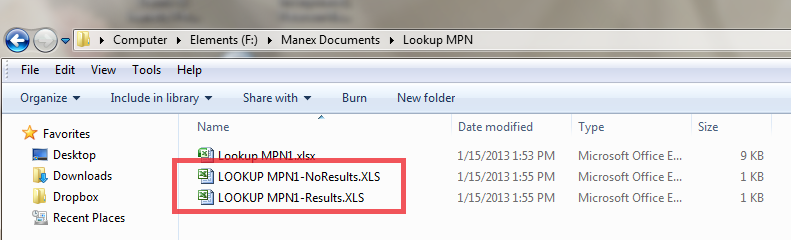
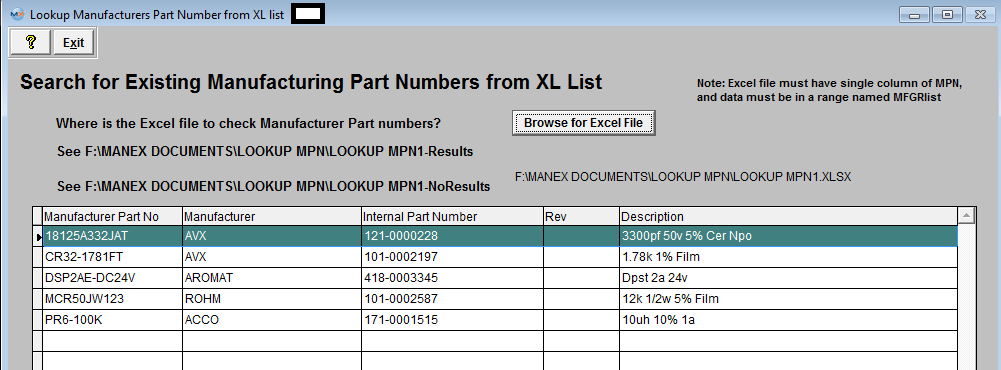 An .XLS file will be created for the Mfgr Part Numbers found and for the Mfgr Part Numbers Not Found.
 |
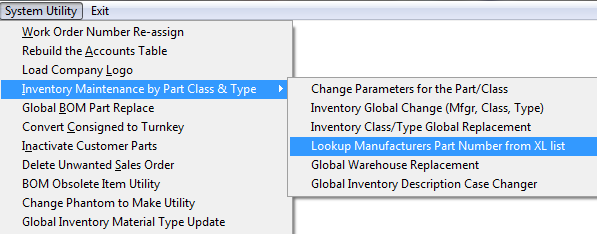
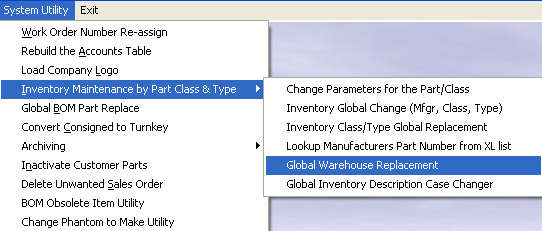
| 1.5.6. Global Warehouse Replacement | ||||
The following screen will be displayed: Enter the Old Warehouse and the New Warehouse, depress the "Go" button and the old warehouse will be replaced with the new warehouse. System will NOT allow you to replace the existing warehouse with a warehouse that previously existed and then deleted. If system locates these types of records the following message will be displayed and a 'NewWhemoved.xls' spreadsheet will be created with detailed information. 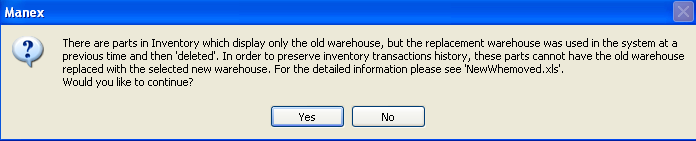 If the system finds parts in inventory which display both the old and the new warehouses, the following message will be displayed and a 'NewWhExists.xls' with detalied information will be created. 
|
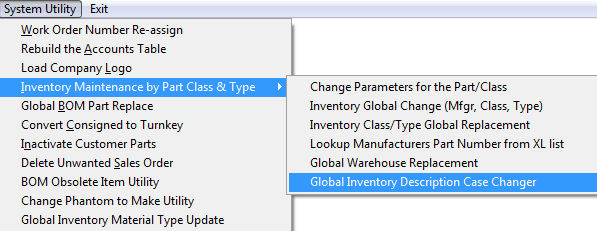
| 1.5.7. Global Inventory Description Case Changer | ||||
The following screen will be display:
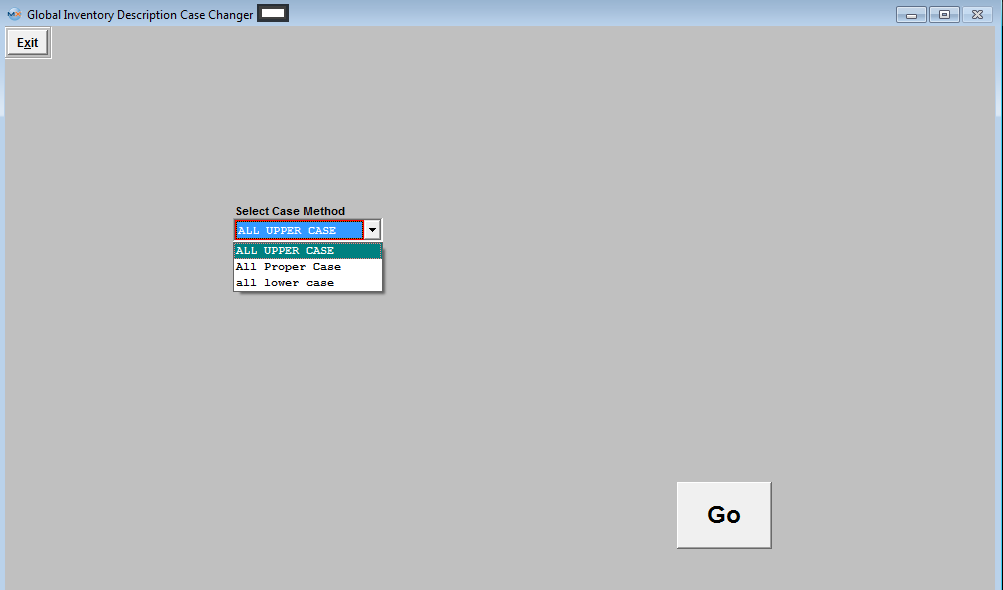 Select the Case Method from the Pull down, and depress the "Go" button. NOTE: This will change ALL the existing Inventory Description Case.
|
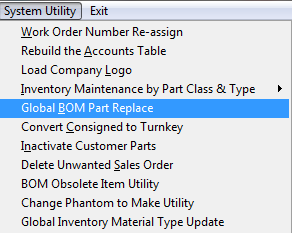
| 1.6. Global BOM Part Replacement | ||||
The following screen will be displayed:
Depress the Add Record icon. Then enter in the Current Internal Part Number. The Part number Class, Type and Description will default in, along with the related BOM’s.
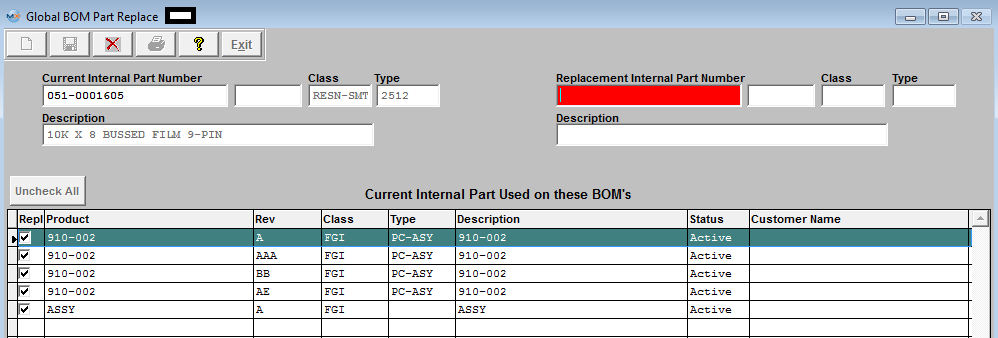 Enter in the Replacement Internal Part Number, the part number Class, Type, and Description will default in.
 Select which BOM's to be updated by checking the Repl Column. Depress the Save record action button to proceed, or depress the Abandon changes action button to abandon changes.
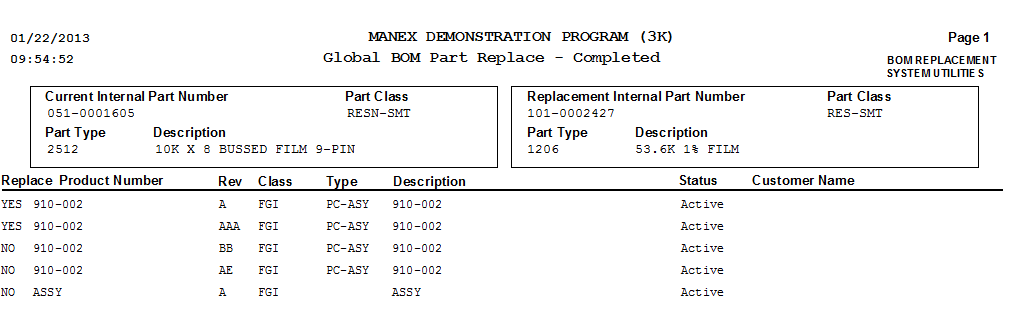
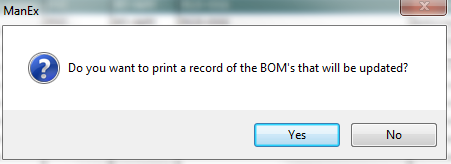
If the Save record action button is depressed the following message will appear:
Select Yes, and the following report will be displayed.
|
| 1.6.1. ManEx Minutes for Global Replacement |
| 1.7. Convert Consigned To Turnkey | ||||
|
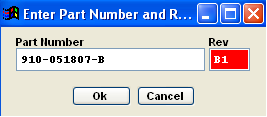
The following screen will be displayed:
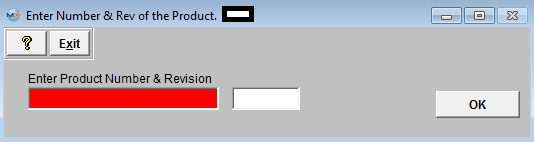 In the system you have a BOM already setup with Consigned part numbers.
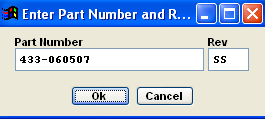
Type teh Product Part Number (Assembly) and applicable revision number into the fields: 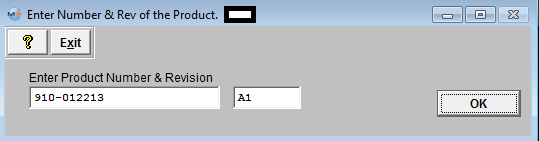 Depress the OK button. You will receive a message that the conversion has been completed.
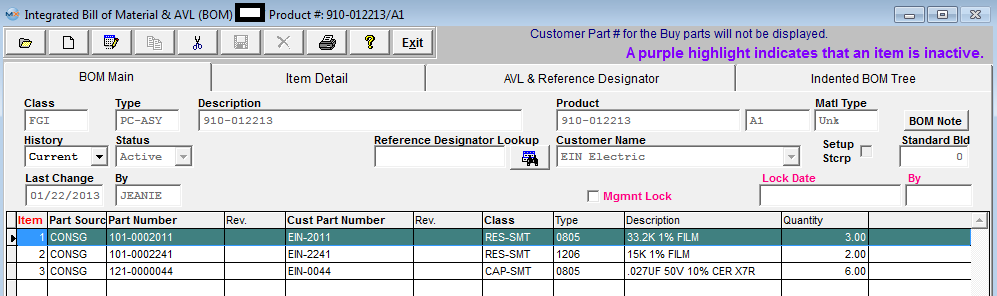
Return to the ManEx system and verify that the BOM has been properly converted over to Turnkey.
|


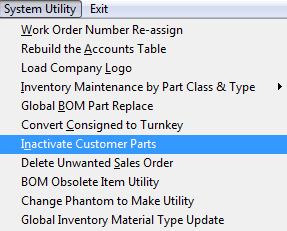
| 1.8. Inactivate Customer Parts | ||||
The following screen will be displayed:
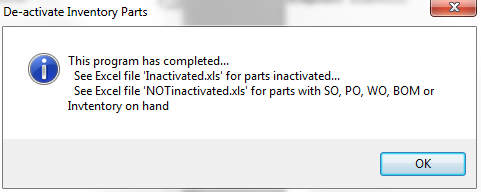
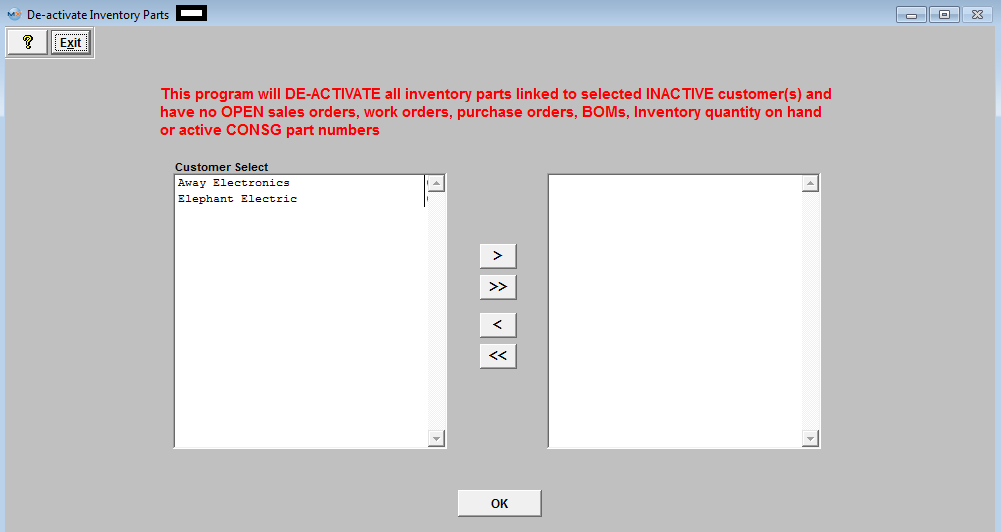 Select the Customer(s), then depress the OK button. The following message will be displayed:
Depress the OK button. The Excel file referenced above will be placed in the ManEx directory on the workstation.
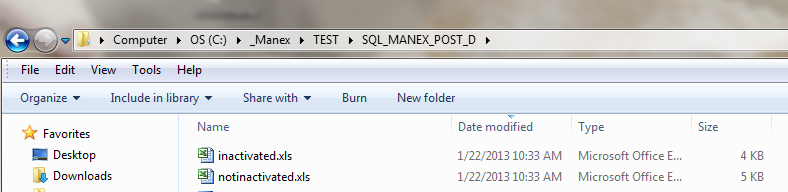
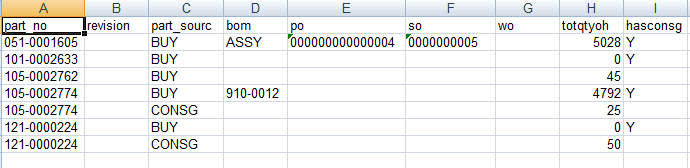
Here is a sample of the XLS files that would be generated. The user can enter the system and the part number records listed in the inactivated.xls file will be marked as “Inactive” within the Inventory control Module.
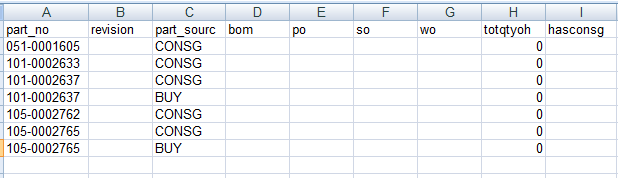 Part numbers that appeared within the notinactivated.xls file will still remain in the system as “Active”
|
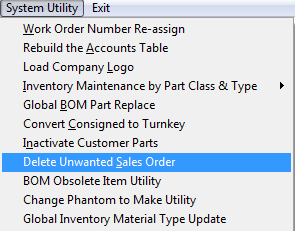
| 1.9. Delete Unwanted Sales Order | ||||
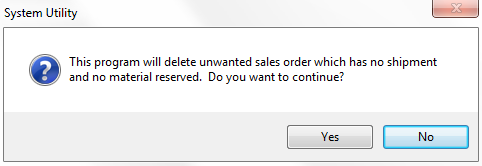
The following message will be displayed:
Depress "Yes" to continue
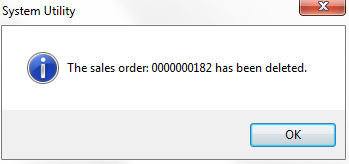
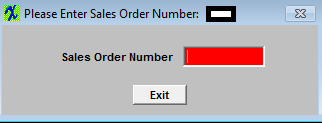
Enter Sales Order Number, depress the enter key, the following message will be displayed:  Depress OK to continue
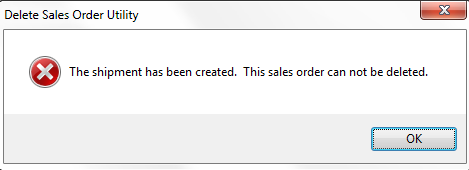
 If shipments have been found against the SO you are trying to delete you will receive the following message and the SO will NOT be deleted:
|
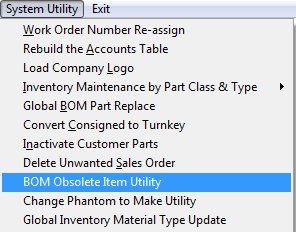
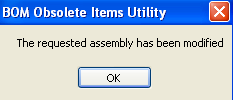
| 1.10. BOM Obsolete Item Utility | ||||||||||||
The following warning will be displayed: 
|

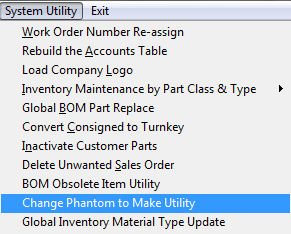
| 1.11. Change Phantom to Make Utility | ||||||||||||
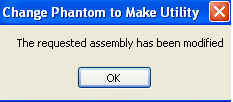
|


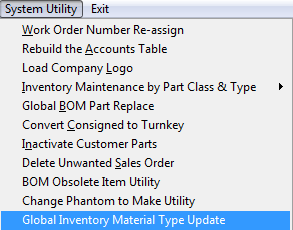
| 1.12. Global Inventory Material Type Update | ||||||
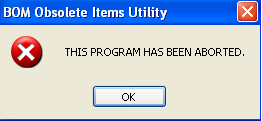
The following warning will be displayed:
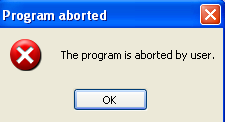
Depress Yes - the following update screen will flash in the upper right hand of the screen When program is complete you will receive the following message: Depress - No - Program will abort with no updates.
|


| 1.13. FAQs - System Utility |
| Facts and Questions for the System Utility Modules |