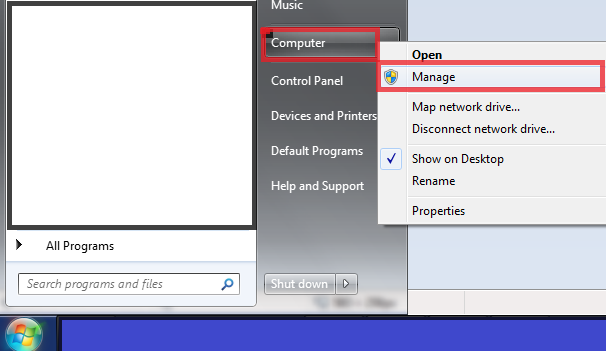
| 1. Installation of SQLManex(Server install) |
| 1.1. Prerequisites |
Before MX can be installed Windows IIS7 feature must be Turned on. For more details on setting up Windows IIS7 See Article #5673.
In order to run the latest MX, you MUST have asp.net 4.5 installed. You can download it here (if you don't already have it): http://www.microsoft.com/ When ready proceed to step # 1 Install ManexService on your Server |
| 1.2. Step#1-Install ManexService on your Server |
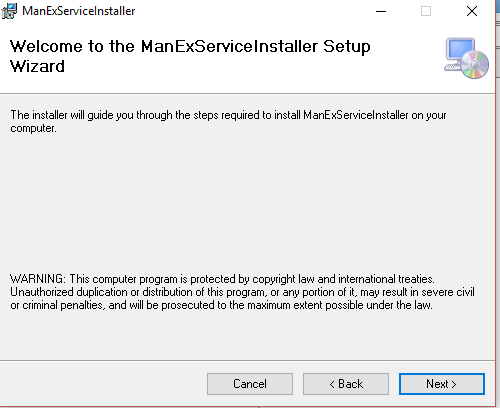
The Manexservice file is installed as a Windows service that runs background tasks such as verifying system license information and monitoring and sending system messages. Also it is required for emailing reports from MX Once the latest Manexservice file is provided to you from Manex you will need to unzip the .MSI and .EXE files from the zip file. You will need to run the .EXE not .MSI. 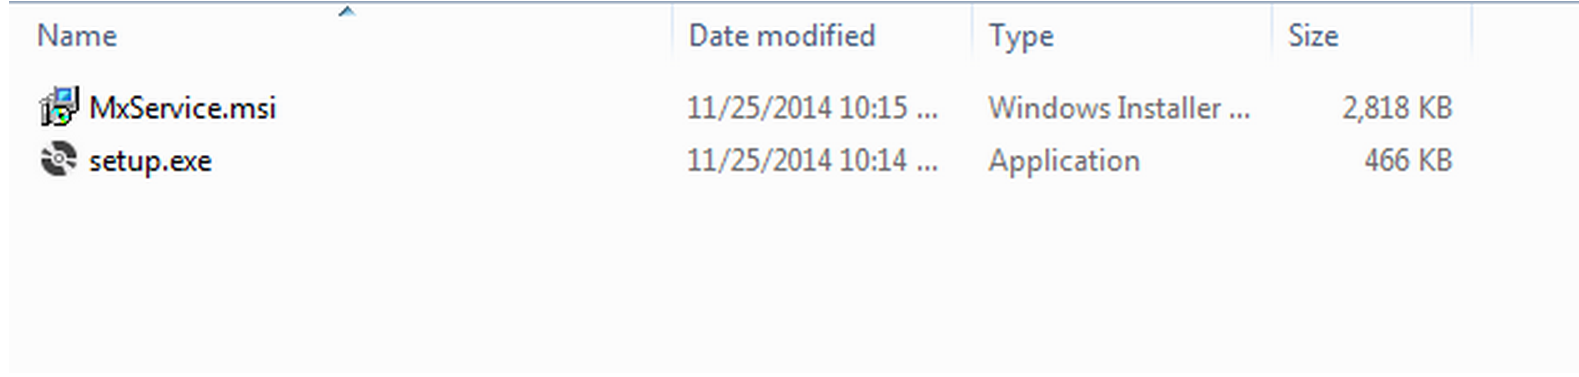
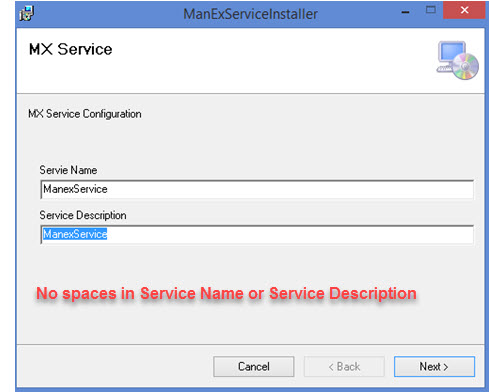
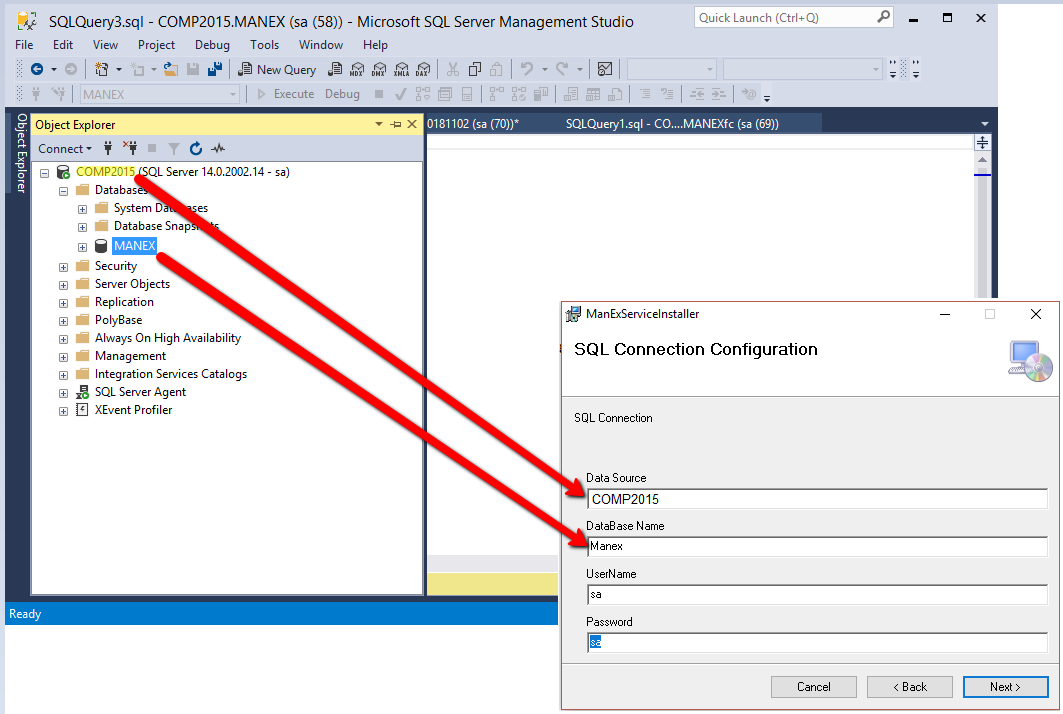
You will then want to name your Service and provide a description. See my example below. Then Click Next You then need to fill in your Data Source, Database Name, Username and Password.
This is connection information to SQL Data. Data Source: is the Connection to your Sql Server Name Database Name: is the name that you assigned to the database within SQL Manager UserName and Password: would be the user name and password that you use to access the database via SQL Manager.
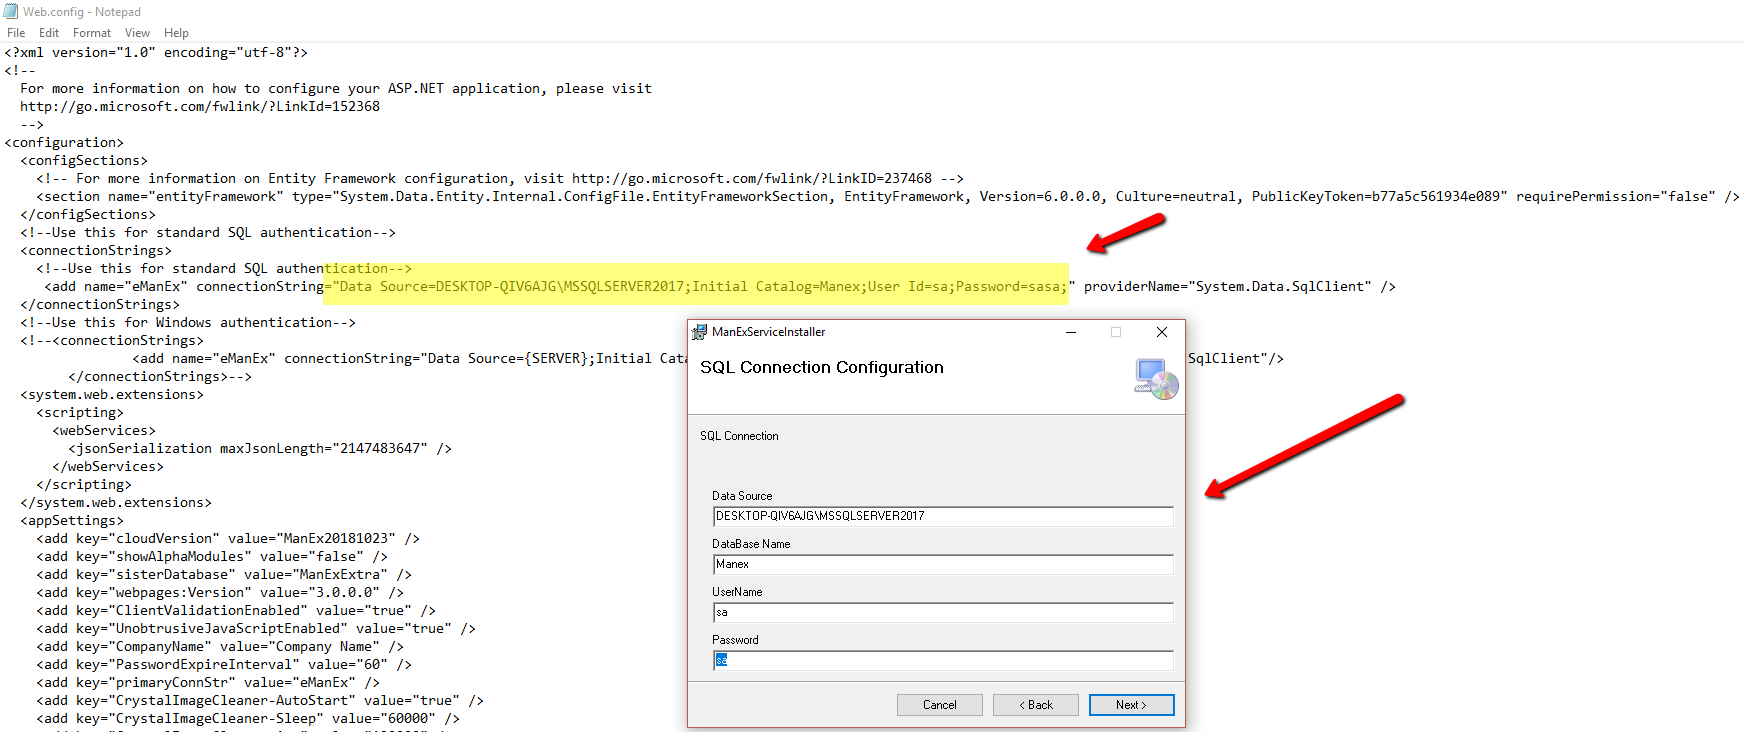
If you don't know this information and you happen to previously installed Manex on your system. You could reference the Web.config file in your ManexCloud directory. It would look similar to the below.
Click Next
You can decide if install is for just you or everyone and install location. Click Next 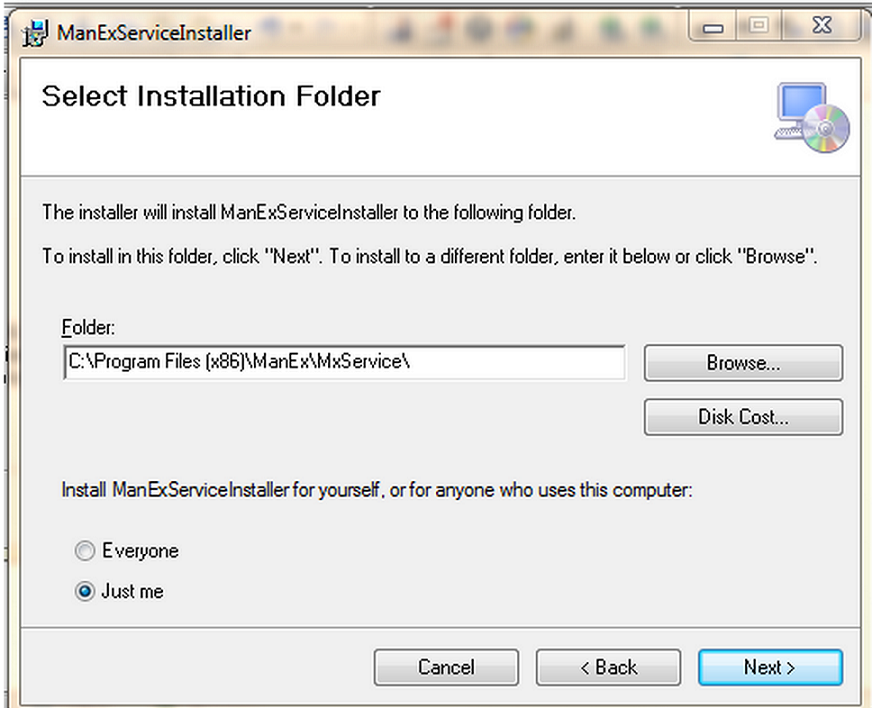
Click Next 
Hit Close You will then need to check your connection string in the ManExService.exe.config file located in the {Program Files} or {Program Files (x86)}/ManEx/MxService folder. 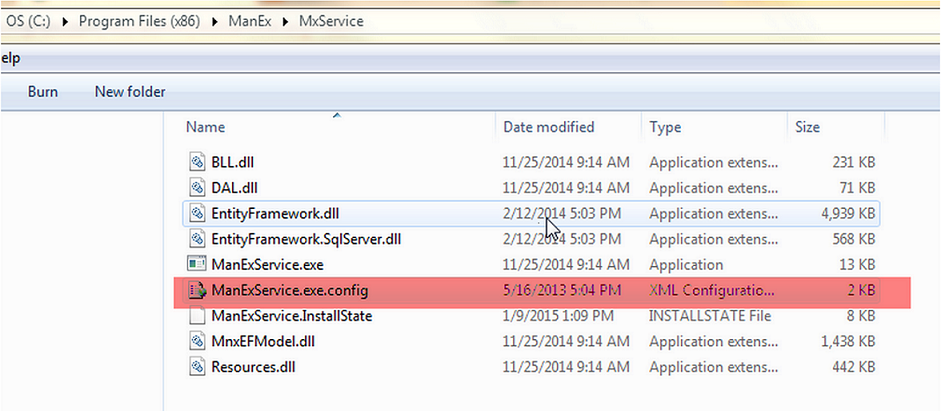
Open the config file with note pad or your default editor. Check to make sure your Connection String matches your SQL Server Connection. If it doesn't, you can modify the highlighted connection string to match your SQL server connection (note you may want to open file as admin user to make sure you have rights to save in the same directory.) As you can see in the example below, my connection string matches my SQL Server Connection from the above screenshots.
Save and close the file.
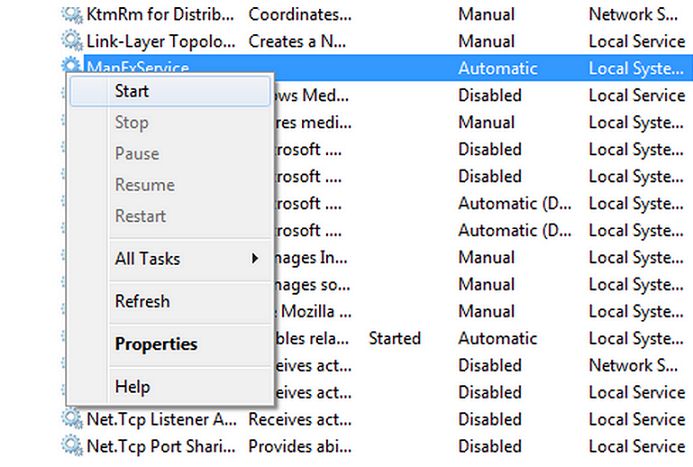
Now you can go to Windows services and start the service. Make sure it is set to automatically start but with "delayed start" as it requires SQL service to be started prior to it being able to start in Windows.
Should show started
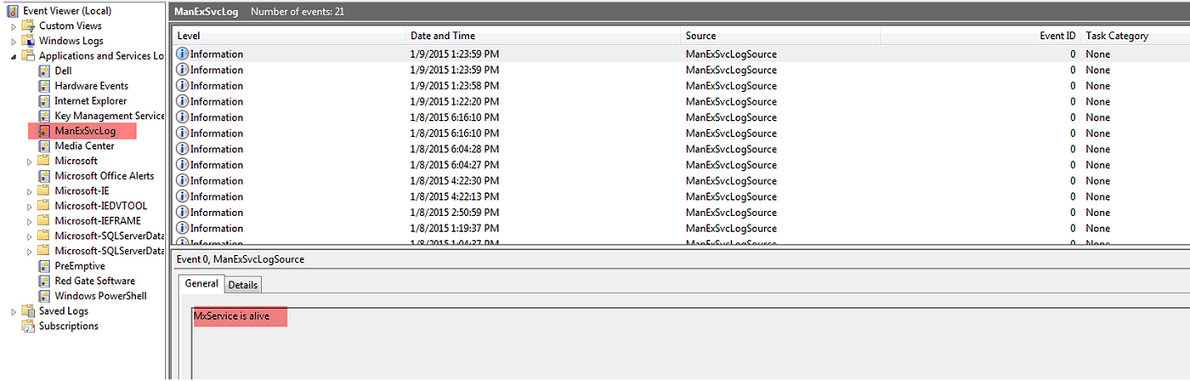
You can also verify in event viewer the Manexservice log should show that Mxservice is alive.
If you happen to have additional database such as a 2nd company data file on the same server and require to have a 2nd instance of the Manex service installed Please follow instructions here: Install 2nd Instance of Manex Service
When ready proceed to Step #2: Turn On Internet Information Services (IIS) Windows Feature on your Web Server |


| 1.3. #1.1 Install a 2nd instance of the Manex service |
If you happen to have additional database such as a 2nd company data file on the same server and require to have a 2nd instance of the Manex service installed you will need to download the New Manex Service here NewManexService.7z Please see video instructions here. New Manex Service Instructions Very similar to the instructions for the standard Manexservice with a few additional features. |
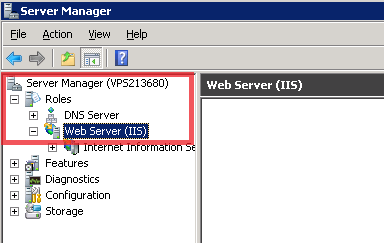
| 1.4. Step#2-Turn On Internet Information Services (IIS) Windows Feature on your Web Server |
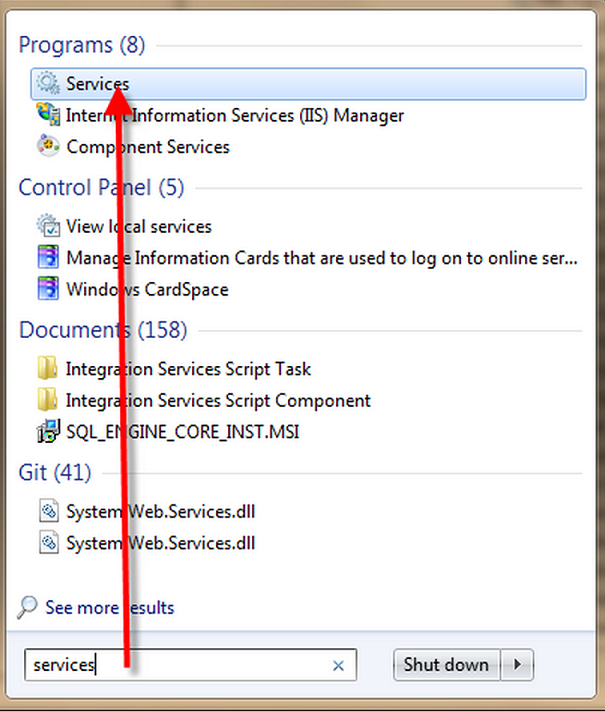
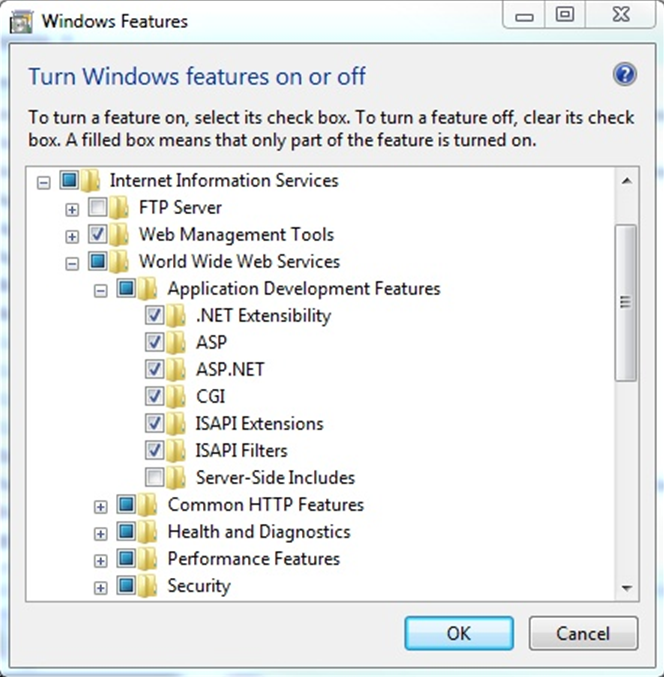
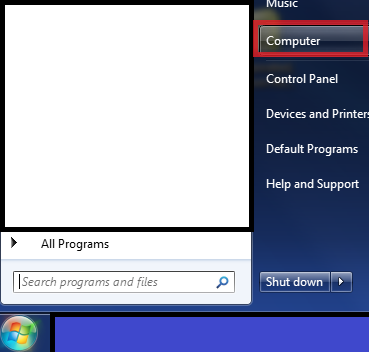
Internet Information Services (IIS, formerly Internet Information Server) is an extensible web server created by Microsoft for use with Windows NT family.[2] IIS supports HTTP, HTTPS, FTP, FTPS, SMTP andNNTP. It has been an integral part of the Windows NT family since Windows NT 4.0, though it may be absent from some editions (e.g. Windows XP Home edition). IIS is not turned on by default when Windows is installed. The IIS Manager is accessed through the Microsoft Management Console or Administrative Tools in the Control Panel. IIS7 or newer version needs to be turned on in order for MANEX Cloud to work. Turning on IIS7 or newer version is a simple process and can be done by clicking a few selections in the control panel. 1. Go to Start>Control Panel->Programs->Programs and Features-> on the left-hand side click on Turn Windows features on or off. 2. In the ‘Windows Features’ box that comes up, click the Internet Information Service box and then expand the node. 3. Check the Web management Tools box. 4. Expand World Wide Web Services, and expand Application Development and make sure to select the following features:
5. Click OK to save changes and install IIS7 with the ASP.NET feature turned on. 6. Once the installation completes, you’ll want to test the IIS7 web server to make sure it is working correctly by opening up your internet browner and going to http://localhost. If you see the IIS welcome page, you know that the installation of IIS7 was successful.
See more at: http://www.gotknowhow.com/articles/how-to-install-iis7-and-enable-aspnet#sthash.djspllSv.dpuf When ready proceed to step # 3 Install ManexCloud application
If you don't already have ASPNET 4.5 you can download it here: ASPNET 4.5 |
| 1.5. Step#3-Install MX application |
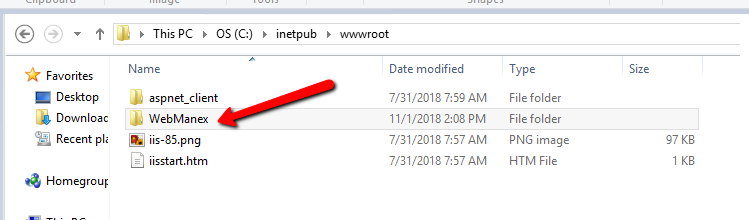
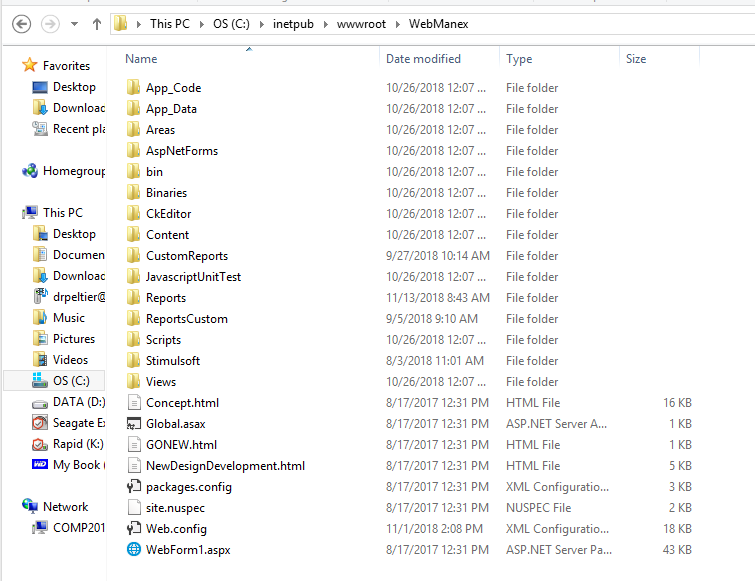
Test test test test We recommend installing manexWeb as a subdirectory in the inetpub/wwwroot directory which is the default location Windows uses for IIS webservers and by default. This should also have the correct security rights granted for IIS use by users. This folder is typically found under the C: drive/Inetpub/wwwroot directory as shown below. Then create a folder called WebManex(or a name of your choosing) Then simply extract or place the contents within ManexQB . . . zip file provided to you completely into the WebManex directory. It should look like the below example. |
| 1.6. Step#4-Web Configuration Setup |
After you unzip the MX application folder provided by Manex into your C://inetpub folder as described in the article: Install MX Application,you must set up the Web.config file so the application can connect to your SQL database. Do not use an older Webconfig File from a previous MX version. You must use the matching config file with the same version of MX to avoid possible errors. Each time you update MX you will have to re-add the connection string information as displayed in image below. Note: SQL Manex Client server and MX are only compatible with SQL 2008 R2 and newer but we highly recommend SQL Server 2014 to take advantage of all features. Open the Web.config file and find the entry for: <add name="eManEx" connectionString="Data Source={SERVER/INSTANCE};Initial Catalog=ManEx;User Id={USER};Password={PASSWORD};" />
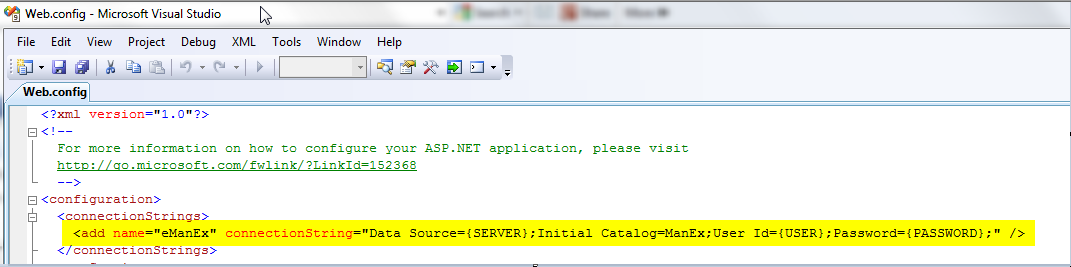 Change this entry with the required connection information for your SQL data base. Typically it will have the same values used in your ManEx .ini file used to connect the desktop application. The modified string should look something like this: <add name="eManEx" connectionString="Data Source=555.555.555.555;Initial Catalog=ManEx;User Id=manexUser;Password=thisIsmypassword;" /> After you modify the settings, save the file and connect to your site. You will need to do the same thing for the ManExService.exe.config file in the {Program Files}/ManEx/MxService folder for the ManEx Service installed on your server.
NOTE: In order to access MX form desktop web report and User defined buttons in modules the Company Root URL must be setup within the System Appearance module and user must be linked to web within the System Security Module.
When ready proceed to step # 5 Choose option to Set up MX as a Sub Domain or Stand-Alone Website |
| 1.7. Step#5- Choose option to Set up MX as a Sub Domain or Stand-Alone Website |
| 1.7.1. Prerequisites |
User MUST have the ManexCloud files installed on the web server in an accessible directory. For further information on where to setup the ManexCloud see Article #5628. |
| 1.7.2. How To Set Up ManEx as a Sub Domain or Stand-Alone Website | ||||||||||
If you do NOT have IIS (Information Installation Services), installed on your System the following link will help you install it:
Steps to setup sub-domain site under main website
You would right click on your main website and add application.
1. Alias Name: You can name this whatever you want. 2. Application Pool: You click select and it will pull up a list of available application pools. (Note you must use .net 4.5 or higher for the latest ManexCloud. If 4.5 is not in list go to the application pools in IIS module right click and add the application pool. Some servers will only list ASPnet 4.0 App pools even though 4.5 is installed. This is ok. Also note if setting up multiple sites like for a test system it is always good idea to use different app pools so as too not overload the App Pool resources. If no option is there then you have to download ASP. Net 4.5 from this link and install it. Note a reboot might be required to complete the installation. If you see ASP.Net 4.5 is installed in the Windows installed program files list you may need to run a windows repair on the installation and reboot again to repair it.
Once selected click ok.
You also have to make sure that the application pool you are using that the Managed Pipeline Mode is set as Integrated. Again note if setting up multiple sites like for a test system it is always good idea to use different app pools so as too not overload the App Pool resources.
3. Physical path: Click select button and it will open up a screen to select the ManexCloud installation folder to browse too. Select the path as Inetpub/wwwroot/ManexCloud(see image below) Once selected click ok.
4. Connect as: Select the connect as it will open a screen that gives option to connect as specific user or use application user(pass-through authentication) 5. Most users use the specific user option. Click on the set button to enter the user credentials. 6. Typically this would be an admin password that allows full access to IIS features as well as the physical path of the ManexCloud application in the Inetpub/wwwroot directory. Once user name and password are entered click ok twice to return to basic settings screen.
7. Click on test settings to verify you receive two green checks on authentication and authorization. If you don’t then the user credentials entered do not have the correct permissions setup. Check with your admin to verify security rights. 8. You don’t have to check off the enable pre-load as we do not use this feature currently. Click ok to finish the setup of the sub-domain website.
Steps to setup stand alone website
To setup of stand alone website. Click on sites then right click to add new site. You will see the below pop up. You will perform most of the same steps as above for the sub-domain website.
Few differences here are choosing the bindings for your connection. IP address and port(make sure port is open on firewall and port is not same as any other hosted website) as well as using a host name if you desire. Once done hit ok and it will start your new ManexCloud website.
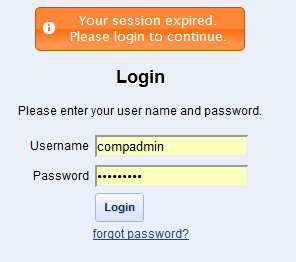
Right click on site you created and select manage and browse. Note the URL address as this will be how you get to the site manually. If it just shows local host you will want to know the exact IP to give to users connecting through the network or through a web portal to be available to access the site.
It will bring you to the login screen.
When ready proceed to Step #6: Email Setup for MX Reports
|
| 1.8. Step#6-Email setup for MX reports |
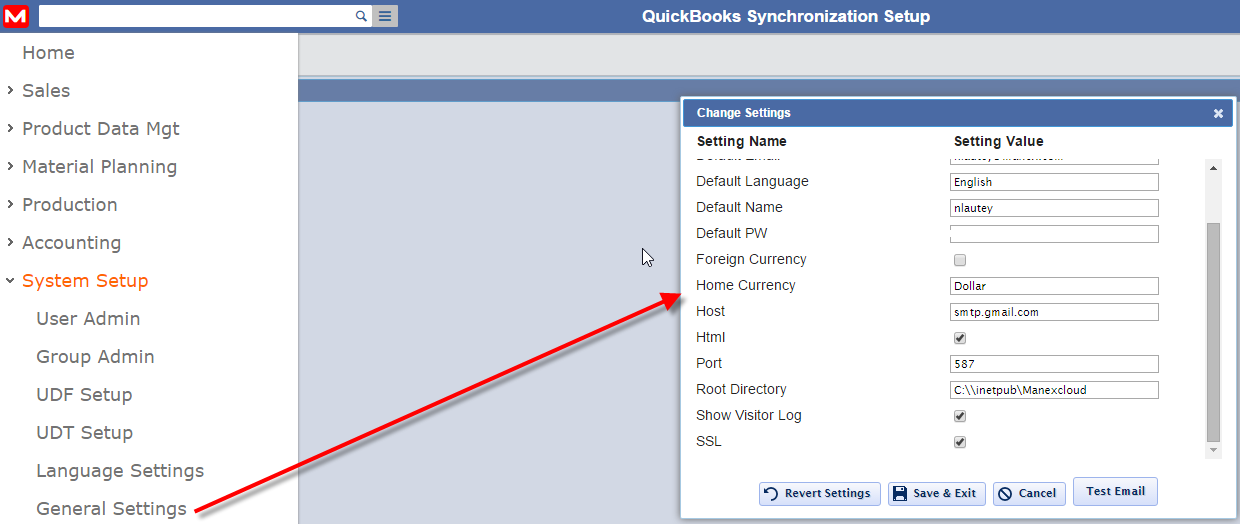
In order to be able to send emails via the MX you have to setup the SMTP settings in the general settings module as shown below. Make sure it matches settings you may be currently using for your SMTP mail clients. Also not you need to fill in the root directory which should be the Manexcloud directory you setup under the inetpub folder on server.
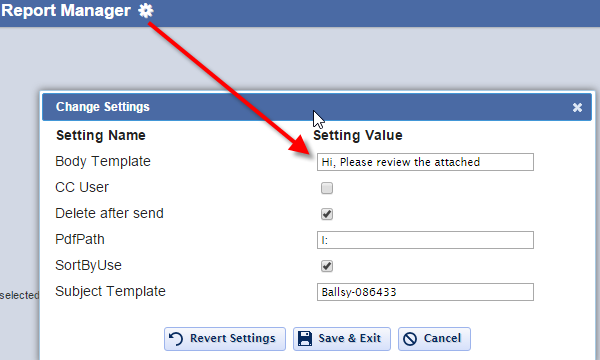
Another field you will want to change from the default is the Body template. There is default HTML code being used in this field which will default onto all emails sent out of Manexcloud. You can put in {CONTENT} as shown below in image then the body of email will use whatever is populated into Report Manager body template field(find this by going into any reports section and clicking cogwheel icon next to word report manager). If left blank body of email will be blank.
|