| 1. Step#5- Choose option to Set up MX as a Sub Domain or Stand-Alone Website |
| 1.1. Prerequisites |
User MUST have the ManexCloud files installed on the web server in an accessible directory. For further information on where to setup the ManexCloud see Article #5628. |
| 1.2. How To Set Up ManEx as a Sub Domain or Stand-Alone Website | ||||||||||
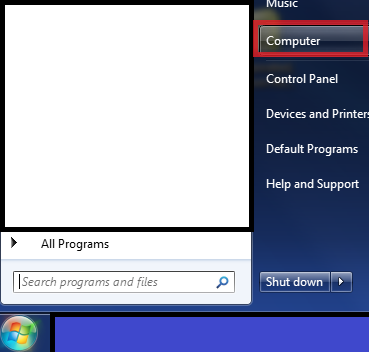
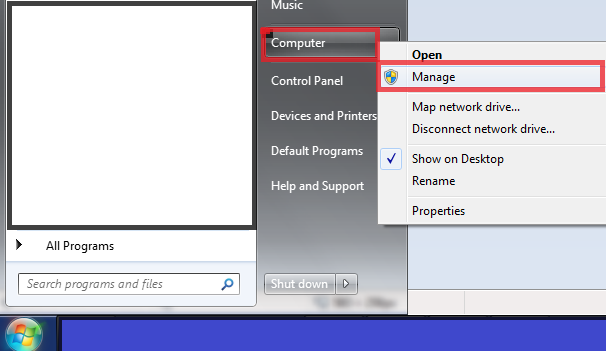
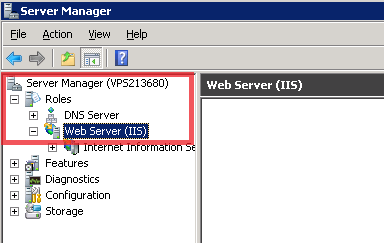
If you do NOT have IIS (Information Installation Services), installed on your System the following link will help you install it:
Steps to setup sub-domain site under main website
You would right click on your main website and add application.
1. Alias Name: You can name this whatever you want. 2. Application Pool: You click select and it will pull up a list of available application pools. (Note you must use .net 4.5 or higher for the latest ManexCloud. If 4.5 is not in list go to the application pools in IIS module right click and add the application pool. Some servers will only list ASPnet 4.0 App pools even though 4.5 is installed. This is ok. Also note if setting up multiple sites like for a test system it is always good idea to use different app pools so as too not overload the App Pool resources. If no option is there then you have to download ASP. Net 4.5 from this link and install it. Note a reboot might be required to complete the installation. If you see ASP.Net 4.5 is installed in the Windows installed program files list you may need to run a windows repair on the installation and reboot again to repair it.
Once selected click ok.
You also have to make sure that the application pool you are using that the Managed Pipeline Mode is set as Integrated. Again note if setting up multiple sites like for a test system it is always good idea to use different app pools so as too not overload the App Pool resources.
3. Physical path: Click select button and it will open up a screen to select the ManexCloud installation folder to browse too. Select the path as Inetpub/wwwroot/ManexCloud(see image below) Once selected click ok.
4. Connect as: Select the connect as it will open a screen that gives option to connect as specific user or use application user(pass-through authentication) 5. Most users use the specific user option. Click on the set button to enter the user credentials. 6. Typically this would be an admin password that allows full access to IIS features as well as the physical path of the ManexCloud application in the Inetpub/wwwroot directory. Once user name and password are entered click ok twice to return to basic settings screen.
7. Click on test settings to verify you receive two green checks on authentication and authorization. If you don’t then the user credentials entered do not have the correct permissions setup. Check with your admin to verify security rights. 8. You don’t have to check off the enable pre-load as we do not use this feature currently. Click ok to finish the setup of the sub-domain website.
Steps to setup stand alone website
To setup of stand alone website. Click on sites then right click to add new site. You will see the below pop up. You will perform most of the same steps as above for the sub-domain website.
Few differences here are choosing the bindings for your connection. IP address and port(make sure port is open on firewall and port is not same as any other hosted website) as well as using a host name if you desire. Once done hit ok and it will start your new ManexCloud website.
Right click on site you created and select manage and browse. Note the URL address as this will be how you get to the site manually. If it just shows local host you will want to know the exact IP to give to users connecting through the network or through a web portal to be available to access the site.
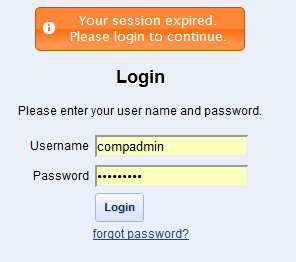
It will bring you to the login screen.
When ready proceed to Step #6: Email Setup for MX Reports
|


