| 1. Fields & Definitions for MRP |
| 1.1. MRP Action Tab | ||||||||||||||||||||||||||||||||||||||||||||||||||||||||||||||||||||||||||||||||
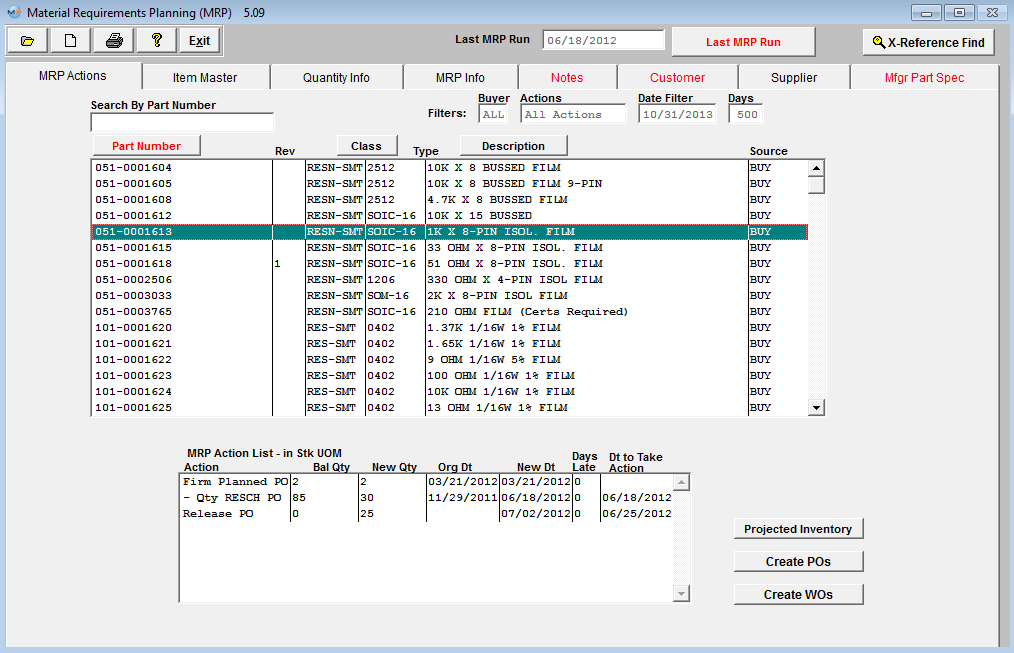 Definition of Material Requirements Planning Action Fields:
Sorting, Searching and Selecting in the MRP Action Screen The user may sort by the Part Number, Class or Description by depressing the appropriate button. To sort the contents of the Summary screen by Part Number, Part Class or Description, click the button. It will turn red and the list will automatically sort in ascending alphanumeric sequence per the selection. To search for an item by Part Class, click Class and enter the first few characters of the Part Class in the Search by Part Class field. The list will scroll down to the first incidence of each character in the sequence entered.If a character is not found in the position typed, the list will scroll to the bottom. To Search for an item by Description starting with the 1st character on the left, click Description and begin entering the first characters in the field. The list will scroll down to the first incidence of each character in the sequence entered.If a character is not found in the position typed, the list will scroll to the bottom. To Search for an item by a word or character string anywhere in the Description, click on Description, click on the Left button next to the Search by Description window (changes to Random). Enter the search word or characters in the window. Hit return and the first match in the list will be highlighted. Click on the window and hit return to highlight the next match in the summary list. After the last match or if a match is not found, the last item in the summary list will be highlighted. To visually search the summary list, use the scroll bar or arrows to the right of the list.The Source (Buy, Make or Phantom) and total On Hand quantity is displayed in the last two columns. For further Details on any item in the Actions main body list, highlight the item by a search or mouse click and select the appropriate Tab to display the desired detail information. To display changes made in other windows or by other users while this window is open, repeat the Material Requirements Find and refresh the screen data. FILTERS:
Main Body
Material Requirements Planning Action List in Stock Units Of Measure: The information listed in this section pertains to the highlighted part number in the main body above. To see the list for another part number, highlight the part number in the main body.
Note: Dates are calculated with the Production Calendar
Defines the Material Requirements Planning action to be taken for the highlighted part. There are several different actions that will appear depending on the part. For example if the Part is a Make/Phantom part and the action originates from a higher level assembly for the Phantom, MRP will display "PHANTOM" in this section and that will indicate to the user that there are no actions required but is listed so users can investigate where component actions are originating from. If the Make/Phantom is required directly for an order itself, it will now follow the same WO action rules as a regular Make Product would. The projected balance of inventory for the part selected. MRP will display the stock qty UOM. Displays the new quantity that the action requires. MRP will instruct you to Purchase the Stock qty UOM, not the Purchase UOM. The PO Module will display the UOM conversion (if applicable). NOTE: When creating a PO for an item with different purchasing and stocking UoMs, be sure to enter the MRP suggestion into the Stocking qty field rather than the purchasing qty field. The system will automatically convert the stocking unit into the purchasing unit for the purchase order qty. For Example: if the item has inches for Stock UoM and Feet for Purchasing UoM, and the MRP demand is 24 , the buyer would enter the qty of 24 into the stocking qty field and the PO would automatically convert it to 2 feet in the purchasing qty field. So the supplier deals in feet, but ManEx deals in inches. The conversion between the two are established in the Unit of Measure & Conversion module. Displays the original (current) date of the existing action. If the action date is earlier than the current date, the number of days late for the action is shown. This is the date by which the action listed must take place. Changing the leadtime of a Buy part will NOT change the due date, only the date to take action. For a Buy part this date is arrived by subtracting the Purchase Lead time from the New Date. For a Make part this date is arrived by subtracting the Kitting and Production Lead times from the New Date which is the Sales Order ship date.
Clicking on the
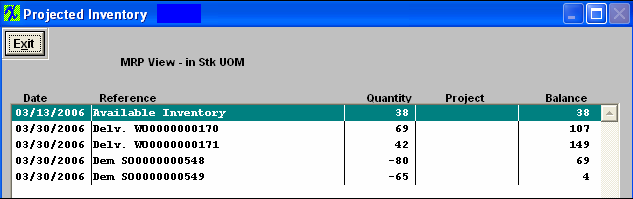
Definition of fields in the Projected Inventory screen:
The projected date of a Materials Requirements Planning action. The Material Requirements Action. The projected balance of inventory for the part selected.
After depressing the Projected inventory button, highlight and double click on a WO, SO, PO, etc. This will bring up another drill down screen as follows which will display the Material Requirements Planning Detail. This screen allows user to Sort, Search, or Drill down to the WO, SO, PO. etc.

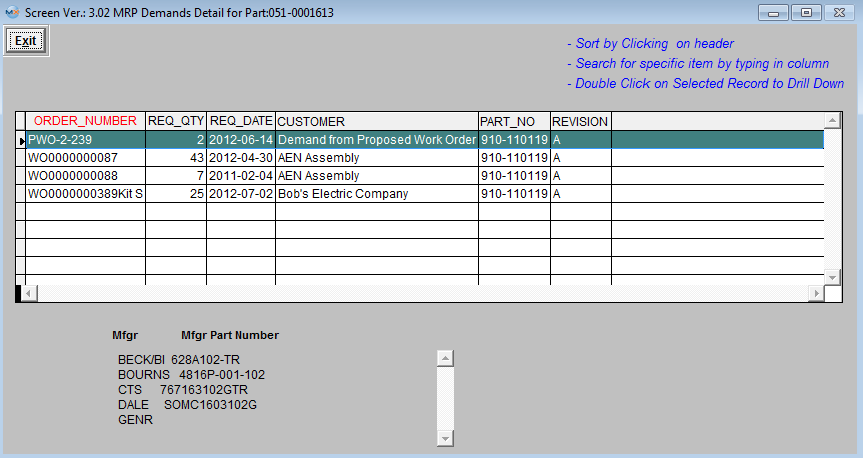
Material Requirements Planning Field Definitions:
This is the assembly part number where the component part number is highlighted. This is the balance for the Work Order Listed.
After highlighting and double clicking on a part number in the main body, the Material Requirements Planning Demands and Approved Vendors List will appeared, as displayed below. This screen will allow users to Sort, Search, or Drill Down to the WO, SO, etc. level.
Material Requirements Planning Demands and Approved Vendor List Field Definitions:
AVL
|
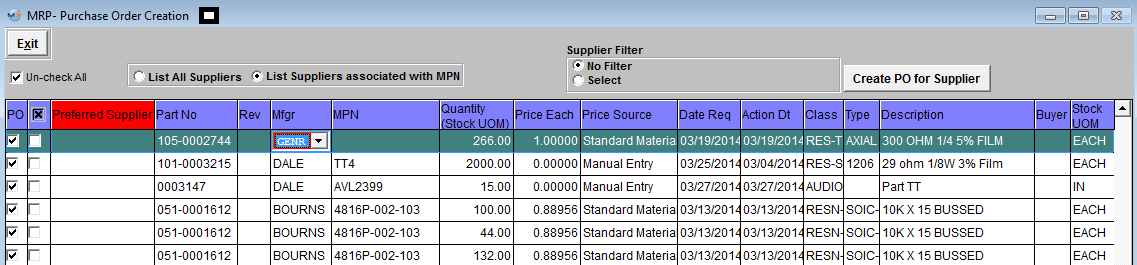
| 1.1.1. Create POs | ||||||||||||||||||||||||||||||||||||||||
|
| 1.1.2. Create WO's |
This portion of the MRP module is not fully completed yet in the current version. It is still a work in progress. While it displays the WO’s for quick reference you will still actually have to go into the WO module to create the WO’s as needed. You can also create WO’s directly in the SO module as well at the time you’re creating the Sales orders. |
| 1.2. Item Master Tab |
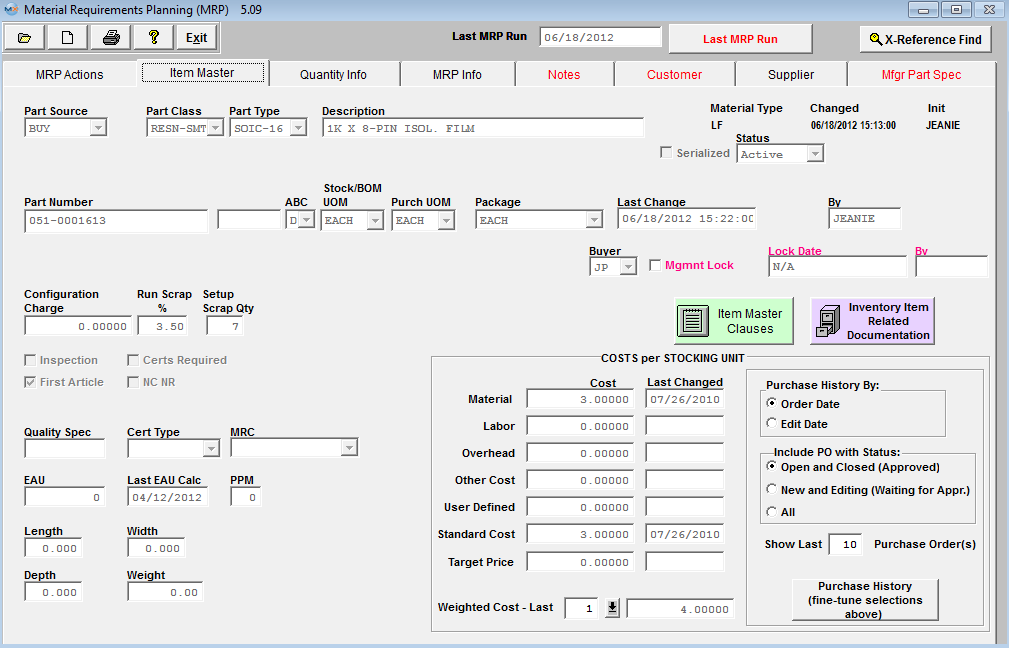
This screen will display details for the item highlighted in the MRP Action tab, which is being defaulted in from the Inventory Control Management module. See Article #4038 for field definitions. These fields may be edited in Inventory Control Management .
|
| 1.3. Quantity Info Tab |
|
This screen will display manufacturer, warehouse and inventory quantities for the item highlighted in the MRP Action tab, which is being defaulted in from the Inventory Control Management module. See Article #4039 for field definitions. These fields may be edited in Inventory Control Management .
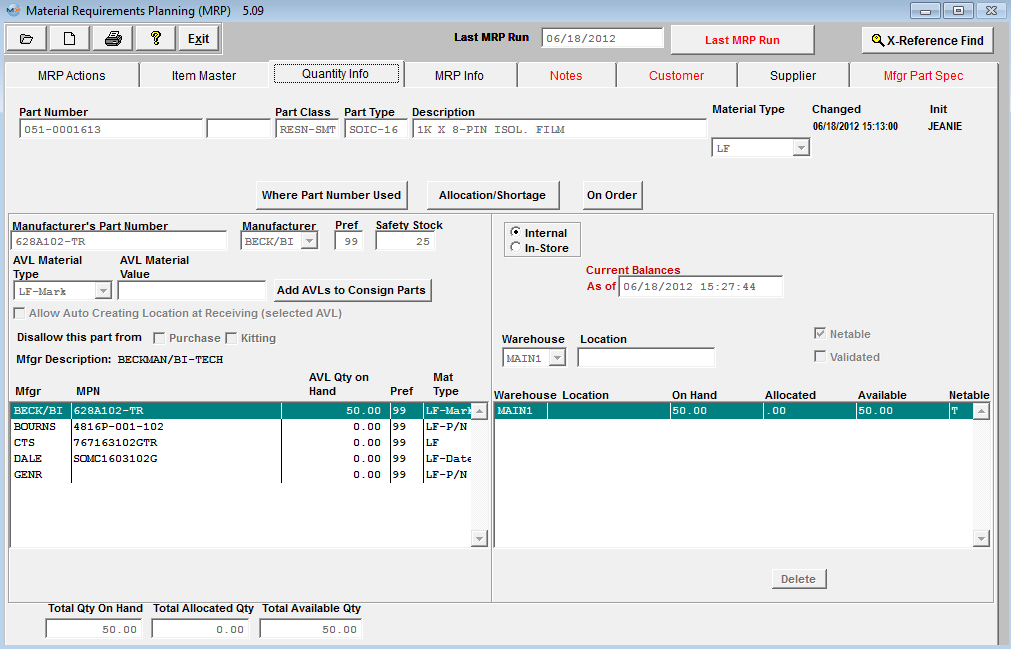
Complete inventory stock, allocation and usage information by Manufacturer is displayed or available at the click of a button. All current inventory information about any selected part can be displayed here. |
| 1.4. MRP Info Tab |
|
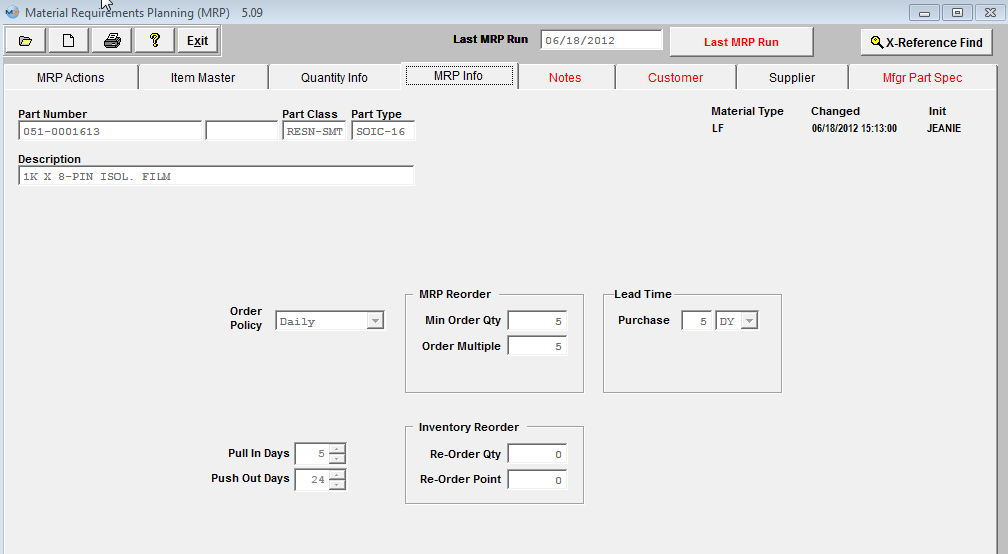
This screen will display MRP parameters for the item highlighted in the MRP Action tab, which is being defaulted in from the Inventory Control Management module. See Article #4040 for field definitions. These fields may be edited in Inventory Control Management .
|
| 1.5. Notes Tab |
|
This screen will display Inventory Notes for the item highlighted in the MRP Action tab, which is being defaulted in from the Inventory Control Management module. See Article #4041 for field definitions. These fields may be edited in Inventory Control Management . 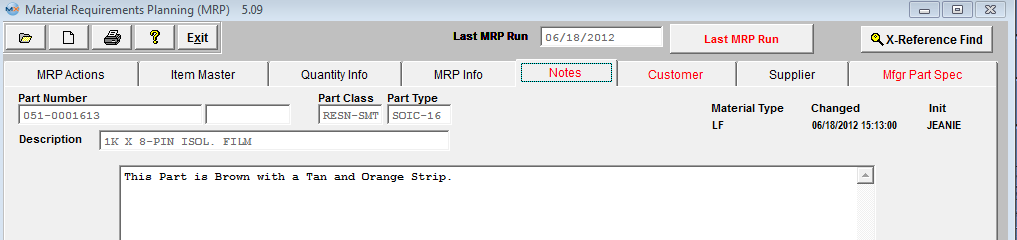 |
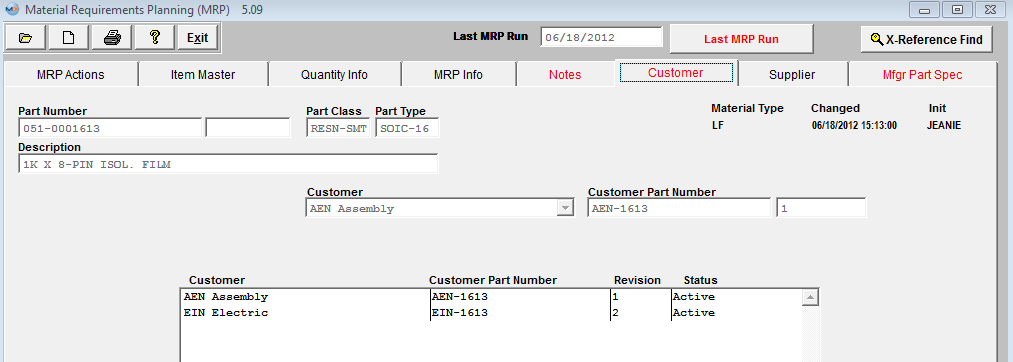
| 1.6. Customer Tab |
|
This screen will display customer part number(s) assigned to the internal part number for the item highlighted in the MRP Action tab, which is being defaulted in from the Inventory Control Management module. See Article #4042 for field definitions. These fields may be edited in Inventory Control Management .
|
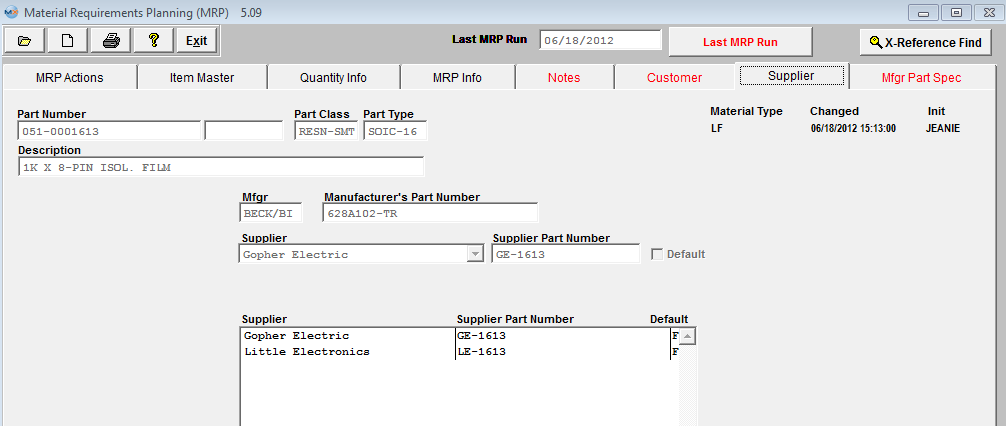
| 1.7. Supplier Tab |
|
This screen will display the name of the Supplier and Supplier's Part Number for the item highlighted in the MRP Action tab, which is being defaulted in from the Inventory Control Management module. See Article #4043 for field definitions. These fields may be edited in Inventory Control Management .
|
| 1.8. Manufacturer Part Spec Tab |
|
This screen will display any drawing, photograph, images, or .pdf files linked to the item highlighted in the MRP Action tab, which is being defaulted in from the Inventory Control Management module. See Article #4044 for field definitions. These fields may be edited in Inventory Control Management .
|