| 1. Supplier Contract Management (OPTIONAL Module) |
|
| 1.1. Prerequisites for Supplier Contract Mgmt | ||||
ManEx’s standard module configuration allows most users to accomplish their daily tasks. For those users wanting to get more from ManEx by leveraging the total solutions, this is one of the optional modules available for purchase. If user purchase's the Optional module -In-Plant Store (IPS) they will also receive the Supplier Contract Management module. These two modules go together. To place an order or to learn more about this specific module or any of the other optional modules please contact us at http://manex.com"contactus.aspx Prerequisites for Entering a Supplier Contract: After activation, "Contract Purchase Management" access for each user must be setup in the ManEx System Security module. Users with “Supervisor Rights” will automatically have access.
Supplier must be added in Supplier Information Part MUST exist in Inventory Control Management |
| 1.2. Introduction for Supplier Contract Mgmt |
Supplier Contract Management is for recording the contract with the supplier for In-Store items.
IPS inventory is received via Inventory Handling or IPS Upload. The IPS module is to keep inventory as Supplier owned but is recognized as being available for consumption by MRP and kitting. When it is consumed by kitting or transfer, a Purchase Order is automatically generated to reimburse the Supplier for the material.
There are three uses for the IPS module: supplier owned but stored on-site, customer owned and stored on-site, and internally owned but obsolete parts that the user does not want to affect the books. In any of these situations a supplier must be established (this means that the customer must also be a supplier and the user must be a supplier if they have obsolete inventory in the IPS location).
· Add the Supplier in the Supplier Information Module. · Set up an In-Store Warehouse and the applicable G/L number in System Setup/Warehouse Setup module. · Add the in-stores item into the Item Master in the Inventory Control Mgmt module and create an In-Store Warehouse. · Move the materials into the warehouse using the Inventory Handling module. · Add the In-Store Contract in the Supplier Contract Mgmt module. · Pull a kit (only a kit shortage gets a P.O.) within the Kitting & Shortage Mgmt module. · Add a Purchase Order and select In-Stores within the PO Mgmt module. |
| 1.3. Fields & Definitions for Supplier Contract Mgmt |
| 1.3.1. Supplier & Contract Part List Tab | ||||||||||||||||||||||||||||||
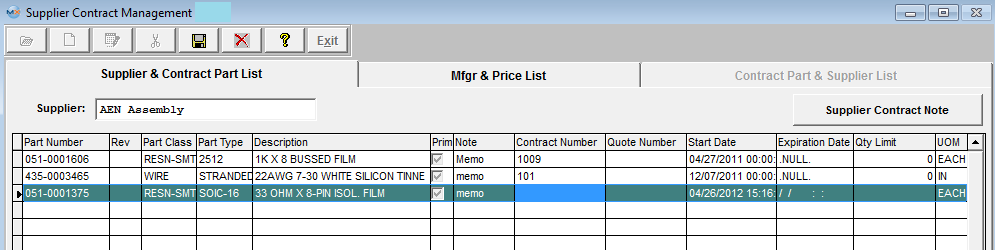 Supplier & Contract Part List Field Definitions
|

| 1.3.2. Manufacturer & Price List Tab | ||||||||||||||||||||||
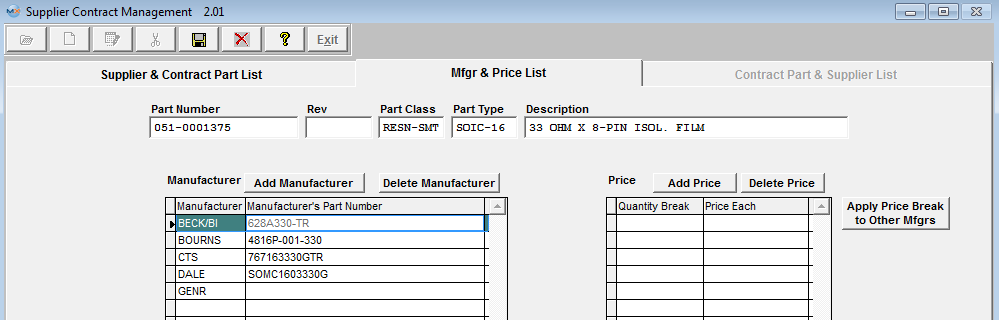 Manufacturer & Price List Tab Field Definitions For the Part Number highlighted in the Supplier & Contract Part List tab:
The number the user has assigned to the part. The revision number applicable to the part Number. The classification to which the part is assigned. The type within the classification to which the part is assigned. The description of the part. Manufacturer:
The name of the manufacturer. The number the manufacturer has assigned to the part. Price:
|
| 1.3.3. Contract Part & Supplier List Tab | ||||||||||||
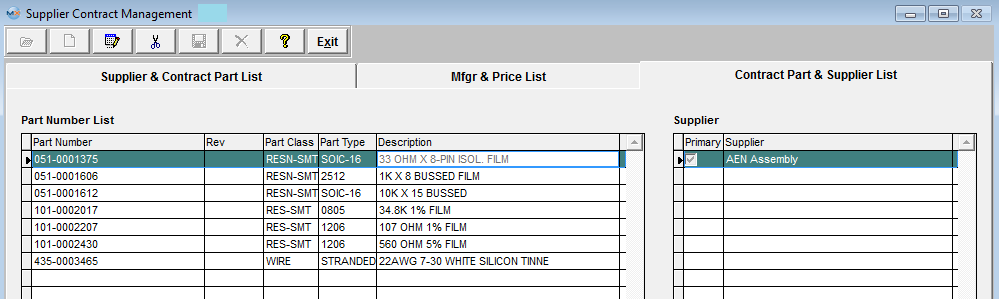 Contract Part & Supplier List Tab Field Definitions Part Number List:
The number the user has assigned to the part. The revision number applicable to the part Number. The classification to which the part is assigned. The type within the classification to which the part is assigned. If the user has the multi-plant version, the division number will display here. Supplier: For the part highlighted on the left, the Supplier(s) of that part will display. The primary or “First Choice” supplier will have a check mark in the Prim column, as illustrated above. |
| 1.4. How To .... for Supplier Contract Mgmt |
| 1.4.1. Find an In-Store Supplier Contract | ||||||||
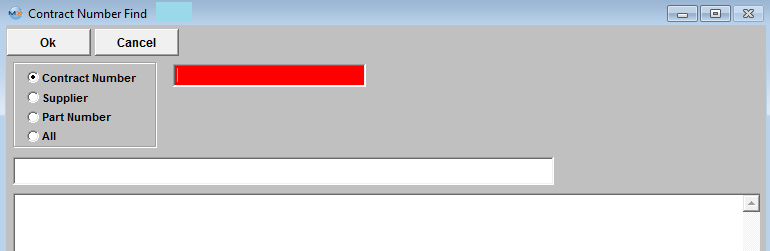
|
The following screen will appear:
To find an existing contract, depress the Find action button.
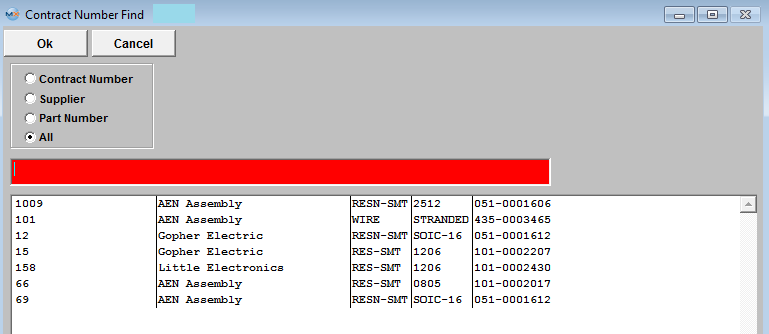
After the Find selection is completed, all the Contracts for the Selected Supplier are displayed on screen. 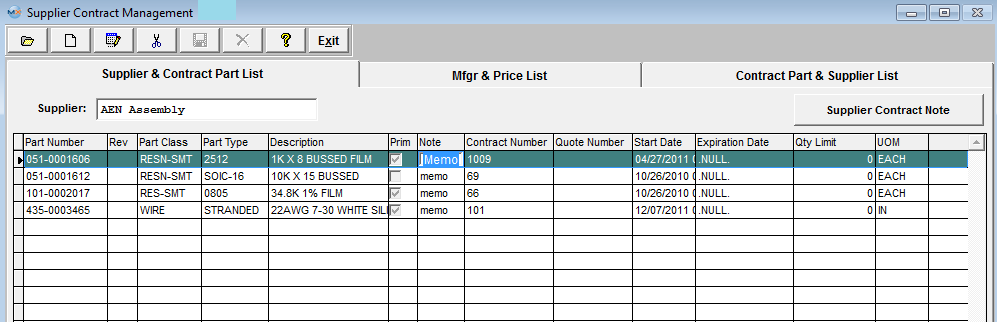
|

| 1.4.2. Add a New In-Store Supplier Contract | ||||||||||||||||||
|
The following screen will be displayed:
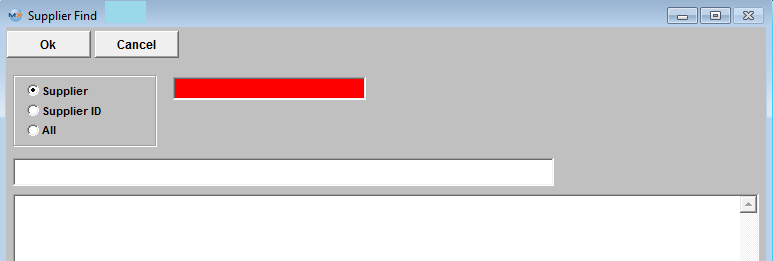
To add a new In-Store Supplier Contract, depress the Add action button while in the Supplier & Part List tab.
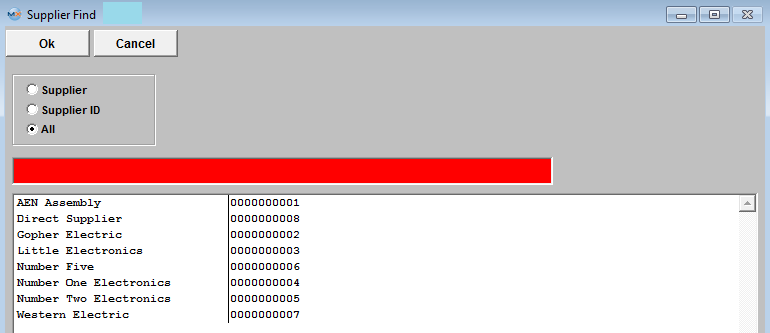
If you select All, the selection screen to the right will appear: Enter the Supplier or Supplier ID into the red box or highlight and double click. Once the Supplier is selected, a list of parts will appear:
If you want to add a note regarding the supplier contract, depress the Supplier Contract Note button. Depress the Edit button. Enter in the note. Depress the Save button. Depress the Exit button. If you want to add a note regarding the Part Number, click on the Note column. Depress the Edit button. Enter in the note. Depress the Save button. Depress the Exit button. Enter in a Contract number, a Supplier’s Quote number, and a start date for the contract. Today’s date will default, but you can override it. Enter in an expiration date. Enter in a quantity limit (the highest quantity which can be purchased). Depress the Manufacturer & Price list tab. The following screen will appear:
Note that the Manufacturer and Manufacturer’s Part Number per the Inventory Master have populated the left hand of the screen.
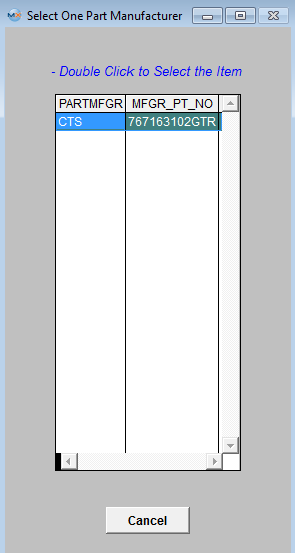
To apply Price Breaks to other Mfgr, user has the option to apply them individually or deperss this button If user elects to Depress the "Apply Price Break to Other Mfgrs" the following screen will appear:
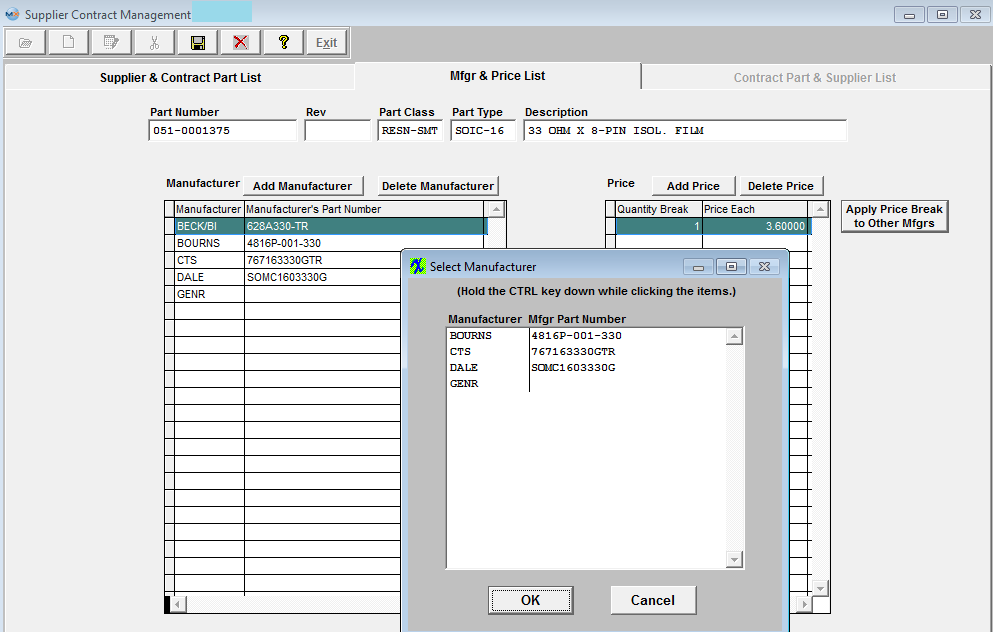 Select the Mfgr(s) and depress OK to continue or Cancel to abort screen.
Depress the Save record action button.
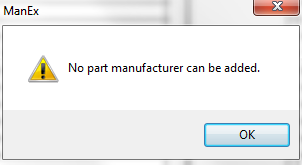
NOTE: Users MUST enter Qauntity Break and Price Each for every manufacturer listed or they will receive the following message and will unable to Save the record until ALL Quantities and Pricing breaks have been entered for the part highlighted. 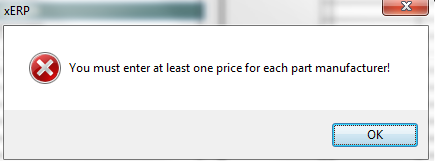 Depress the Contract Part & Supplier List tab: Note that the Part Number you selected in the Supplier & Contract Part List tab is listed in the Part Number list. Highlight that Part Number. The primary supplier for that part will display, as illustrated above. |

| 1.4.3. Edit an In-Store Supplier Contract |
Find the Supplier contract you wish to Edit. Depress the Edit action button. Type in the password. You’ll be able to add a Contract Note, change the Contract Number, Quote Number, Start Date, Expiration Date, Quantity Limit, Quantity Break and Price Each. Depress the Save action button to save your changes, or depress the Abandon changes button to abandon changes. |