| 1. Inventory Allocation |
| 1.1. Prerequisites for Inventory Allocation |
| Prerequisites Required for Entering a New Work Order Allocation:
After activation, "Kitting & Shortage Management" access for each user must be setup in the ManEx System Security module. Users with “Supervisor Rights” will automatically have access. A Work Order must exist and be released. |
| 1.2. Introduction for Inventory Allocation |
|
Inventory Allocation is used to allocate (reserve) quantities of existing items in stock or future Purchase Order deliveries to a Work Order or Project. This allocation prevents issuing the quantity reserved to any other use except the Work Order or Project specified. The allocation of existing inventory may be removed by un-allocation. Purchase Order Line Item allocations may be removed prior to receipt of the parts by editing the Purchase Order. After receipt of parts allocated by Purchase Order, the allocation may only be removed after the parts are in stock. The Inventory Allocation module is designed to Add or Change an allocation of a particular part for a specific work order or Project. In essence, this feature will “reserve” the quantity specified for a particular Work Order or Project. The user may find an existing allocation or add a new one. Also, the user may delete an existing allocation, thus freeing the quantity up for other Work Orders or Projects. User cannot allocate from WO-WIP locations. If we were to allow you to allocate parts from WO-WIP to a different work order, you would be unable to close the original work order. If you want to allocate parts that are in WO-WIP, you will need to return the parts to the store room, then allocate. |
| 1.3. Fields & Definitions for Inventory Allocation |
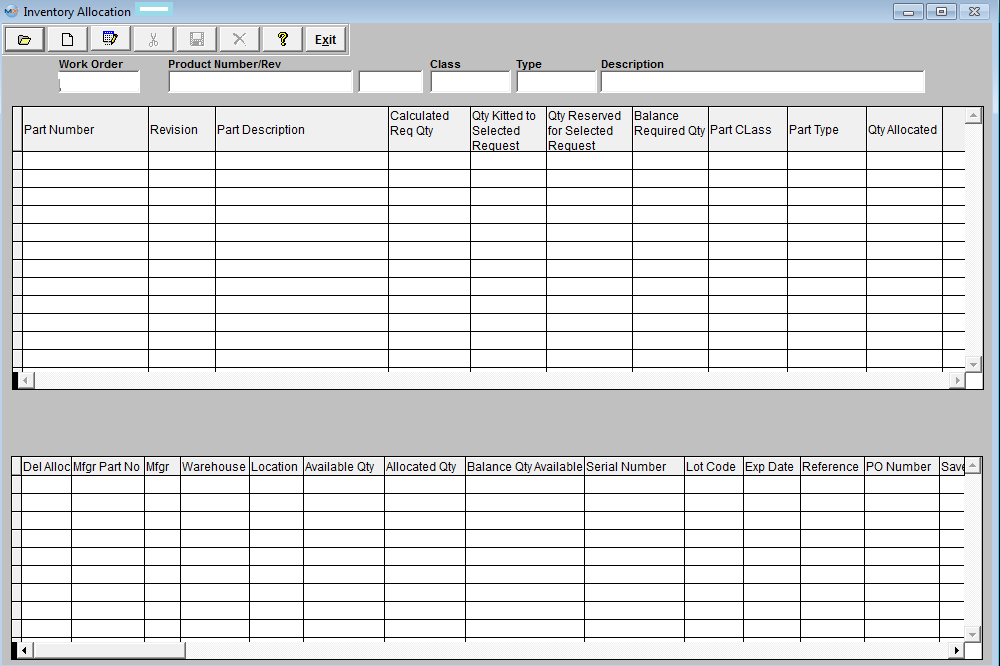
| 1.3.1. Inventory Allocation Screen | ||||||||||||||||||||||||||||||||||||||||||||||||||||||||||||
|
| 1.4. How To ..... for Inventory Allocation |
| 1.4.1. Find an Inventory Allocation | ||||||
The following screen will be displayed:  Find an Inventory Allocation
Depress the Find button . The following selection will be presented:
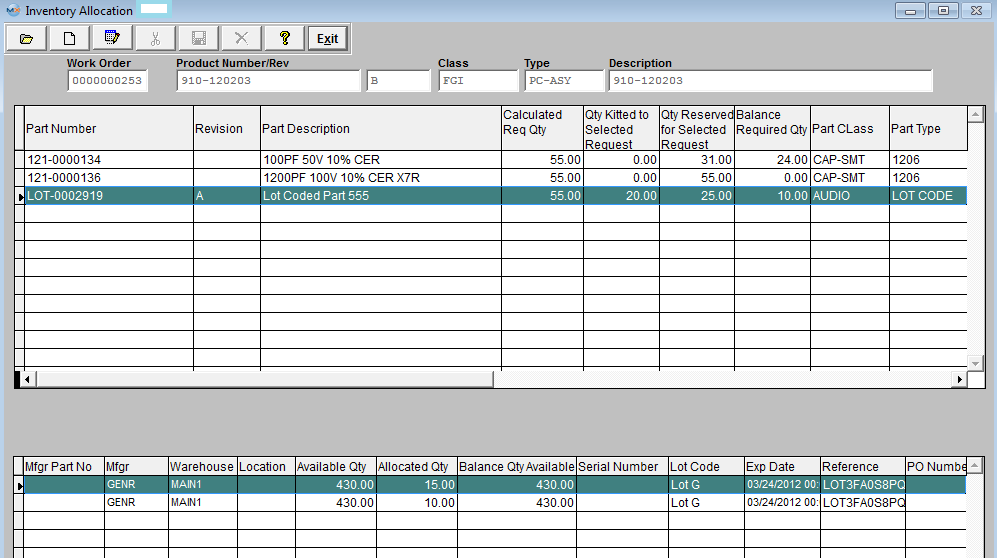
For the selections entered into the find criteria screen, the allocations will display in the bottom of the screen for the highlight part number.
|
| 1.4.2. Add a New Inventory Allocation | ||||||
|
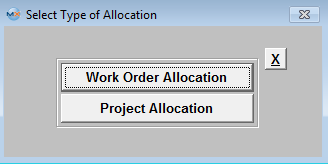
The following screen will be displayed:
After entering a password, the following screen will appear when selecting "Work Order Allocation (a similar screen will appear if you select "Project Allocation"): 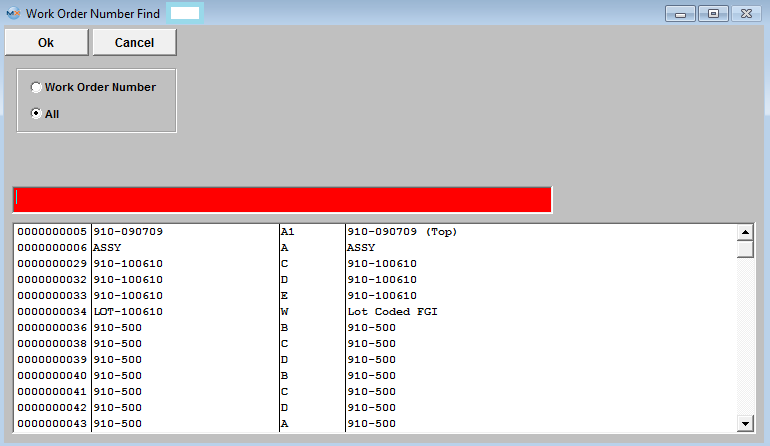 Select the Desired Work Order and the following prompt will appear: 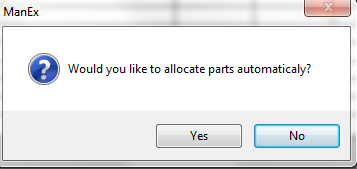 If you select “YES” then all available inventory will be allocated automatically to the selected work order. Edit any quantities allocated by selecting the Part Number (highlighted) in the upper screen table and changing the Alloc Qty for the desired manufacturer in the lower part of the screen. Save after all allocation editing has been completed. If you select “NO” then the system will list out all parts used within the Work order (per BOM) and require the users to go through and manually allocate inventory to each desired part.
Particulars regarding that Work Order will populate the screen as displayed below:
Highlight the desired part number you want to allocate. Only Approved AVL information for that particular part will populate the lower portion of the screen.
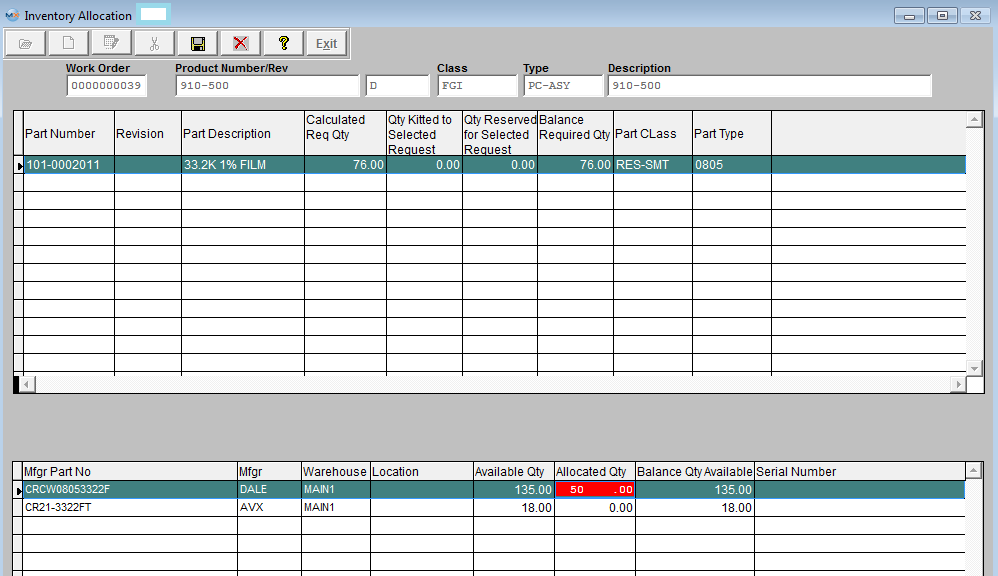 Note: The Inventory Master should have automatically updated, and will now display the amount allocated (“reserved”).  |
| 1.4.3. Change the Allocation Quantity |
Find a Record  Depress the Edit button, highlight the desired part and modify the Allocated Qty in the lower grid 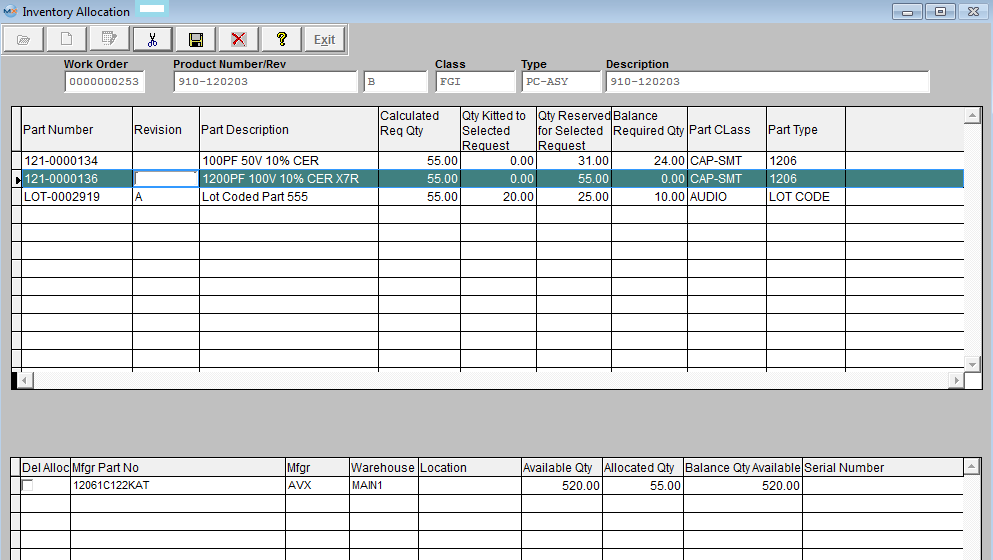 Depress the Save record action button. 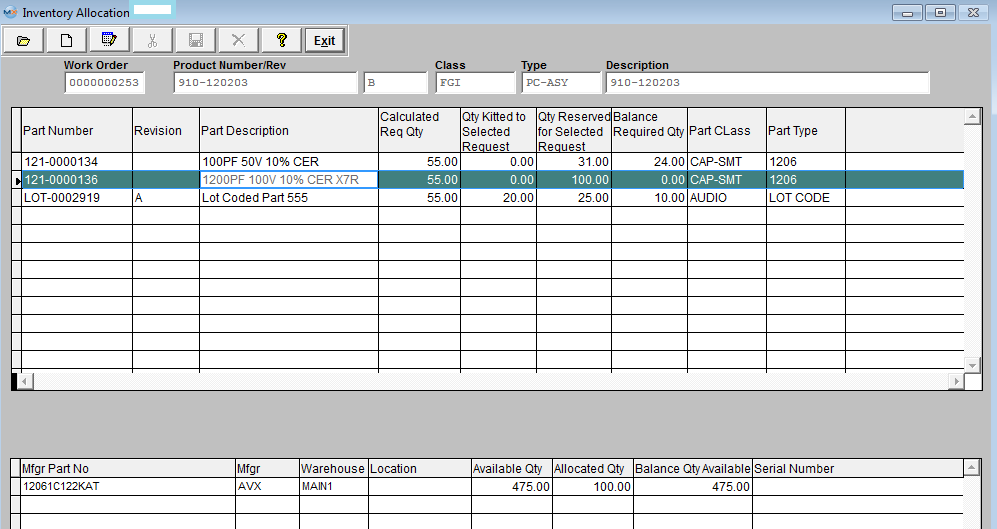 The program will unallocate all original qty and allocate the new quantity again. This will create two records in the Inventory Transaction report
|
| 1.4.4. Un-Allocate an Allocation |
|
Find a record
 Depress the Edit button and enter password. To Un-allocate an allocation, thus freeing up the amount allocated to a Work Order or Project, user then must depress the Delete/Unallocate button: 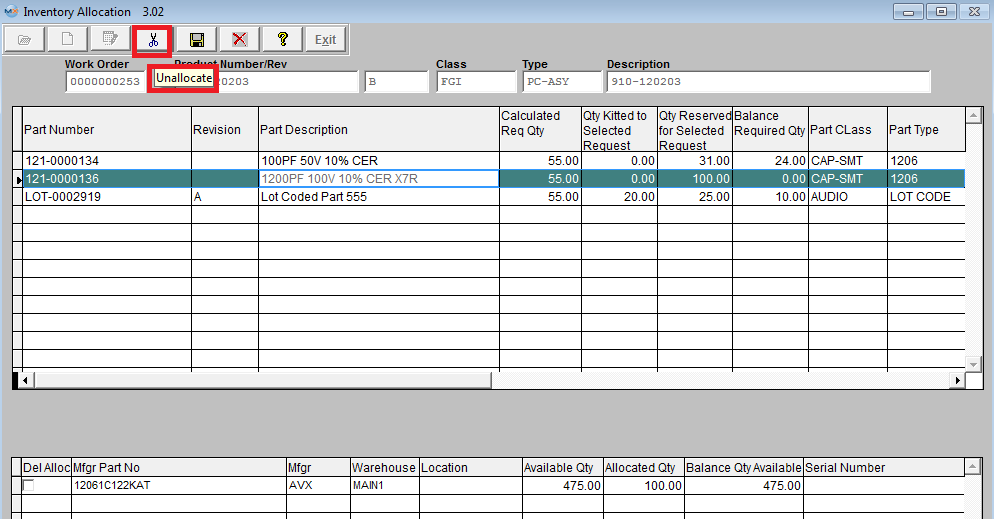 User will then be prompt for a password, after entering a password the following prompt will be displayed (which is defaulted to "No") giving the user the option to un-allocate parts automatically: 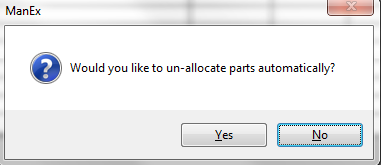 Selecting "No" will allow user to select which items to un-allocate Selecting "Yes' will unallocate all items on screen automatically Highlight the desired part number and then Check mark which items you wish to un-allocate. 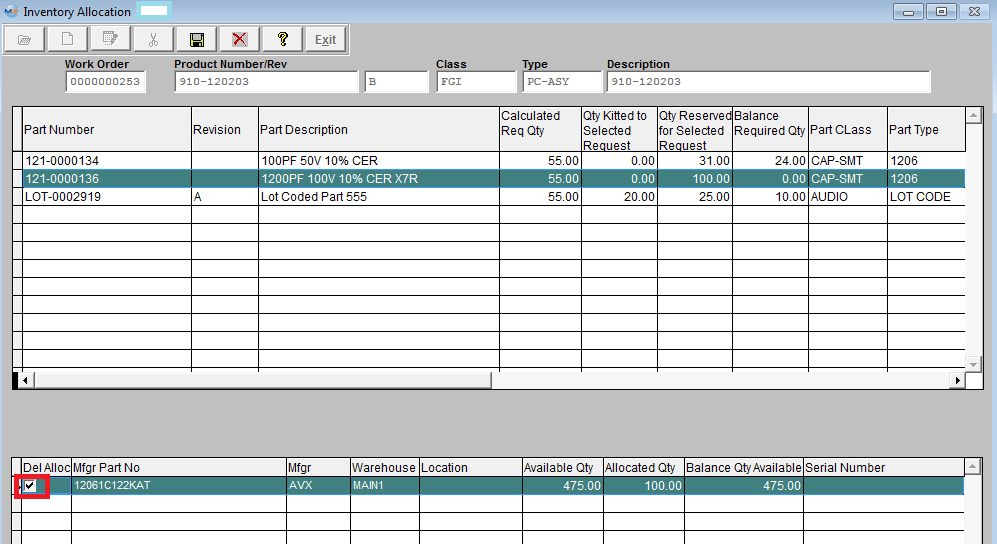 Depress the Save record action button and any marked item should now be unallocated and be considered available inventory. Note: For reports on Allocated Inventory, please refer to the ICM reports
|
