| SQC - Setup an SQC Template | ||||||||||||||||||||||||||||||
Enter the SQLMANEX.EXE (within the ManEx root directory) The following screen will be displayed, select Quality/Engineering/Statistical Quality Control (SQC) Module The following screen will be displayed:
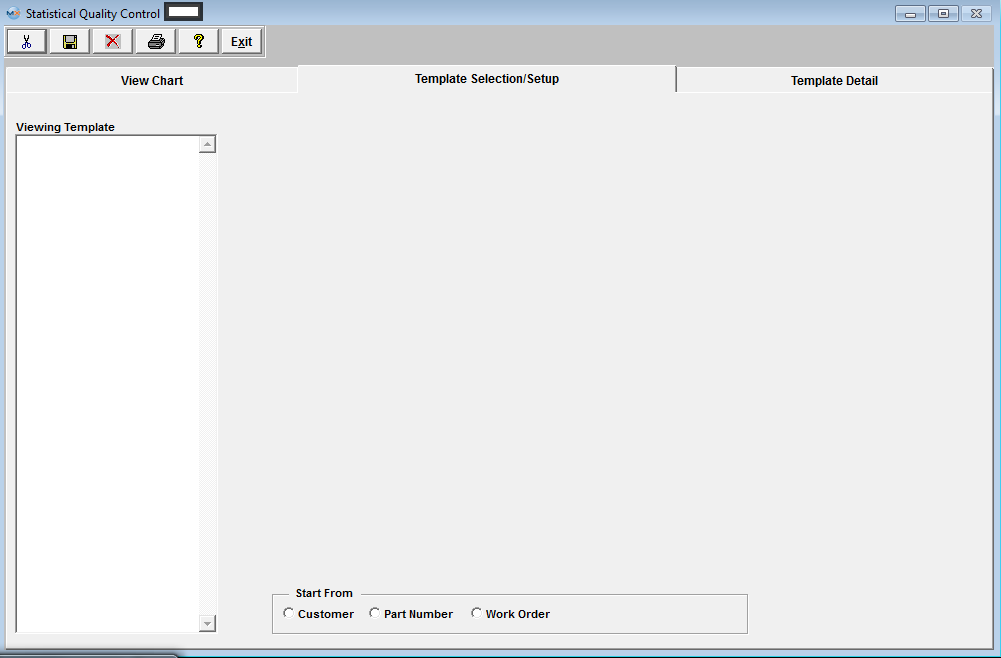
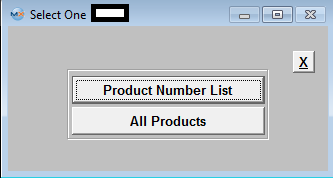
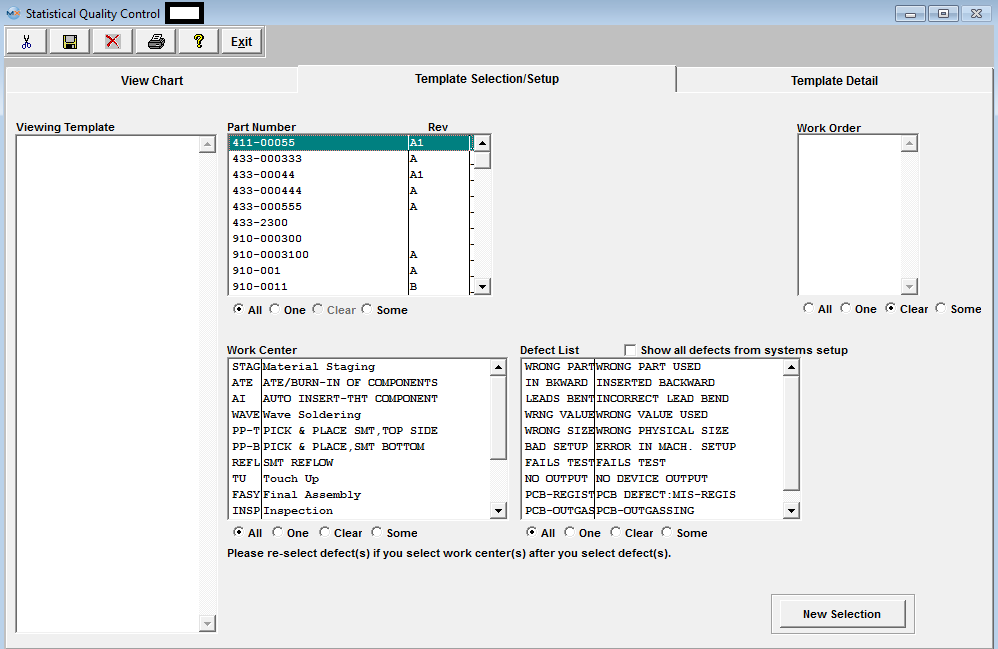
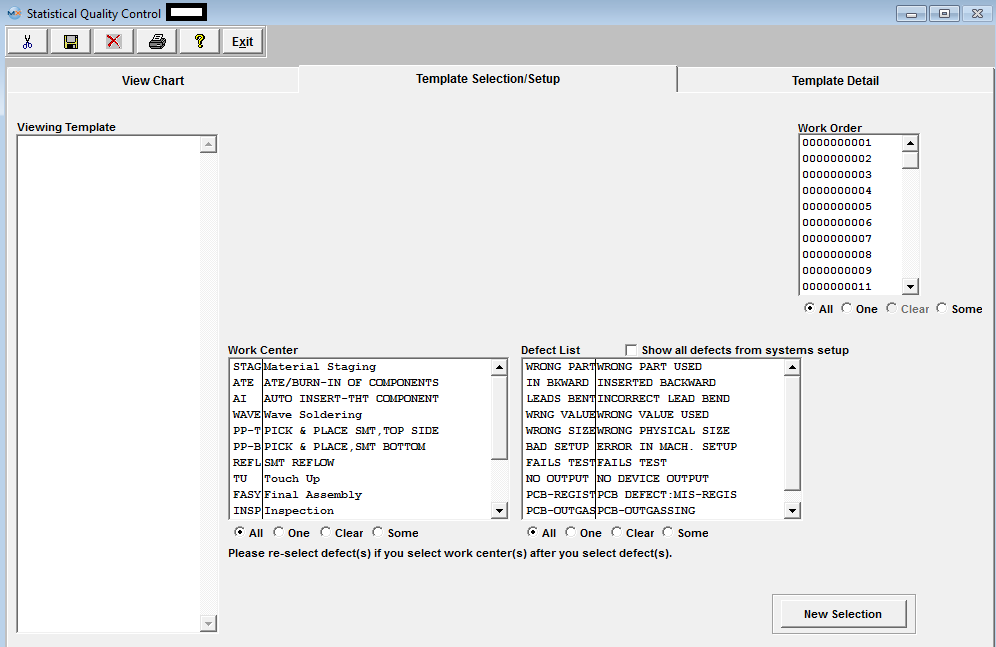
Template Selection Setup This is the first screen to be used in the module. In this screen, STATISTICAL QUALITY CONTROL graphics are created by selecting parameters to be considered in the graph. This screen operates differently than all other ManEx screens. When bringing up the SQC module, the user is first presented with a template screen from which to choose parameters to be included in the information displayed. When the user enters the system, he/she may select how they want to start the process of selection. Click on the Customer, Part Number or Work Order radial.
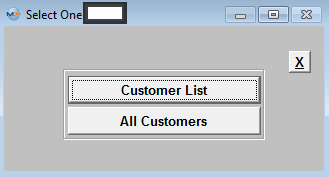
Clicking on the Customer radial will bring up the following selection screen:
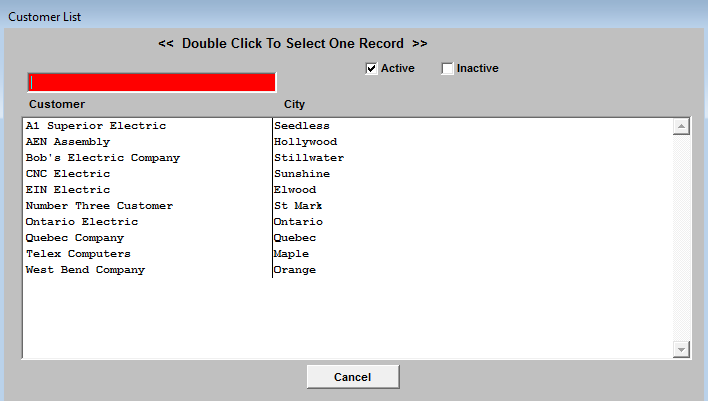
Selecting by Customer List will bring up the following selection screen: Type the Customer into the red box or highlight and double click.
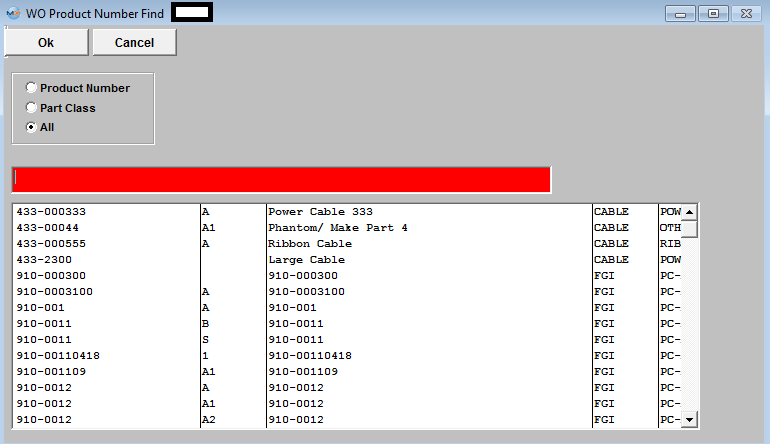
If the user selects Product Number List, the following list will appear: Type the Part Number into the red box or highlight and double click.
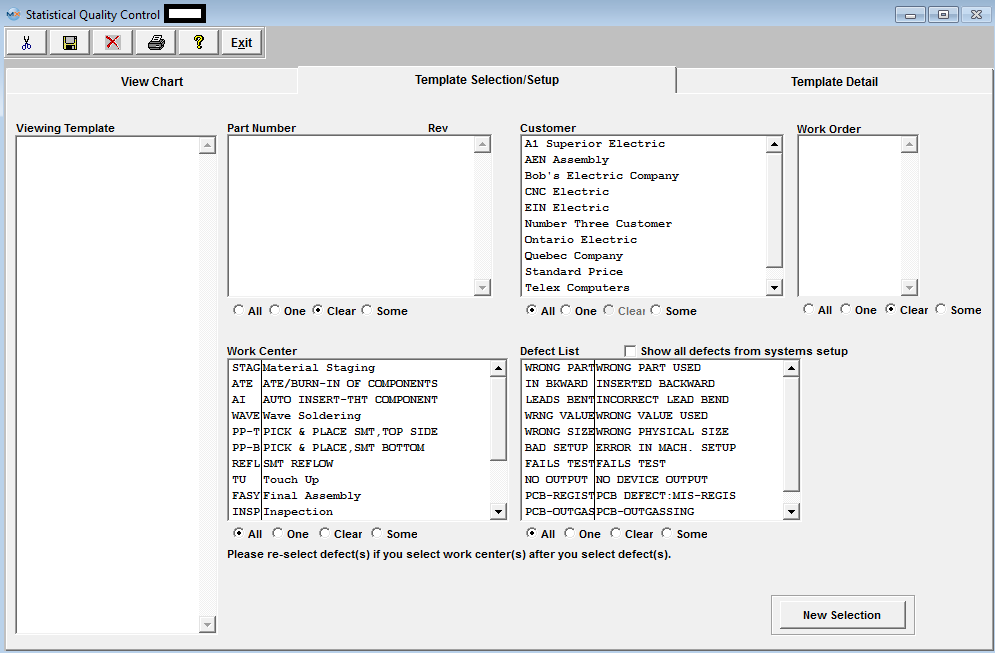
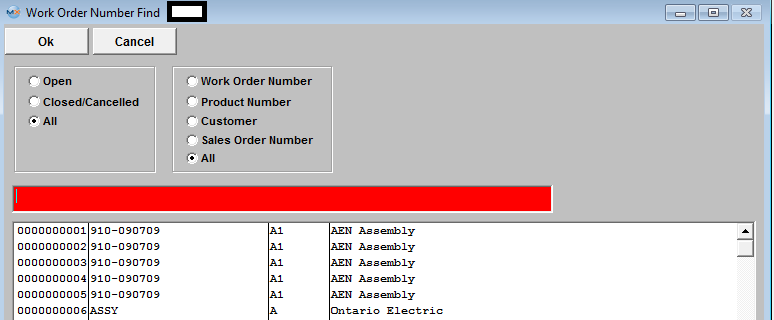
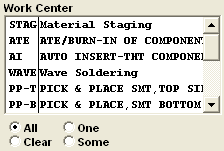
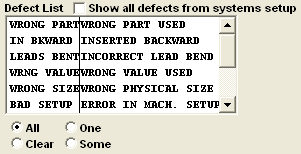
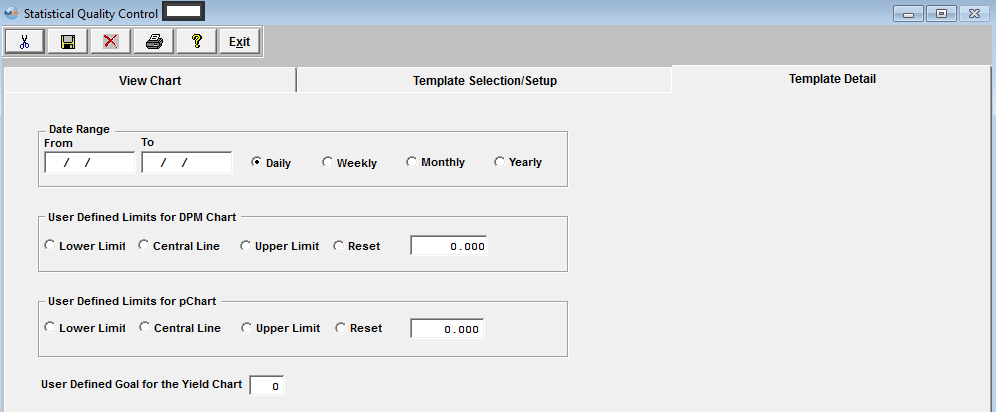
In the Work Order section, choose from All, One or Some. If you’ve selected one, highlight the desired work order. If you want more than one, depress the Ctrl key and click on the ones desired. In the Work Center section, choose from All, One or Some. If you’ve selected one, highlight the desired work center. If you want more than one, depress the Ctrl key and click on the ones desired. Make the same selection in the Defect List section. If you want all defects displaying as per the System Setup, check the Defect List box. To make a new selection, depress the New Selection button. Template Detail Screen Pressing on the Template Detail tab brings up the following screen:
Enter the Date Range, From and To. Mark the Radial for the view by Daily, Weekly, Monthly, or Yearly. Mark the radial for the User Defined Limits for DPMO chart: Lower Limit, Central Line, Upper Limit or Reset. Indicate Central Line amount in box. Mark the radial for the User Defined Limits for pChart: Lower Limit, Central Line, Upper Limit or Reset. Indicate Central Line amount in box. Indicate the user defined goal for the Yield Chart.
To Save this template for future use go back to the Template Selection/Setup tab enter in a name and depress the Save button. The Template will be saved in the Viewing Template field for future use.

|

