| 1. Security System |
| 1.1. Prerequisites for Security System |
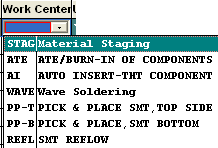
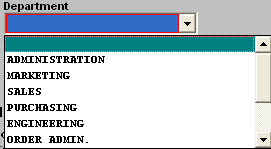
The Department Names (ManEx, Sales, Administrative Departments) and Work Centers (ManEx, Production, Production Work Centers & Activities) must have been entered prior to using this module.
To allow access to ManEx System, the attached worksheet has been provided for you to complete. When ManEx is first installed at your facility, user access security database tables are empty, except for the original ManEx password. If you need assistance in obtaining this master password, please email support@manex.com.
The attached worksheet will help you to organize the information that needs to be entered at a Security Manager level (i.e. ManEx system administrator) to populate the necessary security tables before ManEx is ready to be used. Note: Make sure that once a password is issued, the System Administrator records and maintains these passwords in a secure location. There is NO way to view a password in ManEx. All information relating to the actual passwords is encrypted and even the ManEx Systems cannot determine a password once it has been entered into the system. So, it is very highly recommended that the System Administrator record and maintain the passwords in a secure location.
Once the attached Security Worksheet has been completed Mark as Completed in RoadMap Section A Item 6.
|
| 1.2. Introduction for Security System |
This section covers the security setups to be used in all ManEx modules, excluding the Accounting modules. The security setup for the Accounting modules are done in the Accounts Access Level module.
The Security System Setup consists of setting up employees’ access capability. This information is used by the system as part of the security features within the ManEx program. With proper design, the administrator can secure individual modules as well as reports within those modules. Initially, when setting up new users, they will NOT have the ability to access any section of the program unless they are assigned rights or given supervisor access. If a user is given supervisor access, the rights tab is not available. In effect, a supervisor has full rights for the entire system, except for the accounting modules unless granted by and only by the Accounting System Supervisor. The same person cannot be both a Supervisor and an Accounting Supervisor. The reason for this is if the controller of a business is paranoid about who sees accounting, they can monitor the access of the ManEx System Supervisor, and to whom the Accounting Supervisor privileges have been granted. A Supervisor cannot assign someone to be an Accounting Security Supervisor and cannot assign rights to any accounting screens. When modules are added to the initial system installation, you will need to give access to each of the users for the newly added modules or the modules will appear to be not installed or disabled.
Any individual user granted access to both areas (Accounting and Production) will have the same login screen, and will be able to open screens for both areas simultaneously without having to open a new ManEx License. When ManEx is first installed at your facility, user access security database tables are empty, except for the original ManEx password. If you need assistance in obtaining this master password, please email support@manex.com. In ManEx, a user name and password is assigned to each user of the system. Whenever a user wishes to enter the ManEx program, they do so by clicking on the appropriate ICON and entering their password. The password they use at this point determines which modules are available to the individual user. Access to any ManEx module is granted only as defined in this module. An individual user may be able to view a module or not. If they can view it, they may be granted access to changes, updating, deleting, and/or creating new records.
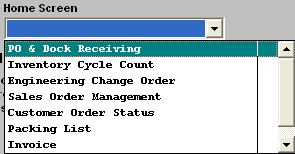
Regardless of the access granted to the individual user signing on to ManEx, whenever a change in data is being entered (add a record, edit or delete a record), ManEx again asks for the user’s password. The purpose of password verification at this point is to ensure that whoever is using the system has access to the changes in the module. For example, user Jane may have signed onto ManEx, but has left her work area for a time, and user Joe wants to change some data. Joe must have the correct access for the changes he wishes to make, and it is his initials that are recorded on the transaction, not Jane’s. However, the system will not log Jane out and log Joe in, Joe may be logged into a different system but it will NOT require Joe to log out of that system before changing data (add a record, edit or delete a record), in Jane's system, but, only the modules accessible to Jane will be displayed. If Joe has access to other modules through his password that Jane doesn't, then Joe will have to exit ManEx and sign on again. There are additional options available on some line items. For example, users who will be using ManEx to move material or transactions from the same location may have that department identified with their password. As an example, this may be useful when the user is moving material in the Shop Floor Tracking module from one department to another. If the user’s department name has been entered in the security section, then the Shop Floor Tracking module will default to that department as the department issuing the transaction. The user can change the department if necessary but is saved the step of constantly entering the same department for each transaction. For details regarding the Additional Options, please refer to the Options section. Also, a “Home Screen” can be assigned to a specific user so that the preferred module will open once the user types in his/her password. Please take time to think about how you want to use these passwords for maximum protection of your ManEx database. Some sample data is provided with this setup as a guideline. |
| 1.3. Fields & Definitions for Security System |
| 1.3.1. Users | ||||||||||||||||||||||||||||||||||||||
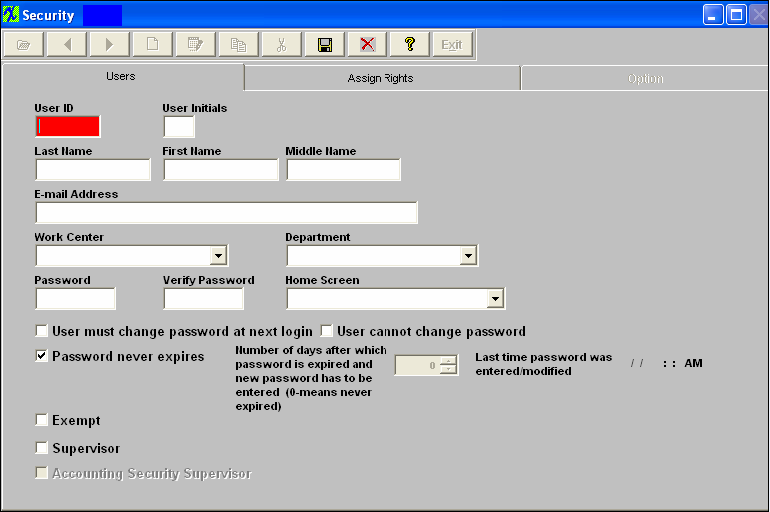
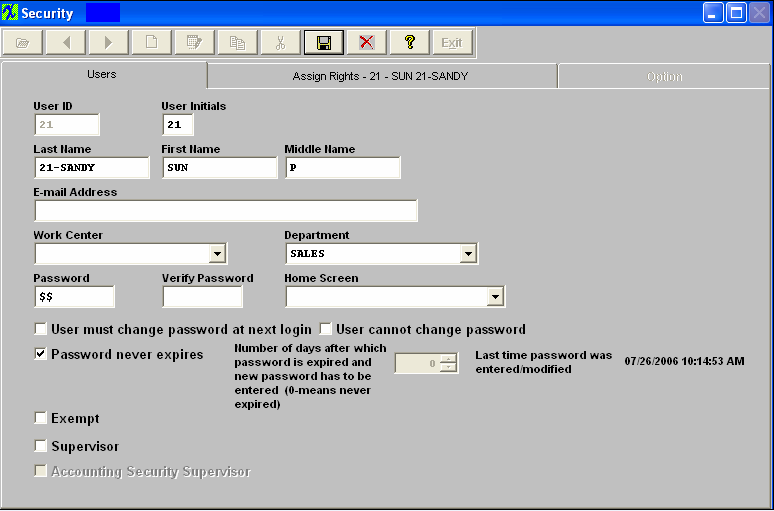
Description of fields:
The module list settings will be set at no access by default when assigning a new person to the password system. This default setting can be changed to give user access rights as indicated above. We strongly suggest that the system manager have two passwords and access rights just in case the supervisor is locked out of one password. Then there is an alternate way to log in and manually log out your other password.
Note: There is NO way to view a password in ManEx. All information relating to the actual passwords is encrypted and even ManEx System cannot determine a password once it has been entered into the system. So, it is recommended that the System Administrator record and maintain the passwords in a secure location, as odds are nearly 100% that ueach user will forget their password, sooner or later.
There are Options available within some of the Security Line Items. |
| 1.3.2. Assign Rights | ||||||||||||||||||||
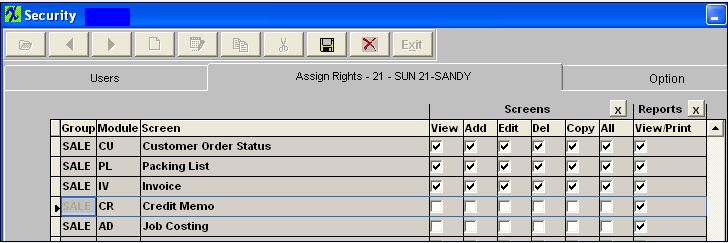
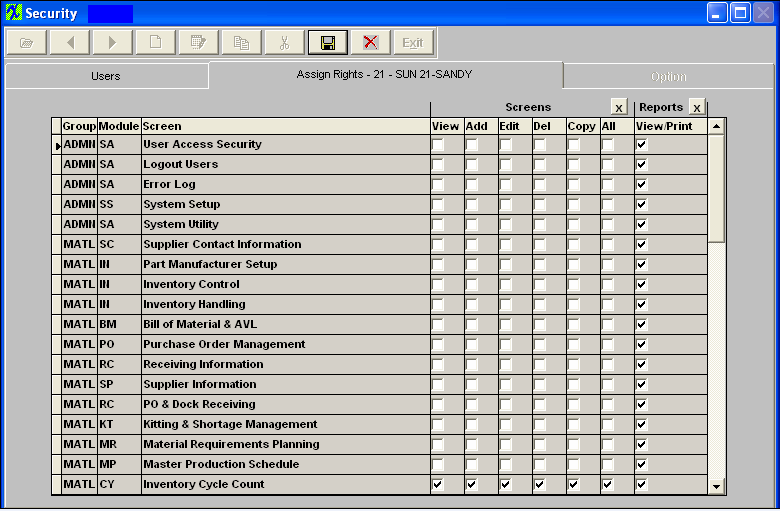 For users who will have full access to all modules, an “X” button at the top of the screen will populate all checks.
Screens
Reports
|
| 1.3.3. Additional Security Options |
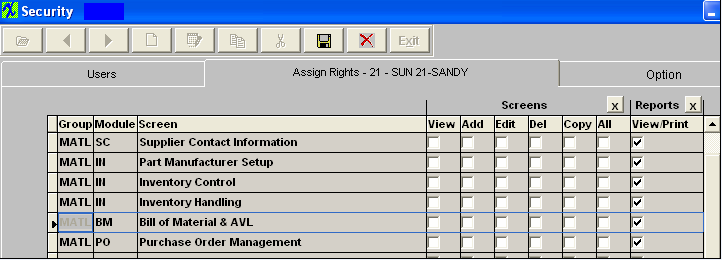
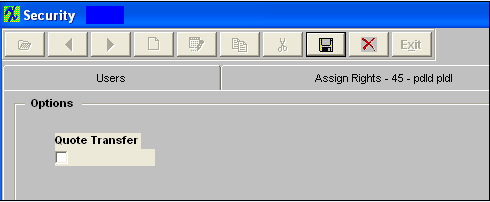
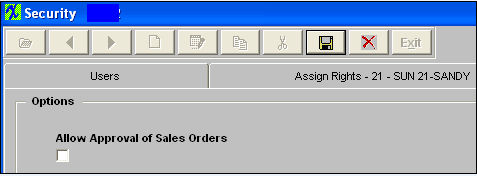
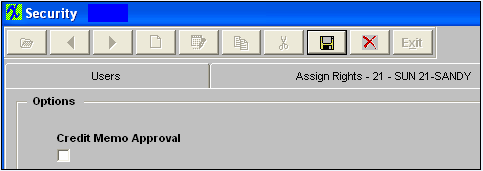
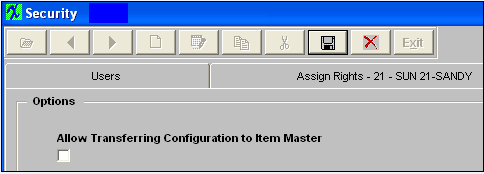
There are additional security options available within some of the line items. Please note that ALL users with a Supervisor’s Password automatically have such rights and that they do not have to be individually assigned. Highlight the Inventory Control line item as illustrated below: 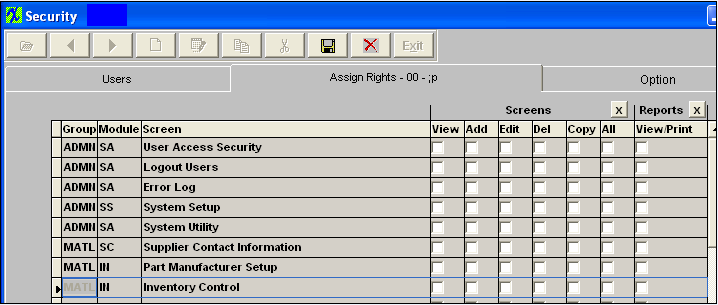 Depress the Options tab and the following screen will appear: 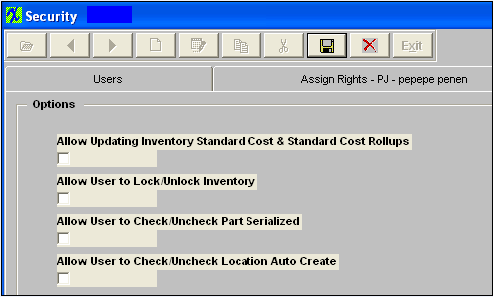 Checking the first box will allow a user to update the Standard Cost fields within the Inventory Control Management module and also within the Standard Cost Adjustment Management module. Checking the second box will allow a user to lock and unlock an inventory part within the Inventory Control module. Checking the third box will allow a user to serialize or un-serialize an inventory part within the Inventory Control module. Checking the fourth box will allow a user to Auto Create a Location for an inventory part within the Inventory Control module. Highlight the Bill of Material & AVL line item as illustrated below:
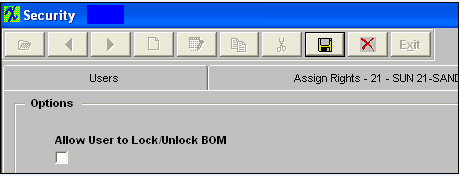
Depress the Options tab and the following screen will appear:
Check this box if you would like to allow this user to Lock or Unlock BOM.
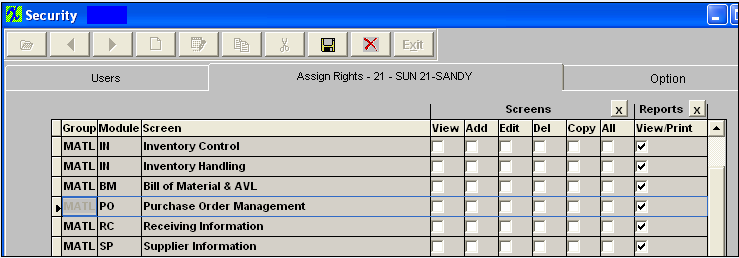
Highlight the Purchase Order Managment line item as illustrated below:
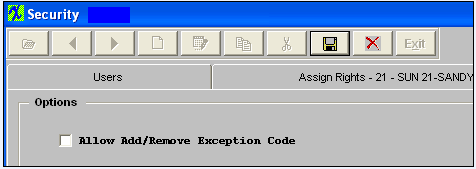
Depress the Options tab and the following screen will appear:
Check this box if you would like to allow this user to Add or Remove the Exception Code from PO.
PO & Dock Receiving Highlight the PO & Dock Receiving line item as illustrated below: 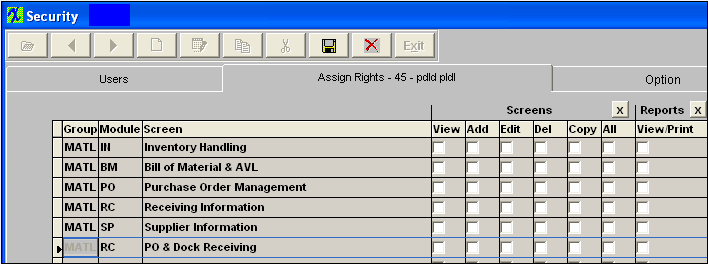 Depress the Options tab and the following screen will appear:
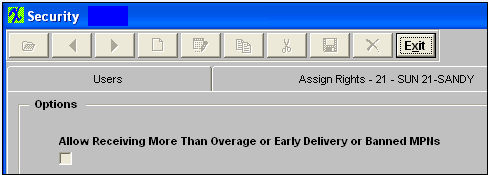
Check the box if you would like to allow this user to override the percentage as entered in the Inventory Control Item Master, override the Early Delivery restriction setup in Purchase Setup and Banned/Blocked MPN's in the PO Receiving Module.
Kitting & Shortage Management
Highlight the Kitting and Shortage line item as illustrated below: 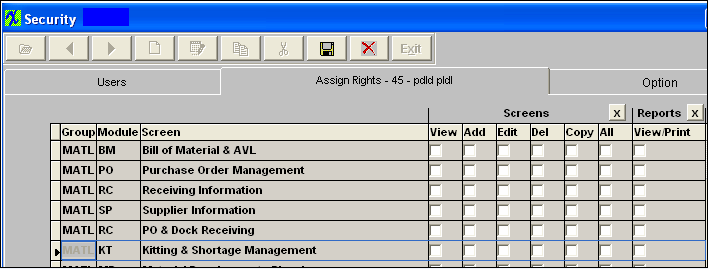 Depress the Options tab and the following screen will appear: 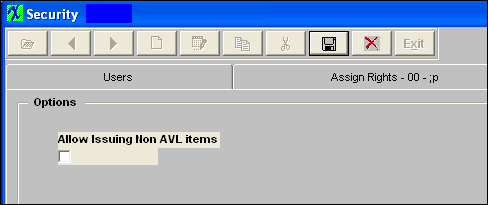 Check the box if you would like to allow this user to be able to issue Non Approved AVL items to the Kit. Inventory Cycle Count Highlight the Inventory Cycle Count line item as illustrated below:
Depress the Options tab and the following screen will appear:
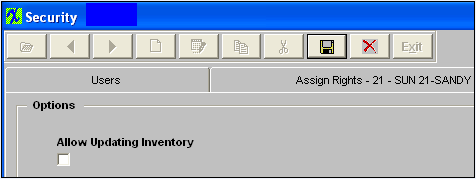
Check the box if you would like to allow this user to post any adjustments to inventory within the Cycle Count module.
Highlight the Engineering Change Order line item as illustrated below:
Depress the Options tab and the following screen will appear:
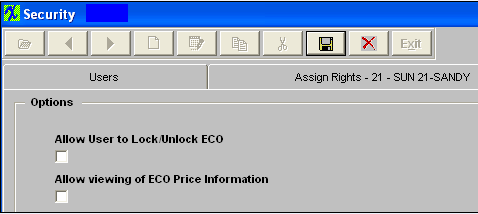
Checking the first box will allow this user to to Lock or Unlock an ECO. Checking the second box will allow this user to view the ECO Price information. Highlight the Physical Inventory line item as illustrated below: 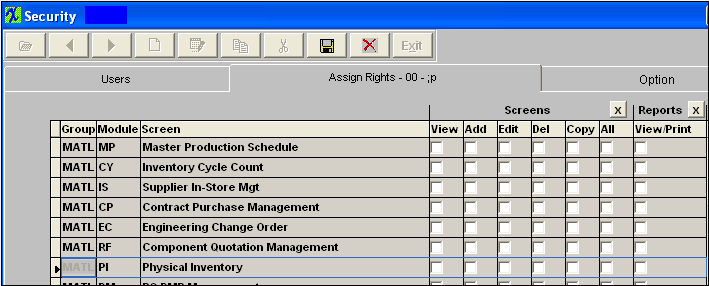 Depress the Options tab and the following screen will appear:
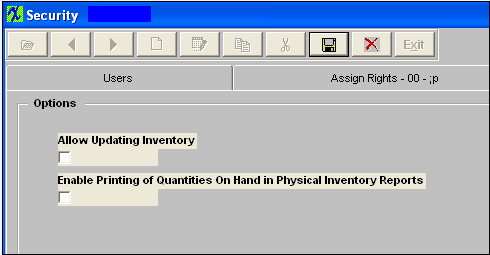 There are specialized procedures for the Physical Inventory module: The selection to post the Inventory adjustments requires either a Supervisor’s password or specific rights. Also, there is the option to print out the work sheet showing quantity. The specific rights are set up as follows: Checking the first box will allow this user to be able to update the inventory count. Checking the second box will allow this user to be able to see the existing quantities on hand when printing the Physical Inventory reports. Note: This is NOT a recommended procedure. Usually you would want your counters NOT to know what’s expected. However, there may be occasions when the user wants a specific employee to have these. However, we stress that CAUTION must be exercised here. Product RoutingHighlight the Product Routing line item as illustrated below:
Depress the Options tab and the following screen will appear:
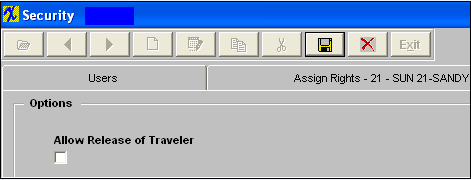
Check the box if you would like to allow this user to Release Traveler. Highlight the Product Data Management(PDM) line item as illustrated below:
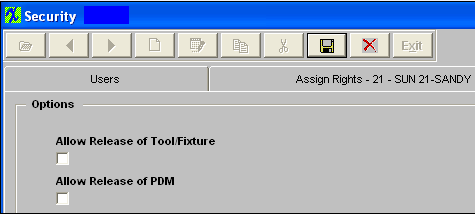
Depress the Options tab and the following screen will appear:
Checking the first box will allow this user to Release Tools and/or Fixtures. Checking the second box will allow this use to Release the PDM. Work Order Shop Tracking or Bar Code Utilizations Highlight the Work Order Shop Tracking or Bar Code Utilizations line item as illustrated below:
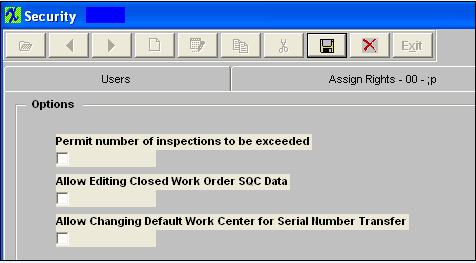
Depress the Options tab and the following screen will appear: 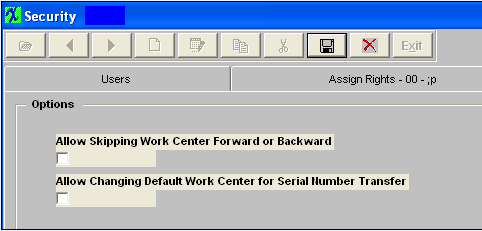 Checking the "Allow Skipping Work Center Forward or Backward" box will allow this user to skip Work Centers and move product Forward or Backward. Checking the "Allow Changing Default Work Center for Serial Number Transfer" box will remove the restriction for this user and allow user to transfer serialized material from any Work Center with in "Shop Floor Tracking by Work Order" and "Shop Floor Tacking by Bar Code" modules, if a work station is restricted to a default work center in the Production Work Center/Activity Setup module. After a user with this options password is entered, the default work center will be changed to the one that this user entered password for. For Example: the workstation is assigned to use “TU” as default work center, now if this user chooses to use “AI” to transfer, the default work center will be changed to “AI”.
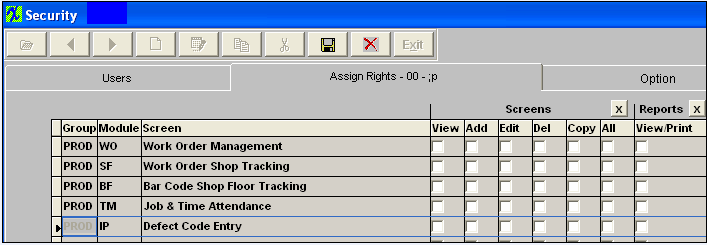
Highlight the Defect Code Entry line item as illustrated below: |
| 1.4. How To ..... for Security System |
| 1.4.1. Setup for Security Module |
Enter Min number of characters allowed in the password: Minimum 1 Maximum 10 (Defaults to 1) Enter number of days you want to warn the user in advance that their password is about to expire. This warning will only appear to the users, which have "User cannot change password" option enabled. |
| 1.4.2. Find Existing User | ||||||||||
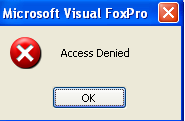
User without Supervisor rights will receive the following message and system will abort.
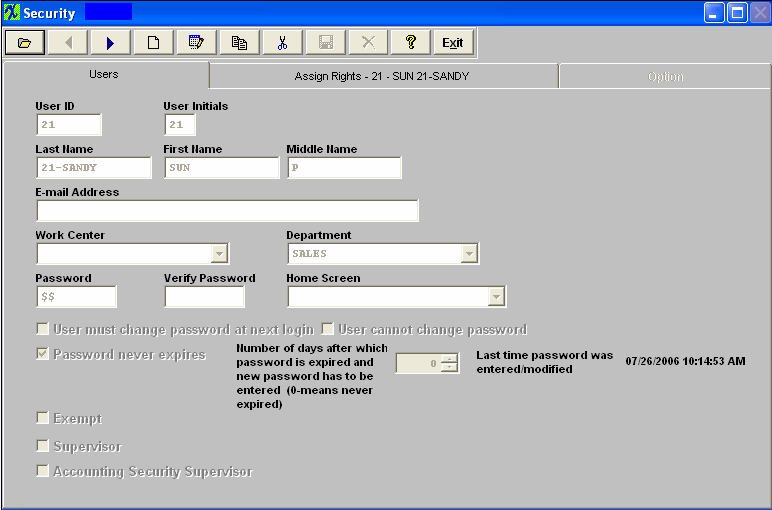
Select Users from the menu and the following screen will display:
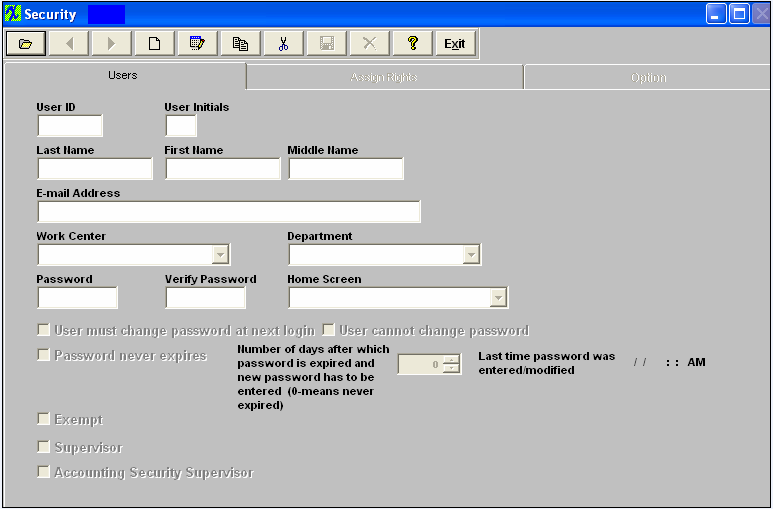 The function buttons are located at the top of each screen. Each button is a “smart” icon and will display its function if you place your cursor above it For a list of those functions, please refer to Button Description/Definitions
The following screen will appear:
 |
| 1.4.3. Add New User | ||||||||||||||||
Select the Security.exe ICON (within the Manex Root Directory) to begin the security setup. User without Supervisor rights will receive the following message and system will abort.
Then selecting the Users menu, the following screen will display:
The function buttons are located at the top of each screen. Each button is a “smart” icon and will display its function if you place your cursor above it For a list of those functions, please refer to Button Description/Definitions
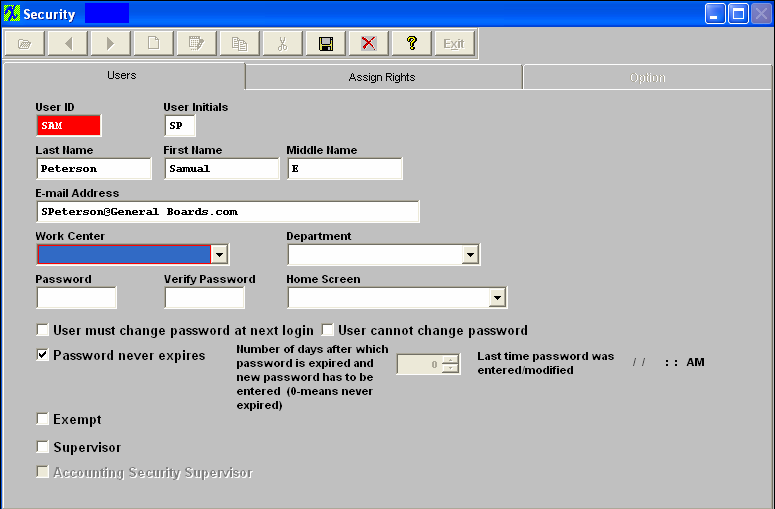
Adding User Access Security: Press the Add icon, and then enter the user information on the User Screen.
Enter User ID, Users Initial, Users Last Name, Users First Name, Users Middle Initial or name, and users e-mail address (if applicable).
Assign user a password (number of characters will be based on Security Setup). The password used will identify the user and include their initials on each transaction processed. Verify password.
"User must change password at next login" At the login to ManEx the system will check if "User must change password at next login" is checked. If it is checked the system will show two new fields "New password" and "Confirm password" and ask user to enter new password, which has to be different from the one already entered. "User cannot change password" The next system check is for the password to expire and if "User cannot change password" is checked a warning will be displayed, (depending on the number of days setup in Security setup screen). Once password expires user will receive a warning notice that the password has expired and they must see the system administrator. "Password never exipires" This is the default when entering a new user. "Number of days after which password is expired and new password has to be entered (0-means never expired)" This field is used in conjunction with "User must change password at next login" and "User cannot change password" If N days is entered for password to expire and "User must change password at next login" is checked, this means that the user has to enter new password every N days. When the password expires the user will be prompt with two new fields (New and Confirm password) to enter new password. A new modified date will be saved along with new password. If N days is entered for password to expire and "User cannot change password" is checked, the user will receive a message that the password is to expire, once the password has expired they must report to the system administator for new password. If "Password never expires" is checked this field is disabled. Last time password was entered/modified This will record the date and time the password was entered/modified. Supervisor By clicking your mouse on this field, you automatically assign full supervisory rights to all modules in the system (except the accounting modules) and it is not necessary to assign access rights (Assign Rights screen tab will be disabled). The same user cannot be a Supervisor and an Accounting Security Supervisor (aka ASS). A supervisor cannot assign someone to be an ASS and cannot assign rights to any accounting screens.
Exempt This field is for future use. Right now all it does is carry forward to the user shift setup screen, but does not affect any data.
Accounting Security Supervisor This field is for reference only. An ASS is setup in the Accounts Access Level module. The same user cannot be a Supervisor and an ASS.
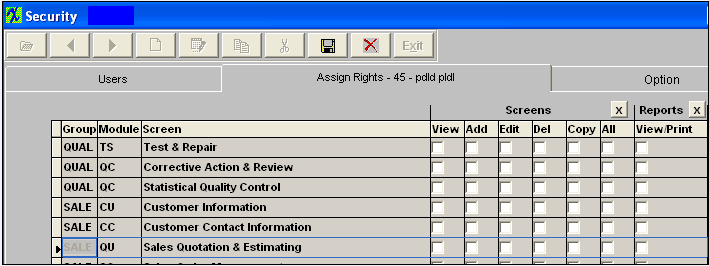
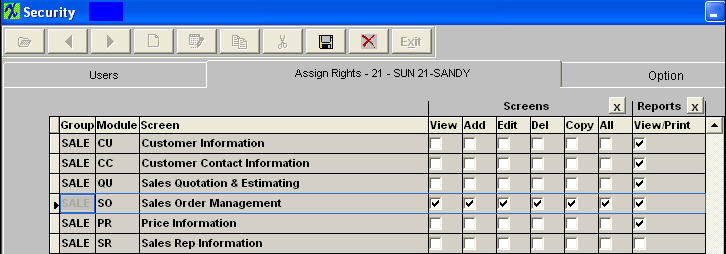
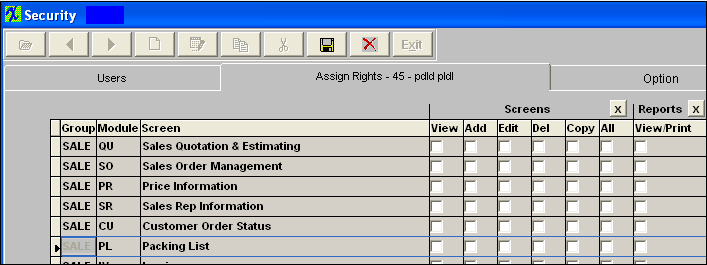
 Note: Use the scroll bar to move up or down and be sure to save before exiting this screen. For users who will have all rights to a module, the administrator may click on the “ALL” button to populate all screens or report access. For users who will have access to nearly all modules, an “X” button at the top of the screen will populate all checks, then the administrator can uncheck the “ALL” button on specific modules to remove access to those modules. Current users’ rights will not take effect until saving and exiting the MANEX System and re-entering the system. Note: The password to use upon saving is NOT the one you’ve just set up. Use an older Supervisor’s password or the master password. MANEX allows you to setup access levels by a module basis or by sub-module, depending on the module. The system allows a company to define specific rights within a module for a specific user, to control users’ rights within the program. With proper utilization, you can secure key information and at the same time maintain worker efficiency. The rights that are available are as follows:
See Article #53 for more information on the options available within some of the Security Line Items. |
| 1.4.4. Copy Security Rights from One User to Another User | ||||
Select the Security.exe ICON (within the Manex Root Directory) to begin the security setup. User without Supervisor rights will receive the following message and system will abort.
Then selecting the Users menu, the following screen will display:
Each button performs a specific function. For a list of those functions, please refer to Button Description/Definitions Copying Security Rights from One User to ANother User:
Find the User you want to Copy the Rights From (User ID PM-500)
 Depress the
 Depress OK,and the Find User Information appears:
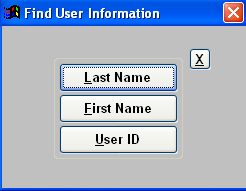 Select a the User you want to Copy the Rights To
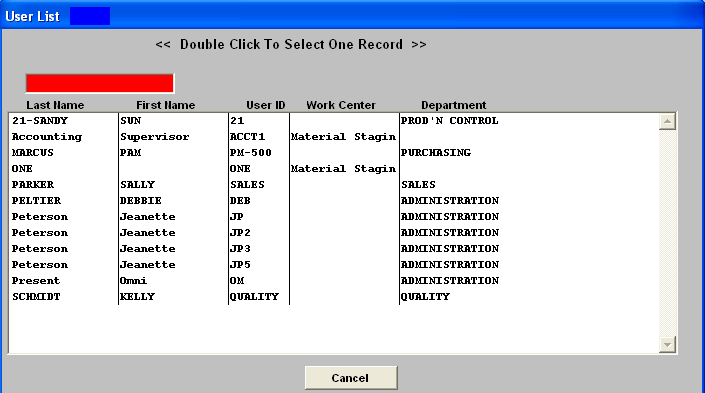 Select User "21-SANDY" by double clicking on her Name - User "21" now has the same rights as user "PM-500"
 |
| 1.4.5. Delete a User |
Find an Existing User
Depress the Delete button and the following messge will appear:
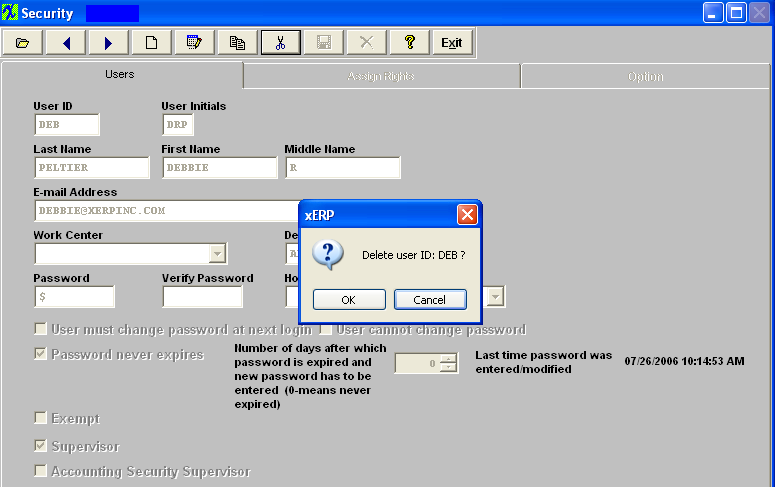 Depress OK and the User will be removed. Depress Cancel to abandon changes.
Removing a user should NOT affect the transfer history in SFT or the inventory transaction reports. The initials will remain intact after the removal of a user.
|
| 1.4.6. Change Users Security Rights |
Find a User The following screen will appear:
Depress the Edit action button. All fields within this screen become editable. Except for the Accounting Security Supervisor field, this field is only editable in the Accounts Access Level module.
Depress the Assign Rights tab and you can change security rights for all modules (except for the accounting modules) at this time. Security rights for the Accounting modules must be setup in the Accounts Access Level module.
See Article #53 for more information on the options available within some of the Security Line Items. When changes are complete depress the Save changes action button to save changes or the Abandon changes action button to abandon changes. |
