| 1. Check Register |
| 1.1. Create a Check Register | ||||||||||
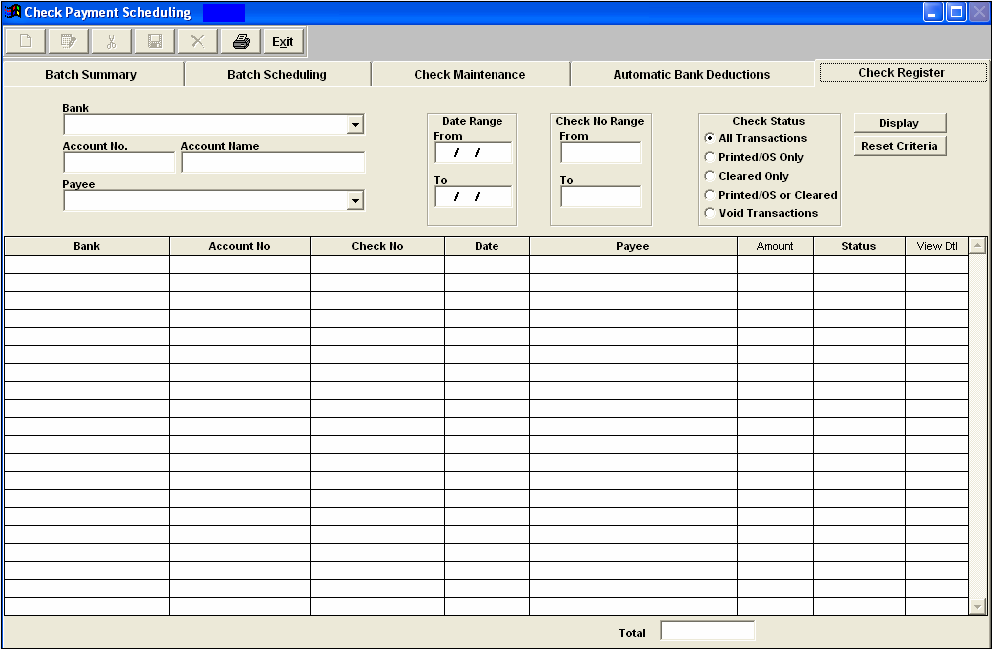
Depressing the Check Register tab will bring up the following screen:
To design the check register display and the applicable print out, depress the down arrow next to the Bank field. Select the pertinent bank. The account number and account name will automatically fill in .If you are interested in only one specific payee, depress the down arrow next to the Payee filed and select the desired payee. If you want to view a specific date range, type in the Date Range From and To. If you are interested in a range of check numbers, type in the first and the last check number into the Check Number Range fields. Determine the Check status you desire by click on the appropriate radial:
All transaction status types will display in the detail. Only checks marked off as Cleared in the Bank Reconciliation module will display. Both un-cleared and cleared checks will display. Once you have all of the criteria selected, hit the Display button:
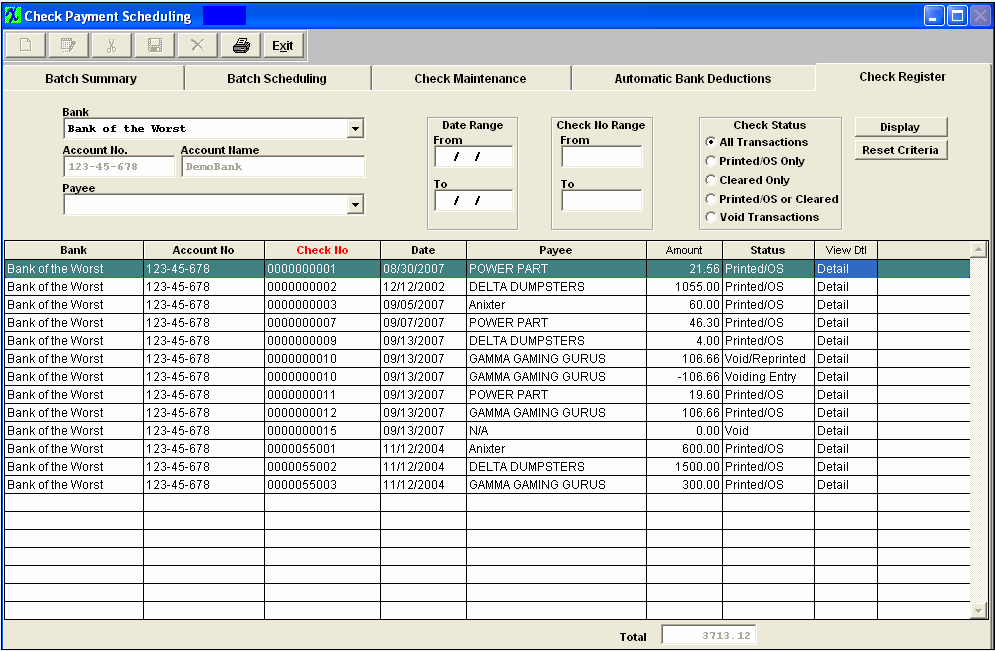 Once the display is showing on the screen, you may sort by Bank, Account Number, Check Number, Date, Payee or Status by clicking on the column header: To view the detail of any line item, click on the Detail column on the far right hand side.The following screen will display:
To further view any notes pertaining to the Check, depress the Check Note button. To view any note specific to the individual line item, depress the Item Note button. Hit Exit to return to the main screen. To reset the selection criteria, depress the Reset Criteria button. Then re-design the display. |