| 1. Check Maintenance |
| 1.1. Record & Print Check | ||||||||||
|
Select the "Check Maintenance" tab and the following screen will be displayed. This tab is used to record a manual check, to void a check or to re-print a single check. 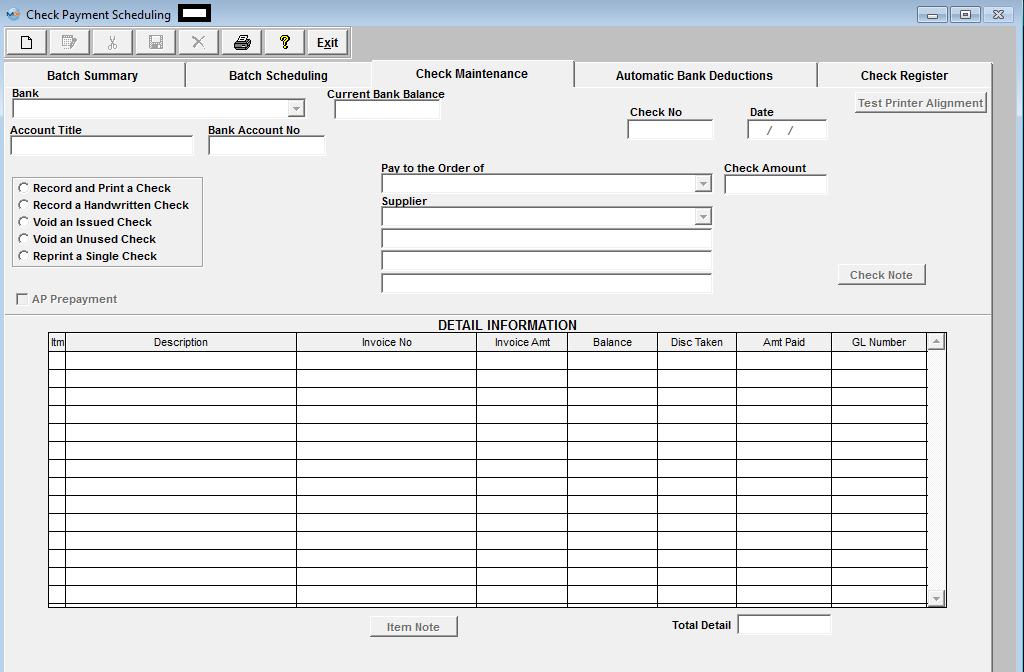 Note: To reprint batches of checks, see the Batch Re-Printing procedures.
If the "Record and Print a Check" radio is selected, the user will be able to issue a check via the printer and at the same time, record it. This is especially useful for COD non-inventory orders.
Note: For COD orders involving inventory, please refer to the Pre-Pay Supplier procedures.
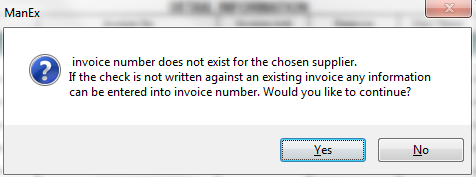
Enter in the amount of the check. If you wish to add a Check Note, select the Check Note button, depress the Edit button, enter in your note, depress the Save button, then depress the Exit button. Depress the Add Item button located at the bottom of the screen. Enter in the Item Number, Description. Enter an Invoice number that may or maynot exists in the AP Aging. When the Invoice number is entered the Invoice Amount, Balance, and General Ledger Number will fill in automatically and user can make the needed changes to the Disc Taken and Amt Paid. If the Check is NOT against an Invoice user will need to assign a GL number to the record.
Once the Check amount and the detail total are the same, the Save button will enable. You may enter a different check number than the one displayed if you choose. 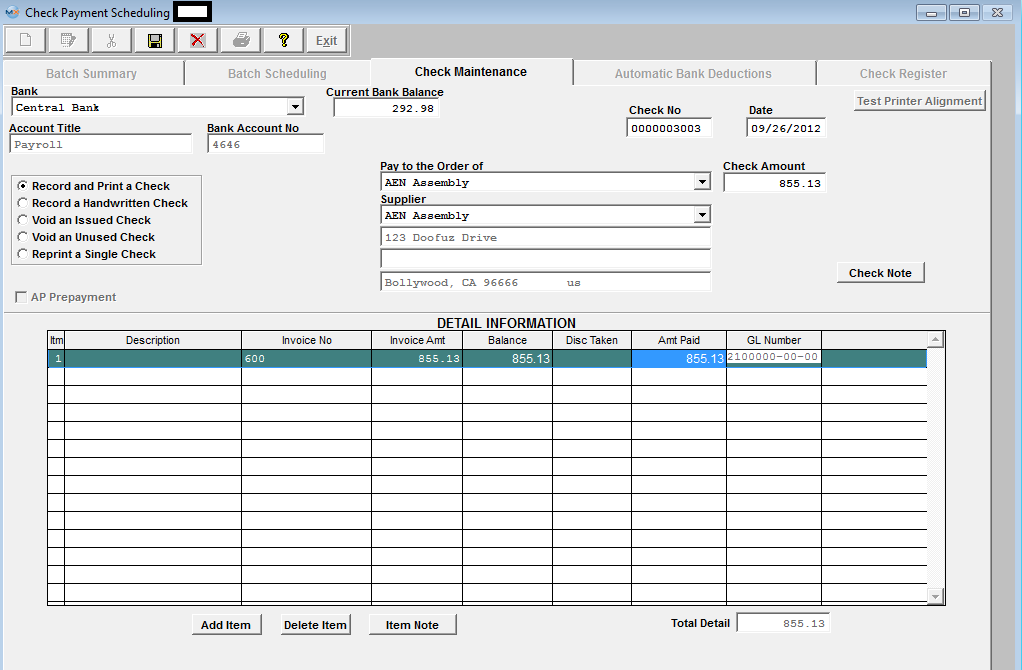 Depress the Save button and the following check format selection will appear:
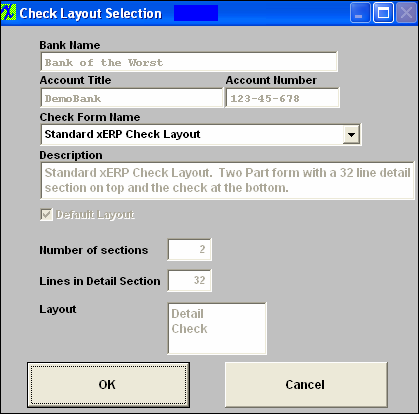 Click on the down arrow to select the desired layout; There are three types of Check Forms to select from: Standard xERP Check Layout; Deluxe Form DLT104; or Canadian Check Layout. See Article #4657 for further information on the check forms.
 Once the selection has been made, depress the "OK" button and the check will go to the printer and will also record.
|
| 1.2. Record a Hand Written Check | ||||||||||
|
Select the "Check Maintenance" tab and the following screen will be displayed. This tab is used to record a manual check, to void a check or to re-print a single check.
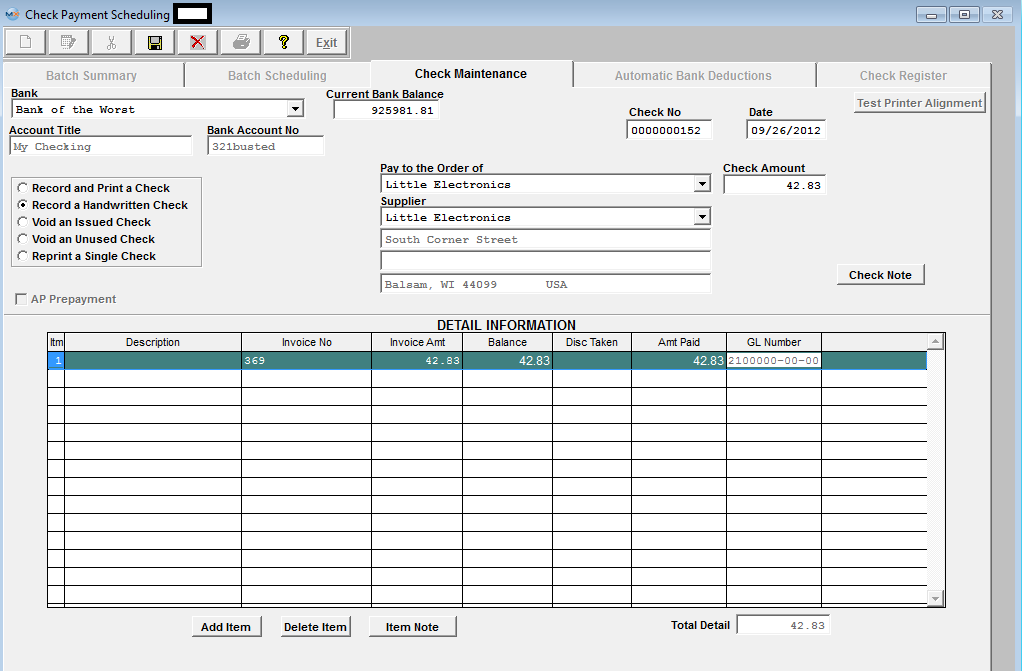
If the "Record a Handwritten Check" radio is selected, the user will have already manually hand written a check. This function will only record the check, it will not print out a check.
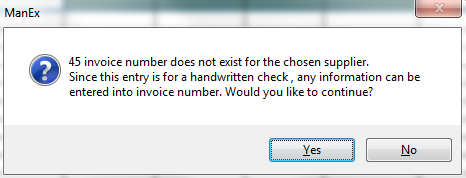
Enter in the Amount. The system will default to the next check number, but the user may highlight the check number field and enter in a different number if desired. Depress the Add Item button. Enter in the Item number, if the invoice is applicable to an existing invoice already in the Accounts Payable Aging, enter in the Invoice number exactly as it exists in the AP Aging. Then the remaining fields will automatically update.
Enter in the Amt Paid and depress the Save Record button. The AP Aging will update and the check will be recorded. If the check you are attempting to record does not apply to an existing record in the AP Aging. After depressing the Add Item button, you will need to enter in an Item number, Description, Invoice Amt, Amt Paid, and a GL Number. Once the Total Detail equals the Amount field, the system will allow you to save the record.
 |
| 1.3. Void an Issued Check | ||||
|
Select the "Check Maintenance" tab and the following screen will be displayed. This tab is used to record a manual check, to void a check or to re-print a single check.
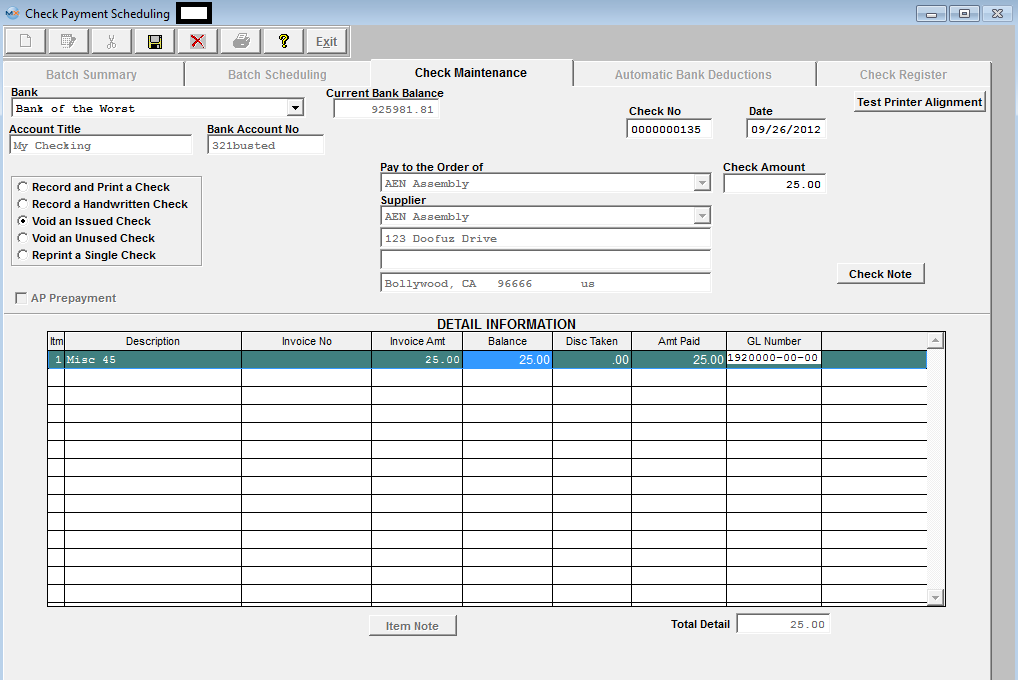
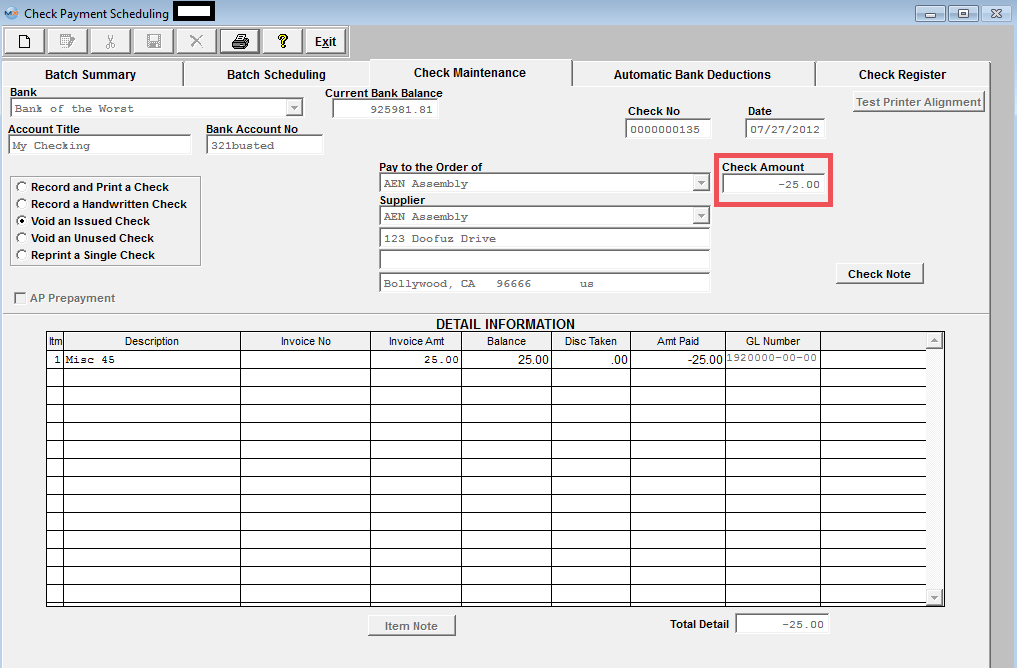
If the "Void an Issued Check" radio is selected, the user may void any un-cleared outstanding check. If the check has been recorded as cleared or reconciled the following message will be displayed and check cannot be voided:  Enter the check number you wish to void. All of the associated data will appear, as detailed below.
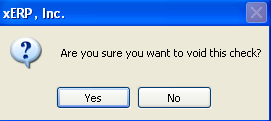
Depress the Save button. You will receive the following message to confirm that you want to void the check:
Select "Yes" and the check will be voided by displaying a negative Check Amount, shown in the red box below. NOTE: The date will be reverted back to the original check date upon Save.
 |
| 1.4. Void an Unused Check | ||||
|
Select the "Check Maintenance" tab and the following screen will be displayed. This tab is used to record a manual check, to void a check or to re-print a single check.
If the "Void an Unused Check" radio is selected, the user may void a check which had never been paid through or entered in the system as a manual check recording. Enter the check number you wish to void.
 Depress the Save button. You will receive the following message to confirm that you want to void the check:
Depress the Yes button. The check will be recorded as Void in the Check Register. |
| 1.5. Reprint a Single Check | ||
|
Select the "Check Maintenance" tab and the following screen will be displayed. This tab is used to record a manual check, to void a check or to re-print a single check.
Note: To reprint batches of checks, see the Batch Re-Printing procedures. To get started, depress the Add button. Type in your password. Depress the down arrow next to the Bank field. Select the appropriate bank.
If the "Reprint a Single Check" radial is selected, the user will be able to void out and reprint a single check. Enter the old check number into the field, the system will automatically fill in all of the rest of the information. The system will prompt for the next check number. The user may highlight the check number field and type in another number if needed. Once the Check amount and the detail total are the same, the Save button will enable.
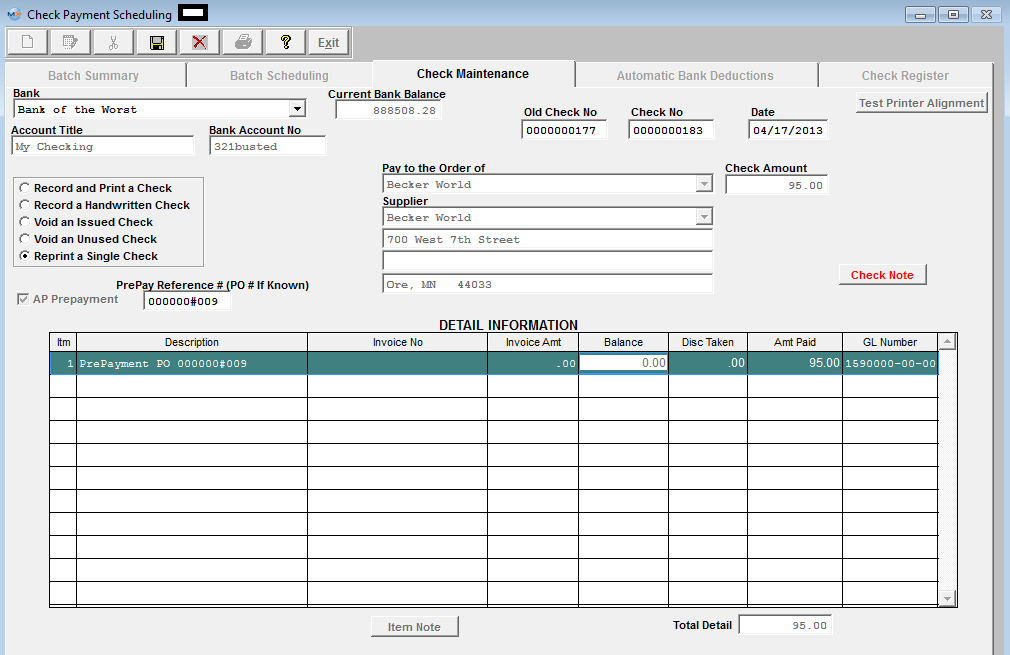 Depress the Save button. The check will go to the printer and will also record. |


