| 1. Batch Scheduling |
| 1.1. Create a Scheduled Batch of Checks | ||||
Adding a New Scheduled Batch
The following screen will be displayed:
Enter the Batch Scheduling screen: Depress the Add record button. Select the Bank Name from the drop down display (Inactive Bank Accounts will not be listed). The Account Title and Number will appear automatically. Enter in the Scheduled Date. Enter in the Batch Description. Select your Payment type. Select the appropriate radio in the "Items to Display" section: "Earn Discount by Date", "Due By date" or "All Unpaid". If "Earn Discount by Date" or "Due by Date" are selected the date through which you want included in the scheduled batch must be enter into the "To Date" field. Then depress the Display button.
All unpaid Invoices will be displayed:
|
| 1.2. Edit a Scheduled Batch of Checks | ||||
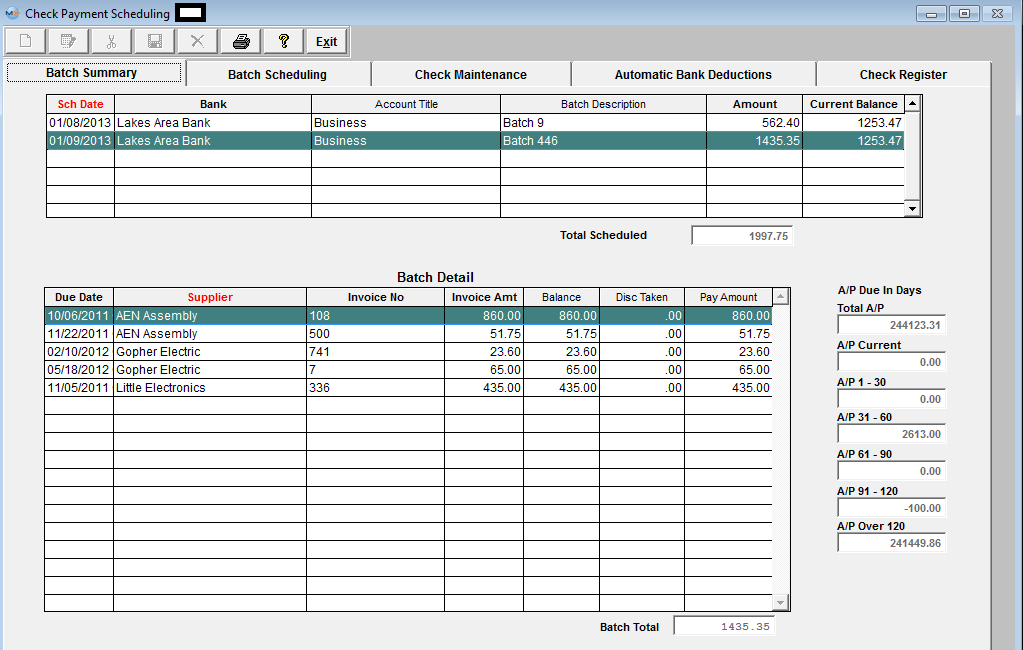
The following screen will be displayed: To edit a scheduled batch, highlight the batch you want to edit. Go to the Batch Scheduling screen.
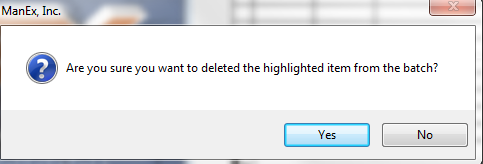
 Depress the Edit button. Enter your password. If you want to add to this batch, depress the Add items button at the botton of the screen. Enter the EXACT invoice number as is entered in the Accounts Payable Aging. Depress the Enter Key and the rest of the information regarding that invoice will fill in automatically. 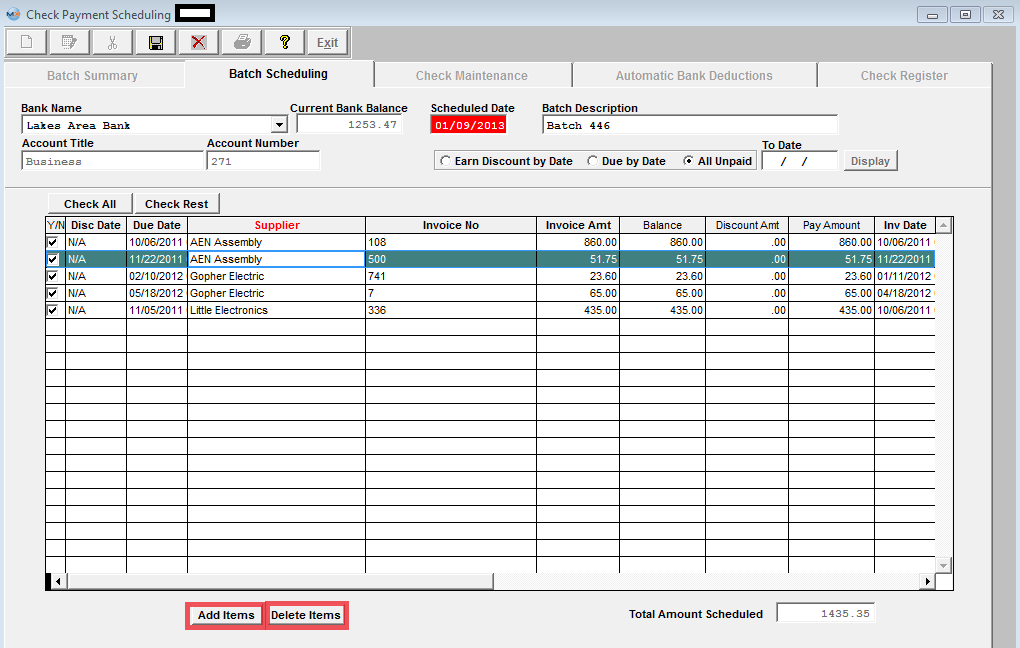 To delete an already scheduled line item, highlight the item. Depress the Delete Items button. You will receive the following message: Depress the Yes button to continue, depress the No button to abondon deletion.
Depress the Save button to save the changes, depress the Abandon changes button to abandon the changes.
|
| 1.3. Delete a Scheduled Batch of Checks | ||||
The following screen will be displayed: Highlight the batch you want to delete.  Enter the Batch Scheduling screen. Depress the Delete Batch record button.
 Enter in your password. The following message will appear:
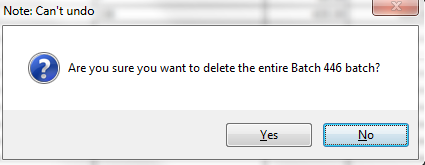 Depress the Yes button to continue. The batch will be deleted. Enter the No button to abandon the deletion. |
| 1.4. Printing Batch Checks | ||||||||||||||||||||||||||||||||||||||||||||||||||||||
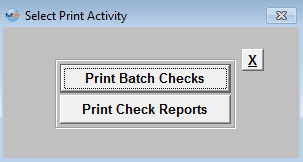
The following screen will be displayed: Highlight the batch you want to print. 
If the user selects the "Print Batch Checks", the following screen will appear: (Note: The Bank name field could be blank if the Bank is Inactive)
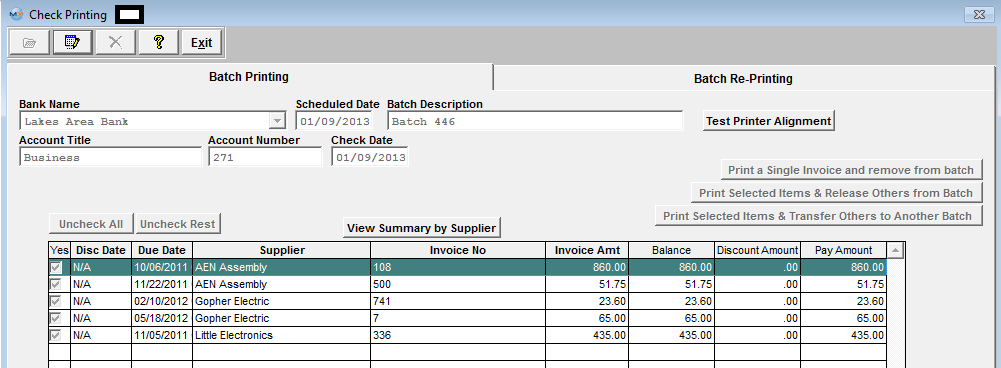 Check Printing Screen field definitions -- Batch Printing tab:
This is the date that the user has selected for this batch to be paid. The user assigned description pertaining to this batch. The G/L title for this bank. The number that the bank has for this account. The button will uncheck/check all of the checkmarks in the Yes column. Highlight the last item you want to include in this payment, then clicking on this button will uncheck/check the rest of the checkmarks in the Yes column. Depressing this button selection will bring up the following screen:
View Batch Detail field definitions: Summary of Selected Items By Supplier
The name of the supplier to which payment will be made. The name of the institution or business which will appear on the check. The first address line per the Supplier Information setup. The applicable early payment discount amount. The sum of all of the scheduled invoice payments for this batch. Selecting this will return you to the prior screen view. Print Checks
If user receives the following message after depressing the Print Check button:
 This message is displayed when the check that the system is attempting to print would end up being for a negative value. One possible reason would be that the Remit To information between the Invoice and Debit Memo's selected on the Check Batch are different, or blank. Due to this the system would want to create two separate checks, and that could place the Debit Memo on a check by itself. We can not allow checks for negative value. So we suggest that you make sure that all of your Remit To information is properly populated within the Supplier Information module. However, there is a work around if you need to create a check for an Invoice and Debit Memo that have different or Blank Remit To Information, you may process the records through the Check Maintenance module, Record & Print a Check . If the "Remit to Address" printing on the check is different then expected or balnk refer to Article #3342 for further detail.
.
Test Printer Alignment
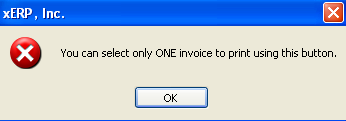
Print a Single Invoice and remove from batch Choosing this option will allow the user to select just one invoice from a batch and print a check for it. Uncheck any boxes in the Yes column which you DO NOT want to pay. Depress the Print a Single Invoice and remove from batch button. The following will display:
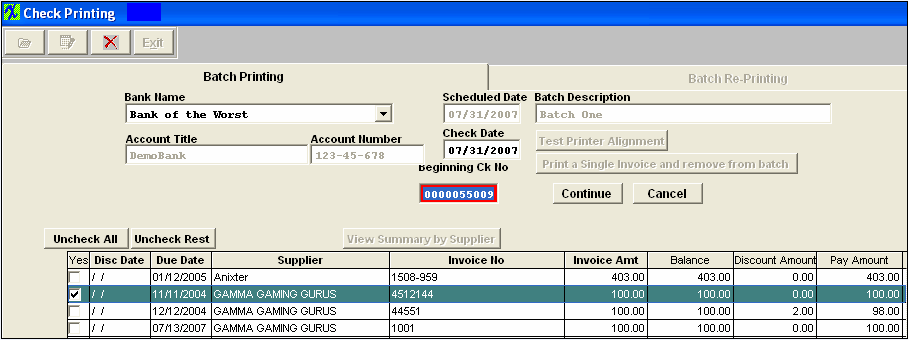 You may enter a different check number than the default if you choose. Depress the Continue button to print the check.
Print Selected items and release others from Batch
Choosing this option will allow the user to select some invoices from a batch and print checks for them. All invoices NOT checked in the Yes box will be released from all scheduling. Uncheck any boxes in the Yes column which you DO NOT want to pay. Depress the Print Selected items and release others from batch button.
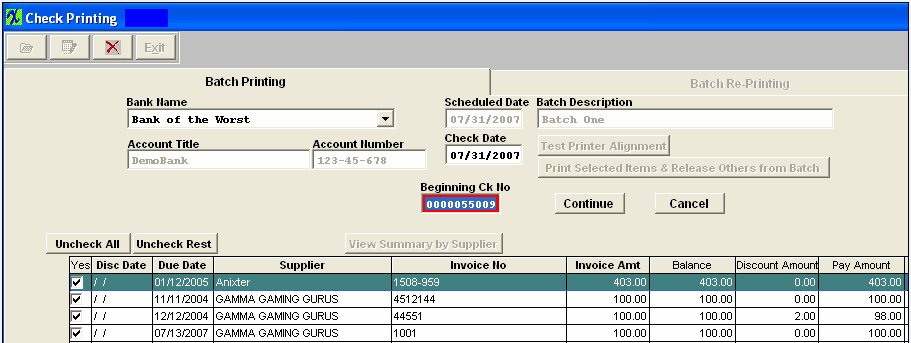 You may enter a different check number than the default if you choose. Depress the Continue button to print the check. Print Selected Items and Transfer Others to Another Batch Choosing this option will allow the user to select some of the invoices from a batch and print checks for them. Additionally, items not selected will be transferred to a newly created batch. After depressing the “Print selected Items and Transfer Others to Another Batch”, the screen below will appear. You will need to enter in the New Batch Description. 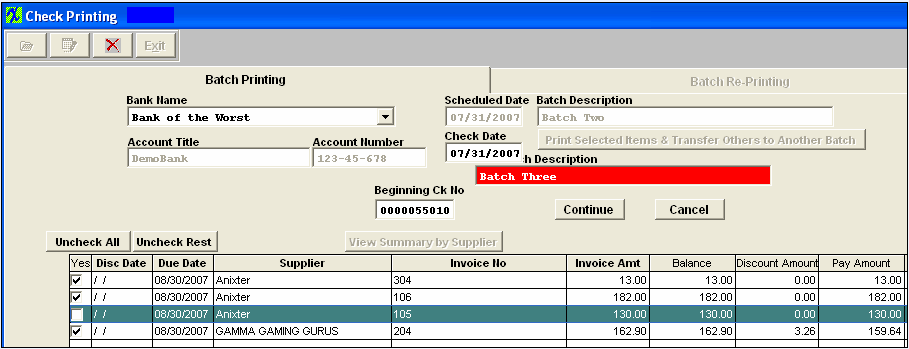 You may enter a different check number than the one displayed if you choose. Depress the Continue button to print the checks.
Next, click on the OK button. Note: that an entirely new batch has been created for the invoices not checked.
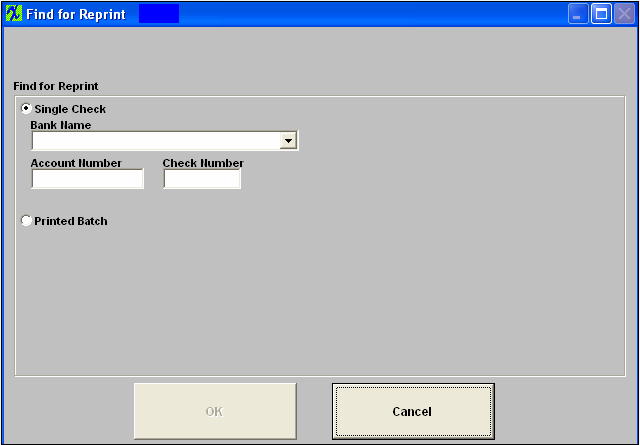
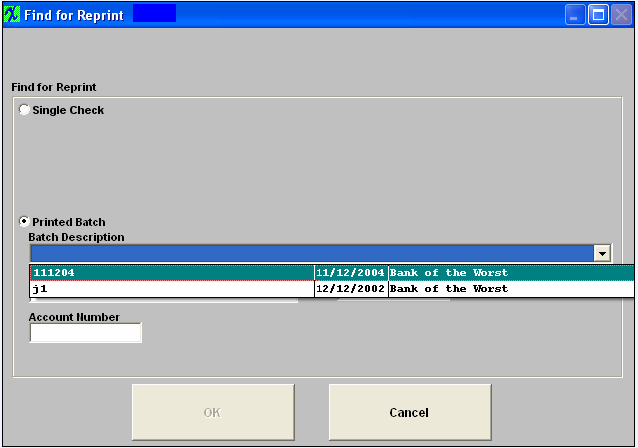
Reprint ChecksThe Batch Re-Printing tab is used to re-print checks that got mangled in the printer. 
The following screen will be displayed.
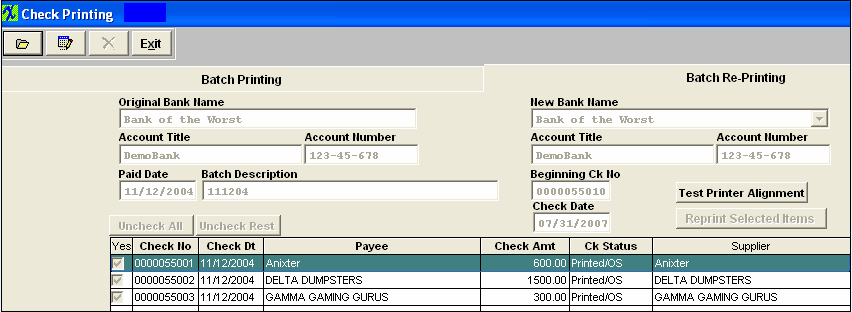 Depress the Edit button. Enter in your password. Check the Yes column at the far left for the checks you wish reprinted. You have the option to change the Check number at this point in time if needed. Depress the Reprint Selected Items button. The new check will go to the printer. The old check number will be voided and will be replaced by the new check number on the Check Register.
|
| 1.4.1. Check Forms |
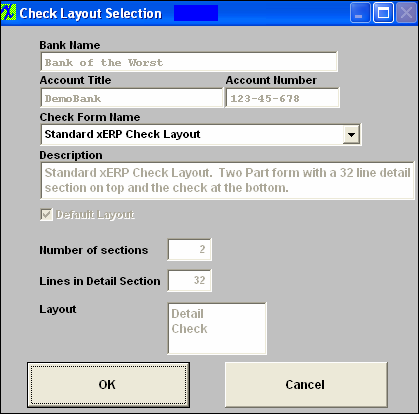
STANDARD xERP CHECK LAYOUT - This layout would be used with blank checks.
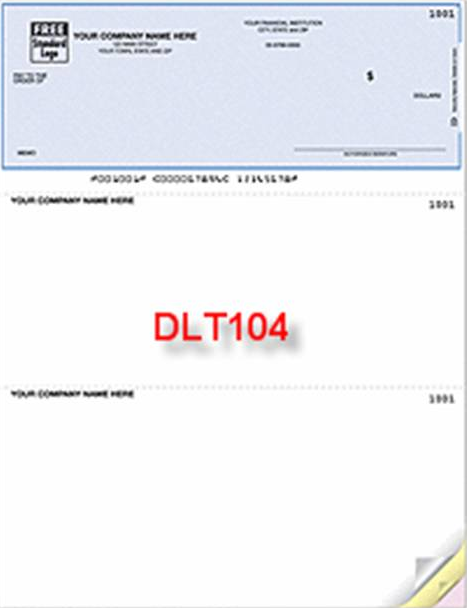
 DELUXE FORM DLT104 - This form would be used with Checks purchased from Deluxe Business Checks & Forms. NOTE: When you switch over to using a new Deluxe Form, please contact ManEx for new layout.
 CANADIAN CHECK LAYOUT - This form would be used with Checks purchased from Litho-Quebec JGB Inc. See information below.
 Litho-Quebec JGB Inc. <st1:street w:st="on"><st1:address w:st="on">545 Delmar Ave.
Pointe-Claire, QC
H9R 4A7
514.694.9595
Item number to order from is: 402182 |

