| 1. How To ..... for PDM |
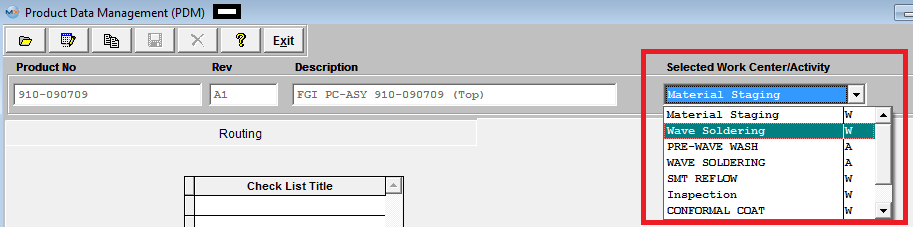
| 1.1. Finding A Product Data Management Record | ||||||||
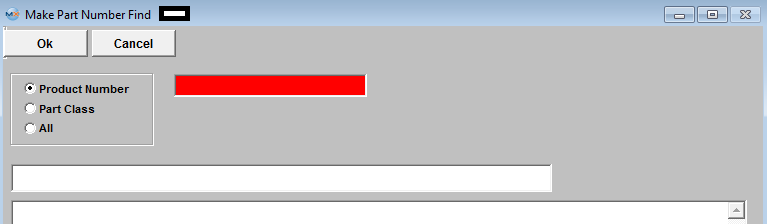
The following screen will be displayed: 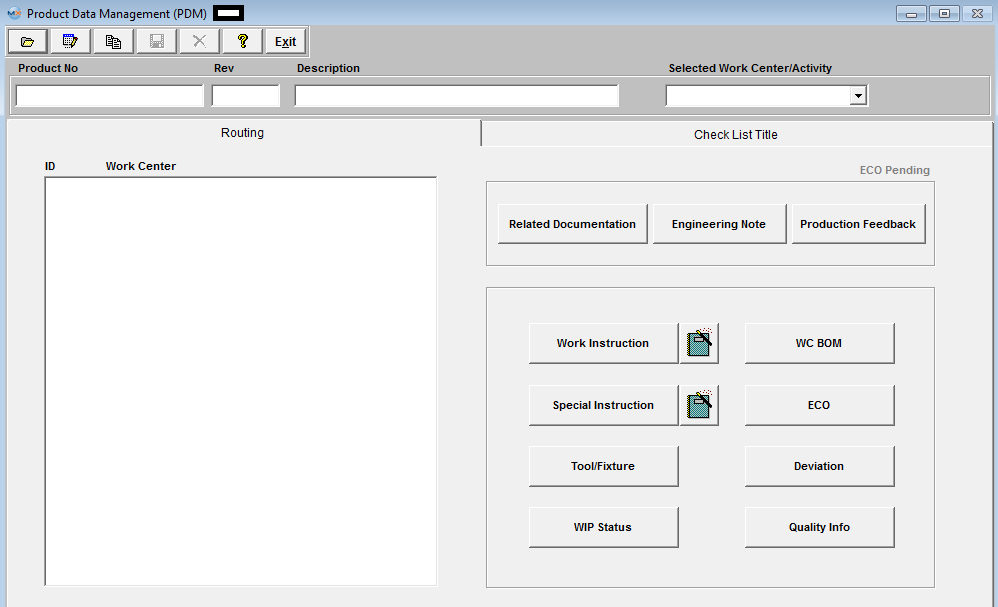
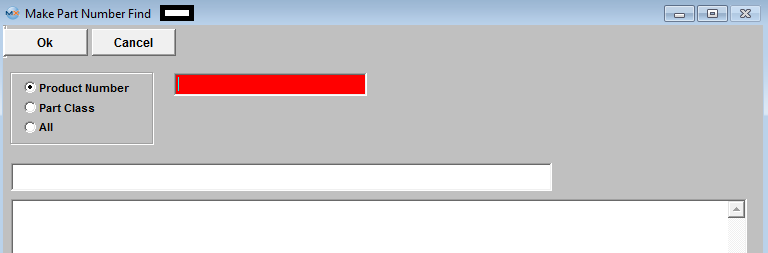
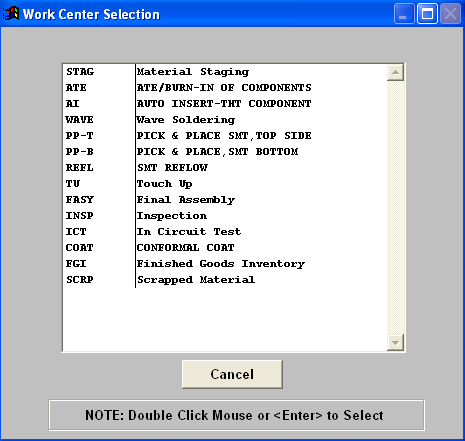
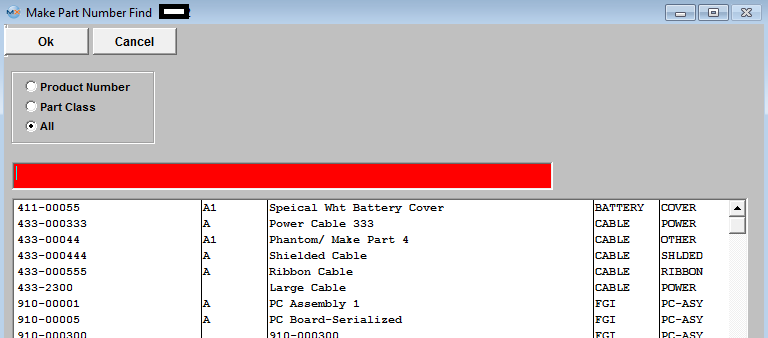
If the user selected to find by All. All the Product Numbers within the Inventory records will be displayed to select from: 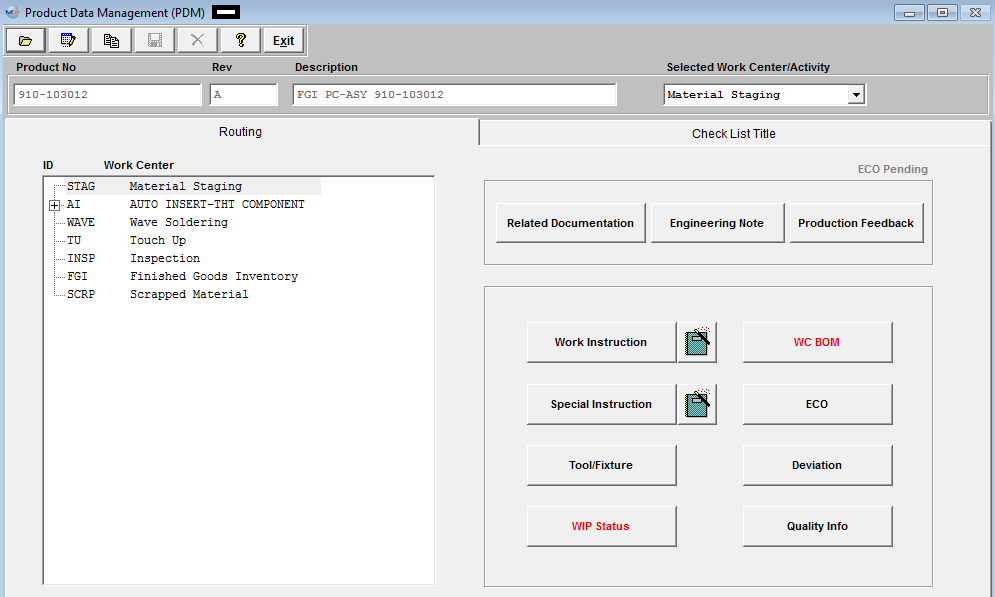 The plus (+) mark preceding work centers indicate that additional activities are included in the work center, and may be viewed by clicking on the plus sign.
|
| 1.2. Add Information to the PDM Module | |||||||||||||||||||||
Find a PDM Record.
 To attach Related Documentation See Article #2396 . Once the information is loaded, the user may re-visit the Documentation in the PDM module and may also access the information from the Shop Floor Tracking Module.
See Article #3272 on how ManEx can help to simplify the process of identifying, tracking, and eliminating attrition and scrap.
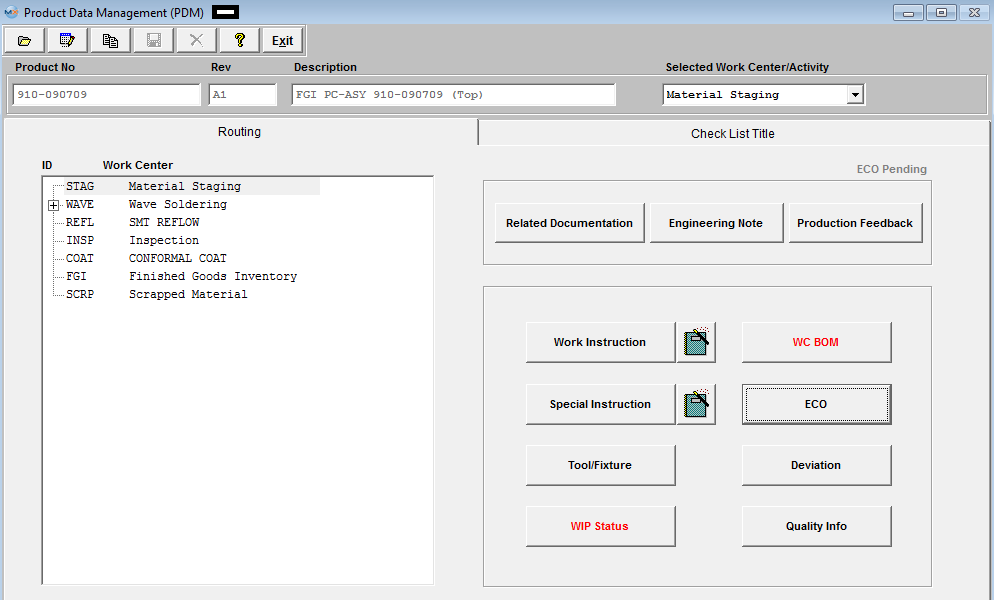
WIP Status - displays the WIP Status of all the open work orders for this product and displays where the quantities are in the shop floor.
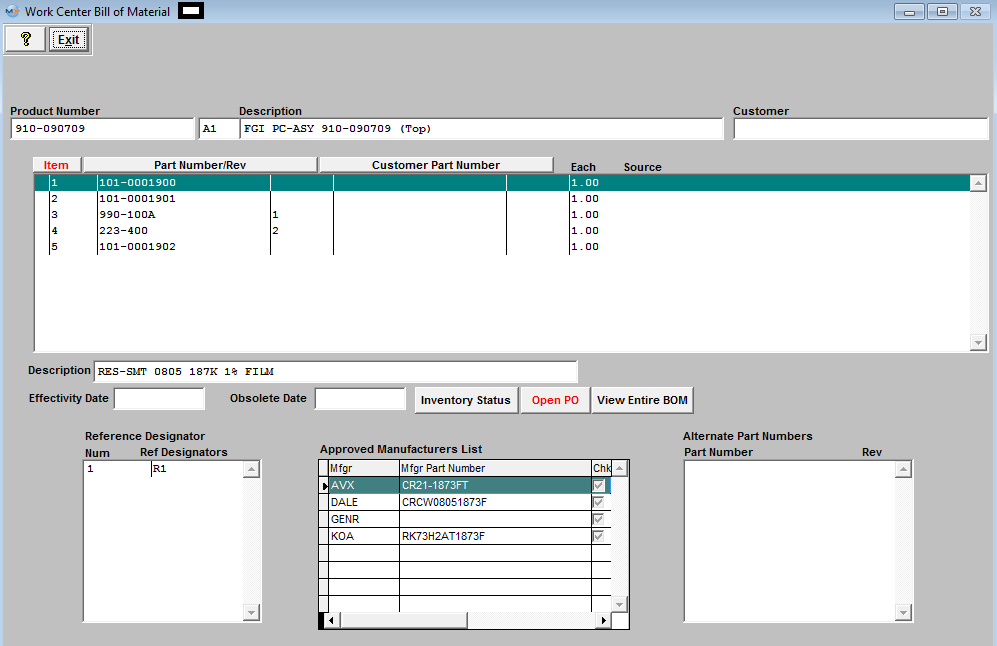
 WC BOM - The part numbers that are assigned to that specific

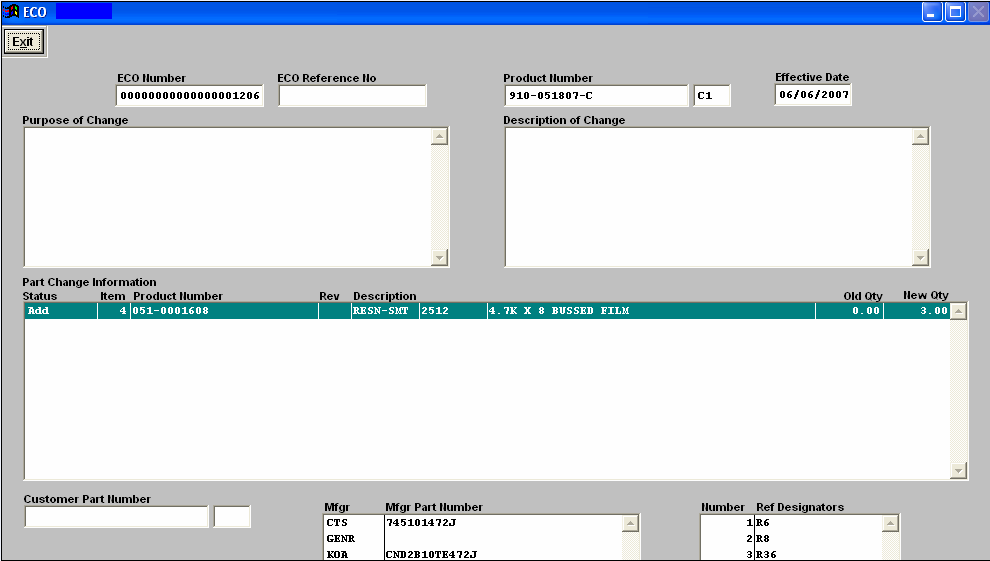
 ECO - All of this information is carried forward from the ECO Control Management module. If the highlighted part number within the Part Change Information section was added as a Consigned item, then the associated Customer Part Number information will populate the field. EXIT will bring you back to the Product Data Management module.
 Deviation - All of this information is carried forward from the ECO Control Management module. If the highlighted part number within the Part Change Information section was added as a Consigned item, then the associated Customer Part Number information will populate the field.
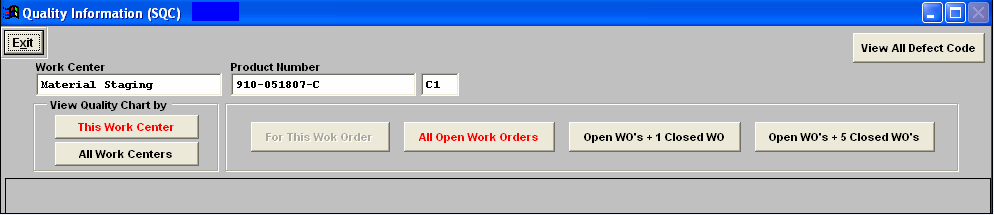
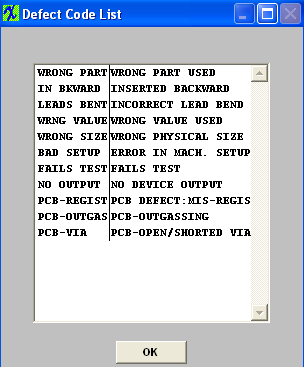
Quality Info - This screen will display Quality information for the Product that is displayed for the selected work center.
Once you depress the OK button the following screen will be displayed. You can then change the selections to view All Work Centers if need.
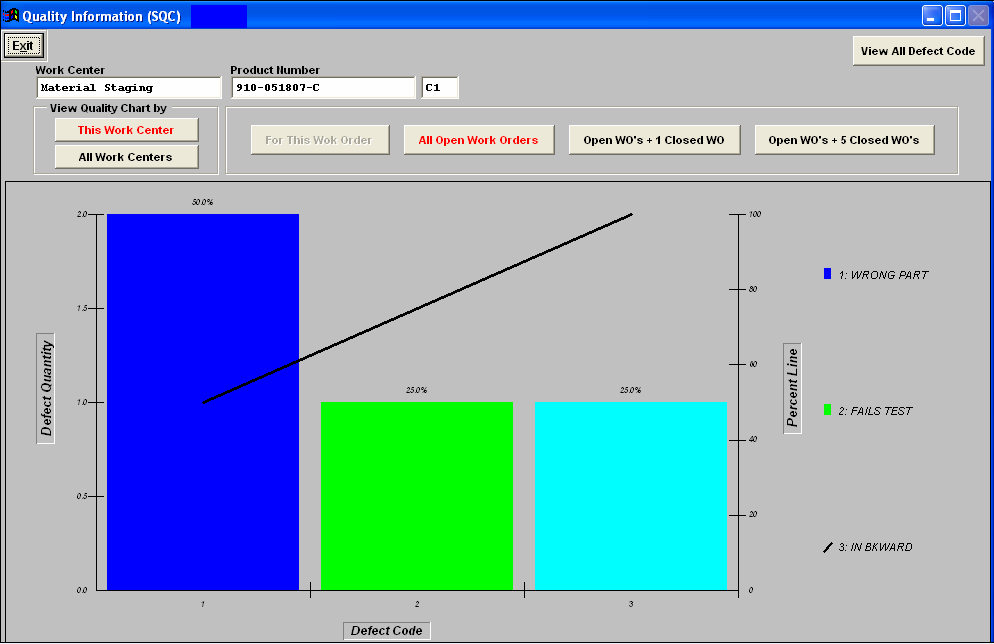
 If there has been Inspection information entered for the highlighted work center then the following screen will be displayed. The Quality information displayed on screen will appropriately update as the user selects the desired button selections. Exit will bring you back to the Product Data Management Module.
|

| 1.2.1. Load Document | ||||
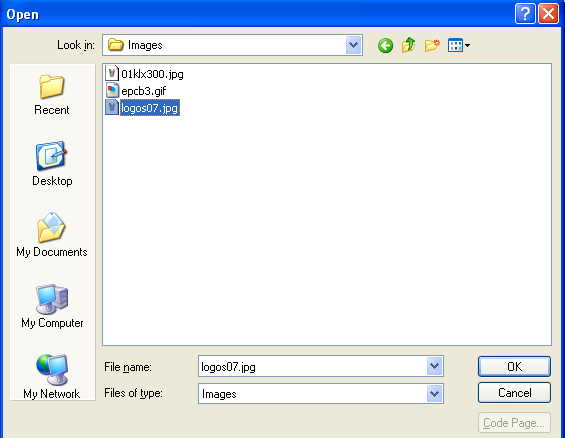
The following screen will appear:

The file will appear in the screen as displayed:
 Depress the Save action button to save the changes or depress the Abandon changes action button to abandon changes. Exit will bring the user back to the Product Data Management module.
All files and images planned to be used within the Product Data Management module should be stored in a permanent directory on the server, which users will have read access to. The user will define the directory and file for each product in this module, but the information will be available elsewhere throughout the manufacturing module. |
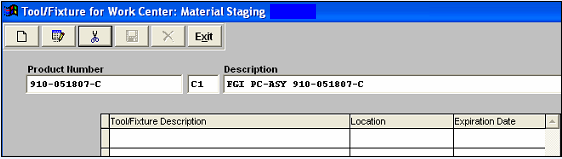
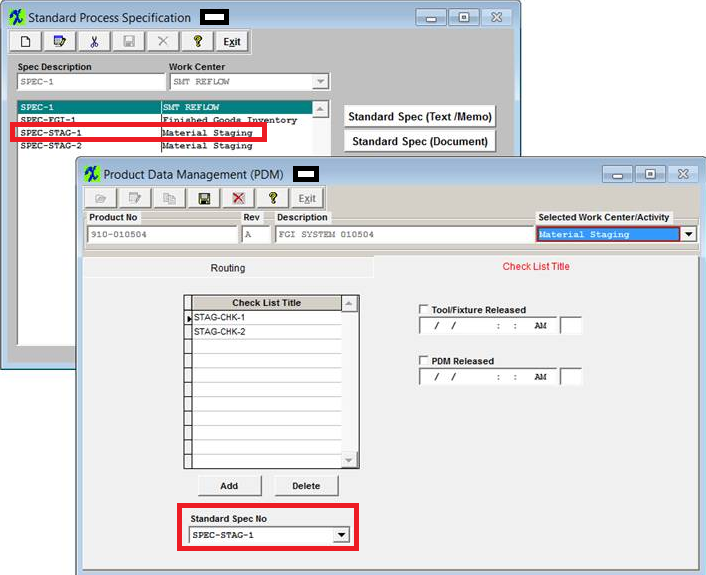
| 1.3. Setup a Checklist | ||||
Find a PDM Record.
Depress the Check List Title tab. The following screen will be displayed:
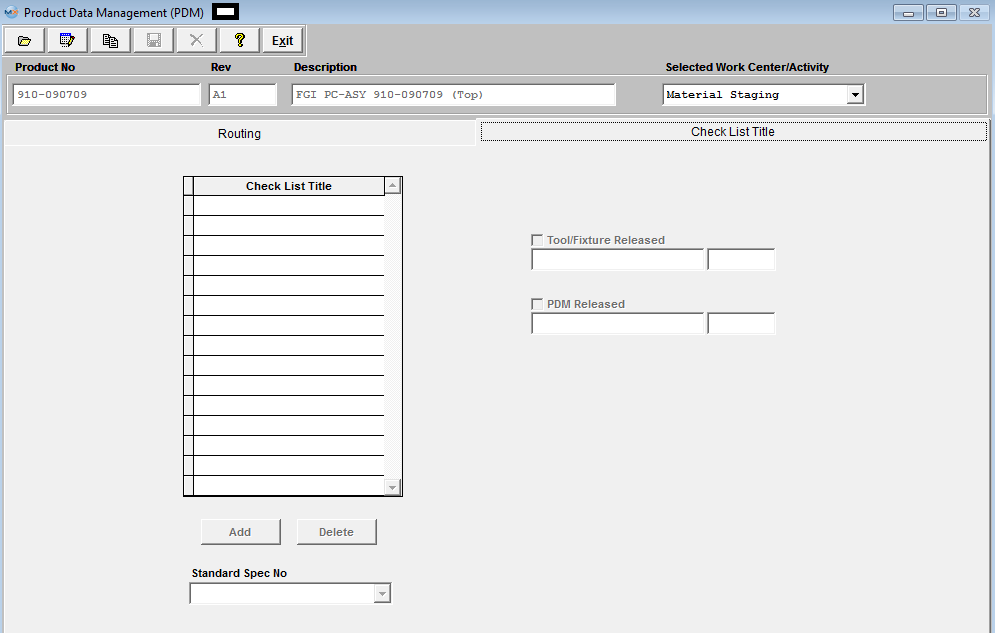 This screen allows the user to establish check lists for a specific Work Center for a specific PRODUCT. This checklist is for users to check if they do all the necessary task, but it does NOT enforce the user to check all items before the user can transfer to next WC. Note: this is a different check list than the one setup for Work Orders which is set up in Shop Floor Tracking Defaults .
.
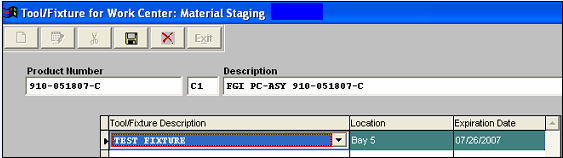
To Create the Check List, depress the "ADD" button and enter all the necessary information under the Check List Title per product number/work center directly. Depress the "ADD" button to enter a new specification under the Check List Title until the Check List complete for that specific Work Center/Activity.
 Pressing the DELETE button deletes the item that the cursor is on when the delete button is pushed.
While screen is in Edit mode, user may also check the Tool/Fixture Released and/or PDM Released boxes. Note: Users MUST have special rights within the Security module to check these boxes. Users with “supervisor’s rights” will automatically have access. These boxes must be check when usiing the Unreleased Work Order List and the Work Center Checklist .
 Depress the Save button to save changes or depress the Abandon changes button to abandon changes. The completed screen should appear as follows:
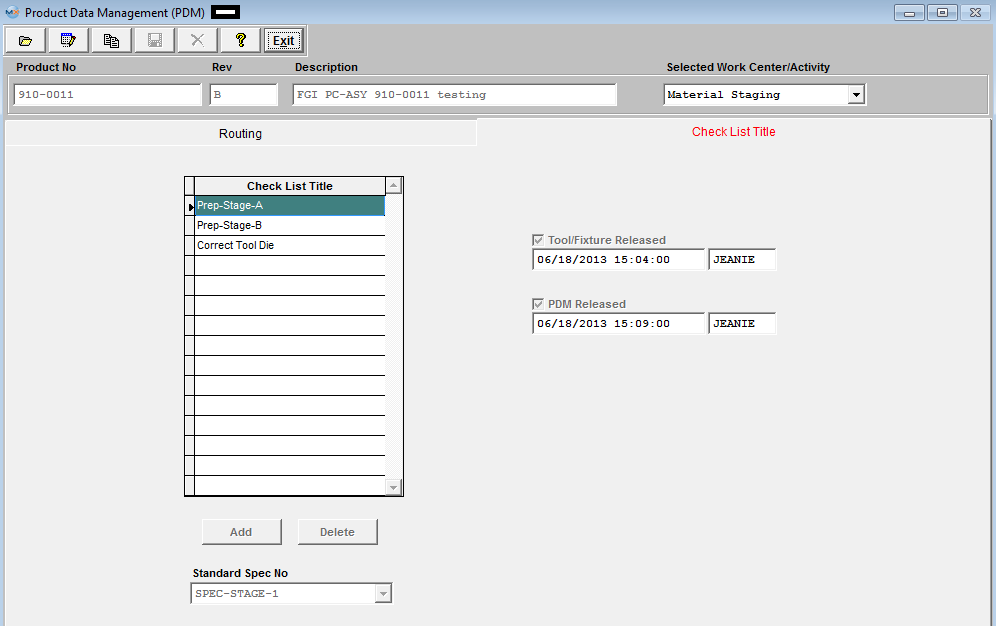 This information will be carried forward into the Shop Floor Tracking module for the highlight
 |
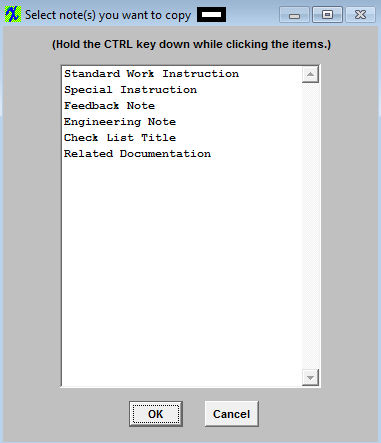
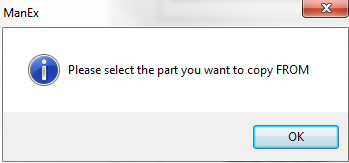
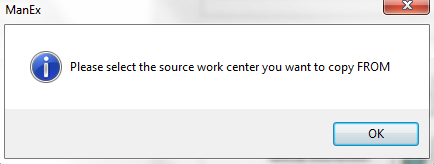
| 1.4. Copy Information from another Product | ||||||||||
Find a PDM Record.
The following screen will appear:
|