| 1. Product Data Management (PDM) (OPTIONAL Module) |
| 1.1. Prerequisites for PDM | Prerequisites Required For PRODUCT DATA MANAGEMENT:
ManEx’s standard module configuration allows most users to accomplish their daily tasks. For those users wanting to get more from ManEx by leveraging the total solutions, this is one of the optional modules available for purchase. To place an order or to learn more about this specific module or any of the other optional modules please contact us at http://manex.com\contactus.aspx
After activation, "Product Data Management" (PDM) access for each user must be setup in the ManEx System Security module. Users with “Supervisor Rights” will automatically have access.
Optional Prerequisites for Entering a New PRODUCT DATA MANAGEMENT:
| Pictures |
If images are to be included in Work Instruction and Set Up Instruction view screens.
|
|
| 1.2. Introduction for PDM | The Product Data Management (PDM) Module is the place where Engineering may establish work instructions, setup instructions and/or checklists. References to related documentation, Engineering notes, and production feedback on the product is also available. With the PDM module, the user may create both text instruction and graphical images.
Once a product has been established, similar products with some or all of the same instructions can have instructions copied from the original product, then modified to suit requirements.
The work instructions are available to users in the shop floor module, and users may elect to print the work instructions in the Work Order Traveler Setup traveler module.
Information entered in this module can be accessed via the Shop Floor Mgmt module. Work Instructions, Special Instructions, Documentation, Work Center Check List and Notes are available.
|
| 1.3. Fields & Definitions for PDM |
| 1.3.1. Header Information | |
| Product No |
The part number of the assembly. |
| Rev |
The revision of the assembly. |
| Description |
This field will contain the Description of the assembly. |
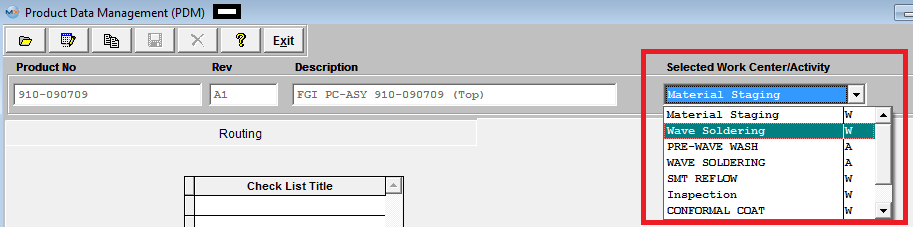
| Selected Work Center/Activity |
This area displays the work center (or activity) from which each of the action buttons below are launched. It is selected by placing the cursor (by mouse or tab) on the work center (or activity) of interest |
|
| 1.3.2. Routing Tab | 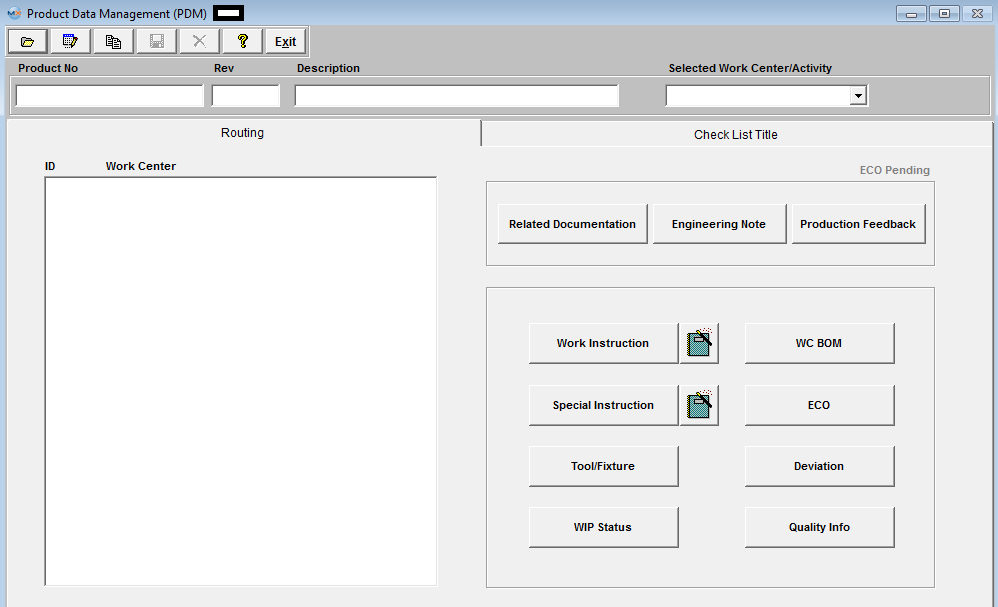
| ID |
The ID or abbreviation established for the work centers |
| Work Center |
The name of the work center |
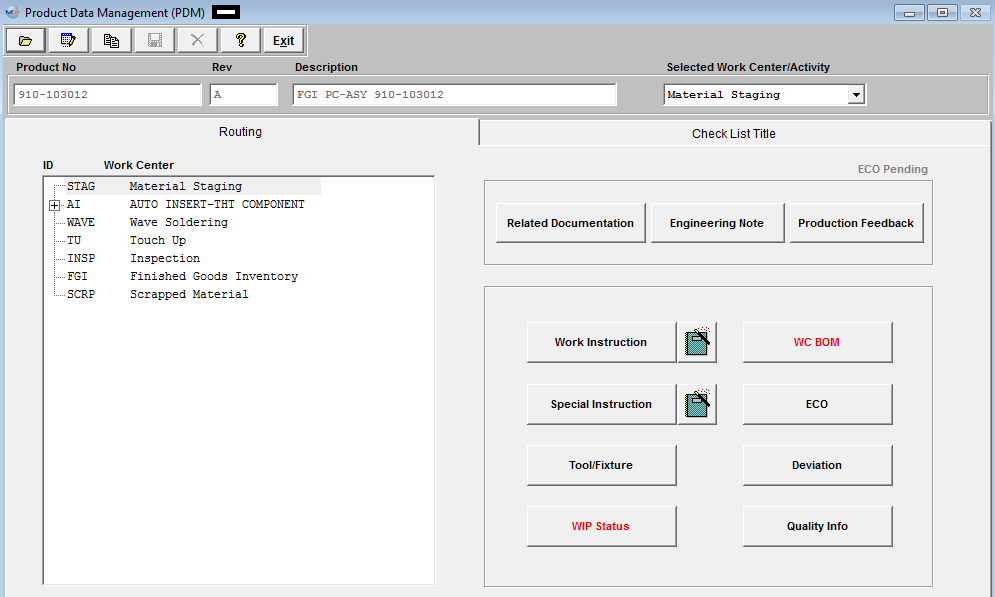
| ECO Pending |
This Text/characters turn RED if an ECO is Added and Saved. When the ECO is approved, this button characters turns back To gray. This criteria is based on the product number and no revision number as the ECO will change the revision number. This feature has been added because of the importance of the users needing to know that an ECO is being initiated by the production personnel. This will help prevent product being built according to the original instructions and cut down on any additional rework or schedule delays. |
|
|
If this button is displayed in Red there is Related documents attached. Depressing this button will give the users the ability to scan any related documents directly into the ManEx system and attached the document directly to the item in the ICM Module. For further detail see Article #2396. Once the information is loaded, the user may re-visit the Documentation in the PDM module and may also access the information from the Shop Floor Tracking Module.
|
|
|
If Red there is information available related to the product and the work center. User may edit or add information in this module also.
|
|
|
If Red, there is information available related to the product and the work center. This field is provided as a means of recording observations and communications about the product as it is being manufactured. User may edit or add information in this module, as well as from the Shop Floor module. Production Feedback note is intended as one way of communication from the production floor to the engineers of the suggestions and pointing out the errors created by the engineering department. Engineering department reading the feedback can take necessary action to correct or incorporate the information and then erase the contents of the Feedback note. This information may be added or edited in this module as well as from the Shop Floor module.
|
|
|
If Red, this button displays Work Instructions in text and pictorial format for operations associated with the work center. The Work Instructions must have been established in the Product Data Management module first. Users may load a PDF file in the Work Instructions. This allows users access to whole textbooks from within ManEx. PDF files can be drawings, images, CAD files (as printed to a plotter) and multiple pages of mixed test and graphics. Users may also print these PDF files from ManEx.
|
|
|
If Red, this button displays Special Instructions in text and pictorial format for setting up the work center. The Special Instructions are not printed on the travelers. The Special Instructions must have been established in the Product Data Management Module first.
|
|
|
If Red, this button will display any Tool/Fixture information which has been assigned to the Product through the Routing or Product Data Management (PDM) Module. This information is then also updated to the Routing setup module. Users will be able to edit the information from both the PDM and Routing setup screens. This information will then be available within the Shop Floor Tracking module for the users to View only.
|
|
|
If Red, this screen will display the WIP Status of all the open work orders for this product and show where the quantities are in the shop floor.
|
|
|
If Red, the part numbers that are assigned to that specific Work Center within the BOM module will be listed within this screen.
|
|
|
If Red, there is an ECO with the status of Approved within the system.
|
|
|
If Red, this screen will list the detailed information pulled forward from the ECO Control Management module pertaining to any approved Deviations for the selected product.
|
|
|
If Red, this screen will display Quality information for the Product that is displayed for the selected work center.
|
|
| 1.3.3. Check List Title Screen | This screen allows the user to establish check lists for each PRODUCT. Note that this is a different check list than the one for Work Order which is set up in Shop Floor Tracking Defaults . Items may be added to the check list in the edit mode.
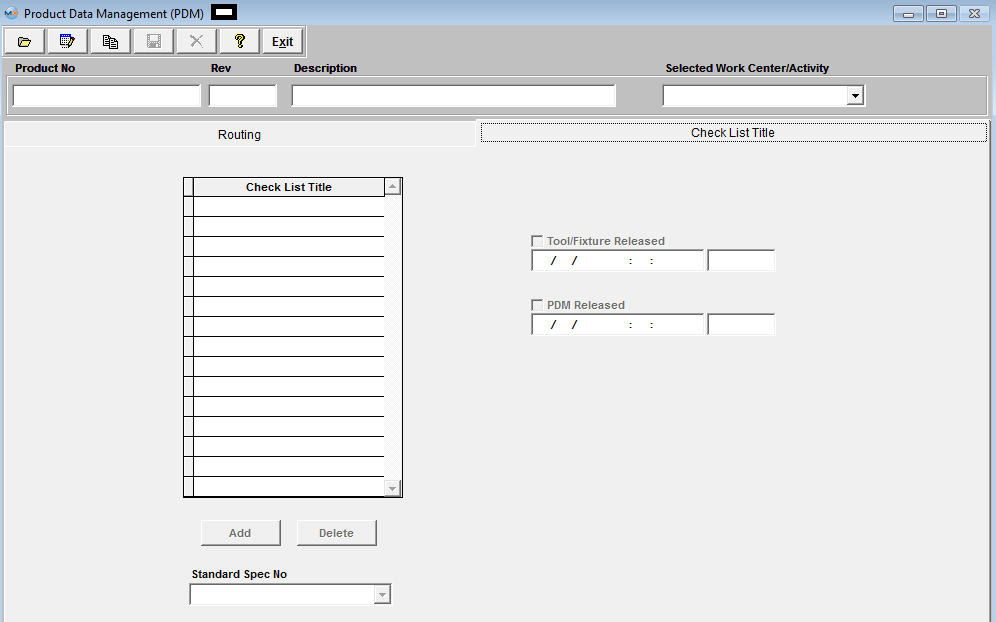
| Check List Title |
Description of the Check to be Performed |
| Tool/Fixture Released |
Check this box to release the Tool Fixture. This box MUST be check when usiing the Unreleased Work Order List and/or for the Tool/Fixture button to be enabled in the Shop Floor Tracking module..
Note: Users MUST have special rights within the Security module to check this box. Users with “supervisor’s rights” will automatically have access.
|
 |
This box will display the date and time of when the Tool/Fixture was Released and will also display the initials of the user that checked the box. |
| PDM Released |
Check this box to release the PDM. This box must be check when usiing the Unreleased Work Order List .
Note: Users MUST have special rights within the Security module to check this box. Users with “supervisor’s rights” will automatically have access.
|
|
This box will display the date and time of when the PDM was Released and will also display the initials of the user that checked the box. |
 |
Pressing the ADD button opens another field in which information may be placed in the Check List per product number/work center. |
 |
Pressing the DELETE button deletes the item from the Check List that the cursor is on when the delete button is pushed.
|
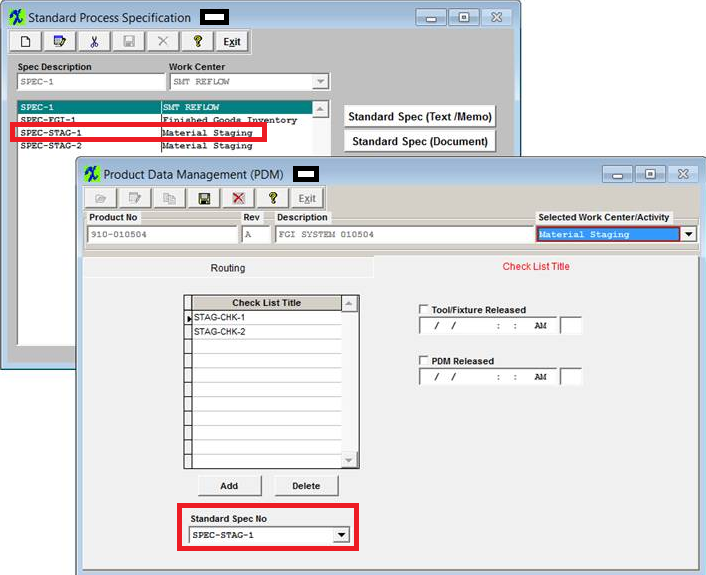
| Standard Spec No |
Select the Standard Specification Number from the pull down list displaying after depressing the down arrow. These are defaulted in from the PDM Standard Process Specification module. |
This information will be carried forward into the Shop Floor Tracking module for the highlight Work Center.
|
| 1.4. How To ..... for PDM |
| 1.4.1. Finding A Product Data Management Record |
|
Enter the SQLMANEX.EXE (within the ManEx root directory)
This action will then prompt the user for a password
|
 |
|
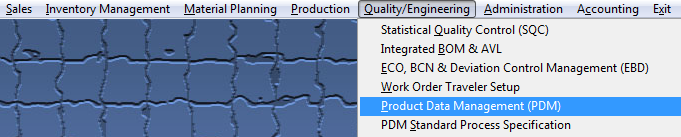
The following screen will be displayed, select Quality Engineering/Product Data Management (PDM)
|
 |
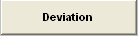
The following screen will be displayed:
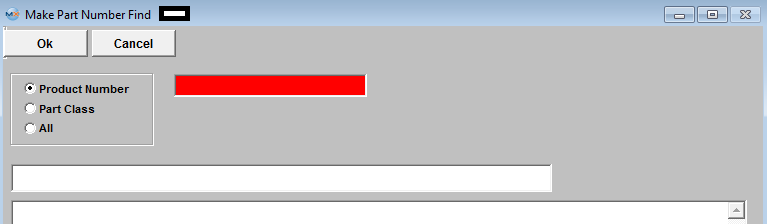
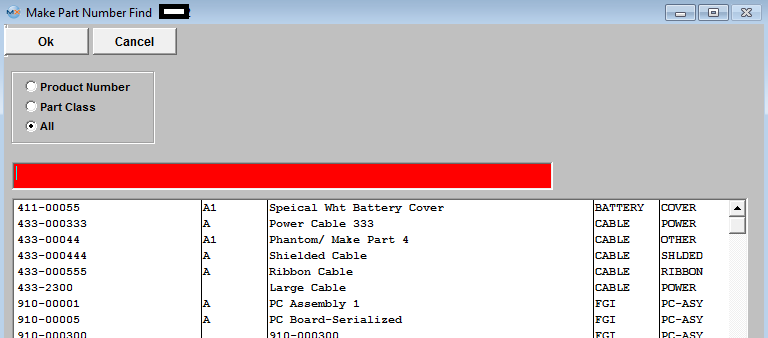
| Depress the Find Record action button. The following Selections will appear. User may select to find a record by Product Number, Part Class, or All. If user selects by Product Number they may enter the PN in the Red box or enter in a partial Product Number and a list of Product Numbers will be displayed that contain this number to select from. To Find by Part Class user may enter in a Part Class and a list of Product Numbers within this class will be displayed to select from. |
 |
|
If the user selected to find by All. All the Product Numbers within the Inventory records will be displayed to select from:
|
 |
When the part number is located, the screen displays Work Order Traveler Setup information about the product.
The plus (+) mark preceding work centers indicate that additional activities are included in the work center, and may be viewed by clicking on the plus sign.
|
| 1.4.2. Add Information to the PDM Module | |
To attach Related Documentation See Article #2396 . Once the information is loaded, the user may re-visit the Documentation in the PDM module and may also access the information from the Shop Floor Tracking Module.
See Article #3272 on how ManEx can help to simplify the process of identifying, tracking, and eliminating attrition and scrap.
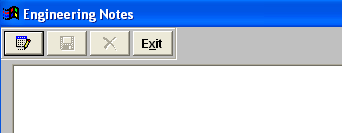
To add Engineering Notes or Production Feedback, depress the buttons, a blank screen will appear, type in the information, and depress the Save action button to save the changes or depress the Abandon changes action button to abandon changes.
|
 |
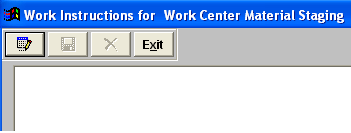
To view existing Instructions or add Work Instruction or Special Instructions, depress the buttons, a screen will appear, type in the information, and depress the Save action button to save the changes or depress the Abandon changes action button to abandon changes. To load PDF files depress the clipboard next to the Work Instruction or Special Instructions. This allows the user to load and give users access to whole textbooks from within ManEx. PDF files can be drawings, images, CAD files (as printed to a plotter) and multiple pages of mixed test and graphics. Users may also print these PDF files from ManEx. See Article #2823 for instructions on loading pdf files to the Work Instructions or Speical Instructions.
|
 |
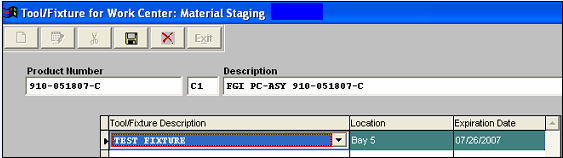
| Depress the Tool/Fixture button and this screen will appear: |
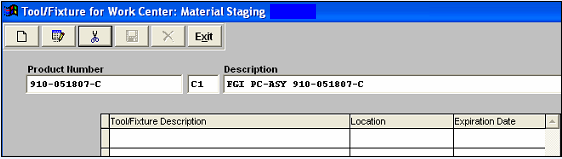 |
| Depress the Add action button. Select the Tool/Fixture from the pull down. |
 |
|
Enter the Location and Expiration Date. Depress the Save action button to save the changes or depress the Abandon changes action button to abandon changes
|
 |
WIP Status - displays the WIP Status of all the open work orders for this product and displays where the quantities are in the shop floor.
WC BOM - The part numbers that are assigned to that specific Work Center within the BOM module will be listed within this screen.
 |
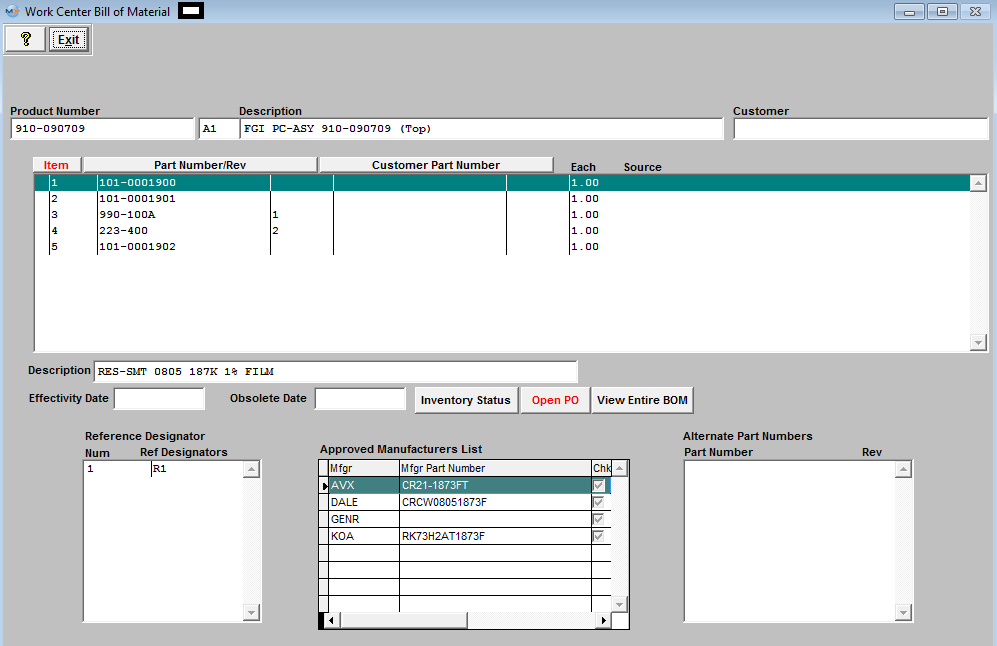
Depressing the “View Entire BOM” button will then display all parts listed on that BOM regardless of the Work Center. If there is a customer part number linked to the highlighted number in the main grid, then the Customer Part number information will be displayed. The Reference Designators will be listed for the highlighted part number, which is pulled forward from the BOM module. All AVL information will be displayed in the Approved Manufacturer list, and the system will show the approved AVL’s with a check mark next to it (same as in the BOM module) Alternate Part Number section will list any Alternate part numbers that were selected within the BOM module.
|
 |
Depress the “Inventory Status” button, the following screen will be display Available Inventory information for the highlighted part number. EXIT will bring you back to the previous screen.
|

 |
Depress the “Open PO” button. The following screen will display all open Purchase Orders and their Balance Quantities for the highlighted part number. Exit will bring you back to the previous screen. |
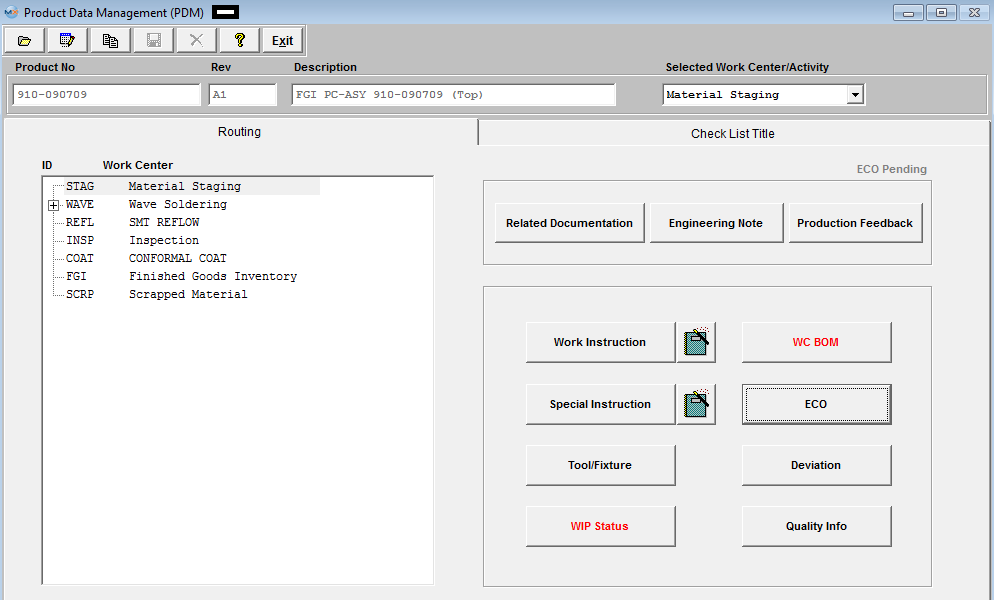
ECO - All of this information is carried forward from the ECO Control Management module. If the highlighted part number within the Part Change Information section was added as a Consigned item, then the associated Customer Part Number information will populate the field. EXIT will bring you back to the Product Data Management module.
Deviation - All of this information is carried forward from the ECO Control Management module. If the highlighted part number within the Part Change Information section was added as a Consigned item, then the associated Customer Part Number information will populate the field. EXIT will bring you back to the Product Data Management module.
Quality Info - This screen will display Quality information for the Product that is displayed for the selected work center.
| If the highlighted work center has not had Inspection information entered against it, then the following message will be displayed |
 |
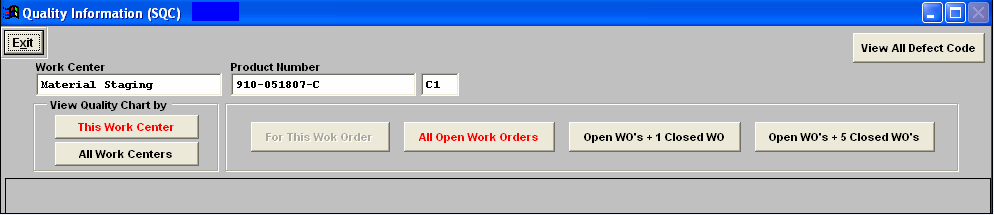
Once you depress the OK button the following screen will be displayed. You can then change the selections to view All Work Centers if need.
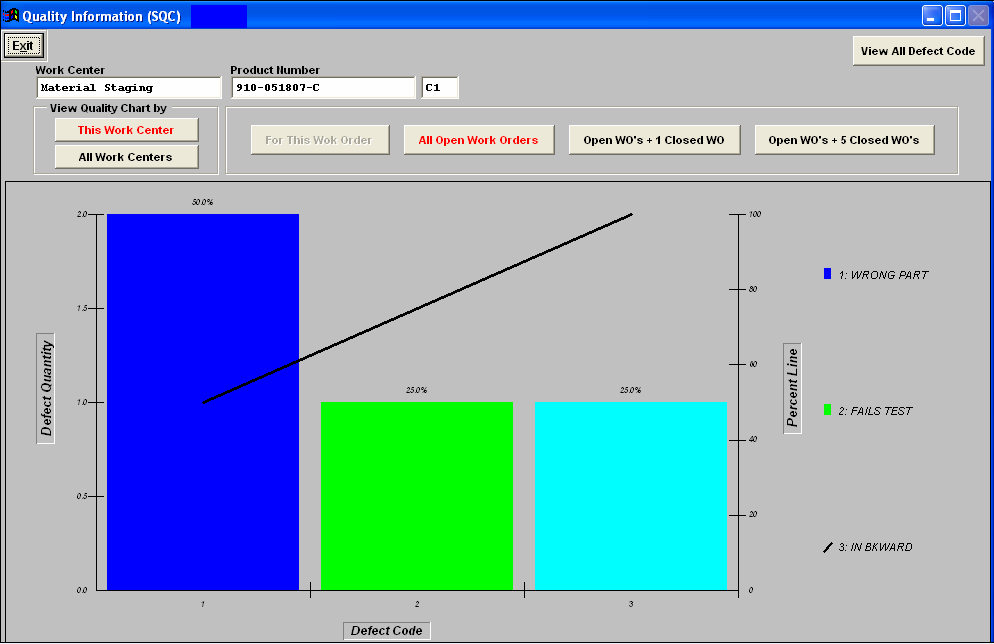
If there has been Inspection information entered for the highlighted work center then the following screen will be displayed. The Quality information displayed on screen will appropriately update as the user selects the desired button selections. Exit will bring you back to the Product Data Management Module.
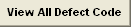 |
Depressing this button will display the following screen. Which is just there for reference for the users to use, just in case they do not recall what the displayed Defect Code stands for on the previous screen. |
 |
|
| 1.4.2.1. Load Document |
| Depress the Clipboard next to the Work Instructions or Special Instructions Button |
 |
The following screen will appear:
|
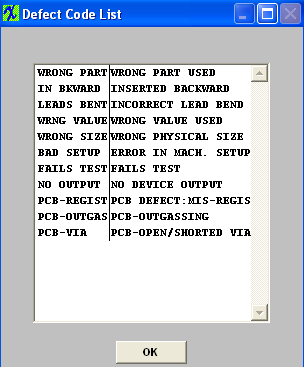
To load images or documents, depress the "Load Document" button, up in the right hand corner of the screen. A browser screen will appear similar to this one:
Find and highlight the desired Image file, as illustrated.
Once the file name appears, depress the Ok button.
Note: that the user can also load other document types by changing the File of Type to ALL
|
 |
The file will appear in the screen as displayed:
Depress the Save action button to save the changes or depress the Abandon changes action button to abandon changes. Exit will bring the user back to the Product Data Management module.
All files and images planned to be used within the Product Data Management module should be stored in a permanent directory on the server, which users will have read access to. The user will define the directory and file for each product in this module, but the information will be available elsewhere throughout the manufacturing module.
|
| 1.4.3. Setup a Checklist |
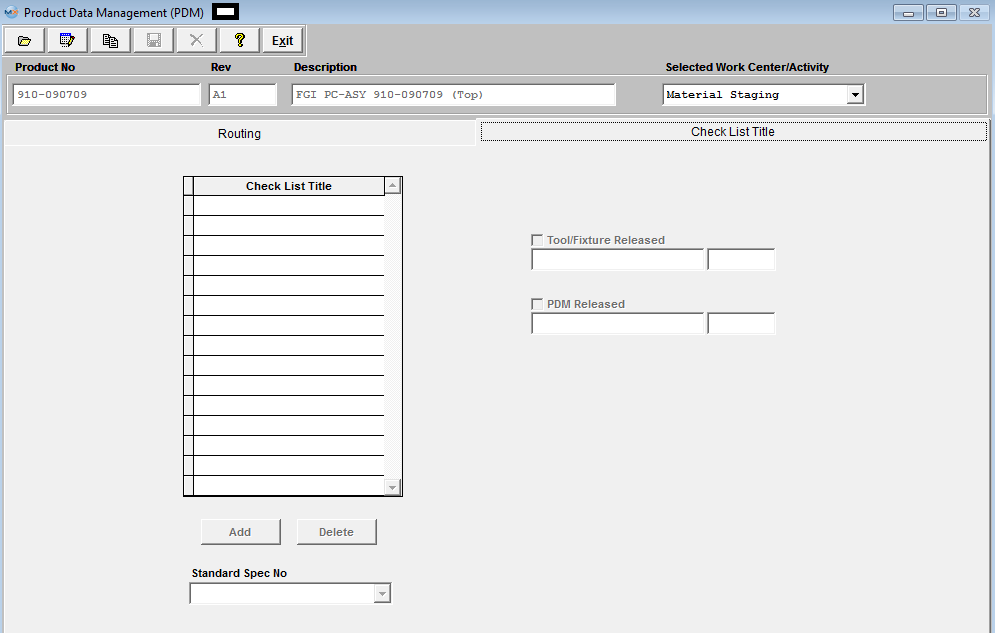
Depress the Check List Title tab. The following screen will be displayed:
This screen allows the user to establish check lists for a specific Work Center for a specific PRODUCT. This checklist is for users to check if they do all the necessary task, but it does NOT enforce the user to check all items before the user can transfer to next WC. Note: this is a different check list than the one setup for Work Orders which is set up in Shop Floor Tracking Defaults .
| Select the Work Center/Activity from the Pull down: |
 |
.
|
Select the Standard Specification Number from the Pull down:
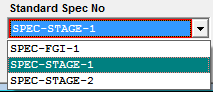
NOTE: Only one Standard Spec No can be selected for a product number/work center.
|
 |
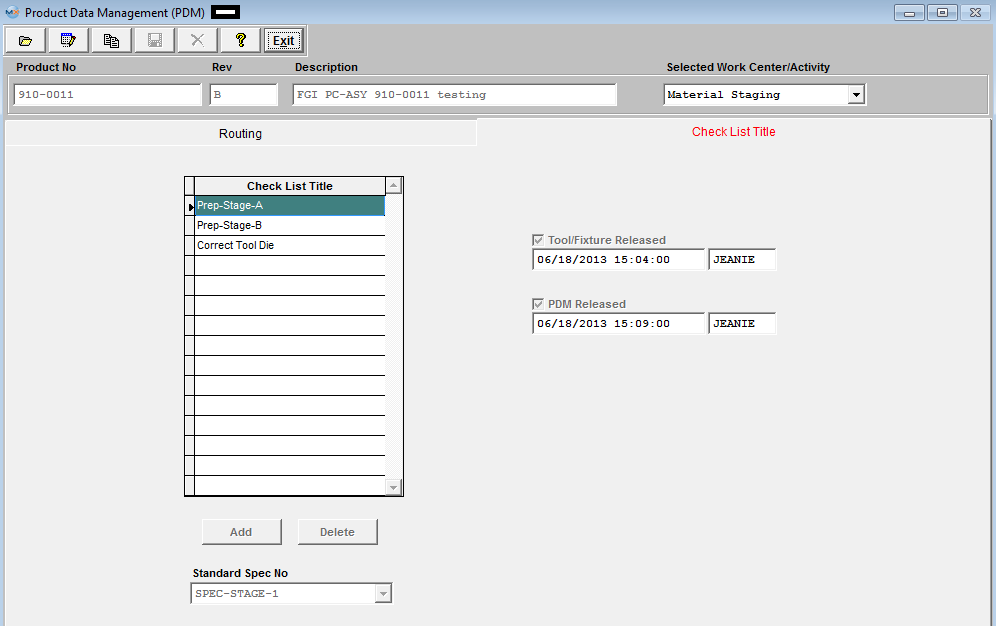
To Create the Check List, depress the "ADD" button and enter all the necessary information under the Check List Title per product number/work center directly. Depress the "ADD" button to enter a new specification under the Check List Title until the Check List complete for that specific Work Center/Activity.
Pressing the DELETE button deletes the item that the cursor is on when the delete button is pushed.
While screen is in Edit mode, user may also check the Tool/Fixture Released and/or PDM Released boxes. Note: Users MUST have special rights within the Security module to check these boxes. Users with “supervisor’s rights” will automatically have access. These boxes must be check when usiing the Unreleased Work Order List and the Work Center Checklist .
Depress the Save button to save changes or depress the Abandon changes button to abandon changes. The completed screen should appear as follows:
This information will be carried forward into the Shop Floor Tracking module for the highlight Work Center. NOTE: If there are existing Work Orders to update user MUST go to the WO Traveler screen and depress the "Update Open Work Orders" button.
|
| 1.4.4. Copy Information from another Product | Find a PDM Record.
The following screen will appear:
|
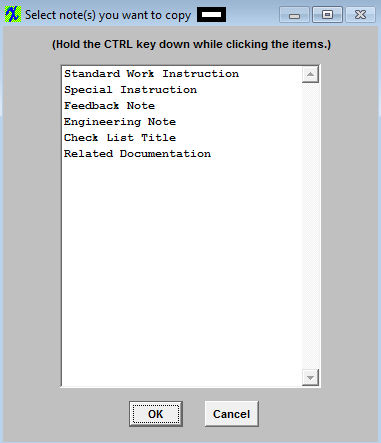
Depress the Copy button, to copy a routing and the following selection screen will appear:
Users can select one or more of the options by highlighting them. To continue depress the "OK" button.
Note: All notes on the existing routing will be removed and/or replaced with the new notes when copying a routing.
|
 |
|
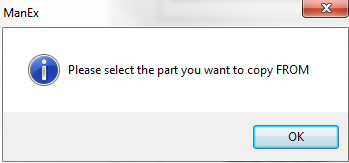
The following message will appear:
Depress the OK button
|
 |
|
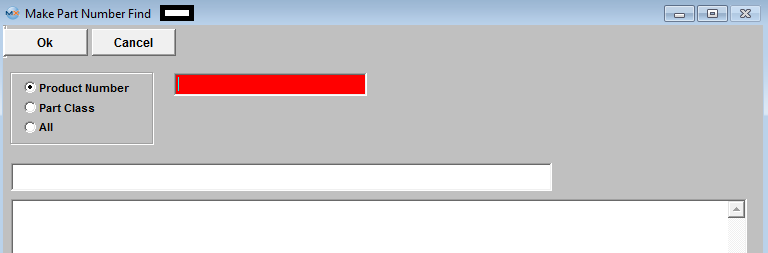
The following selection screen will appear:
Choose to find Product by Product Number, Part Class, or All
|
 |
|
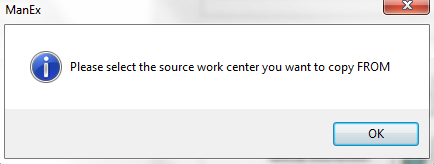
The following message will appear:
Depress the OK button
|
 |
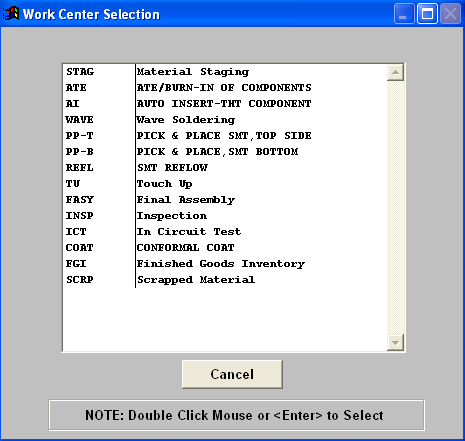
| Double click on the Work Center Selection |
 |
|
|