| 1. Receiving And Billing Information |
| 1.1. Prerequisites for Receiving & Billing Information | ||||||||
Prerequisites for Entering Receiving & Billing Information:
After activation, "Receiving Information" access for each user must be setup in the ManEx System Security module. Users with “Supervisor Rights” will automatically have access.
The Sales Tax Authority must be setup in System Setup /Sales Tax Authority Table The Ship Via must be set up in System Setup /Ship Via The FOB must be setup in System Setup /FOB The Ship Charge must be setup in System Setup /Ship Charge
|
| 1.2. Introduction for Receiving & Billing Information |
| The Receiving & Billing Information Module is used to record the details of the user’s billing and receiving addresses. |
| 1.3. Fields & Definitions for Receiving & Billing Information |
| 1.3.1. Receiving Address Tab | ||||||||||||||||||||||||||
|


| 1.3.2. Tax & Shipping Mode Tab | ||||||||||||||||||
|

| 1.3.3. Billing Information Tab | ||||||||||||||||||||||
|
| 1.4. How To ..... for Receiving & Billing Information |
| 1.4.1. Add Receiving and Billing Information | ||||||||||||
|
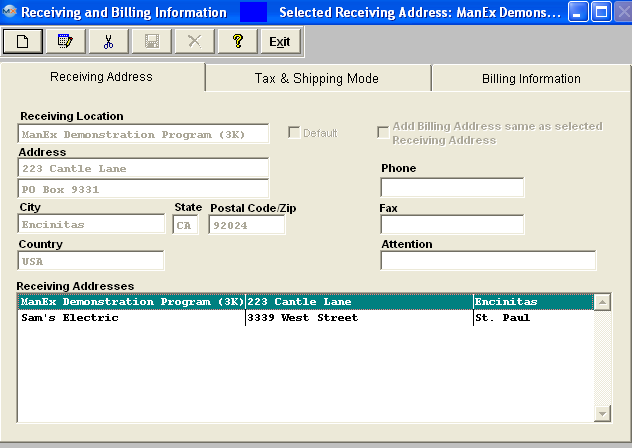
The following screen will be displayed:
Depress the Add action Button. Note: When the Add button is selected user will be able to add "Receiving" and "BIlling" addresses. Enter in all of the receiving information as you would like it to appear on your Purchase Order.
Enter a street address - this would be where you would like the goods delivered. Two address lines are allowed. The second line is for a suite number, etc. Enter a phone number at the receiving location (if applicable). Enter a fax number at the receiving location (if applicable). Enter in the city, state and zip code. Enter in the country of the receiving location. Enter in the name of the contact at the receiving location.
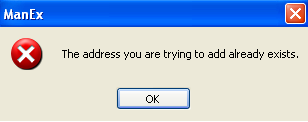
Check the "Add Billing Address same as selected Receiving Address" box if you would like this address added to the Billing Address list also. Note: If you check this box, it will stay checked until you select a different receiving address. Unchecking this box will not affect any data. If this box is check and the address user is trying to add already exists they will receive the following message:
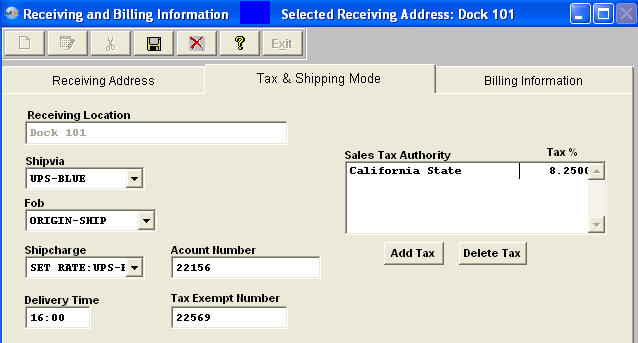
 A sample of the completed screen appears below: 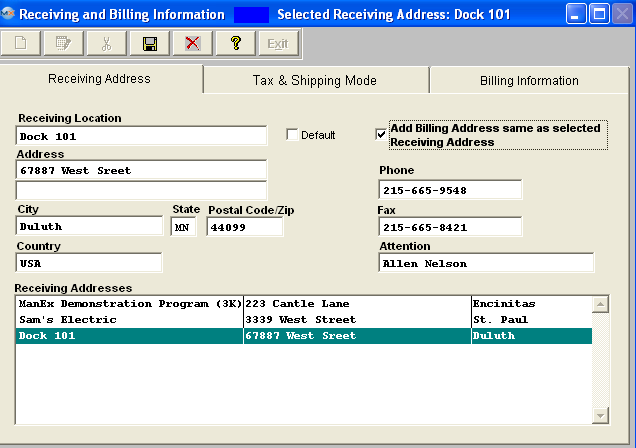 Depress the Tax and Shipping Mode information. 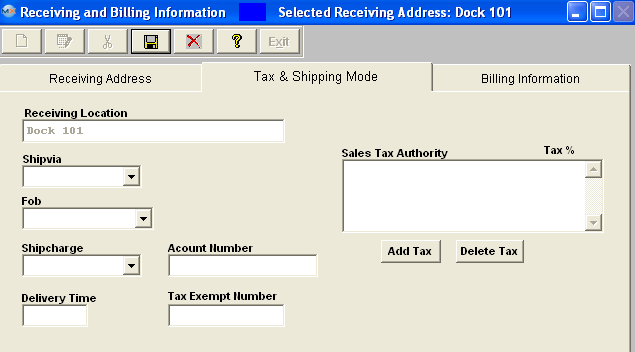 This screen has information for carrier name, FOB, tax status, etc. The name of the company at the receiving location carries over from the previous screen and can NOT be edited.
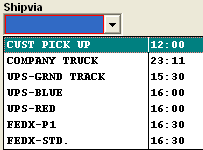
Select the carrier from the pull down. The selections default in from the Ship Via setup module within System Setup.
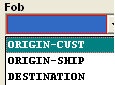
Select the FOB (Free-on-board) information from the pull down. This is the point when title passes. the selection default in from the FOB setup module within System Setup. Sales Tax
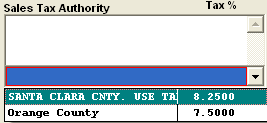
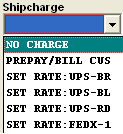
The sales tax authority and the Tax % is for those purchases which are subject to tax. Depress the "Add Tax" button and the selections will default in form the Sales Tax Authority Table setup module setup within the System Setup. Choose the one applicable to your company’s purchases. Select the Ship Chargefrom the pull down. The selections are defaulted in from the Ship Charge setup module within System Setup. This will indicate the shipcharge preference of the user Enter in the user’s account number in those instances where the user will be paying the freight charges directly to the carrier and not to the supplier. Enter in the time when the delivery is expected to be at the receiving location. Enter in the user’s sales tax identification number for those purchases which are not subject to sales tax. Please check with your state or local sales tax authorities for more information regarding Sales Tax exemptions since the laws vary from state to state. A sample of the completed screen appears below:
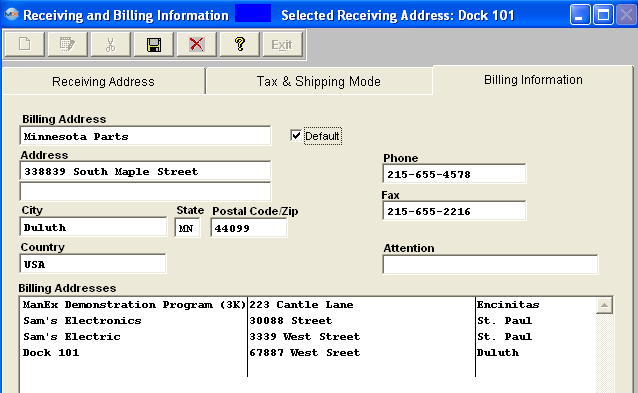
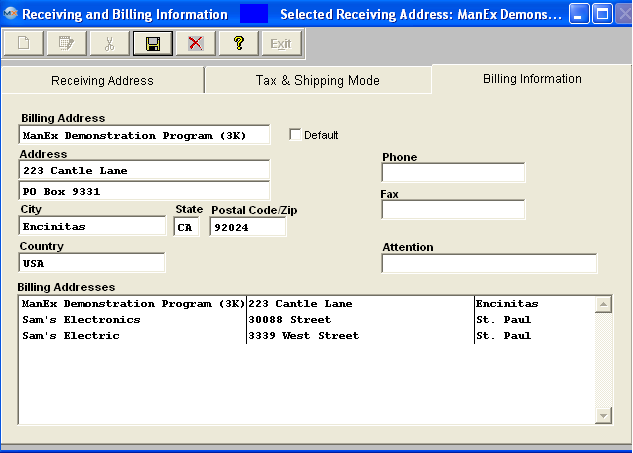
Depress the Billing information tab. This would be the address of the user’s Accounts Payable department. If you checked the "Add Billing Address same as selected Receiving Address" box on the Receiving address page the address was automatically added, however you can over write this address if you choose to do so. 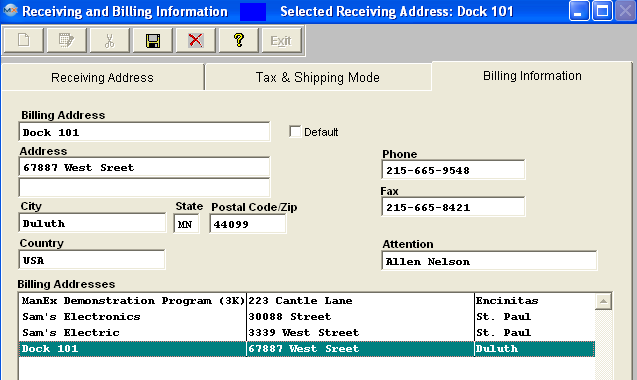 If you want to keep all the addresses listed and add a new address then you would need to depress the Save button at this point, then depress the Add button to add a new address to the Billing Address list.  Enter in a Billing name or location. Note: This is a required field. If you have more than one billing location, you must select at least one as the default. You can choose among the selection of billing addresses when you prepare the purchase order. Enter in the street address where you want your billing mailed. Two address lines are allowed. The second line is for a suite number, etc. Enter in the phone number at the billing location (if applicable) Enter in the fax number at the billing location (if applicable). Enter in the city, state and zip code. Enter in the country of the billing location. Enter in th name of the contact at the billing location, normally Accounts Payable, for example. The completed screen would appear as follows:
|