| 1. Accounts Receivable Check Returns |
| 1.1. Prerequisites for A/R Check Returns |
|
Users MUST have full rights to the "Returned Checks" in Accounting Security . Users with “Accounting Security Supervisor” rights will automatically have access. Existing A/R Cash Receipt |
| 1.2. Introduction for A/R Check Returns |
| If the bank returns a check, the user may record the Check Return in this module. Completing the transaction will credit the Bank Account in which the check was deposited, and reverse the application of the funds made in the Bank Deposits module. Additionally, the A/R Aging will update, if applicable |
| 1.3. Fields & Definitions for A/R Check Returns | ||||||||||||||||||
A/R Check Returned Recording - Field Defintions
|
| 1.4. How To ...... for Check Returns |
| 1.4.1. Add Check Returns | ||||
|
The following Screen will be displayed:
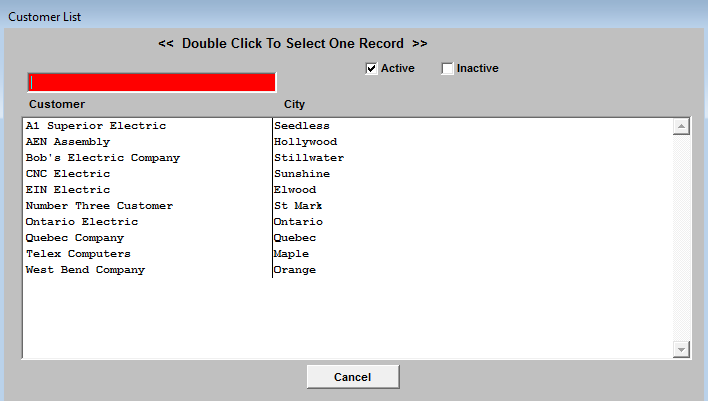
Depress the Add Record icon will then prompt the user to enter a Customer Name. The user may enter the Customer Name in the red search box, or move the cursor to the selected Customer and double click on the line. By default, only active Customers are shown, but if the user wishes to see inactive Customers, then clicking on the Inactive box will display both types of Customers.
Selecting a Customer will then cause a list of checks in the date range from that Customer to be displayed.
The user should then select the Check being returned by double clicking on the line. After the appropriate Check is selected, the original screen is populated with the data. The user may then enter a note about the Returned Check, if desired. Depress the Return Check Note. Depress the Edit button. Type in the note. Depress the Save button. Depress the Exit button.
Upon validating that the information is accurate, the user may Save the Returned Check record or the user may Abandon the operation. Saving the record credits the Bank Account and reverses any Cash Receipt transactions associated with the Returned Check.
|


| 1.5. Reports for Check Returns | ||
|
To obtain the AR Check Returned Reports within the Web, select the WEB Print button from the ManEx action buttons at the top
of the screen. For further detail on How the Reports work
within the Web refer to Article #5477. Note: In order to access the Reports within the Web the Company Root URL must be setup within the System Appearance module and user must be linked to web within the System Security Module.
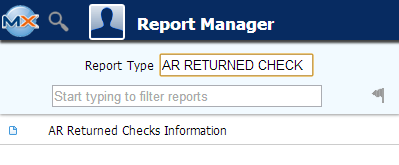
Select
the Report Type: AR RETURNED CHECK - A List of Reports will be displayed that are
available on the Web for AR RETURNED CHECK
To obtain the AR Check Returned Reports, select the Print button from the ManEx action buttons at the top of the screen.
The following reports screen will display a list of reports that are available on the ManEx Desktop: 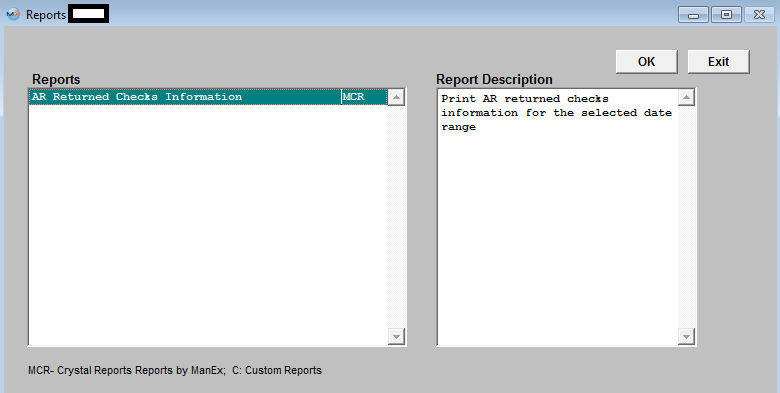
Highlight the report and depress the OK button.
A/R Returned Checks Information
The following report will print:
 |