To obtain the AR Aging Reports within the Web, select the WEB Print button from the ManEx action buttons at the top of the screen. For further detail on How the Reports work within the Web refer to Article #5477.
Note: In order to access the Reports within the Web the Company Root URL must be setup within the System Appearance module and user must be linked to web within the System Security Module.

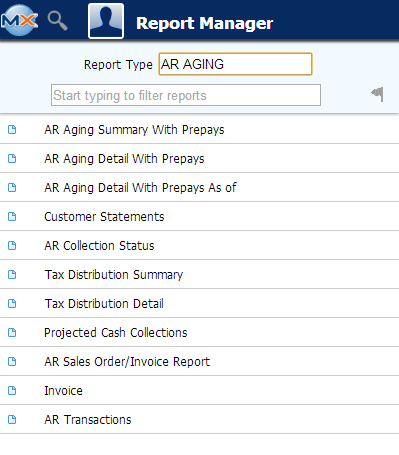
Select
the Report Type: AR AGING - A List of Reports will be displayed that are
available on the Web for AR AGING
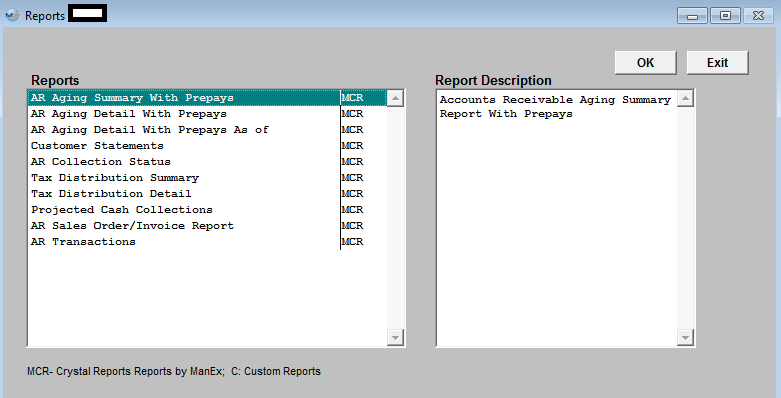
To obtain the AR Aging Reports within the desktop, select the Print button from the ManEx action buttons at the top of the screen.
The
following reports screen will display a list of reports that are available on
the ManEx Desktop:
Highlight the report. Depress the OK buttonAR Aging Summary With Prepays
|
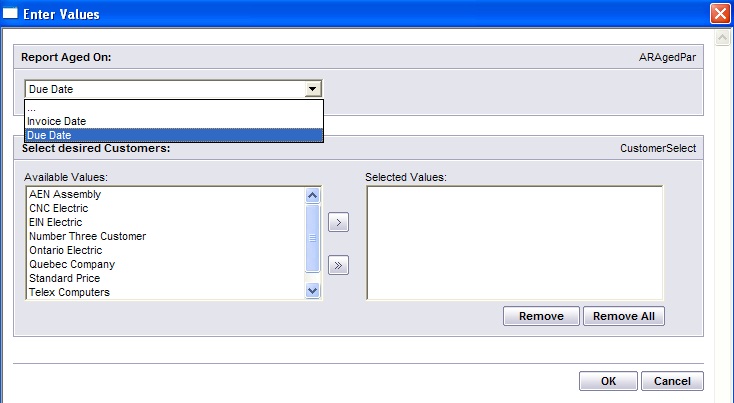
Select the Report Aged On: Invoice Date or Due Date;
Select the Customer(s) of interest and depress the > button. If you want all of the Customers, depress the >> button.
Depress the OK button
|
 |
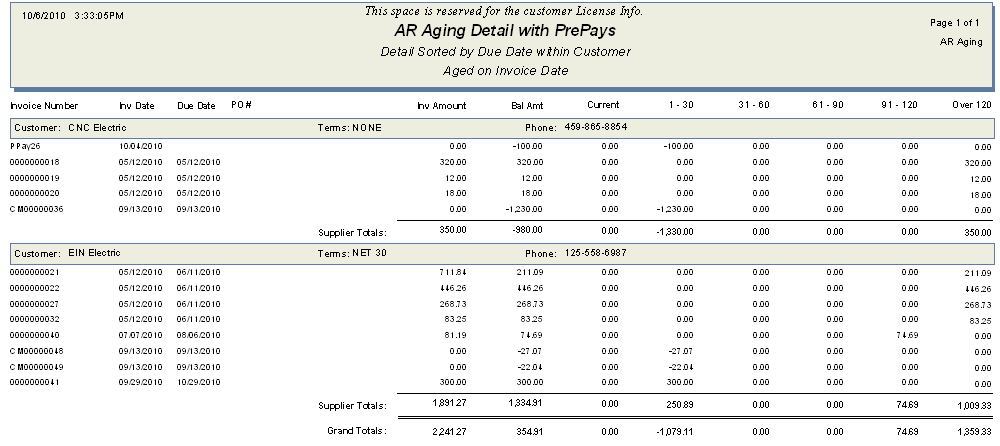
The following Report is printed:

AR Aging Detail with Prepays
|
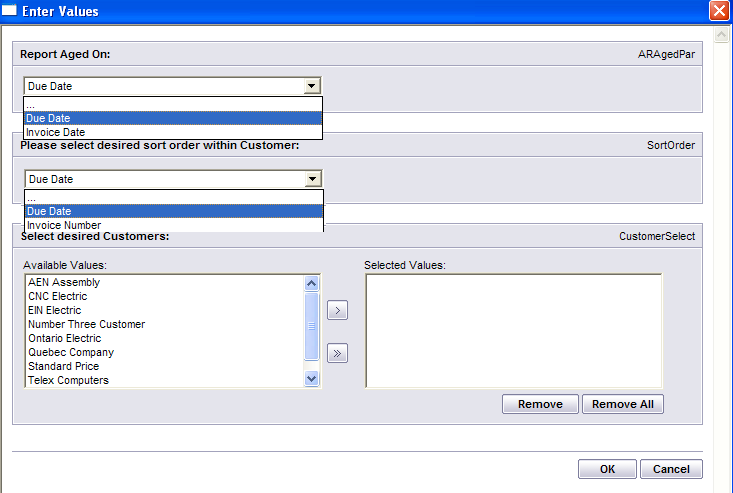
Select the Report Aged On: Due Date or Invoice date;
Select the Desired Sort Order within Customer: Due Date or Invoice Number.
Select the Customer(s) of interest and depress the > button. If you want all of the Customers, depress the >> button.
Depress the OK button
NOTE: You want to be sure that all invoices have been released and posted to the GL. The "AR Aging Detail with Prepays As Of" report does NOT list invoices that have NOT been released/posted to the GL yet. This report is intended to match the GL account information not the AR Aging screen.
Note: If this report is still not matching the GL account information after all transactions have been released and posted to the GL then it may be due to Posted Journal Entries against the AR GL account. These JE's will not be accounted for on the AS OF report yet will affect the GL Account balance and could explain why you are seeing a difference between the two.
Also, if the users are in the habit for changing the Invoice dates to way out in the future. In this scenario they would see the invoice on the aging screen but it will not display on the report until it reaches that date.
|
 |
The following report will appear:
AR Aging Detail with Prepays as of
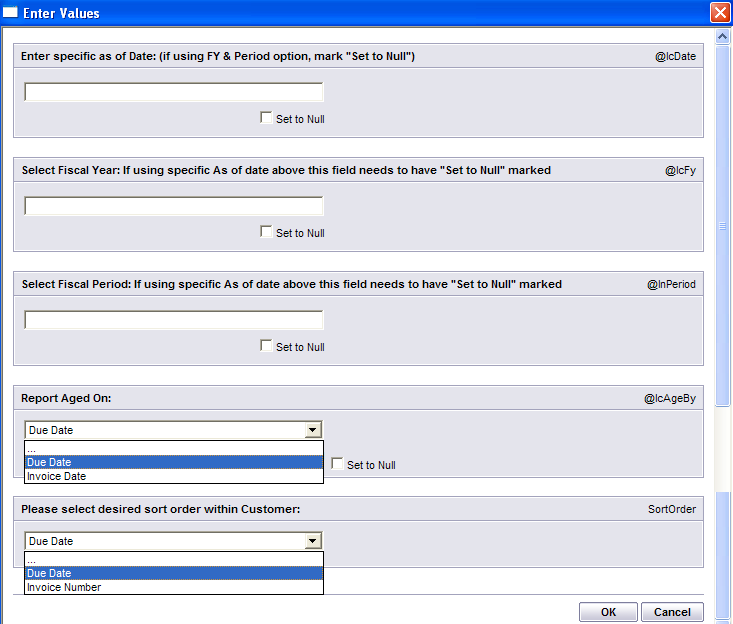
Enter a specific Date mm/dd/yyyy or Fiscal Year and Period. Note: Check the "Set to Null" box for the field's not being used.
Select the Desired Sort Order within Customer: Due Date or Invoice Date
Select the Report Aged On: Due Date or Invoice Number
Highlight the Customer(s) of interest and depress the > button. If you want all of the Customers, depress the >> button.
Depress the OK button
NOTE: You want to be sure that all invoices have been released and posted to the GL. The "AR Aging Detail with Prepays As Of" report does NOT list invoices that have NOT been released/posted to the GL yet. This report is intended to match the GL account information not the AR Aging screen.
Note: If this report is still not matching the GL account information after all transactions have been released and posted to the GL then it may be due to Posted Journal Entries against the AR GL account. These JE's will not be accounted for on the AS OF report yet will affect the GL Account balance and could explain why you are seeing a difference between the two.
Also, if the users are in the habit for changing the Invoice dates to way out in the future. In this scenario they would see the invoice on the aging screen but it will not display on the report until it reaches that date.
|
 |
The following report will appear:

Customer Statements
|
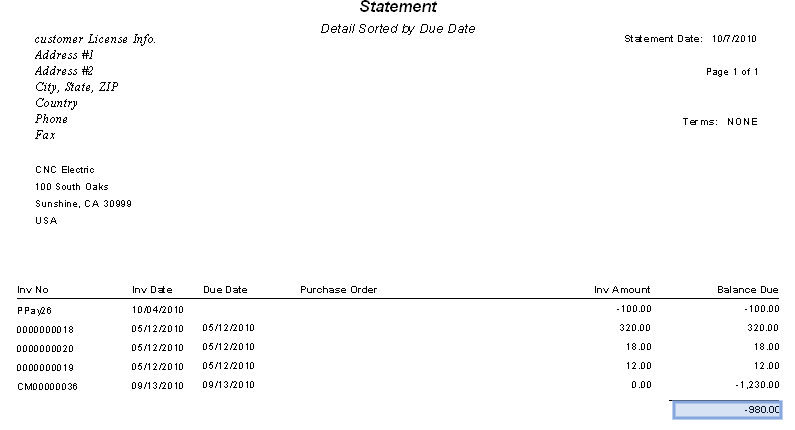
Select the proper Sort on: Due Date or Invoice Number.
Select the Customer(s) of interest and depress the > button. If you want all of the Customers, depress the >> button.
Depress the OK button
|
 |
The following report will appear:
AR Collection Status
|
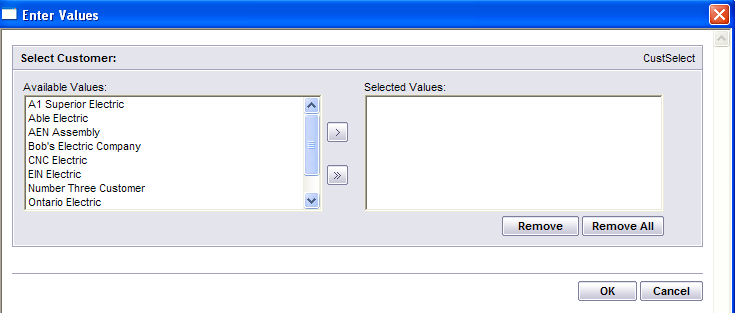
Select the Customer(s) of interest and depress the > button. If you want all of the Customers, depress the >> button.
Depress the OK button
|
 |
The following report will appear:

Tax Distribution Summary
|
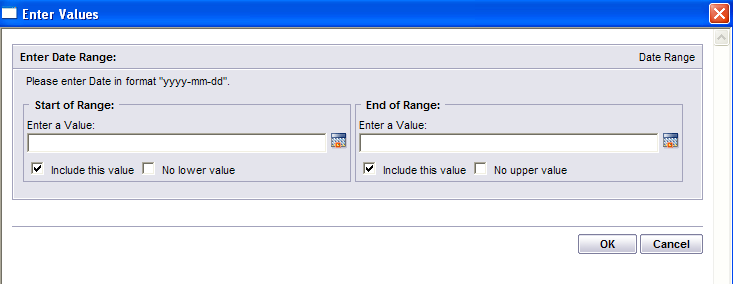
Enter a "Start of Range" Date in format "yyyy-mm-dd" or check the "No Lower Value" box. Enter a "End of Range" Date in format "yyyy-mm'dd" or check the "No Lower Value" box. Note: User must enter either a Start or End of Range date or both in order for report to print.
Depress the OK button
|
 |
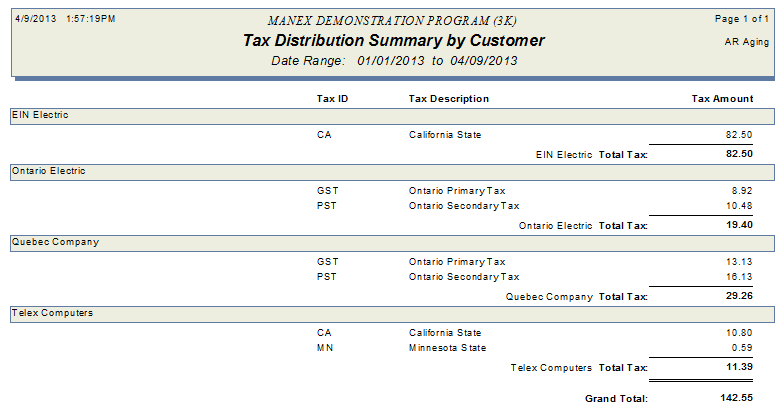
The following report will appear:
Tax Distribution Detail
|
Enter a "Start of Range" Date in format "yyyy-mm-dd" or check the "No Lower Value" box. Enter a "End of Range" Date in format "yyyy-mm'dd" or check the "No Lower Value" box. Note: User must enter either a Start or End of Range date or both in order for report to print.
Depress the OK button
|
 |
The following report will appear:

Projected Cash Collections
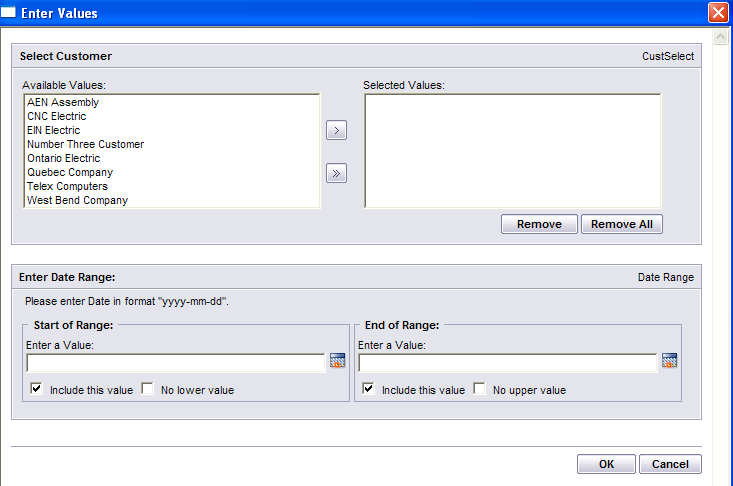
Select the Customer(s) of interest and depress the > button. If you want all of the Customers, depress the >> button.
Enter a "Start of Range" Date in format "yyyy-mm-dd" or check the "No Lower Value" box. Enter a "End of Range" Date in format "yyyy-mm'dd" or check the "No Lower Value" box. Note: User must enter either a Start or End of Range date or both in order for report to print.
Depress the Ok button
|
 |
The following report will appear:

AR Sales Order/Invoice Report
|
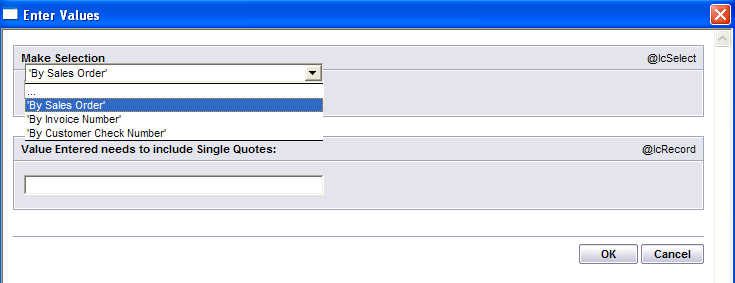
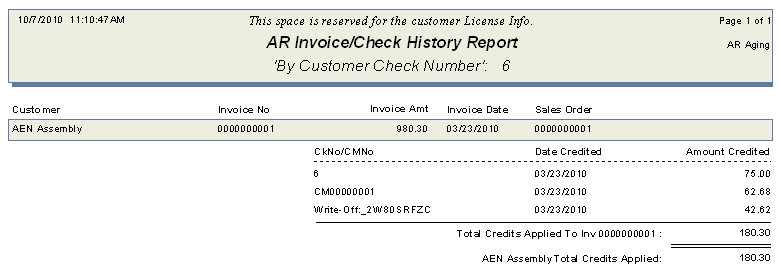
Select the desired Report - "By Sales Order", "By Invoice Number" or by Customer Check Number" . Enter the exact Sales Order number, Invoice number or Customer Check number you are interested in.
Depress the OK button
|
 |
The following report will appear:
AR Transactions
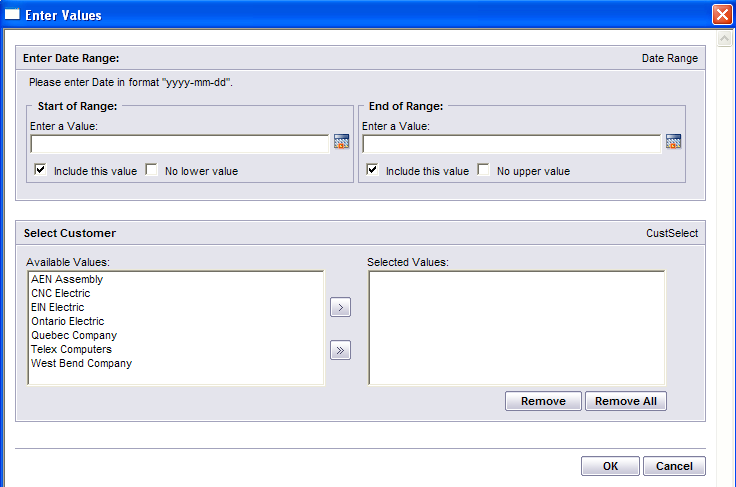
Enter a "Start of Range" Date in format "yyyy-mm-dd" or check the "No Lower Value" box. Enter a "End of Range" Date in format "yyyy-mm'dd" or check the "No Lower Value" box. Note: User must enter either a Start or End of Range date or both in order for report to print.
Select the Customer(s) of interest and depress the > button. If you want all of the Customers, depress the >> button.
Depress the OK button
|
 |
The following report will appear:

| 

