| 1. How To ..... for WO Traveler Setup |
| 1.1. Find a Work Order Traveler | ||||
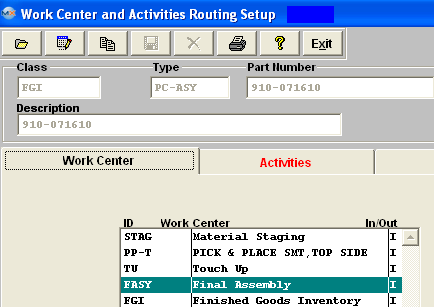
Enter the SQLMANEX.EXE (within the ManEx root directory) The following screen will be displayed, select Quality Engineering/Work Order Traveler Setup The following screen will be displayed:
In this screen, a Work Order Traveler setup is either Created or Edited.
Depress the Find record icon, the following dialog box will be displayed: If user elects to find by the Product Number or by Part Class they must enter in the Product Number or Part Class in Red box. If you do not know the exact number, Customer, etc you may enter in a partial number, letter, etc, then once you depress the enter key the system will pull up the matching record onto the screen or a list of all Part Numbers that contain the partial number, letter, etc. entered, to select from.
If user elects to find by selecting the "All" radio button. The user selects the desired product by either entering it into the red box, or scrolling down the list and double-clicking on the desired product.
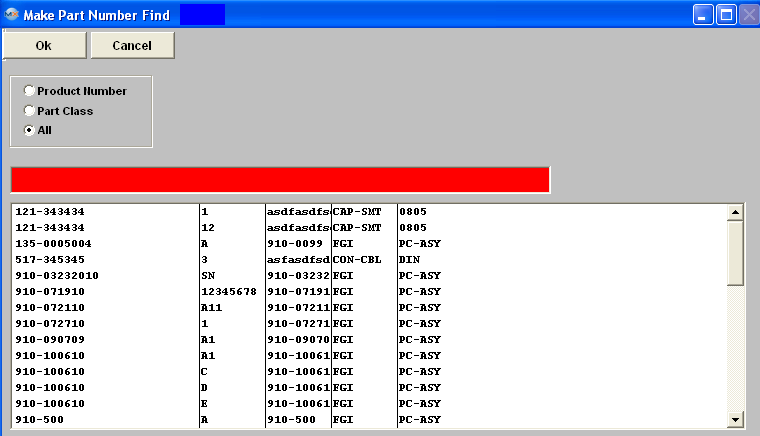 The following screen will be displayed with the data for the selected product.
. |

| 1.2. Setup/Edit a Work Order Traveler Routing | ||
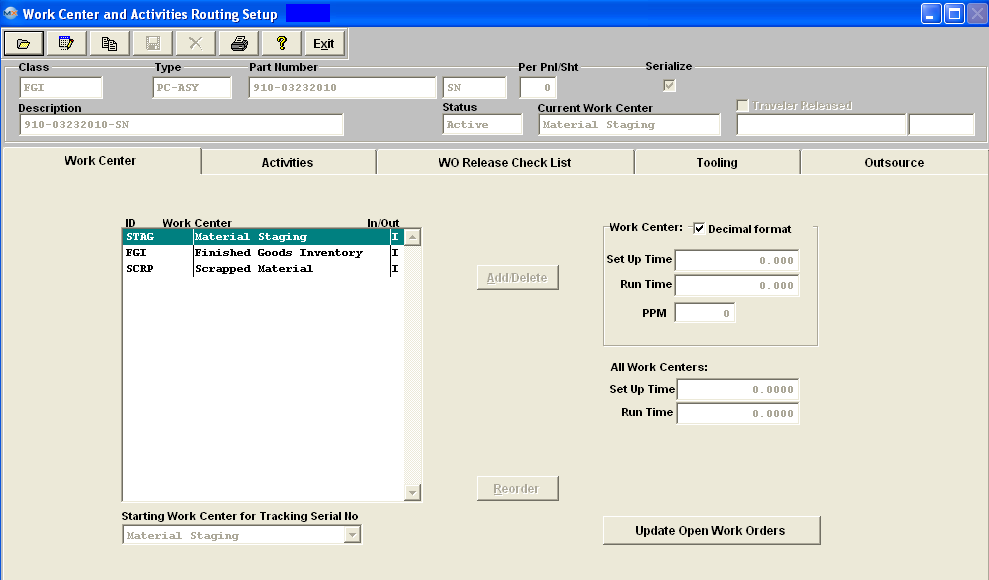
Setup a Work Order/Traveler Routing
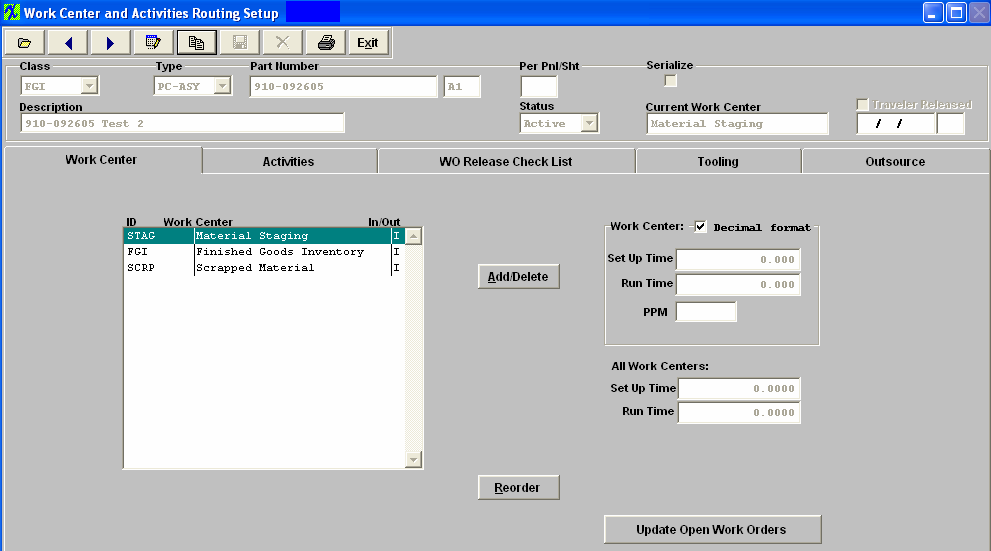
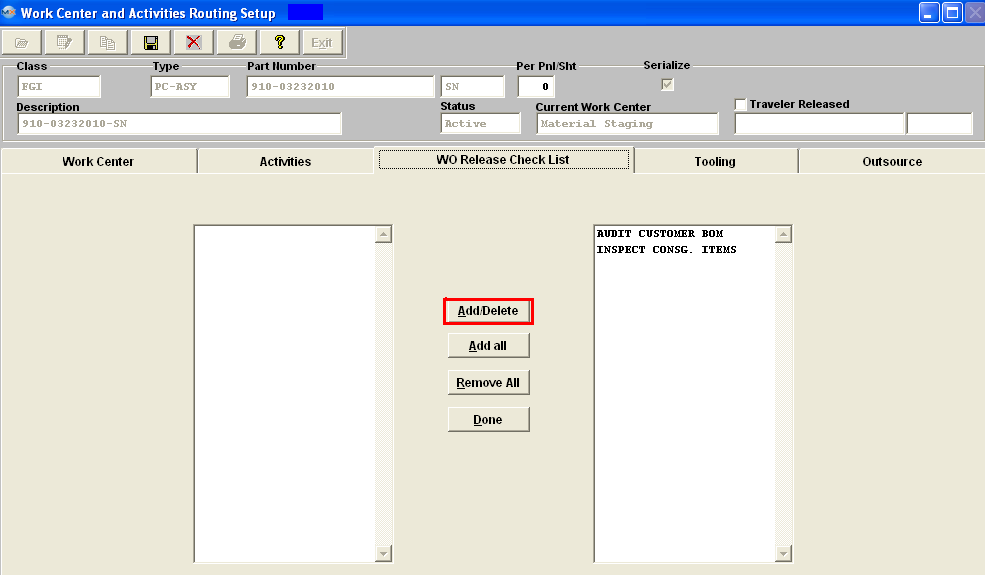
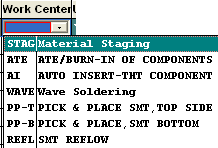
Find the desired Product number record. 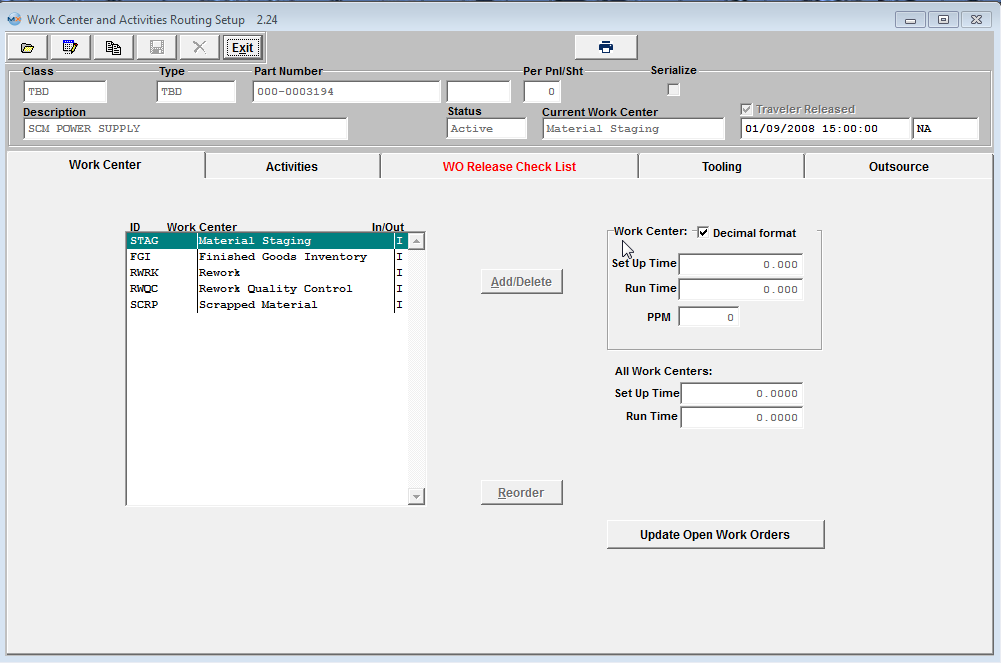 Depress the Edit button from the main tool bar: Note: Users MUST have special rights within the Security module to check the "Traveler Released" box. Users with “supervisor’s rights” will automatically have access. This box must be check when usiing the Unreleased Work Order List and the Work Center Checklist . User may Add/Delete Work Centers, by depressing the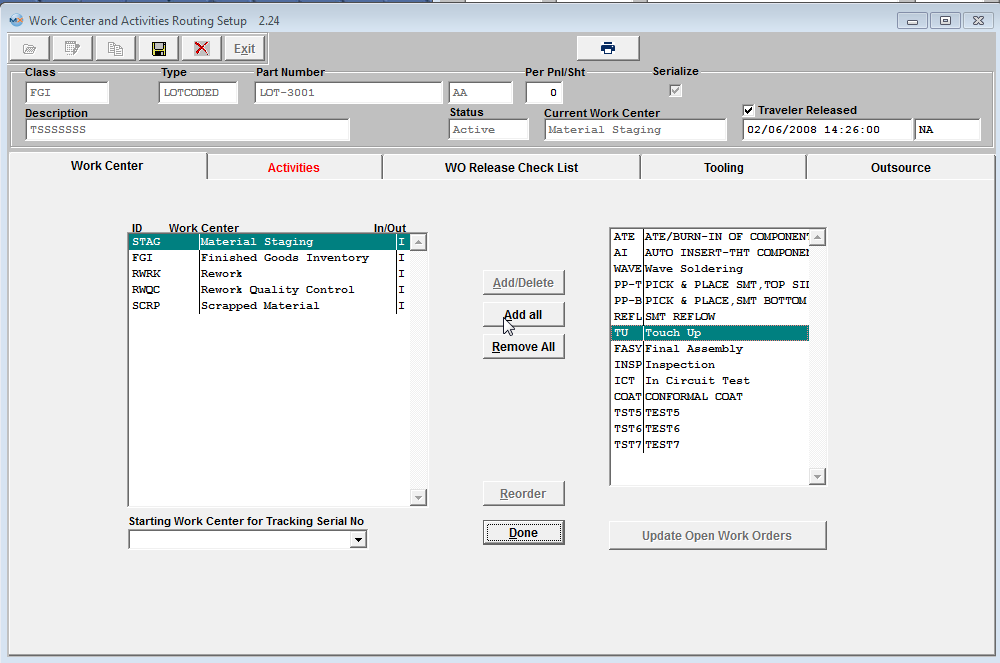 Work Centers may be moved to either side by double clicking on the side from which to move.
If the user wishes to add all work centers to the Work Order Traveler Setup, then remove a few unwanted ones, pressing the “Add All” button will transfer all work centers to the Work Order Traveler Setup. Likewise, pressing the “Remove All” button will remove all but the fixed work centers from the Work Order Traveler Setup. Work Order Traveler Setups may be added more than once, to accommodate multiple visits to the same work area during production (e.g. test).
Depress the Done button when the movement is completed. The "Reorder" button allows the user to reorder the Work Order Traveler Setup in any order desired. Pressing this button will bring up ordering buttons on the left side of each work center in the Product Work Order Traveler Setup. The user may then click on any of these buttons and drag a work center to the desired order. Depress the Done button when the reordering is completed.
 "Starting Work Center for Tracking Serial No" Choose from the pull down which Work Center you would like to begin tracking the Serial numbers. The system does NOT allow selection of "FGI" or "SCRP" as a starting WC for Serialization, because this will cause the system to become stuck between SFT and Serial number assignment. NOTE: If the starting work center is removed, when user clicks “Update WO” button, all the WC qty and SN (if any) except for FGI, RWRK, RWQC, and SCRP work centers will be moved back to STAG work center because the system will treat the STAG as the starting tracking SN work center. 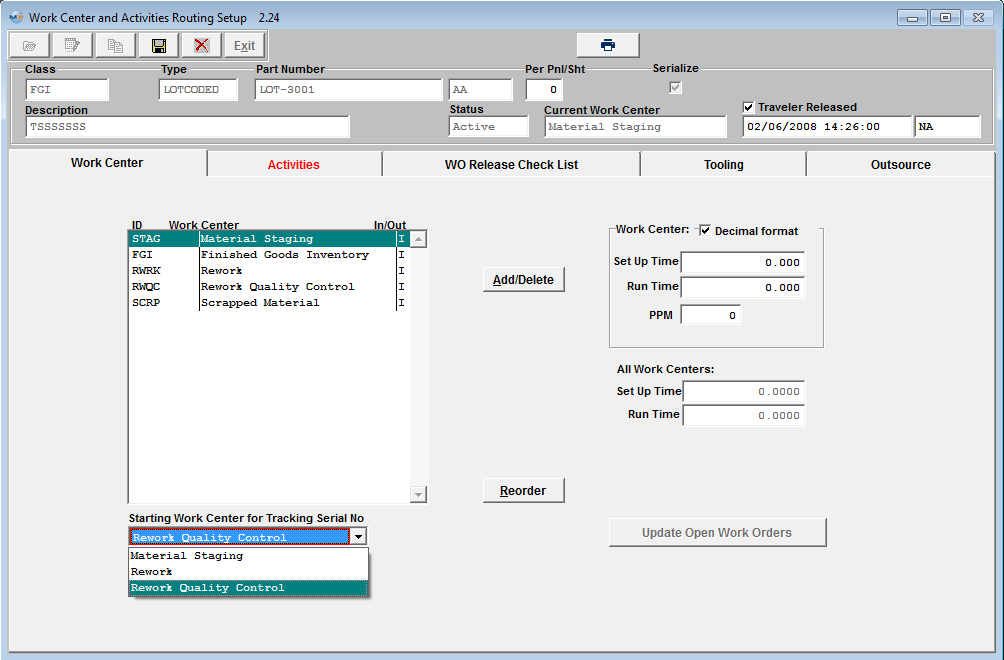 User may enter/edit the WC Setup/Run time or the PPM. The user should place the cursor on the work center to be edited, then on the times to be edited. The user may modify one or more Work Centers. The area labeled "All Work Centers", will show the total times of all work centers and/or activities. This will automatically update. Note: There are two different ways to track SETUP and RUN times for Job Costing and Product Data Management in ManEx.
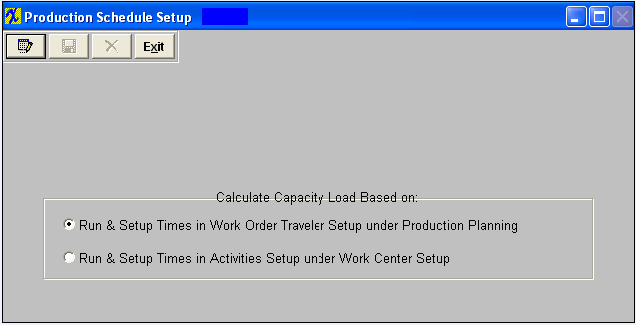 1. By entering Run and Setup Times in the Work Order Traveler Setup under Production Planning. 2. By entering the Run and Setup Times in Activities Setup under the Work Center Setup. Using the first choice is preferred when there is a great variability in the products produced and the setup and run rates in each work center. The second choice is preferred when the product flow is uniform, the machine rates are well established and the setup times very uniform regardless of product. The choice is made in the Production Schedule Setup module. Use of Run and Setup Times is optional unless Job Costing module is in use. Then depress the Save button from the main tool bar to save the changes and the Update Open Work order button becomes enabled.
After modification, the user must either Save or Cancel the modifications. |

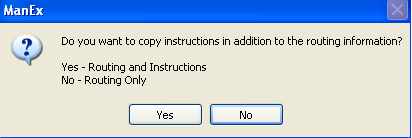
| 1.3. Copying a Work Order Traveler Setup | ||||||
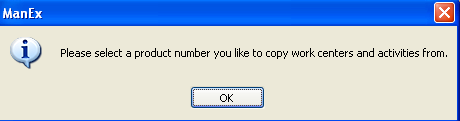
Find the desired Product Number, that you wish to have updated.
|
| 1.4. Setup/Edit Work Center Activities |
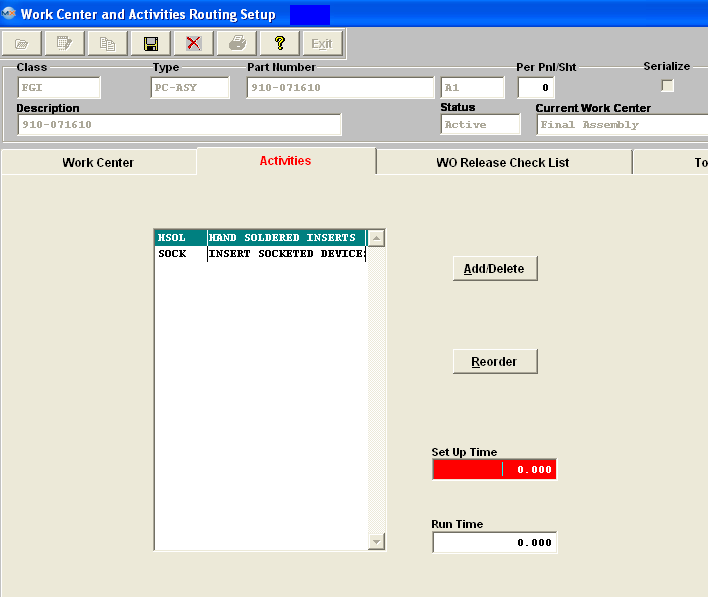
Note: if a Work Center has activities associated with it, the “ACTIVITIES” tab will be showing in RED font.
 Add/Removing Activities In the Activities screen, the user may add or modify activities and Setup/Run time associated to that activity.
The activities must have been set up in the Production Work Centers & Activities module and be attached to the Work Center.
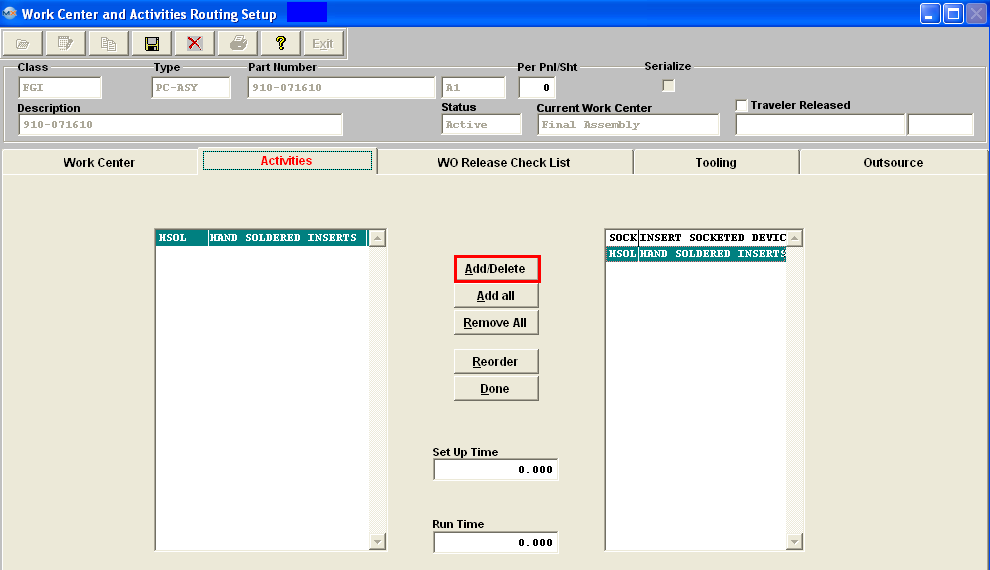
Activities may be moved to either side by double clicking on the side from which to move. The
If the user wishes to add all activities, then remove a few unwanted ones, pressing the “Add All” button will transfer all activities to the Work Order Traveler Setup. Likewise, pressing the “Remove All” button will remove all activities from the Work Order Traveler Setup.
Depress the Done button when the movement is completed. The "Reorder" button allows the user to reorder the activities in any order desired. Pressing this button will bring up ordering buttons on the left side of each activity in the Product Work Order Traveler Setup. The user may then click on any of these buttons and drag an activity to the desired order.  Depress the Done button.
When in Edit mode, user may add/edit Setup Time and/or Run Time to an activitiy associated with a work center.
 Note: If user enters setup/run times at activity level the system will accumulate the times for all the activities (for that specific work center) and assign it to the WC level and overwrite whatever number if any entered there. If the user tries to change the WC setup/run times they will receive a warning that there are setup/run times at the activity level and these must be removed before they will be allowed to change the WC setup/run times. If the user decreases the activity setup/run times to 0 or remove the activity, then the user can add or edit the WC setup/run time. After modification, the user must either Save or Cancel the modifications. |

| 1.6. Add/Edit Tooling Information | ||||||
Adding/Editing Tooling Information
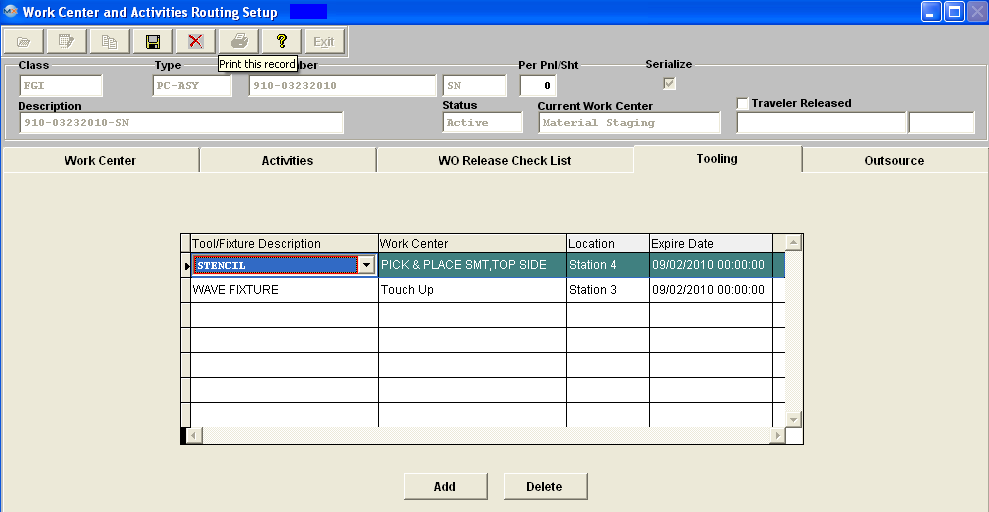
The Tooling tab is used to describe the tooling requirements for the Work Center. It also provides for a location notation and an Expire Date. An example of a Check List item might be to perform the Work Center tooling, as detailed in this tab. Find the desired Product number record.
 Depress the Edit button from the main tool bar, or enter the Tooling screen then depress the Edit button from the main tool bar: 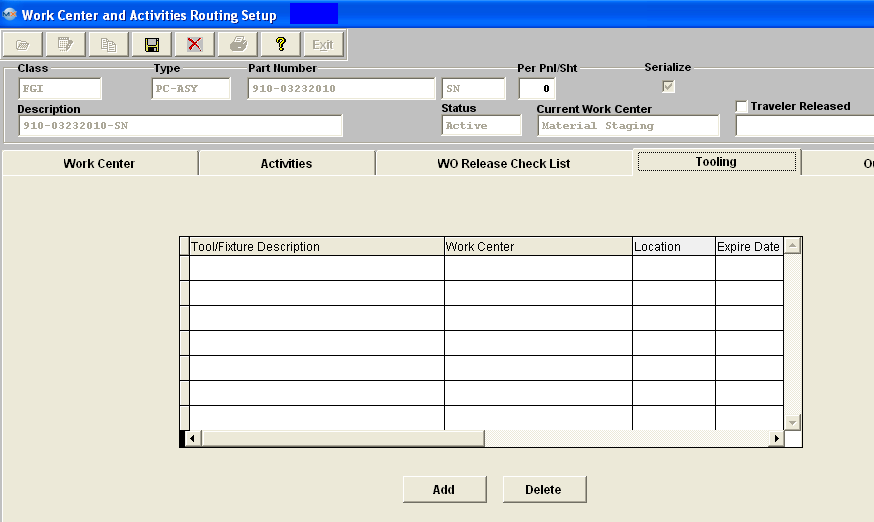 To add a Tool/Fixture depress the "ADD" button.
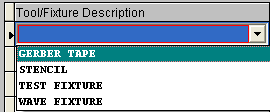
Select the Tool/Fixture Description from the pull down selections (setup within the Tools Setup module). Enter the Location, and the Expire date. The completed screen will appear as follows:
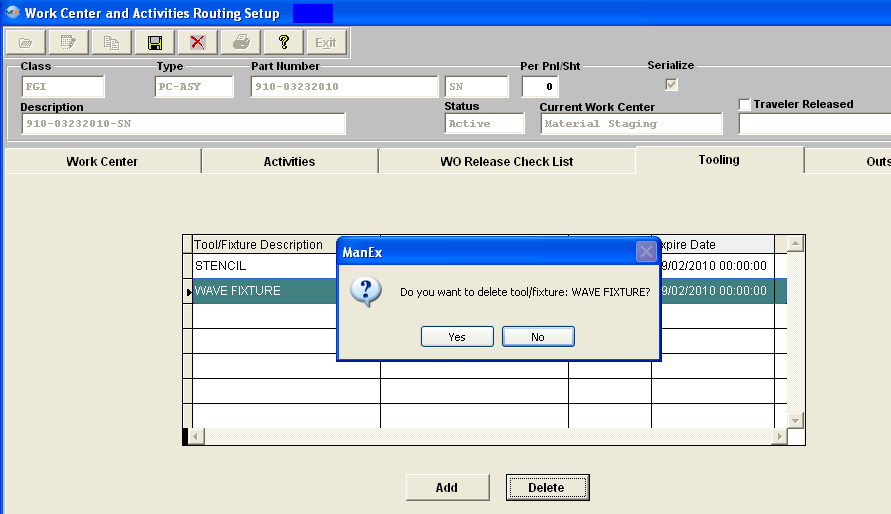
To delete a line item from the Tooling Tab. Highlight the line item. Depress the Delete button, the following message will appear. Select Yes to continue the deletion, select No to abandon the deletion. |
| 1.7. Add Outsource Information |
|
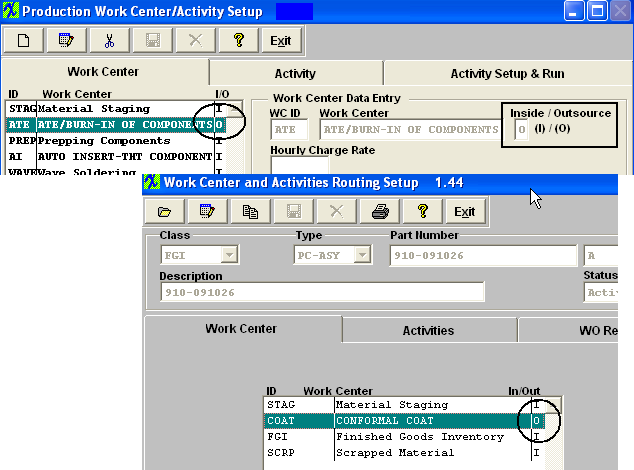
The Outsource tab shows the services to be performed outside of the user’s shop. These services are indicated with an “O” in the work center tab.
 Highlight the Outsource Service, then go to the Outsource Tab and the following screen will appear:  Highlight the Outsource Service. Depress the Add button for the Supplier. Select the Supplier from the pull down. Then continue across the columns and enter the quantity, cost each and markup. The Charge column will automatically update. When data entry is complete, depress the Done button.  In a future release, outsourcing will be available to create POs, receivers, etc. If the "Certificate Required" box is checked, this indicates that the supplier of the outsourced service is required to provide a certificate of completion. Depress the "Service Footnote" to attach a footnote regarding the services for this product. Depress the "Outsource Note" to attach a note regarding the outsourcing for this product. If you want to add a Service Footnote or an Outsource note, depress the applicable button. Depress the Edit button. Type in the note. Depress the Save button. Depress the Exit button. Depress the Save button at the top of the screen to save changes, depress the Abandon changes button to abandon changes. |