| 1. Supplier Contacts Information |
| 1.1. Prerequisites for Supplier Contact Information | ||||
Prerequisites for Entering a New Contact:
After activation, "Supplier Contact Information" access for each user must be setup in the ManEx System Security module. Users with “Supervisor Rights” will automatically have access.
The Contact must refer to a Supplier, which has been set up in the Supplier module. A picture of the contact may optionally be included as a memory jogger, but the picture must already be available to pickup in a picture format.
|
| 1.2. Introduction for Supplier Contact Information |
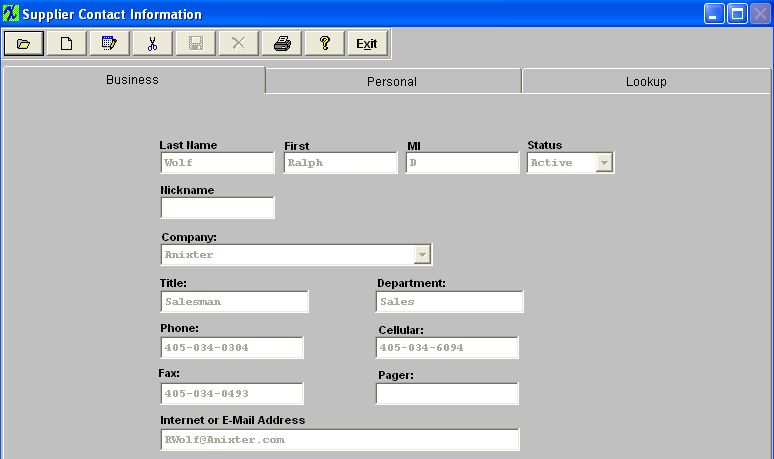
The Contact Module is used to record the details of supplier contacts. Contacts may be of any nature, but must be associated with a supplier. Manex provides the user with the ability to maintain both professional and personal details about a contact, including provision for personal tastes and affiliations. Contacts must be entered in this module if they are to be included in the supplier remit-to and confirm-to data fields at a later time. A contact who has moved to another supplier may have a new supplier assigned to him/her without having to re-enter their personal data. |
| 1.3. Fields & Definitions for Supplier Contact Information |
| 1.3.1. Business Tab | ||||||||||||||||||||||||||
Fields & Defintions
|
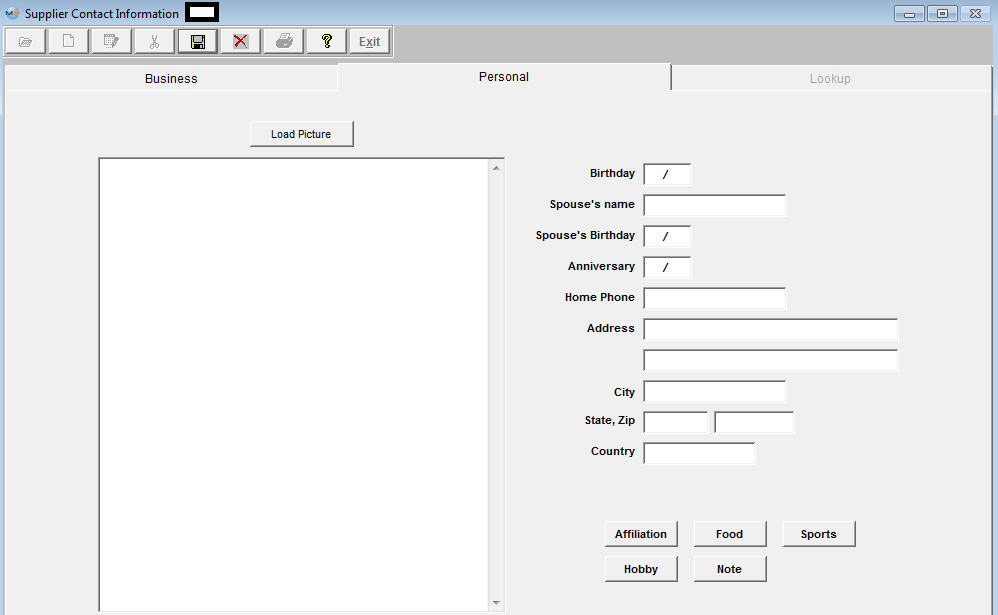
| 1.3.2. Personal Tab | ||||||||||||||||||||||
Fields & Definitions
|

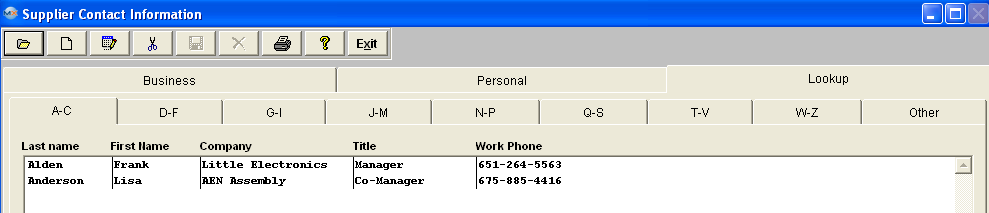
| 1.3.3. Lookup Tab | ||||||||||
Fields & Defintions
|
| 1.4. How To .... for Supplier Contact Information |
| 1.4.1. Find a Supplier Contact | ||||
The following screen will be displayed:
There are two ways to Find Existing Supplier Contacts: 1. By using the Find button located in the tool bar at the top of the screen. The following screen will appear: Select the desired Filter: by selecting the appropriate radio button - Active, InActive, or All. Select the desired Find: by selecting the appropriate radio button - Last Name, First Name, or Supplier Enter the information into the red box, depress the Enter key and the information will populate the screen.  2. Depress the Lookup tab. This screen allows the user to locate a supplier contact alphabetically. Double click on the supplier contact name will bring the associated data into all screens without having to use the FIND action button. This screen will list all of the supplier contacts entered beginning with the Last Name, First Name, Company, Title and Contact Phone number (not the company phone number).
|

| 1.4.2. Add a Supplier Contact | ||||||||
The following screen will be displayed:
Depress the Add action button. The user will be prompted for an authorized password. Type in the last name of the contact being added. Type in the first name of the contact being added. Type in the middle initial of the contact. Select the status of the Customer Contact, either Active or Inactive. Type in the nickname of the contact. Select the company to which the contact belongs by depressing on the down arrow located on the right hand side of this field and highlighting the selection. Type in the title of the contact at the supplier. Type in the phone number and/or extension of the contact at the supplier (may be different than the supplier main number). Type in the FAX number of the contact at the supplier (may be different than the supplier main number). Type in the E-Mail address of the contact. Type in the department at the supplier in which the contact works. Type in a Cellular phone number for the contact. Type in a Pager number for the contact. After completing the Business information, the user may click on the Personal tab. In this screen, the user may enter personal information relating to the contact.
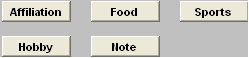
The Supplier Contact Directive buttons will now be active.
This set of buttons allow the user to record specific information that they may wish to retain about the customer contact. It is divided into several categories to narrow the search for information later. Pressing any of these buttons brings up a memo window that may be added to, edited or canceled at will. Type in the Supplier Contact Birth Date. Type in the Supplier Contact’s Spouse Name. Type in the Contact’s Spouse’s Birthday. Type in the Contact’s Anniversary. Type in the Contact’s Home Phone. Type in the Contact’s Home Address(two lines available). Type in the Contact’s Home City. Type in the Contact’s Home State and Zip code. Type in the Contact’s home country. Depress the Save action button to save changes, or depress the Abandon changes action button to abandon changes. |
| 1.4.3. Edit a Supplier Contact | ||||
The following screen will be displayed: Find a Contact following the procedure in Article 4452 .
Once you have made your choice, the information will be displayed as follows:
Depress the Edit action button. Enter password. All fields available for editing will be enabled for modification. At the conclusion of the modifications process, the user must Save changes, or Abandon changes using the action buttons. Depress the Exit action button to return to the previous screen. |
| 1.5. Reports - Supplier Contact Information |
|
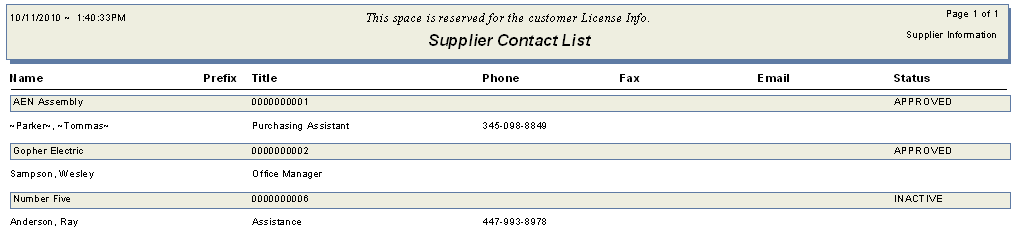
The report screen will be displayed: 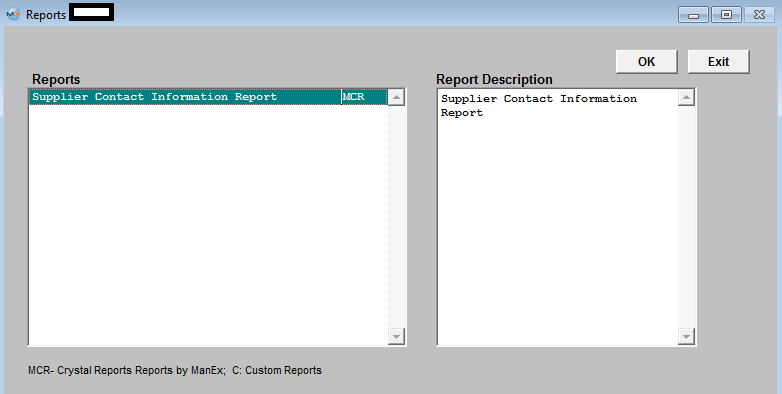 Highlight the report desired and Depress the OK button.
The following report will print:
|