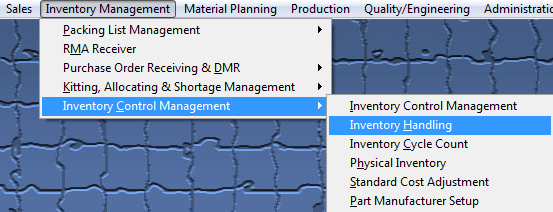
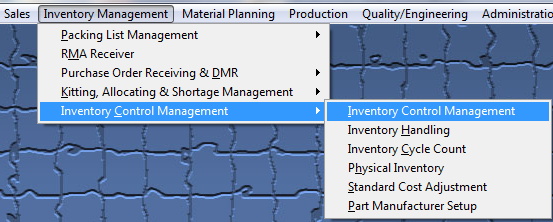
| 1. How To ..... for Inventory Handling |
| 1.1. Receiving Tab | ||||||
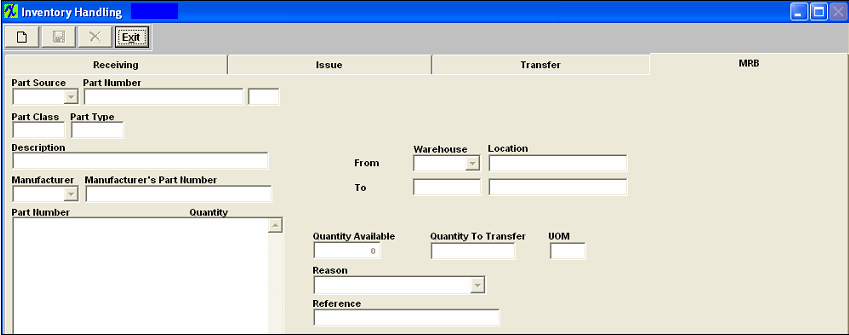
The main screen will be displayed:
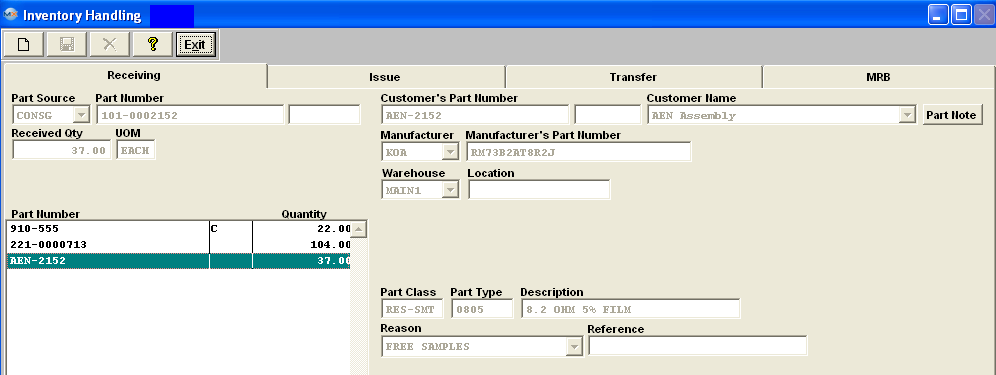
Inventory Handling is used for receipt of non-purchase order receipts. To add inventory, depress the Receiving tab.
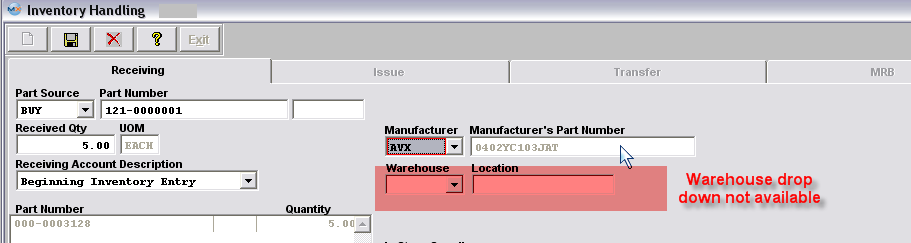
If the part has more than one WHSE and/or AVL setup and the part number is flagged in a Cycle Count or Physical Inventory the warning is NOT displayed, but the warehouse drop down is not available for selection within the issuing, receiving, transferring, and MRB screens after you select the AVL. As shown in the screen below.
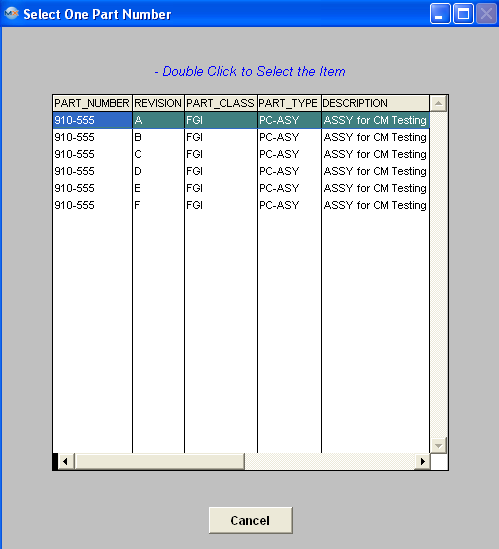
 If there are multiple revisions for the same part number a screen will appear for user to select the correct part number from:
 The completed screen will look like this for a Buy, or Make part. 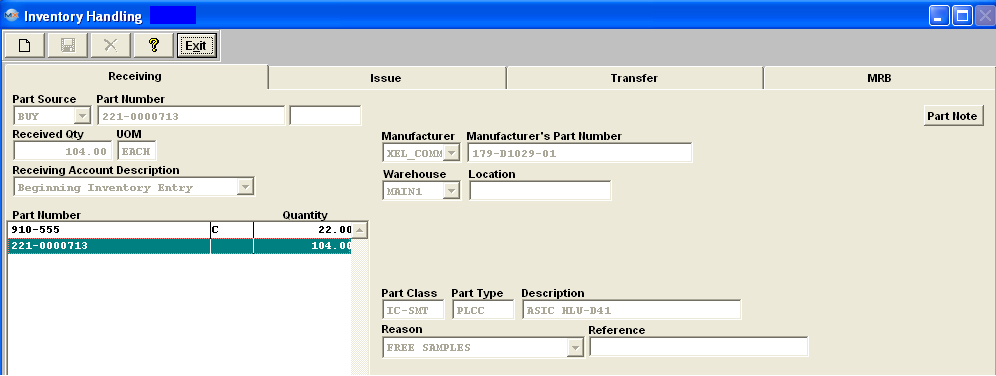 The completed screen will look like this for a Consigned part.
The completed screen will look like this for a Serialized part. Note: Users are allowed to receive in once issued out SN(s) back into stock, if the SN is for the same part number, and was issued out through inventory handling, then the system will re-link it to its old history. If the SN has been shipped out of the system via a packing list, then the user will be required to receive it back in through the RMA Process.  If user enters a SN that already exists for this PN they will recevie the following message:
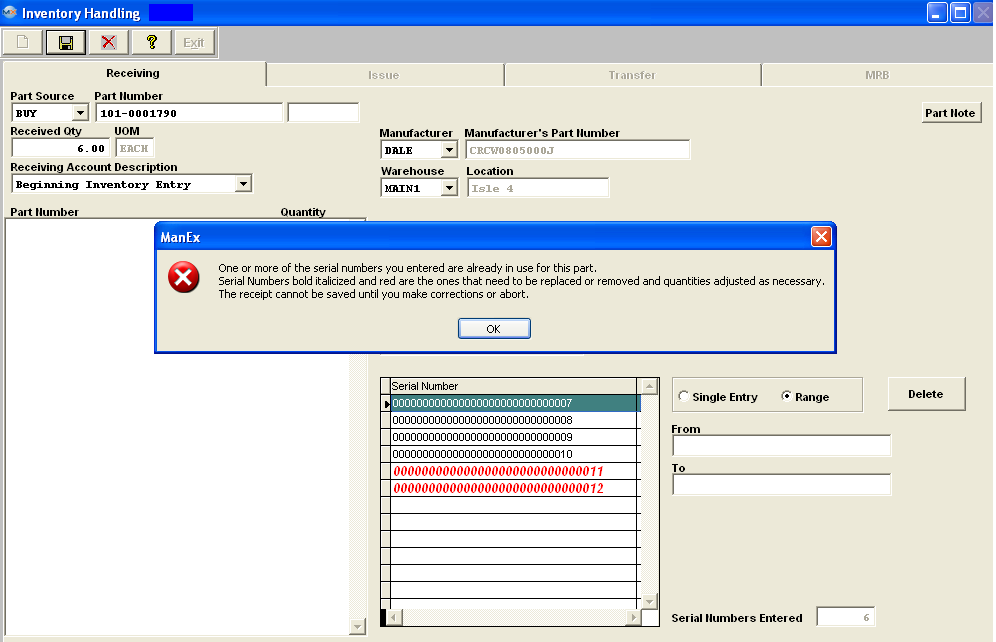 Depress OK, then delete or remove the SN(s) being displayed in Red by depressing the Delete button and the following confirmation message will be displayed
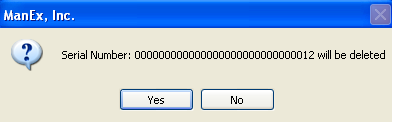 Depress Yes to continue, then user must re-enter new serial numbers and save changes.
The completed screen will look like this for a Lot Coded part.
 If the "Allow Auto Creating Location at Receiving" box has been selected for a specific AVL in the ICM module the "New Location" button will appear on the Receiving screen as shown below.
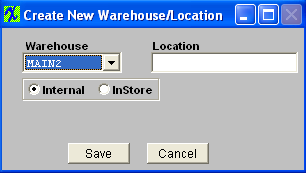
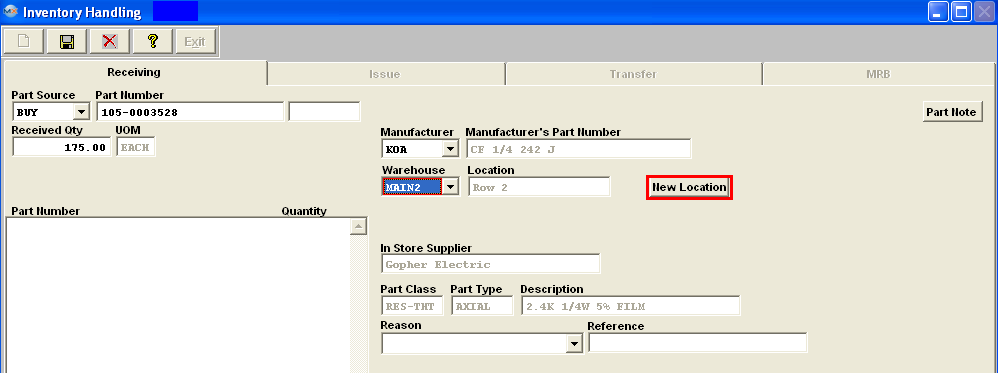 Depress the New Location button and the following screen will appear, giving the user the option to create a new Warehouse/Location for this part:
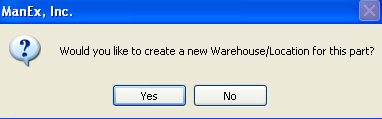 Depress "Yes" and the following screen will appear, listing the Warehouse(s) that have the "Allow to Auto Create Location at Receiving" box selected in the Warehouse Setup module.
 If user selects InStore a Supplier selection will appear in the screen:
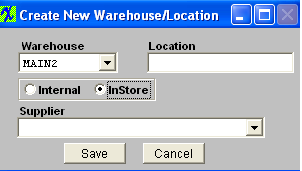 When all the information has been entered the New Warehouse/Location will appear in the Quantity Info screen within the ICM module.
|
| 1.2. Issue Tab | ||||||
Issuing or Expensing Inventory Items with no Work Order The following types of items would be covered in the Issue screen: 1. Issuing to Cost of Goods Sold (Usually Non-taxable) Such as: Tems with no Bills of Material; Prototypes and Pilot Products for Resale; Items not classified as “Used in Kit” 2. Expensing for In-House Consumption (Usually Taxable) Such as: Items consumed in the production process but not shipped as a part of product for resale; Items used for calibration or testing of the production process; Items used for samples or prototypes which are not resold. 3. Return In-store 2 Vendor If the user has in-store items, which they want to return to the Vendor without any impact on accounting or PO (like obsolete parts) there is a check box available within the issue page "Return In-store 2 Vendor". (This field will only be visible if the In-store warehouse is selected). If check-marked no purchase order will be created and there will also be no impact on the GL values.
The following screen will be displayed:
Depress the Issue tab and the following screen will be displayed:
To issue inventory items follow these steps.
If the part has more than one WHSE and/or AVL setup and the part number is flagged in a Cycle Count or Physical Inventory the warning is NOT displayed, but the warehouse drop down is not avaiable for selection within the issuing, receiving, transferring, and MRB screens after you select the AVL. As shown in the screen below.
The completed screen will look like this. 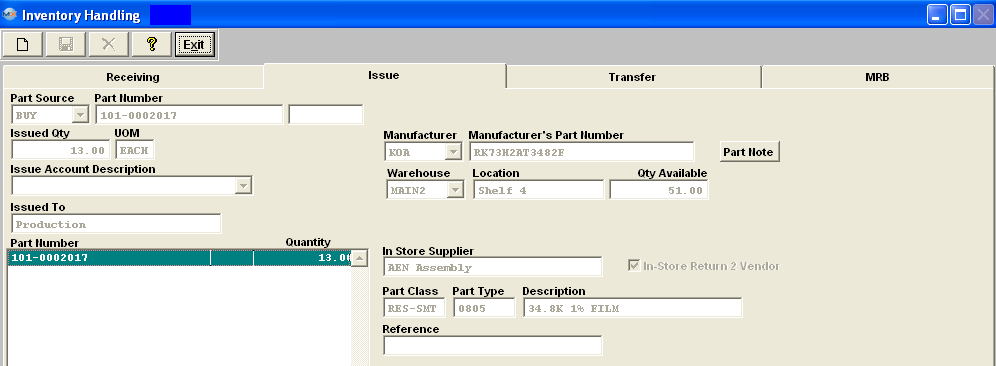
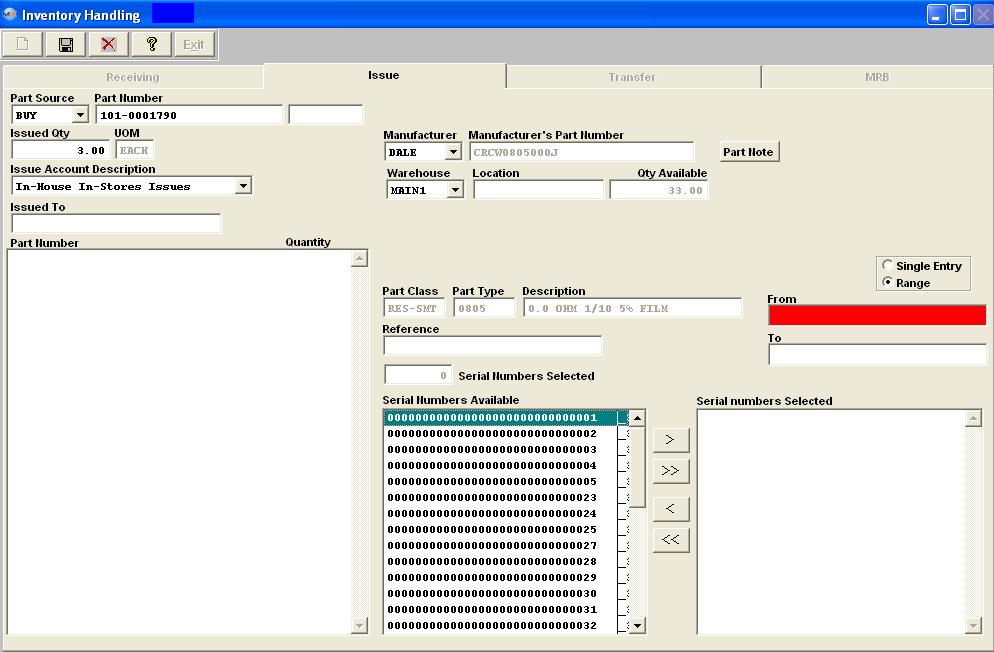
If issuing parts with Serial Numbers once user has entered the Part number info, etc. Users have the option of selecting the Serial Numbers to be issued two different ways:
By highlighting and using the arrows. Select the proper radial "Single Entry" or "Range" and enter in the From and To SN's:
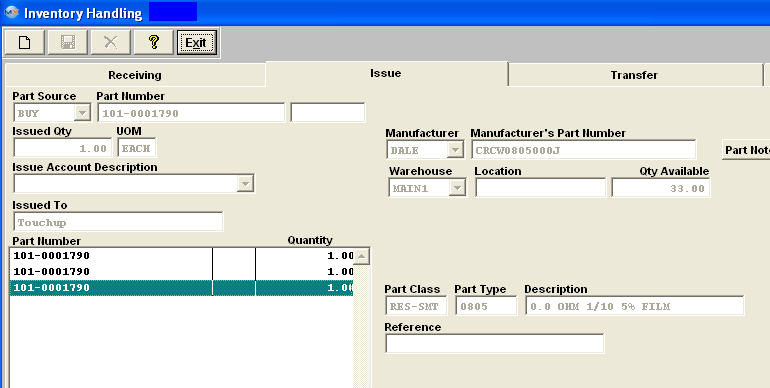
 Depress the Save button and the SN's will transfer over into the Inventory Handling issue screen.
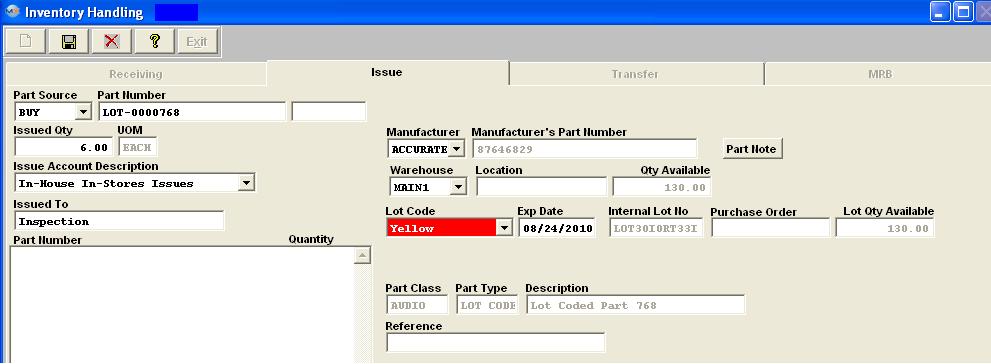
 Below is how the screen will appear If issuing Lot Coded parts:
 |
| 1.3. Transfer Tab | ||||||
The following screen will be displayed:
Depress the Transfer tab and the following screen will be displayed:
To transfer inventory from one warehouse to another follow these steps.
For this feature to work properly, the Inventory Part Number MUST have two warehouse locations assigned to it within the ICM module. The "From" Location MUST have quantity on hand.. If user attempts to transfer parts that do NOT have two warehouse locations, or from regular inventory location to MRB, the following message will be displayed. This screen is used to move parts from a regular warehouse to another regular warehouse, or to move parts that are already located in MRB back into regular stock. (Note: System will NOT allow users to transfer parts out of MRB location to regular inventory if parts were transfered into the MRB warehouse through PO Receiving). To move parts from stock to MRB you will need to use the Inventory Handling MRB screen . 
NOT displayed, but the warehouse drop down is not avaiable for selection within the issuing, receiving, transferring, and MRB screens after you select the AVL. As shown in the screen below.
The completed screen will look like this. If transfering qty from an In-Store warehouse to an Internal warehouse an accounting transaction will be created in Inventory Transfer upon saving the transfer. Then user will then need to create the In-Store PO within the PO module.
|
| 1.4. MRB Tab | ||||||
MRB (Material Review Board) Warehouse OverviewThe MRB (Material Review Board) Warehouse is where rejected material found at time of PO receiving or in production is transferred through inventory handling into the WHSE so management has time to determine whether to return discrepant material to the Supplier. It is a non-netable account meaning qty's residing in this WHSE are not consider as available inventory for MRP demands or production needs.
The following screen will be displayed:
Depress the MRB tab. The following screen will be displayed.
To Transfer Inventory Items from Inventory to MRB follow these steps.
If the part has more than one WHSE and/or AVL setup and the part number is flagged in a Cycle Count or Physical Inventory the warning is NOT displayed, but the warehouse drop down is not avaiable for selection within the issuing, receiving, transferring, and MRB screens after you select the AVL. As shown in the screen below.
The completed screen will appear as follows: 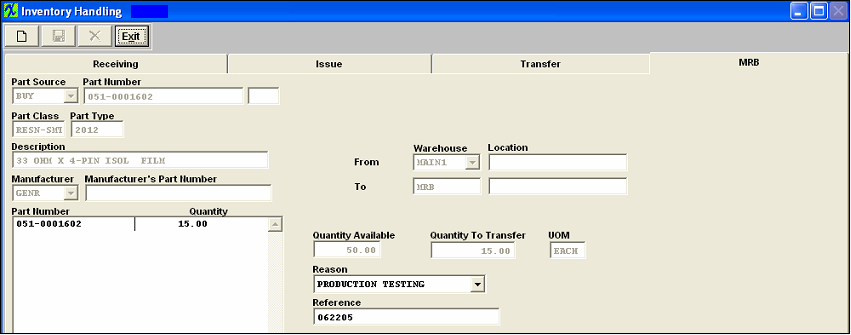 Once the preceding steps have been completed, the user may Add to PO DMR (Discrepant Material Return) module, or you may transfer it back into Inventory using the Transfer tab . Once the DMR (discrepant material return) has been added and saved, a Debit Memo will be created in the Accounting System. Additionally, the corresponding entry will be created and the balance in the Accounts Payable Aging will adjust.
|