To obtain the Inventory Reports within the Web, select the WEB Print button from the ManEx action buttons at the top of the screen. For further detail on How the Reports work within the Web refer to Article #5477.
Note: In order to access the Reports within the Web the Company Root URL must be setup within the System Appearance module and user must be linked to web within the System Security Module.
Select the Report Type: INVENTORY - A List of Reports will be displayed that are available on the Web
for INVENTORY
To obtain the Inventory Reports, select the Print button from the ManEx action buttons at the top of the screen.
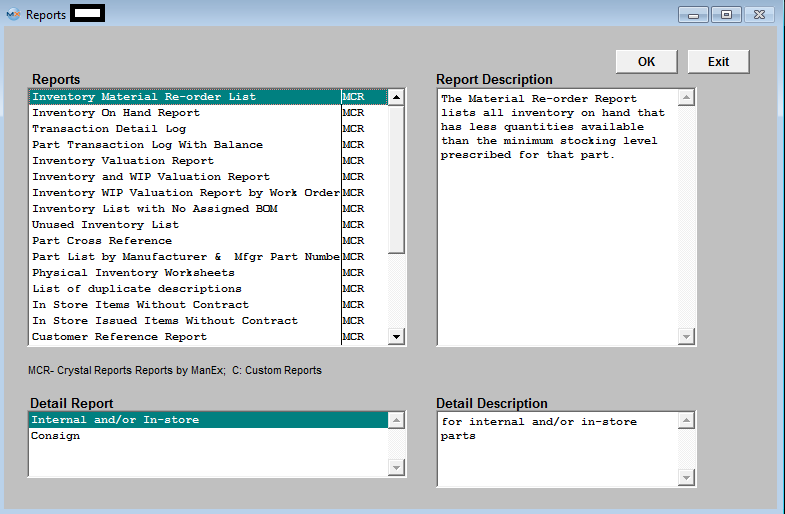
The following reports screen
will display a list of reports that are available on the ManEx Desktop:
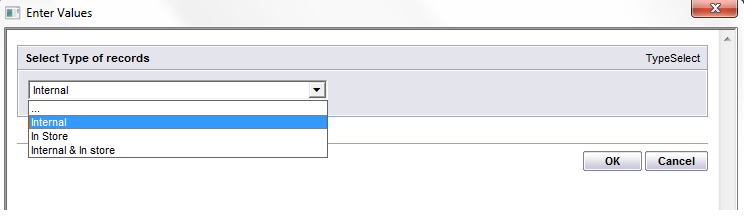
| Highlight the desired report and the Detail of the Report "Internal and/or In-store" or "Consign" and depress the OK button: |
 |
Inventory Material Re-order List Report - This report uses the "Re-order Point" to decide if the part needs to be re-ordered, NOT the "Re-order Qty"
|
If user selects "Internal and/or In-Store" this Value screen will appear:
|
 |
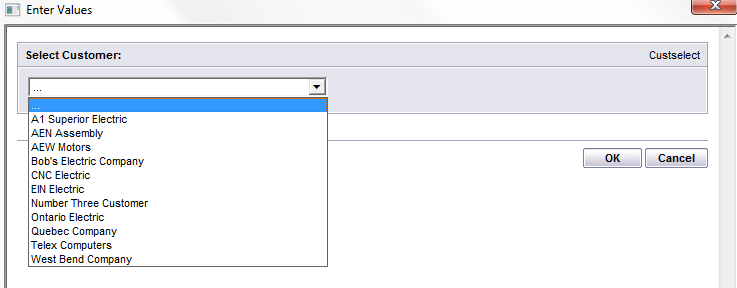
| If user selects "Consign" this Value screen will appear: |
 |
The Following is printed: This report displays all inventory on hand that has less quantities available than the minimum Reorder Point prescribed for that part.
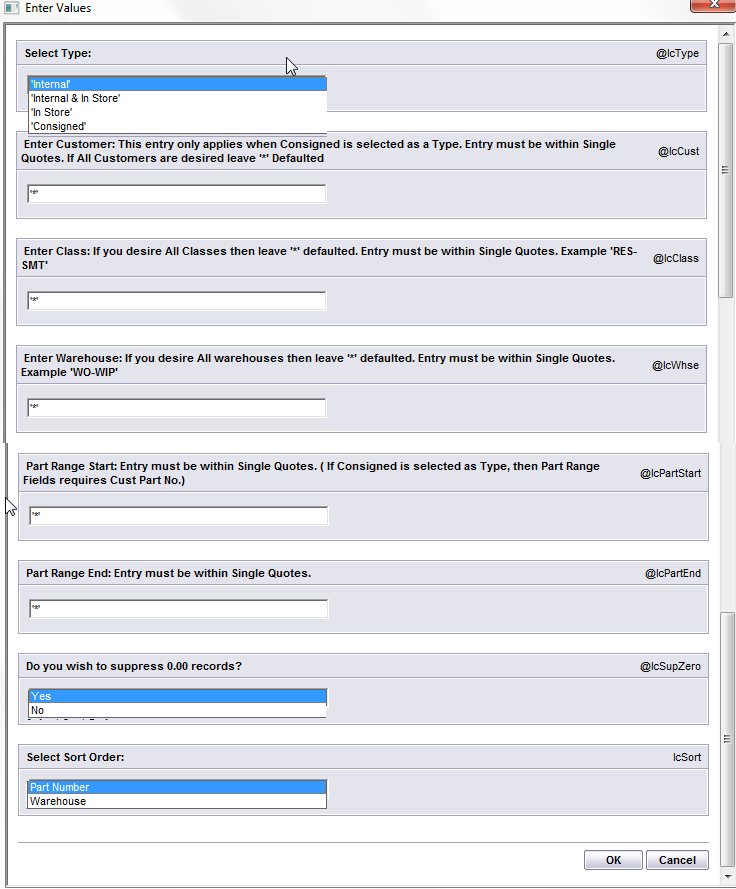
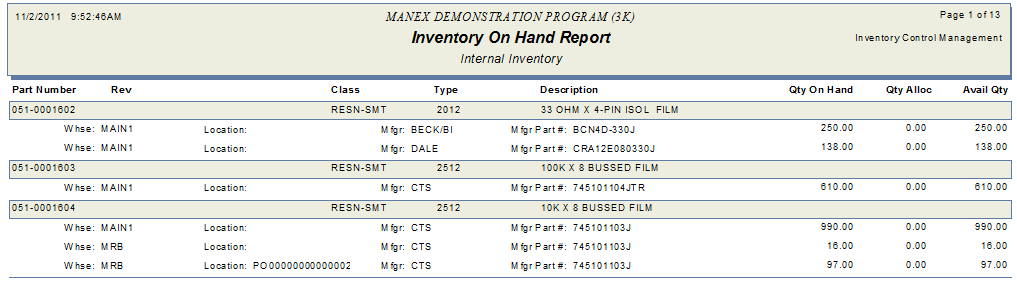
Inventory On Hand Report
|
User must first select Type: 'Internal', 'Internal & In-Store', 'In-Store', or 'Consigned'
User then may enter Customer (only if consigned type is selected), Class, Warehouse, Part Range Start, Part Range End. Entry must be within Single Quotes. Leave '*' defaulted and all will be displayed.
Select to suppress 0.00 records, then select to sort by, either Part Number or Warehouse.
Once all Values have been entered depress the OK button.
|
 |
The following is printed: This report displays the amount of inventory on hand in each location, including WIP, and identification of the manufacturer, Lot Code information, and allocated inventory. There are several ways to select the information so that the report is specific to chosen areas.
Transaction Detail Log Report
|
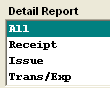
Highlighting the Transaction Detail Log report brings up a further selection:
Highlight the desired selection, 'All', 'Receipt', 'Issue' or 'Trans/Exp'
Depress the OK button will bring up the Values screen:
|
 |
|
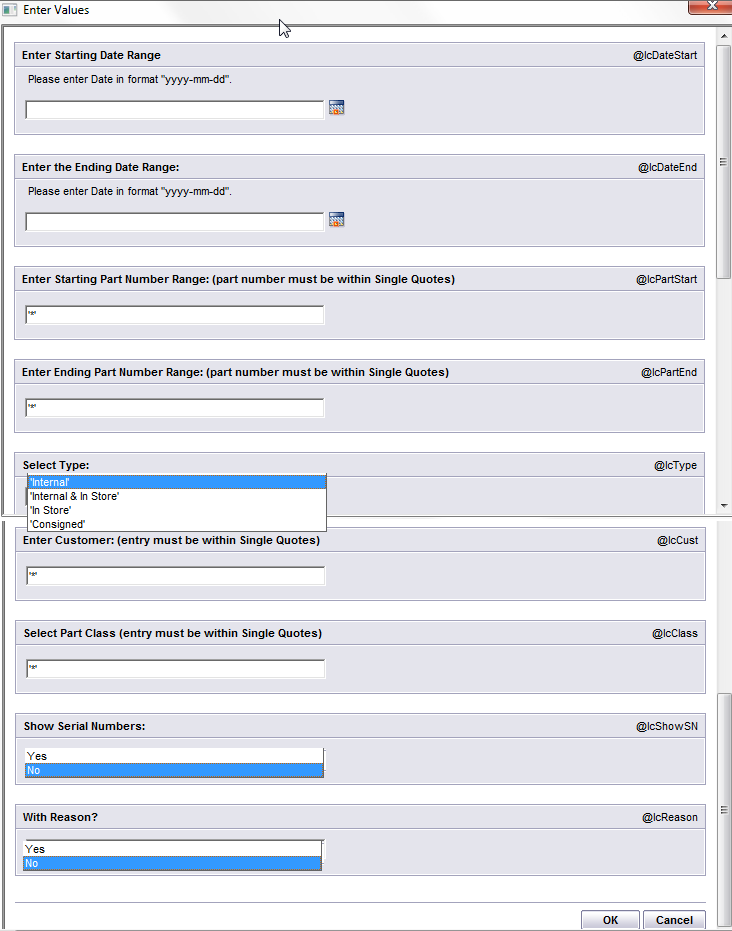
Enter Starting Date Range, and Ending Date Range.
If desired enter Starting PN and Ending PN. If left blank all PN will be displayed on report.
Select Type: 'Internal', 'Internal & In-Store', 'In-Store', or 'Consigned'
Enter Customer only if type 'Consigned' was selected
If desired select Part Class. If left blank all Part Classes will be displayed on report.
Select 'Yes' or 'No' to show Serial numbers on report, (Note: Leading Zero's will NOT be displayed on report), and if you want the reason to be displayed or not.
Once all the Values have beeen selected, depress the OK button.
Note: The reference field as entered in the Inventory Handling module will display on the Transaction Detail report.
|
 |
The following is printed: This report displays all inventory movement transactions for the selected criteria for the report. Issued qty's are displayed as negative, and Received qty's are displayed as postive.
Part Transaction Log With Balance Report
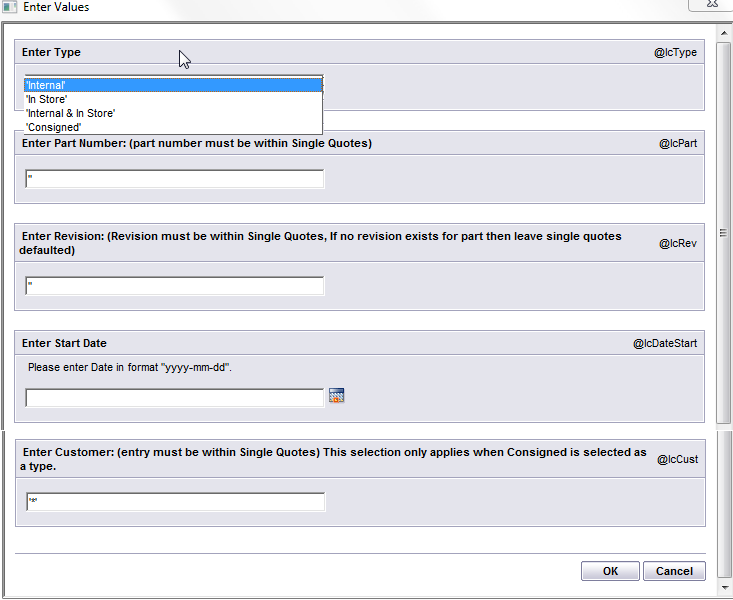
Select Type: 'Internal', 'Internal & In-Store', 'In-Store', or 'Consigned'
If desired enter Part Number and Revision if applicable. If these fields are left blank all part numbers and revisions will be displayed on report.
Enter a Start Date (this field is required)
Enter Customer only if type 'Consigned' was selected
Once all the Values have beeen selected, depress the OK button.
Note: The beginning balance is a calculation based on transactions. It is not associated with the GL, nor has any effect on it. If the beginning balance is being displayed as anthing other than "0" it may be caused by the UOM being changed with qty on hand. See Article #3414 for further detail.
|
 |
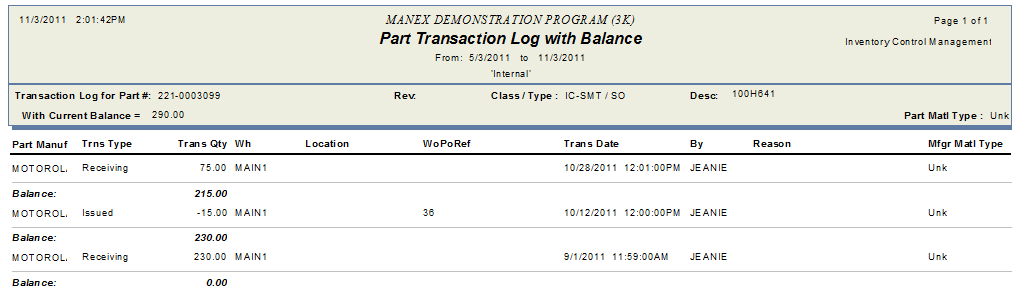
The following is printed: This report displays all transactions for a specific part from date selected. Issued qty's are displayed as negative, and Received qty's are displayed as postive.
To read this report you need to start from the bottom and work your way up.
We use the current qty OH, then get all the receiving, issue, transfer... records, and go backwards to create the transaction with balance report. For example, I have a new part like this:
Starts with a 0.00 balance:
09/01/2011 receiving 230
10/12/2011 issue 15
10/28/2011 receiving 75
The Qty OH now is 290, the report gets all the receiving, issue, transfer records and sorts the data by date from latest to oldest to get the beginning balance.
Qty OH: 290
+75 balance: 215 (by -75 from the 290)
-15 balance 230 (by adding 15)
+230 beginning balance: 0 (by -230 to get the balance)
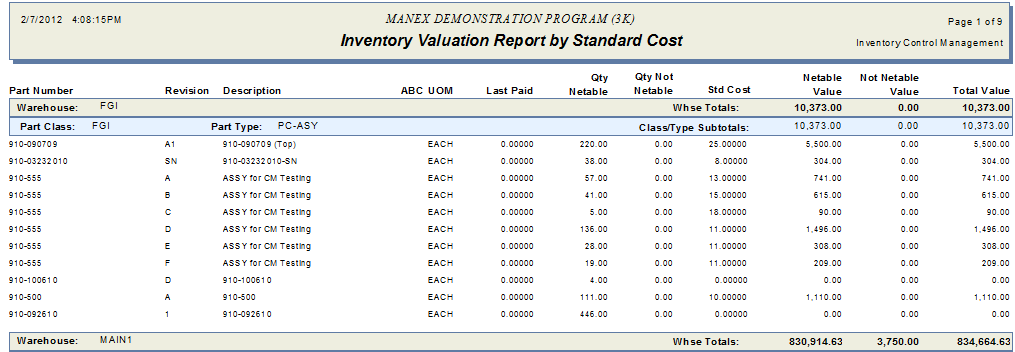
Inventory Valuation Report
|
Enter Part Class (if applicable)
Enter Warehouse (if applicable)
Enter Starting Part Number (if applicable)
Entering Ending Part Number (if applicable)
Select how you wish to have the report costed by: Standard Cost, Weighted Cost, or User Defined Cost.
Note: The reason the report was not calculating value when using weighted cost is because in General Inventory Setup (within system setup) I had zero in the "Number of Purchase Orders used in the calculation of the weighted costs" field. For this report to work user must have a number greater than zero within this field.
Depress the OK button.
NOTE: The Last Paid information is calculated from the Last Change date not necessarily the PO Date that is displayed in the Purchase History box. If a user happens to edit an older <st1:place w:st="on">PO (that does not match the Purchase Order History screen) and saves the changes the Last Paid will be updated based on the last change order recorded and the PO History screen will still remain as is. (Example: If a <st1:place w:st="on">PO was originally created in 2002 , but edited and saved today, it would then be included into the Last Paid record from the date it was modified).
For further details on Possible Reasons why the Inventory Valuation Report is not matching the GL Balance for the Inventory GL Acct # see Article 5712.
|
 |
The following is printed: This report displays all inventory by part class and summerizes the inventory value of the parts selected.
Inventory and WIP Valuation Report
|
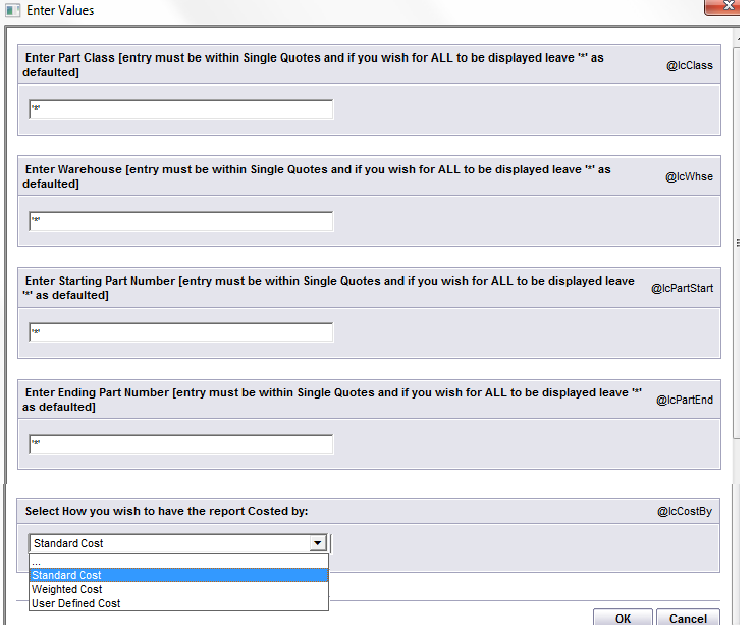
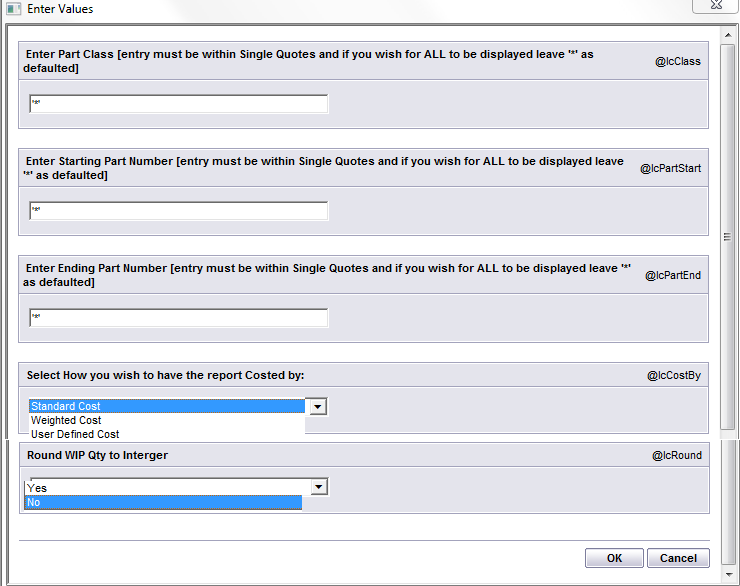
Enter Part Class within Single Quotes (if applicable)
Enter Starting Part Number within Single Quotes (if applicable)
Enter Ending Part Number within Single Quotes (if applicable)
Select How you wish to have the report Costed by: Standard Cost, Weighted Cost, or User Defined Cost.
Select to Round WIP Qty to Interger or Not
Depress the OK button.
|
 |
The following is printed:
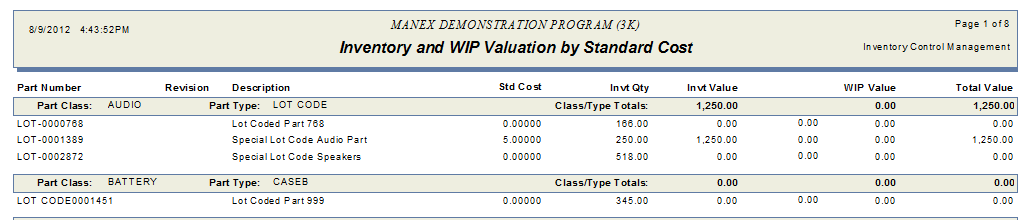
**Inventory and WIP Valuation report is not intended to be used as a validation to the GL WIP Balance
See Article #1777 "How WIP Qty and WIP Value is Calculated".
See Article #913 "How Manex tracks and values the dollars in WIP".
See Article #5712 "Why doesn't the Inventory Valuation Report Match the GL Balance for the Inventory GL Account Number?".
Inventory WIP Valuation Report by Work Order
|
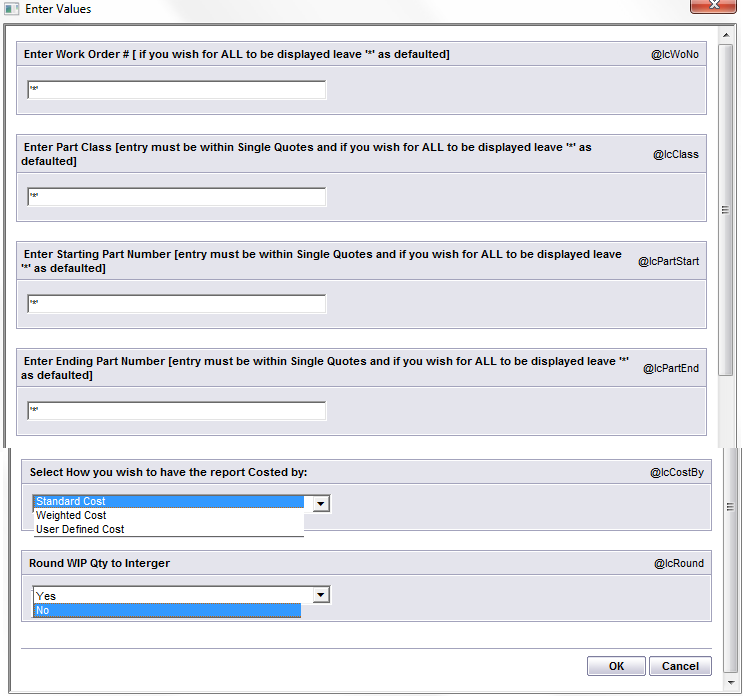
Enter Work Order Number within the Single Quotes (if applicable)
Enter Part Class within the Single Quotes (if applicable)
Enter a Starting Part Number within the Single Quotes (if applicable)
Enter a Ending Part Number within the Singel Quotes (if applicable)
Select How you wish to have the report Costed by: Standard Cost, Weighted Cost, or User Defined Cost
Select if you wnat to Round WIP qty to Interger or not
Depress the OK button.
|
 |
The following is printed: Every new WO will start on the new page.
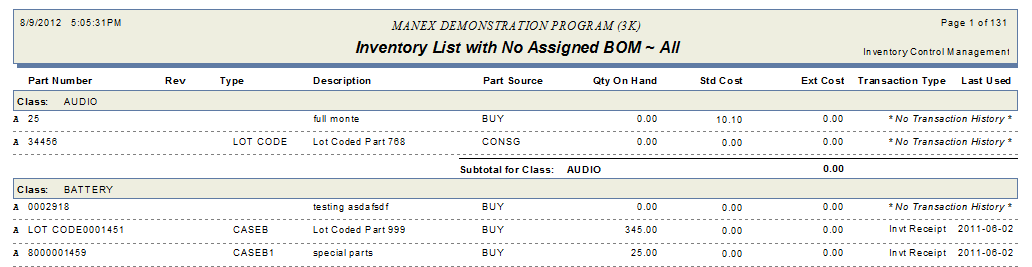
Inventory List With No Assigned BOM Report
|
This report displays all material on hand with no parent assembly associated with it.
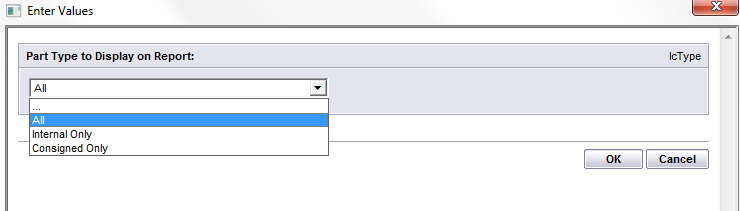
Select the Part Type to Display: All, Internal, or Consigned Only
|
 |
The following is Printed: Note: The first letter of the Status is displayed to the left of the "Part Number" column (A for Active and I for In-active).
Unused Inventory List Report
|
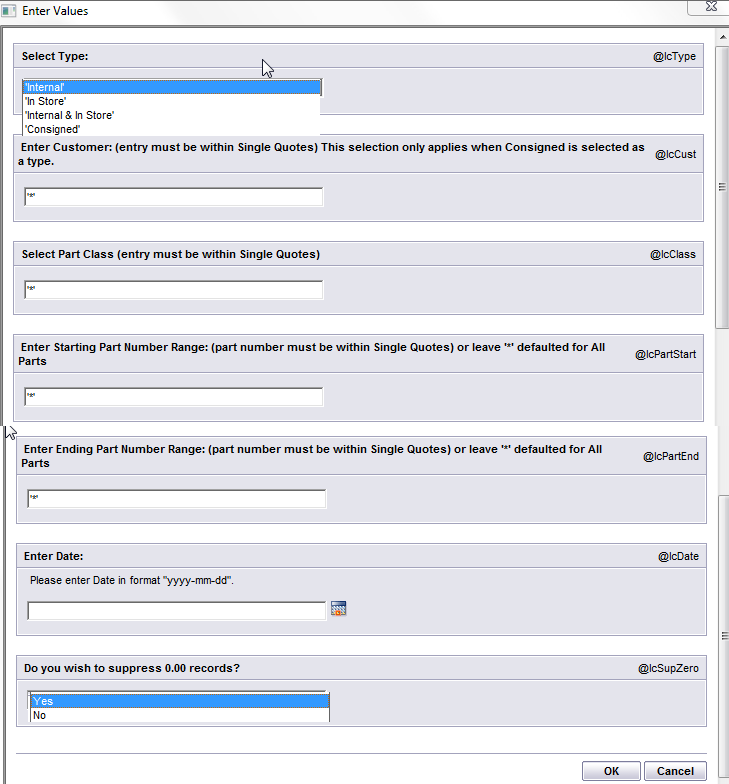
User must first select Type: 'Internal', 'Internal & In-Store', 'In-Store', or 'Consigned'
User then may enter Customer (only if consigned type is selected), Part Class, Starting Part Number, and/or Ending Part Number. Entry must be within Single Quotes. Leave '*' defaulted and all will be displayed.
User MUST enter a Date
Select to suppress 0.00 records, then select to sort by, either Part Number or Warehouse.
Once all Values have been entered depress the OK button. Note: The search for the un-used parts will be based on the MFGR/ MPN level.
|
 |
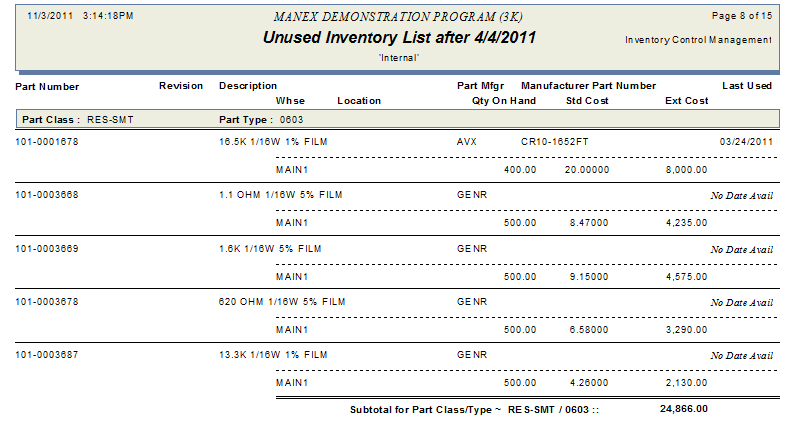
The following is printed: This report displays all inventory for which no transactions have occured since the selected date based on the MFGR/MPN level.
Part Cross Reference Report
|
Highlighting the Part Cross Reference report brings up a further selection:
Select the type of Cross Reference desired.
This will display the relation between Mfgr part number and Internal part number.
|
|
|
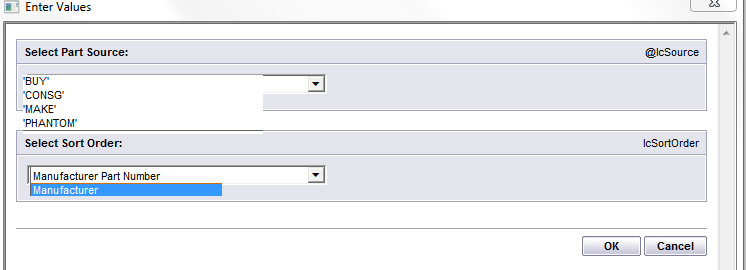
User MUST first select Part Source: 'BUY', 'CONSG', 'MAKE', or 'PHANTOM'
Then select sort Order: Manufacturer Part Number or Manufacturer
Once the values have been selected depress the OK button.
|
 |
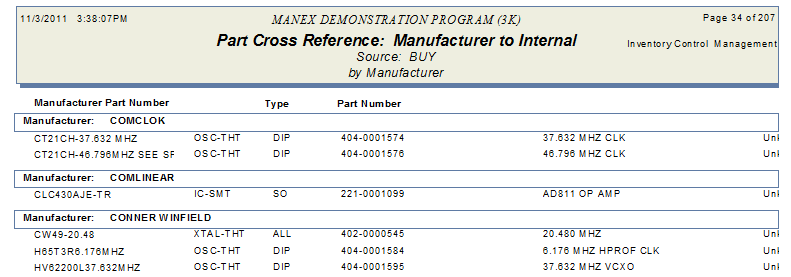
The following is printed: This will display the relation between Mfgr part number and Internal part number.
Part List by Manufacturer and Manufacturer Part Number Report
|
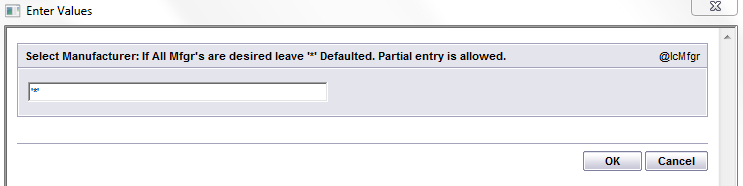
Enter the Manufacturer desired within the single quotes, if all Mfgr's are desired leave '*' defaulted. Partial entry is allowed.
Once the values have been selected, depress the OK button to print report.
|
 |
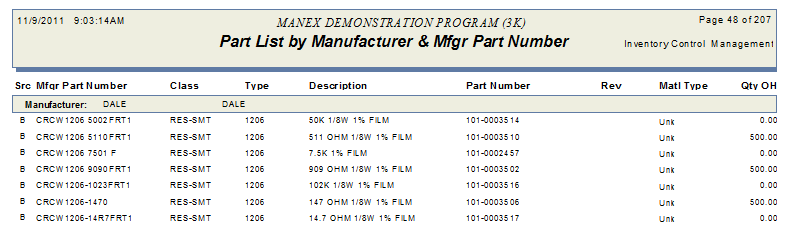
The following is printed: This report displays all part numbers by Manufacturer, Manufacturer Part Number, Class, Type, Description, Internal Part Number, Matl Type and Qty on Hand.
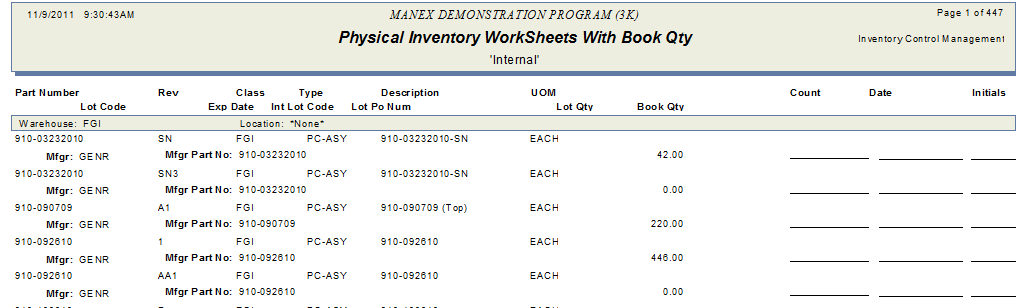
Physical Inventory Work Sheets Report
|
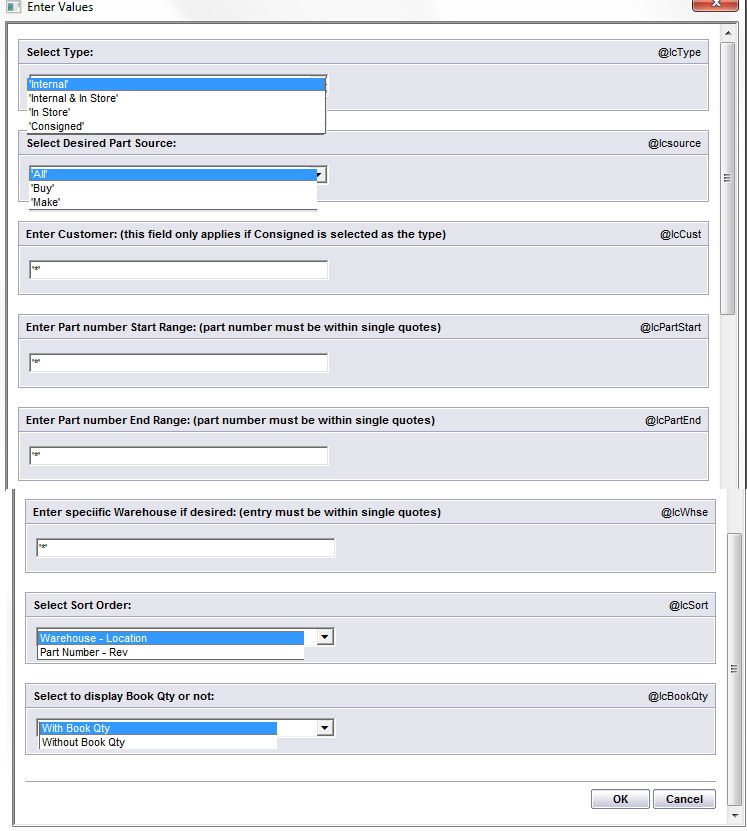
Select Inventory Type: 'Internal', 'Internal & In-Store', 'In-Store' or 'Consigned'
Select the Desired Part Source: 'All', 'Buy', or 'Make'
Enter Customer: (this field only applies if Consigned is selected)
Enter Part number Start Range within the single quotes. If left blank it will check all records
Enter Part number End Range within the single quotes. If left blank it will check all records
Enter specific Warehouse within the single quotes (if desired)
Select to sort by: Warehouse/Location or Part Number/Rev
Select to display With Book Quantity or Without Book Quantity
Once all the values have been selected, depress the OK button to print report.
|
|
The following is printed: This is the Worksheets to be used to take physical inventory.
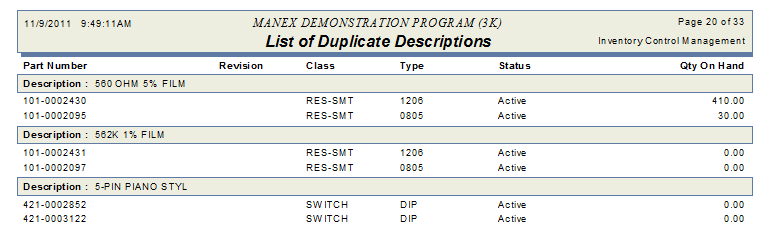
List of Duplicate Descriptions - This report displays all part numbers with duplicate descriptions
In Store Items Without Contract Report - This report displays all part numbers from Invt mfgr Instore without contract
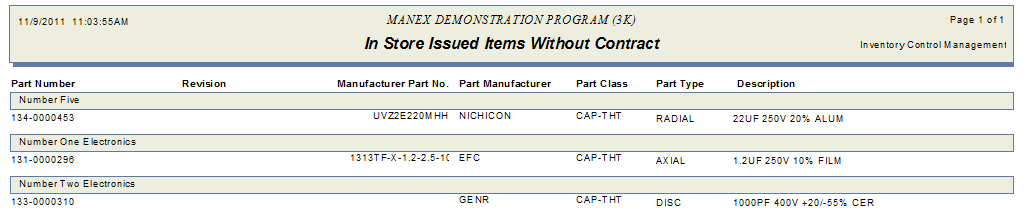
In Store Issued Items Without Contract Report - This report displays a list of items issued from in-stores without contract
Customer Reference Report - This report lists by customers, all customers part number along with quantity in stores
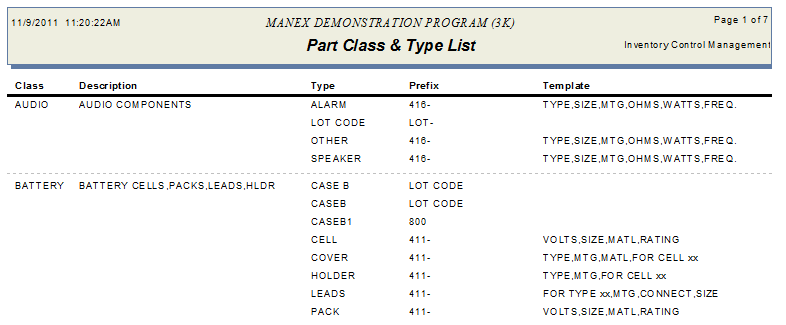
Part Class and Type List - This report is a listing of Part Classes & Types
Print Inventory Labels
|
The Print Inventory labels report requires that the Barcode Font be installed.
Highlighting the Print Inventory Labels brings up a selection of printers to be used:
Laser Printer (sheet): Avery Label # 5163, 4" x 2", 2 accross, 5 down, printed portrait
Portable Printer (roll): Redline Solutions, Zebra QL DT Labels 4x3 PN 81475
Portable Printer (roll): Zebra Printer (roll): Label size 2" x 3" (for Zebra printers Part #10000286 (or equivalent)
|
 |
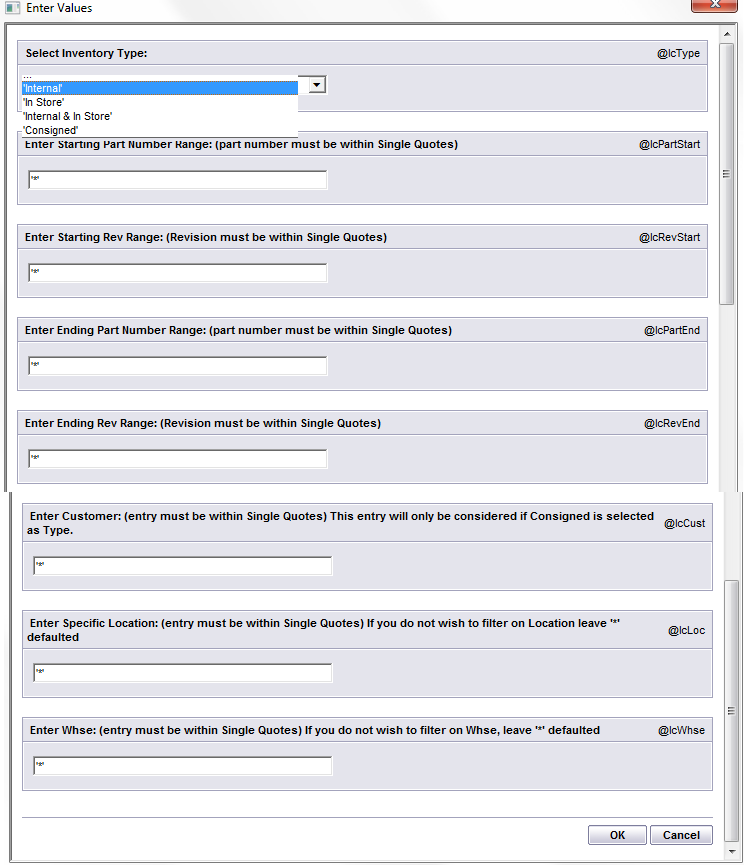
Select Inventory Type: 'Internal', 'In Store', 'Internal & In-Store', or 'Consigned'
Enter Part number Start Range within the single quotes
Enter Starting Rev Range within the single quotes
Enter Part number End Range within the single quotes
Emter Ending Rev Range within the single quotes
Enter Customer within the single quotes: (this field only applies if Consigned is selected)
Enter specific Warehouse within the single quotes (if desired)
Enter Specific Location within the Single Quotes. If you do not wish to filter on Location leave '*' as default
Enter Specific Whse within the Single Quotes. If you do not wish to filter on warehouse leave '*' as default
Once all the values have been selected, depress the OK button to print labels
.
|
 |
|
The following is printed.
|
 |
Allocated Report for Closed and Cancelled WO - This report displays a listing of Part Classes & Types
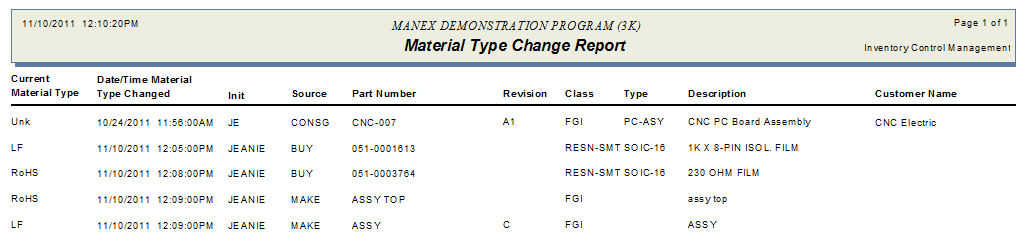
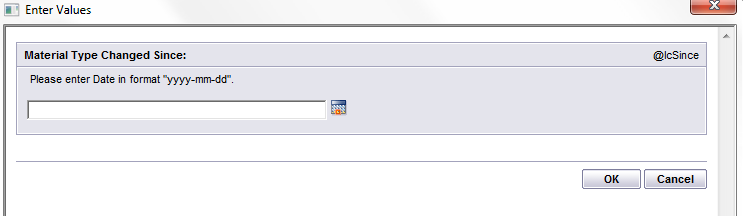
Material Type Change Report
|
Enter the From Date in format "yyy-mm-dd" (the To Date is todays)
Depress the OK button.
|
 |
The following is printed: - Listing of the parts that have their material type changed since given date.
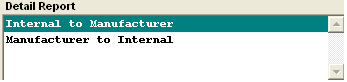
Material Type Change Log Detail Report
|
Enter the From Date in format "yyyy-mm-dd" (the To Date is todays).
Depress the OK button.
<st1:place w:st="on"><st1:placetype w:st="on"> |
|
The following is printed: This report displays the history of the Inventory Material Type Changes.
Inventory and AVL Material Type Validation - This report goes through the inventory part numbers to check and lists if the Inventory and AVL material types are not in sycn. It does not update the inventory material types.
Depress the OK button. User will receive the following popup to warn them that the report could take a while to run. So at this point you have the option of continuing or aborting the procedure.

Depress Yes and the following report will appear: This report compares inventory material type with AVL calculated material type and lists those part numbers which have different material types in inventory and AVL levels.

|