| Navigating through ManEx | ||||||||||||||||||||||||||||||
MANEX MANUALS Each module within ManEx has detailed step by step instructions available by clicking on the (?) action (function) button located at the top of each screen. Each manual set will have the following sub-categories listed: Prerequisites; Introduction; Fields and Definitions; How To....; Reports; FAQ's; and Manex Minutes. These manuals are also available in the "Help" menu, or on-line at http://www.manex.com/kb. The user may open and print any of the information available, or may copy it and modify it to suit internal procedures and processes. NAVIGATION OVERVIEW
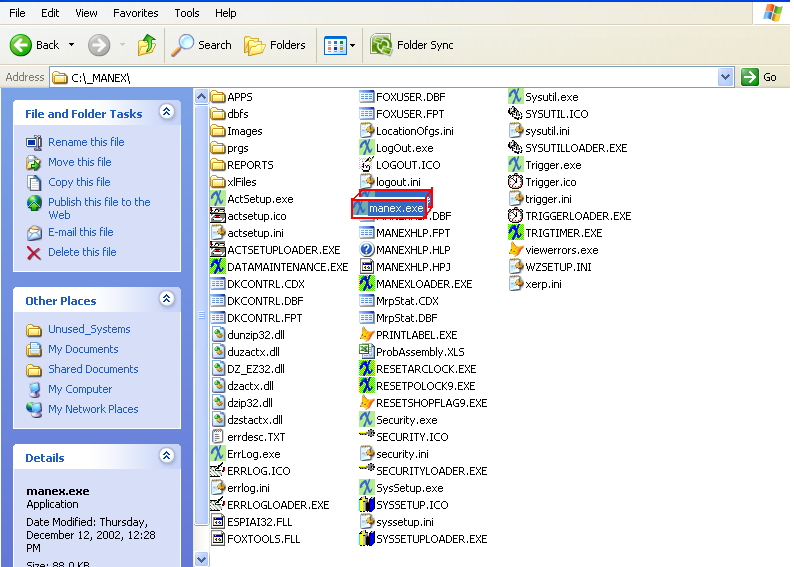
For all ManEx operations, the user starts with the shortcuts. To access, the user clicks on the appropriate icon.
ManEx is designed so that the Applications files are loaded into the individual workstation with updates, as applicable, each time ManEx is accessed.
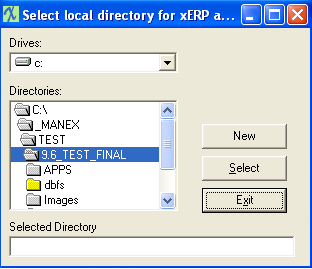
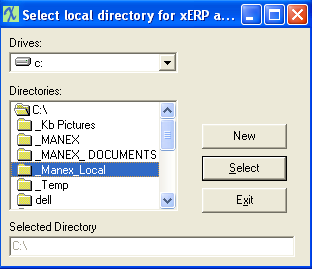
Select the drive, then select the directory. Double click on the selected directory so it will appear in the Selected Directory field, as illustrated: Depress the Select Button.
The following message should appear:
Stonefield ManEx has a program called Stonefield within the system. that will add data checking functionality to the program. The first time each day that the ManEx icon is selected, the indexes for all of the modules throughout the entire system will be automatically checked and repaired, if necessary. It will take 5 minutes or less for the first person to sign on. If it finds a problem database, it will reindex ONLY the bad database, not the whole thing. Usually there will be only one or two tables (if any) that need rebuilding, and this will only take a few minutes, depending upon the size of the table. Stonefield checks the indexes – it’s not a re-index as is covered in the utility section of this manual. If Stonefield finds a bad index, it re-indexes only the bad one. Normally, there are users on the system all day long and the system won’t check the indexes unless there are NO others users on the system when a user signs on eight hours after the last check. So a user with two shifts won’t have a time when everyone is off the system until the end of the last shift. Then, the first person to sign on in the AM will trigger the index check.
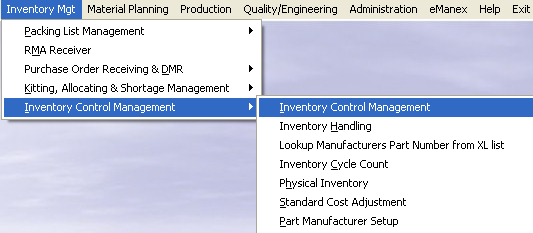
Many of the Main Menus have sub-menus. For example:
Selecting Inventory Control Management, for example, will bring up the Inventory Control screen:
Most ManEx screens have four sections: The Action buttons, Information Tabs, the Body, and Directive buttons. Action Buttons
These are the Action buttons that you will find in ManEx. Each button is a “smart” icon and will display its function if you place your cursor above it. Simple descriptions are shown below for each icon. Not all buttons will be available at one time. For example, the SAVE button is active only after initiating an ADD or EDIT action. Information Tabs The Information tabs will be different in each module. For example, in the Inventory Control Management module, the tabs appear like this:
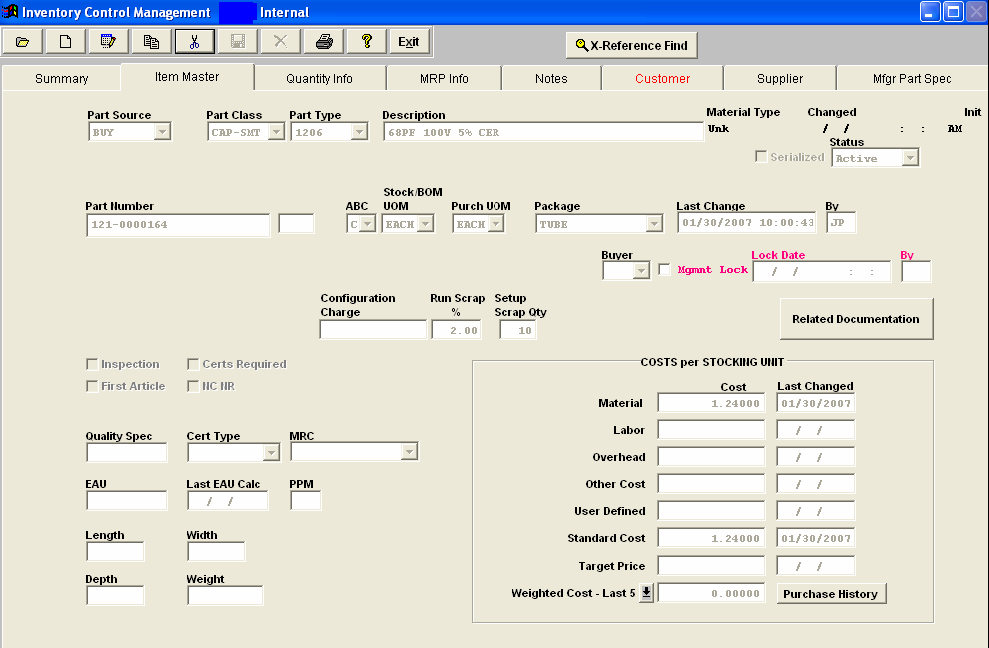
Pressing on each of these tabs brings up another screen, displaying the pertinent information relating to the tab pressed. The Body The Body of the screen is the area where information is displayed, entered or edited. For example, the Item Master tab displays the following:
Copy and Paste Functions
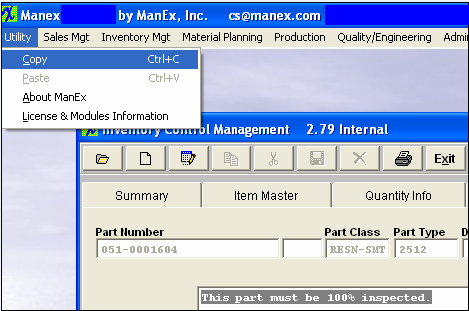
ManEx has a Copy and Paste function in the larger free-form fields like the Notes and Profile fields. Copy and Paste instructions are the same as most Windows applications: You must be in a field that is active for Copy and Paste. ManEx must be in Edit or Data Entry mode for Copy and Paste to be active. The cursor must be active in an editable text field. Tab or mouse click to go there. Highlight what you want to copy, as illustrated. Click on the ManEx Utility pull down menu, as illustrated. If the Copy option is lit, then the user may copy the wording highlighted. To paste, go to the destination and place the cursor at the place you want to paste and left mouse click. |

