| 1. Inventory Part Class |
| 1.1. Prerequisites for Inventory Part Class |
|
Complete the attached worksheet and "Mark as Completed RoadMap Section B Item 4-g before continuing the setup. User MUST have full rights to the "System Setup" in System Security . Users with “Supervisor Rights” will automatically have access. |
| 1.2. Introduction for Inventory Part Class |
The inventory class and types are one of the most powerful parts of the ManEx system. These classifications allow the users to break up large inventories into groups and sub-groups. The smaller groups make it easier to locate an item, to view reports by classes, and easier to identify a part. In ManEx, it also guides users in the addition of new parts, insuring that there are common approaches to descriptions for common parts. ManEx even will allow for automatic part number generation, where the user has to only enter a description, after selecting a part class and type. Utilization of the class and types greatly simplifies the amount of information that must be contained in the description and part number for each part. The user must enter part classes for each part, but is not required to enter part types. However, without the part types established, the user is required to enter much more data when adding specific items to the item master.
Manex uses the Part Class and Type as an extension to the description of the part. Therefore it will be displayed throughout the system on screen and in reports as an extension of the description. |
| 1.3. Fields and Definitions for Inventory Part Class | ||||
Once a part classification has been established, then sub-groups may be assigned to each class. The sub-groups are called Part Types, and each part type may have a number of different characteristics associated with it.
|
| 1.4. How To ..... for Inventory Part Class |
| 1.4.1. Add, Edit, or Delete a Part Class | ||||
|
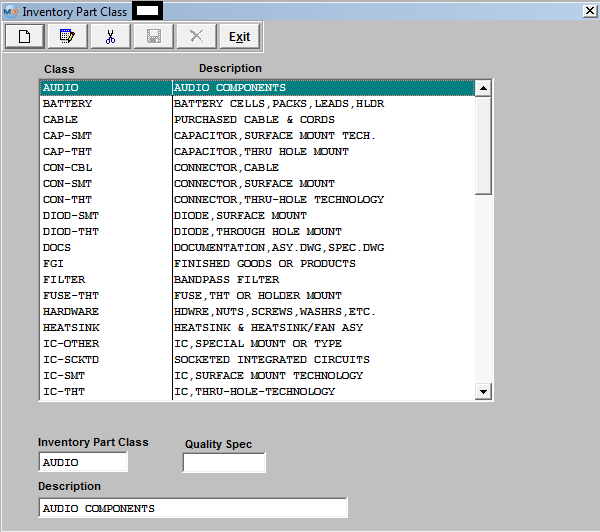
The following screen will be displayed:
To ADD a part class depress the Add button from the main tool bar. 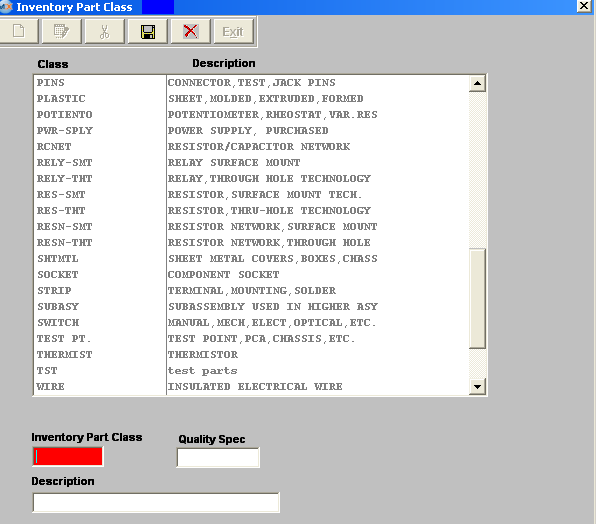 Enter in the Inventory Part Class, Description and Quality Spec information. Depress the Save button from the main tool bar to Save, depress the Abandon Changes button from the main tool bar to abandon changes. To EDIT a part class highlight the part class that you want to make changes to, depress the Edit button from the main tool bar.
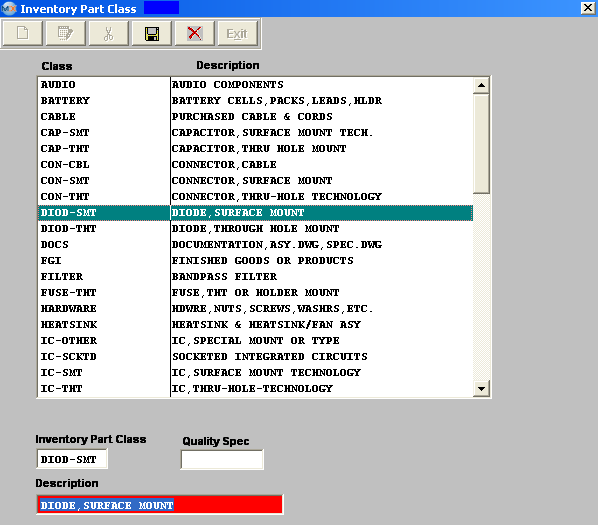 User may edit the Description or Quality Spec. Depress the Save button from the main tool bar to save changes or depress the Abandon Changes button from the main tool bar to abandon changes.
To DELETE a part class highlight the part class that you want to delete, depress the Delete button from the main tool bar. User will receive the followin popup.
 Select "YES" to continue deleting the part class, select "NO" to stop the deletion.
Where Used: In all Material functions.
«Mark as Completed in RoadMap in Sect. B Item 4-g» |