| 1. Sales Rep Types |
| 1.1. Prerequisites for Sales Rep Types |
Complete the attached worksheet and "Mark as Completed RoadMap Section B Item 2-a" before continuing the setup.
A Sales Rep Type that is used to describe an active sales rep may NOT be deleted.
User MUST have full rights to the "System Setup" in System Security . Users with “Supervisor Rights” will automatically have access.
|
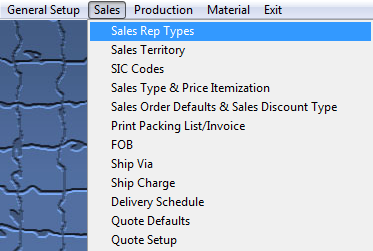
| 1.2. Introduction for Sales Rep Types |
This section is to establish different types of sales reps, and it is required in order to use the Sales Rep Information setup. Some examples are: Inside Sales, Outside Sales, Independent Rep, etc. This feature will allow the user to analyze data based on the type of representatives entered here. The user also may select the Commission Type, either a stated dollar amount or a Percentage of the |
| 1.3. Fields & Definitions for Sales Rep Types |
This feature will allow the user to analyze data based on the type of representatives entered here. The user also may select the Commission Type, either a stated dollar amount or a Percentage of the |
| 1.4. How To ..... for Sales Rep Types |
| 1.4.1. Setup a Sales Rep Type | ||||
|
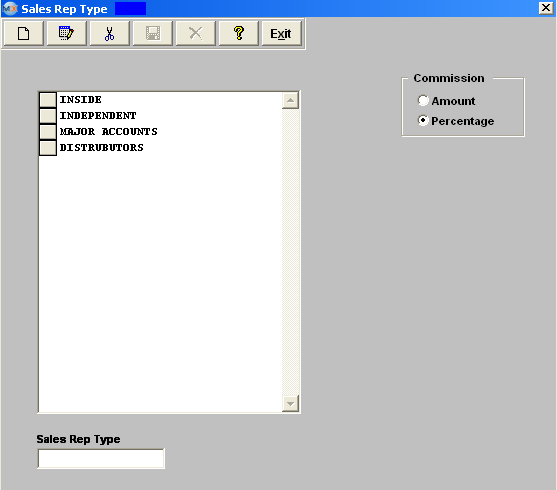
The following screen will be displayed:
To modify this screen, the user must click on the Add, Edit or Delete button and supply the password. That action will enable the screen. Pressing the Add button will enable the data entry box at the bottom of the screen for the user to enter new data. Selecting an existing Sales Rep Type and pressing the Edit button will bring the selected information to the data entry box to be modified. Selecting an existing Sales Rep Type and pressing the Delete button will remove the selected information. The user must Save or Abandon changes after adding or editing the record.
These items may be sorted in any order by clicking on and dragging the box on the left side, to the (vertical) position desired. This order will be the order displayed in the pull downs when using this list in other modules within the system. Suggestion: Have the one most used at the top of the list. Where Used: In the Sales Rep setup screen.
«Mark as Completed in RoadMap Section B Item 2-a» |