| 1. How To ..... for Security System |
| 1.1. Setup for Security Module |
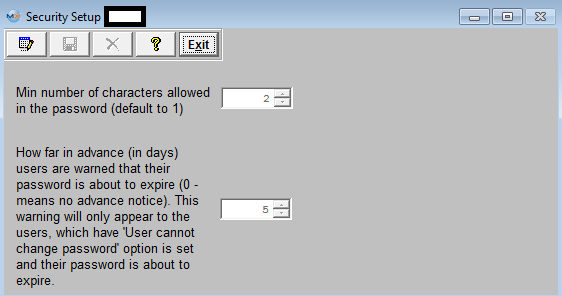
Enter Min number of characters allowed in the password: Minimum 1 Maximum 10 (Defaults to 1) Enter number of days you want to warn the user in advance that their password is about to expire. This warning will only appear to the users, which have "User cannot change password" option enabled. |
| 1.2. Find Existing User | ||||||||
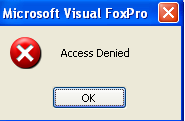
User without rights to this module will receive the following message and system will abort.
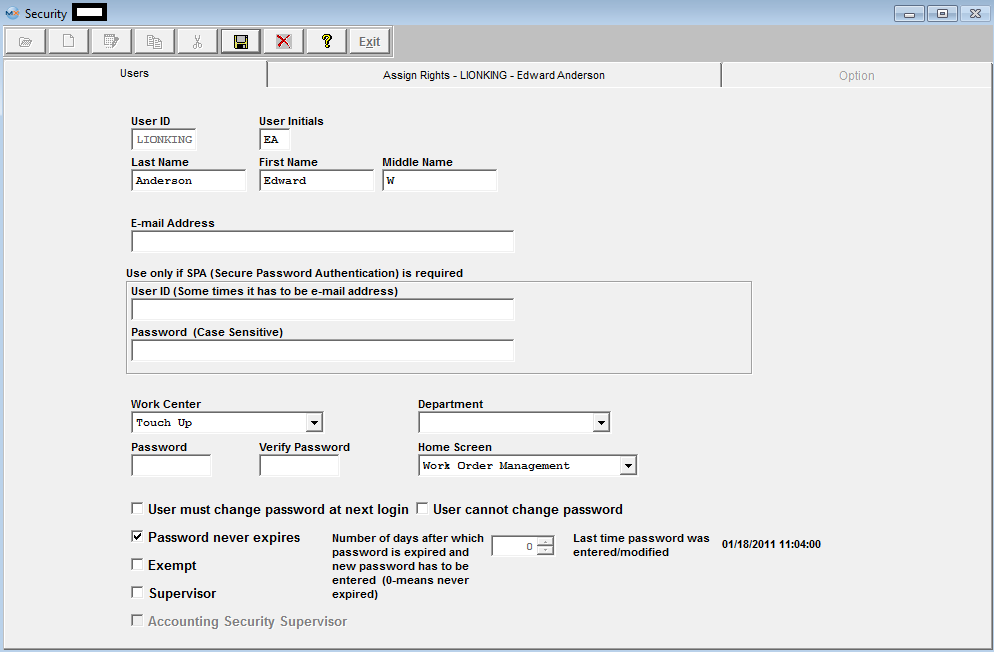
The following screen will be displayed:
 The function buttons are located at the top of each screen. Each button is a “smart” icon and will display its function if you place your cursor above it For a list of those functions, please refer to Button Description/Definitions
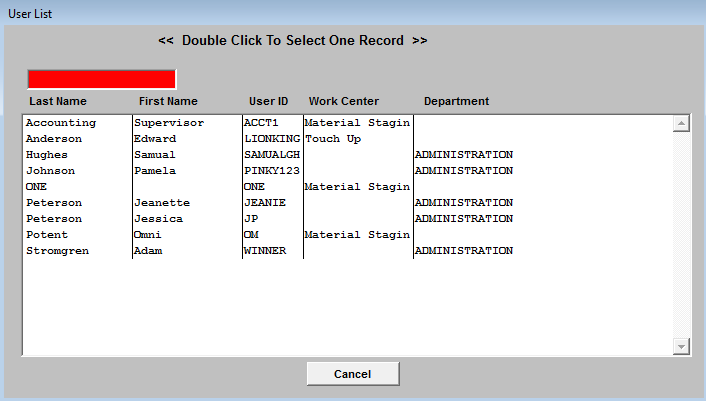
The following screen will appear:
 |
| 1.3. Add New User | ||||||||||||||||||
Select the SQLSECURITY.EXE (within the Manex Root Directory) to begin the security setup. User without rights to this module will receive the following message and system will abort.
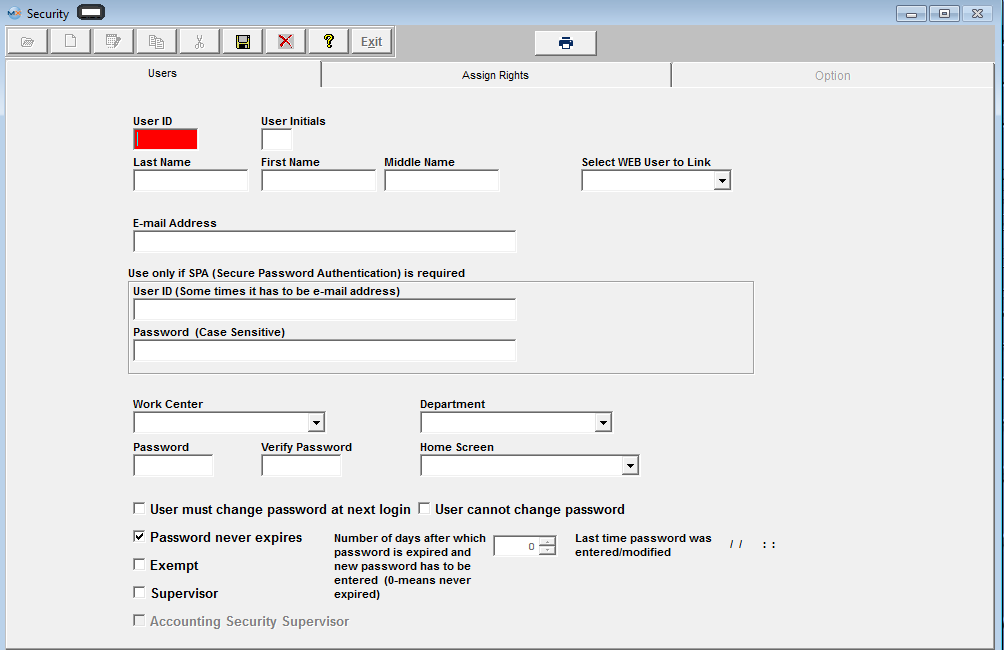
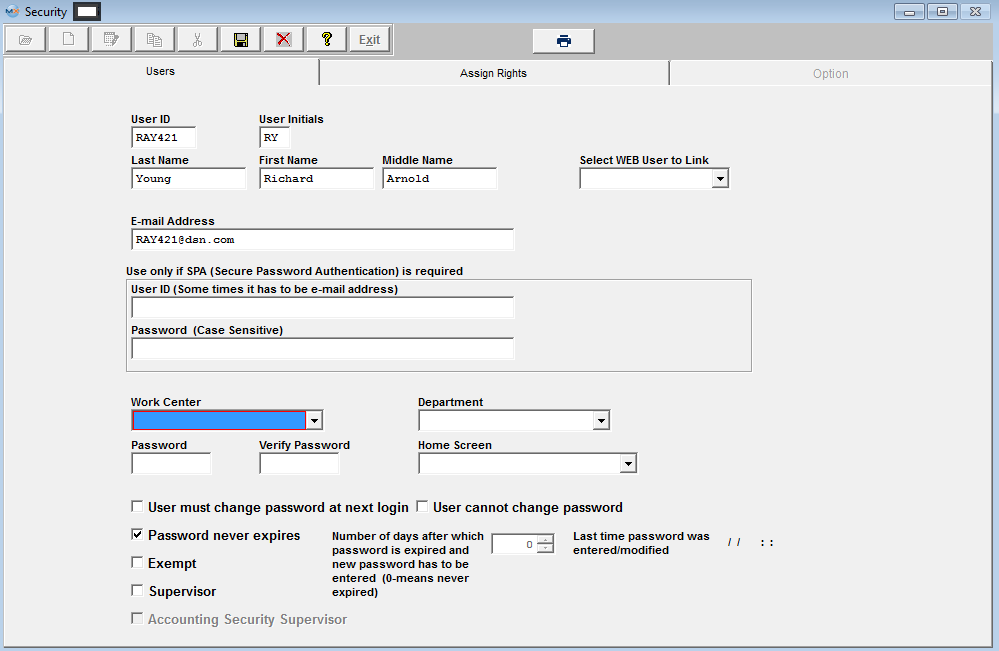
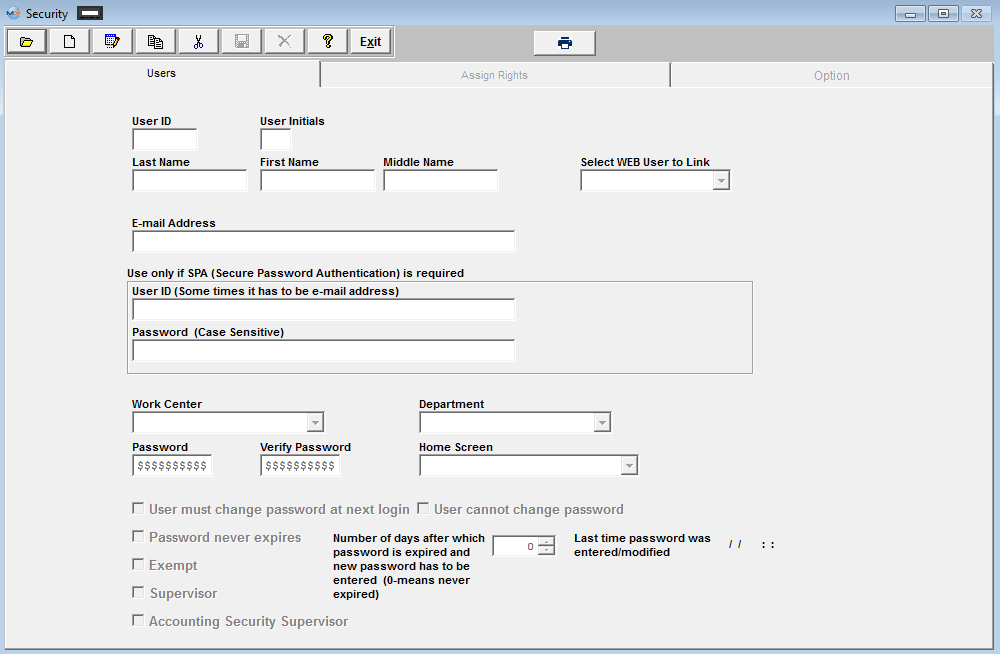
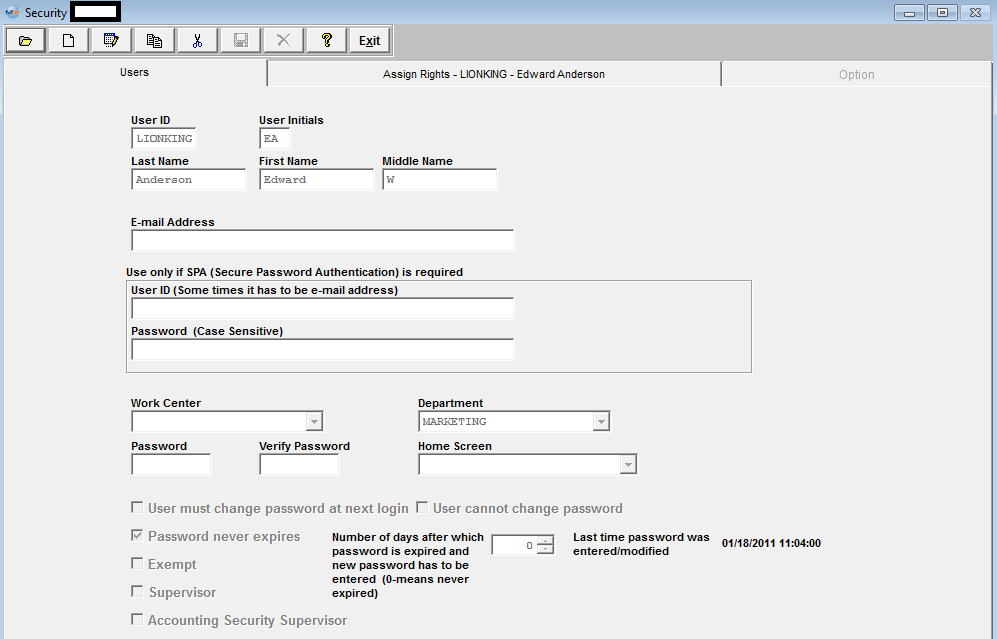
The following screen will display:  The function buttons are located at the top of each screen. Each button is a “smart” icon and will display its function if you place your cursor above it For a list of those functions, please refer to Button Description/Definitions Adding User Access Security: Enter User ID, Users Initial, Users Last Name, Users First Name, Users Middle Initial or name, users e-mail address (if applicable), and SPA info (if applicable).
Assign user a password (number of characters will be based on Security Setup). The password used will identify the user and include their initials on each transaction processed. Verify password.
"User must change password at next login" At the login to ManEx the system will check if "User must change password at next login" is checked. If it is checked the system will show two new fields "New password" and "Confirm password" and ask user to enter new password, which has to be different from the one already entered. "User cannot change password" The next system check is for the password to expire and if "User cannot change password" is checked a warning will be displayed, (depending on the number of days setup in Security setup screen). Once password expires user will receive a warning notice that the password has expired and they must see the system administrator. "Password never exipires" This is the default when entering a new user. "Number of days after which password is expired and new password has to be entered (0-means never expired)" This field is used in conjunction with "User must change password at next login" and "User cannot change password" If N days is entered for password to expire and "User must change password at next login" is checked, this means that the user has to enter new password every N days. When the password expires the user will be prompt with two new fields (New and Confirm password) to enter new password. A new modified date will be saved along with new password. If N days is entered for password to expire and "User cannot change password" is checked, the user will receive a message that the password is to expire, once the password has expired they must report to the system administator for new password. If "Password never expires" is checked this field is disabled. Last time password was entered/modified This will record the date and time the password was entered/modified. Supervisor By clicking your mouse on this field, you automatically assign full supervisory rights to all modules in the system (except the accounting modules) and it is not necessary to assign access rights (Assign Rights screen tab will be disabled). The same user cannot be a Supervisor and an Accounting Security Supervisor (aka ASS). A supervisor cannot assign someone to be an ASS and cannot assign rights to any accounting screens.
Exempt This field is for future use. Right now all it does is carry forward to the user shift setup screen, but does not affect any data.
Accounting Security Supervisor This field is for reference only. An ASS is setup in the Accounts Access Level module. The same user cannot be a Supervisor and an ASS.
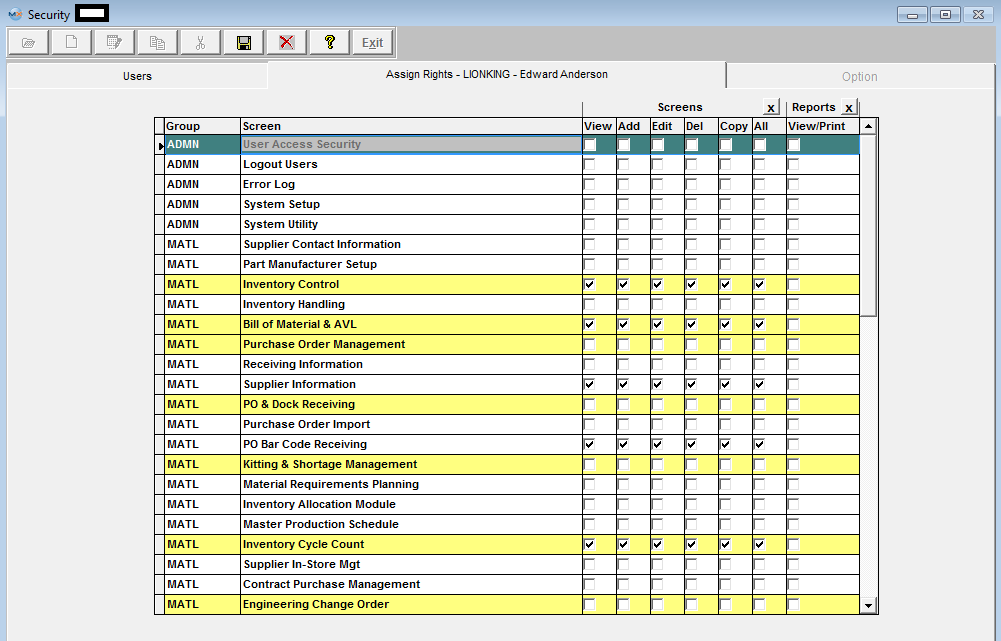
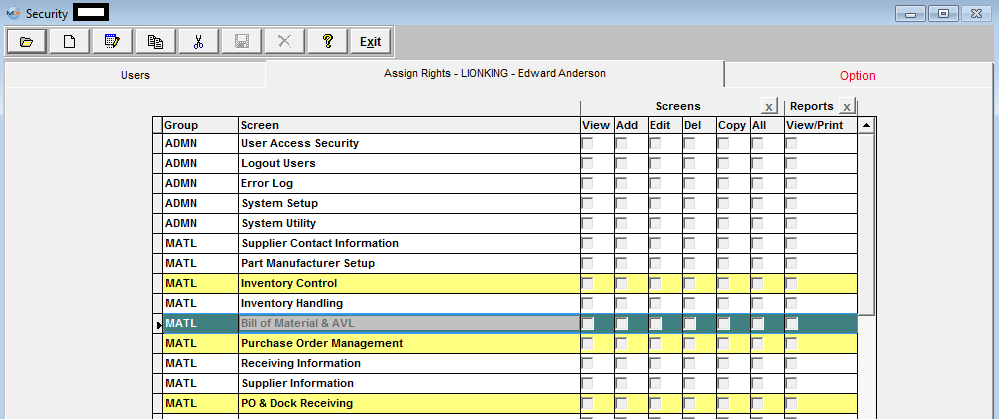 Note: Use the scroll bar to move up or down and be sure to save before exiting this screen. For users who will have all rights to a module, the administrator may click on the “ALL” button to populate all screens or report access. For users who will have access to nearly all modules, an “X” button at the top of the screen will populate all checks, then the administrator can uncheck the “ALL” button on specific modules to remove access to those modules. Current users’ rights will not take effect until saving and exiting the MANEX System and re-entering the system. Note: The password to use upon saving is NOT the one you’ve just set up. Use an older Supervisor’s password or the master password. MANEX allows you to setup access levels by a module basis or by sub-module, depending on the module. The system allows a company to define specific rights within a module for a specific user, to control users’ rights within the program. With proper utilization, you can secure key information and at the same time maintain worker efficiency. The rights that are available are as follows:
See Article #3612 for more information on the options available within some of the Security Line Items.
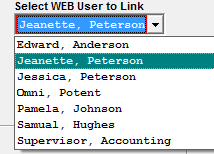
Once user has been created and saved you may edit and setup to access the WebManex Reports.
|
| 1.4. Copy Security Rights from One User to Another User | ||||
Select the SQLSECURITY.EXE (within the Manex Root Directory) to begin the security setup. User without rights to this module will receive the following message and system will abort.
The following screen will display:
 Each button performs a specific function. For a list of those functions, please refer to Button Description/Definitions Copying Security Rights from One User to Another User:
Find the User you want to Copy the Rights From (User ID LIONKING)
 Depress the
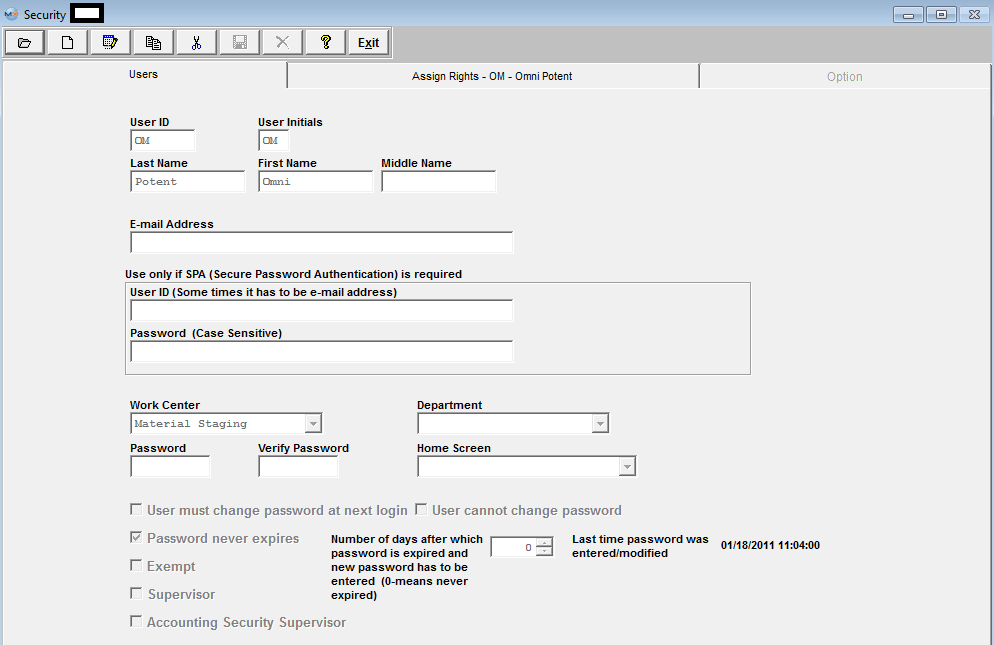
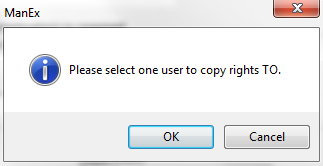 Depress OK,and the Find User Information appears:Select a the User you want to Copy the Rights To
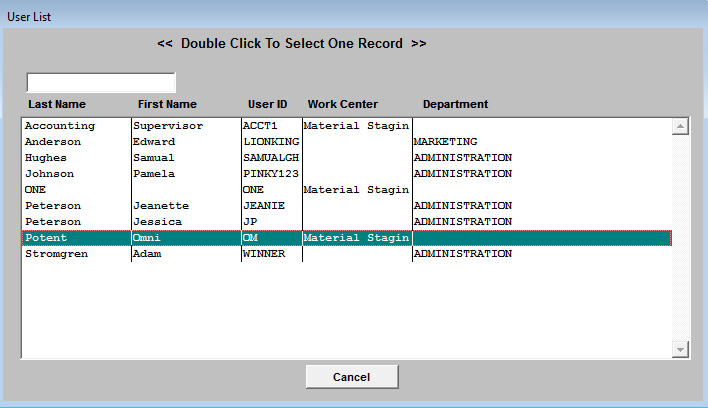 Select User "Potent, Omni" by double clicking on her Name - User "OM" now has the same rights as user "LionKing"
 |
| 1.5. Delete a User |
Find an Existing User
Depress the Delete button and the following messge will appear:
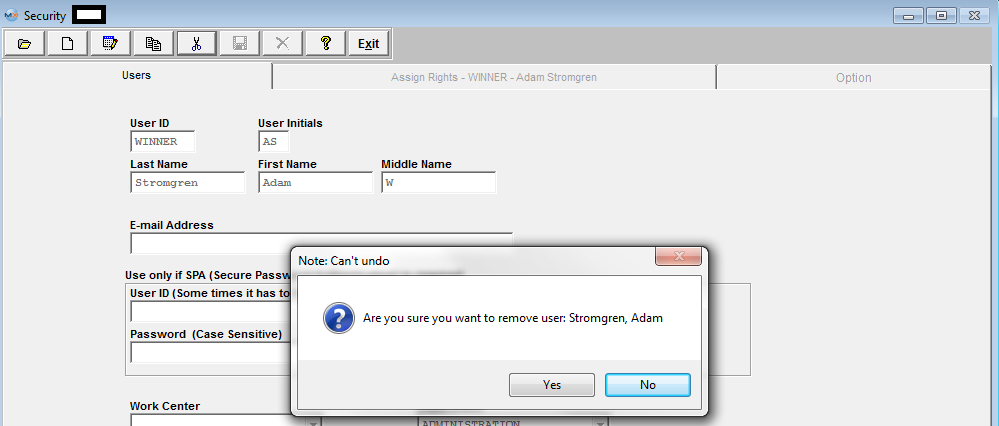 Depress OK and the User will be removed. Depress Cancel to abandon changes.
Removing a user should NOT affect the transfer history in SFT or the inventory transaction reports. The initials will remain intact after the removal of a user.
|
| 1.6. Change Users Security Rights |
Find a User The following screen will appear:
Depress the Edit action button. All fields within this screen become editable. Except for the Accounting Security Supervisor field, this field is only editable in the Accounts Access Level module.
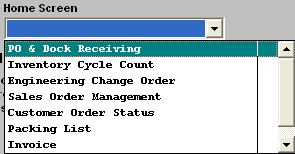
Note: If there is a Home Page assigned to a user and you want to remove it you can right click in the field and the Home Screen field should go blank.
Depress the Assign Rights tab and you can change security rights for all modules (except for the accounting modules) at this time. Security rights for the Accounting modules must be setup in the Accounts Access Level module.
See Article #3612 for more information on the options available within some of the Security Line Items. When changes are complete depress the Save changes action button to save changes or the Abandon changes action button to abandon changes. |
