| 1. Customer Relationship Management (CRM) |
| 1.1. Compress Backups for SharePoint |
How to compress files or folders into a ZIP file in Windows 10 1. Open File Explorer (Windows Explorer). 2. Go to the file(s) or folder(s) you want to compress into a ZIP file. 3. If you want to compress multiple files or folders into a ZIP file, then you will need to select all of the files or folders you want to compress. You can select multiple files or folders by holding the CTRL key and clicking on the files or folders. Alternatively, you can click on the first file or folder, hold the SHIFT key, and then click on the last file or folder. You can also press CTRL + A to select all files or folders.
4. Right-click on the file or folder > Send to > Compressed (zipped) folder. For multiple files or folders, you right-click on one of the selected files or folders > Send to > Compressed (zipped) folder.
OR, you can also select the file(s) or folder(s), click on Share in the upper left corner of File Explorer and then click on ZIP.
Windows will then compress the file(s) or folder(s) into a ZIP file.
How to compress files or folders into a ZIP file using 7-Zip 1. Open File Explorer (Windows Explorer). 2. Go to the file(s) or folder(s) you want to compress into a ZIP file. 3. If you want to compress multiple files or folders into a ZIP file, then you will need to select all the files or folders you want to compress. You can do this by either holding CTRL and clicking on the files or folders you want, clicking the first file or folder and holding the SHIFT key and clicking the last file or folder, OR by pressing CTRL + A to select all files or folders.
4. Right-click on the file or folder > 7-Zip > Add to "[file-name].zip". For multiple files or folders, you right-click on one of the selected files or folders > 7-Zip > Add to > "[file-name].zip".
7-Zip will then compress the file(s) or folder(s) into a ZIP file.
How to compress files or folders into a ZIP file using WinRAR 1. Open File Explorer (Windows Explorer). 2. Go to the file(s) or folder(s) you want to compress into a ZIP file. 3. If you want to compress multiple files or folders into a ZIP file, then you will need to select all the files or folders you want to compress. You can do this by either holding CTRL and clicking on the files or folders you want, clicking the first file or folder and holding the SHIFT key and clicking the last file or folder, OR by pressing CTRL + A to select all files or folders.
4. Right-click on the file or folder and then click on Add to Archive. For multiple files or folders, you right-click on one of the selected files or folders and then click on Add to Archive.
An "Archive Name and Parameters" window will appear. 5. At Archive Format, you select ZIP. 6. Click on the OK button.
|
| 1.2. PROTECTED CRM WEB PAGES |
| 1.3. Prerequisities for the CRM |
|
You MUST first receive your Login information from ManEx customer support, when Installation or Demo system is made available. If this information has NOT been provided please contact support@manex.com by e-mail. |
| 1.4. Introduction for the CRM |
Welcome to our ManEx - Customer Relationship Management (CRM) area. We have provided this area for users to gain immediate access to updates and a variety of additional user information. We hope that this access will provide Users with the ability to quickly ascertain what new information is available for ManEx, and access to the appropriate files.
Within this screen you can: 1. Access the ManEx Website 2. Access the KB 3. Upload and/or Download files from the FTP site 4. Retreive all of ManEx Updates , Client Files, and View the History
5. Access to all of the Special Utilities
|
| 1.5. How to for the CRM |
| 1.5.1. Upload Database Files to SharePoint |
Instructions for Uploading Database Files to SharePoint CRM manex's SharePoint CRM allows customers to upload their data files if support is needed. All files uploaded to the SharePoint CRM are accessible to manex only. Customers only have access to their own SharePoint CRM folders. Please Note: It is always recommended to split and/or compress your backup files to be less than 1GB. This decreases the amount of time it takes to upload/download files and allows manex to provide more timely assistance. To split the backup into multiple files, please reference this KB article. To compress the backup, please reference this KB article. To upload data files to the SharePoint CRM, select the Uploads folder to navigate to the Uploads page.
On the Uploads page, select the Upload tab located towards the top of the page. On the drop-down menu that appears, select "Files", find the location where the data files are located on your computer, and then select the files to upload.
Once all data files have been successfully uploaded, or if you have any issues, please notify manex. |
| 1.5.2. Access the CRM |
|
To access the CRM area using Internet Explorer go to www.manex.com/CRM The following screen will appear:  Depress the Login button and the following Log In screen will appear:
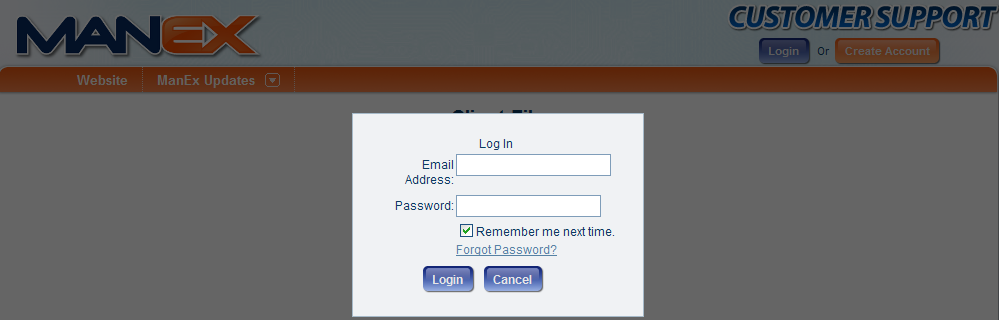 Enter your email Address and Password (which will be provided by ManEx customer support via e-mail)
For further detail on how to rest your password if you have forgotten it see Article #3598 . For further detail on how to change your password see Article #3458 .
NOTE: all fields are case sensitive Once user is logged in the following screen will appear:
 Within this screen you can: 1. Access the ManEx Website 2. Access the KB 3. Upload and/or Download files from the FTP site 4. Retreive all of ManEx Updates , Client Files, and View the History
5. Access to all of the Special Utilities
|
| 1.5.2.1. Reset a Pasword |
Please follow this process to reset a password for the CRM
Depress the Login button (blue button at top right hand corner of screen) The following Log in screen will appear; Depress the "Forgot Password" link; 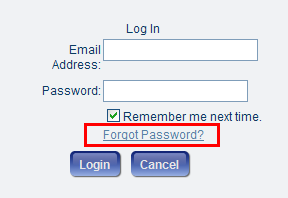 The following screen will appear: 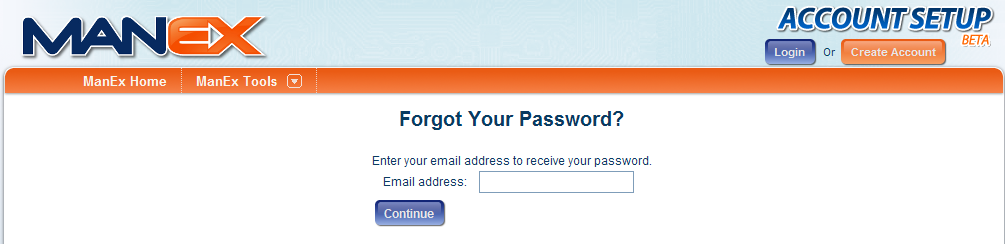 Enter your e-mail address, depress "Continue" and the following screen will appear: 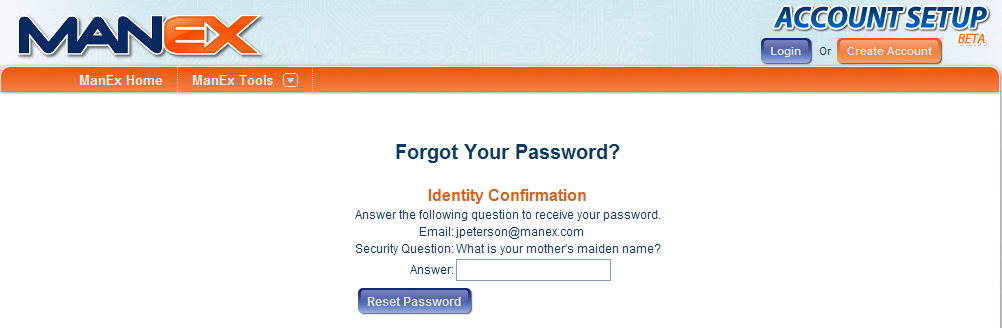 Enter the Answer to the Security Question, depress "Reset Password" and the following screen will appear with a new password: 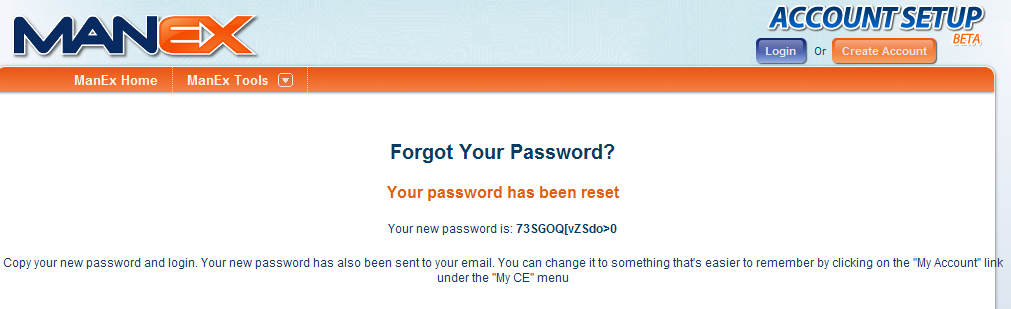 Enter your e-mail address and new password in the Login Screen. At this point user can change the new password to something else. For further detail See Article #3458. WARNING: The following is what a PHISHING E-MAIL may look like when trying to get you to reset your CRM password. DO NOT follow these instructions. Although the links look legit, they are NOT and they contained a different URL. While we do have this functionality built into our site, please know that this is NOT ours. Hello,
We received your request to reset your manex.com password. To confirm your request and reset your password, follow the instructions below. Confirming your request helps prevent unauthorized access to your account. If you didn't request that your password be reset, please follow the instructions below to cancel your request. |
| 1.5.3. Access the Website |
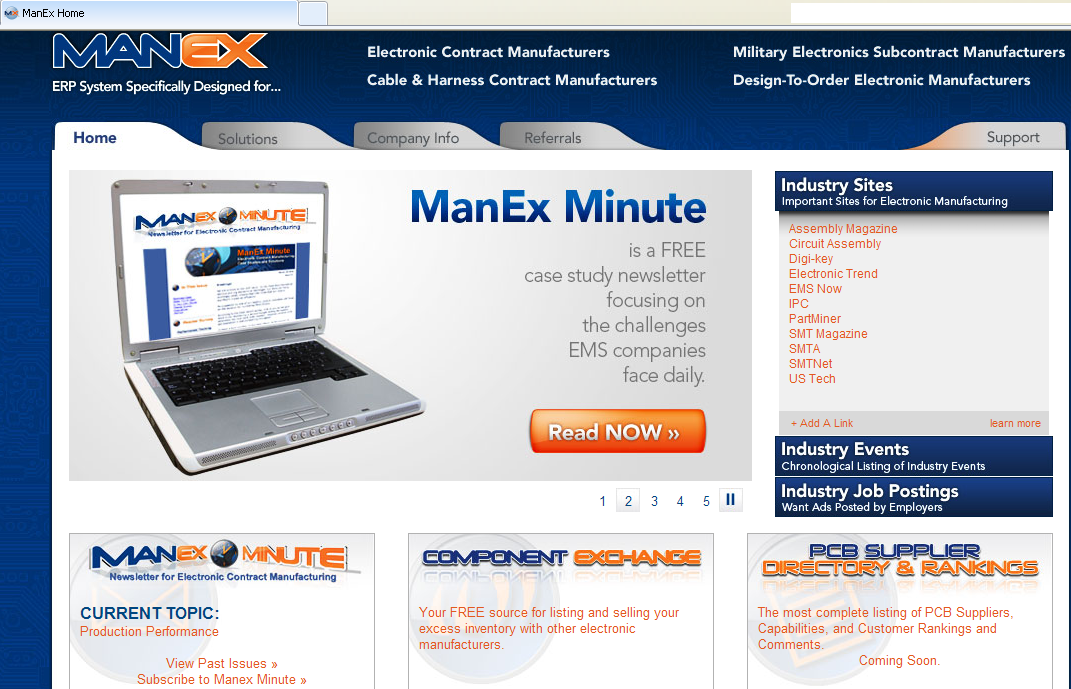
 Selecting the "Website" tab will bring up the ManEx website as displayed below:
 |
| 1.5.4. Access the KB |
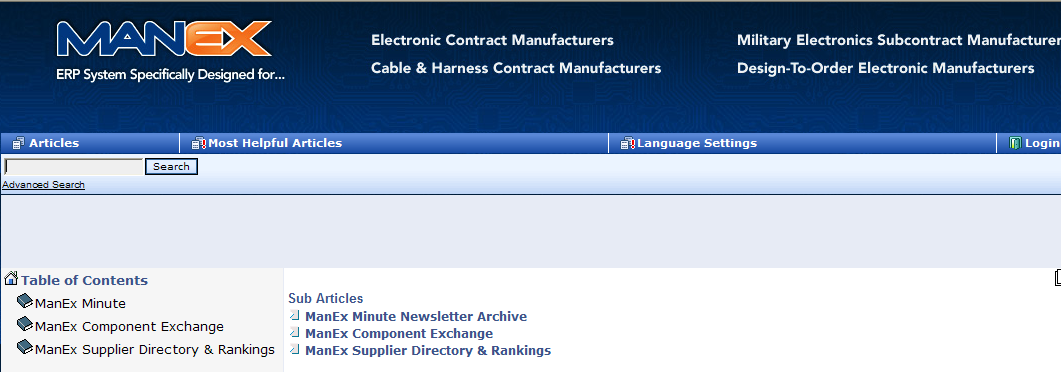
 Selecting the "KB" tab will bring you to the KB screen as displayed below:
 |
| 1.5.5. Access the FTP |
 |
| 1.5.5.1. Download Files | ||||||||
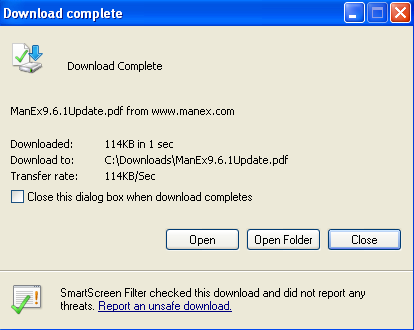
The FTP/Download screen will display all the files that have been uploaded to your account. It will list the name of the file, the size of the file, the date of the upload, and the name of the person that uploaded the file. You will be able to Save the files to another file or Open the file by clicking on the file name. To Colapse the list click on the (-) to the left fo the folder.
 Select the file to download and click on the file name.
|
| 1.5.5.2. Upload Files |
This area allows ManEx customers to safely upload files for analysis if help is needed. Files are uploaded directly to a ManEx server and are NOT available to anyone but ManEx.
(Note: For larger databases we recommend you split the backup into multiple files. Please reference KB Article ID: 5958 on how to split backup files in SQL Management studio) Please note the file must be zipped and the size less than 1 GB To Upload files Depress the " Choose File " to Choose the location in which the desired files is located on your computer. It is requested that you name your files <<CustName_system version_Yr/mo/day>>. This helps Manex know exactly who the files are for and what Manex Version you are using. Once you have selected the file to Upload, depress the Upload button and a progress Bar should be displayed at the bottom of your screen.
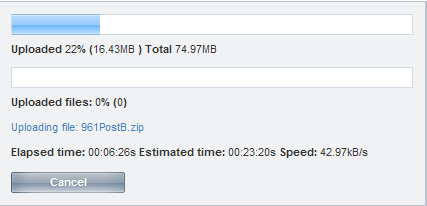 Leave the browser window open until the "Upload Complete" message is displayed. Please monitor your upload and inform us of any errors. Once the upload has successfully completed the following message will appear:  |

| 1.5.6. ManEx Updates |

|
| 1.5.6.1. Updates | ||||||||||||||||||
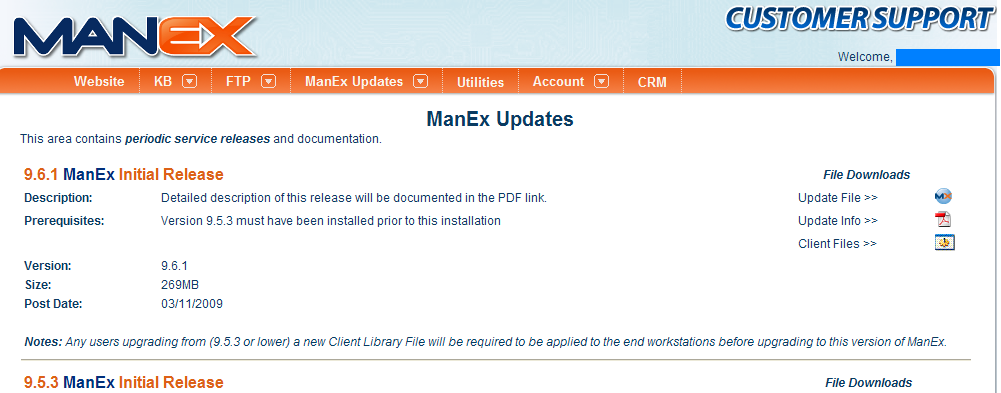
|

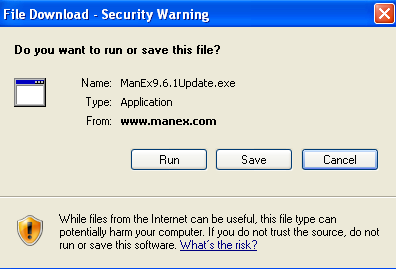
| 1.5.6.2. Client Files |
Download the {ManEx-Libraries Setup.exe} 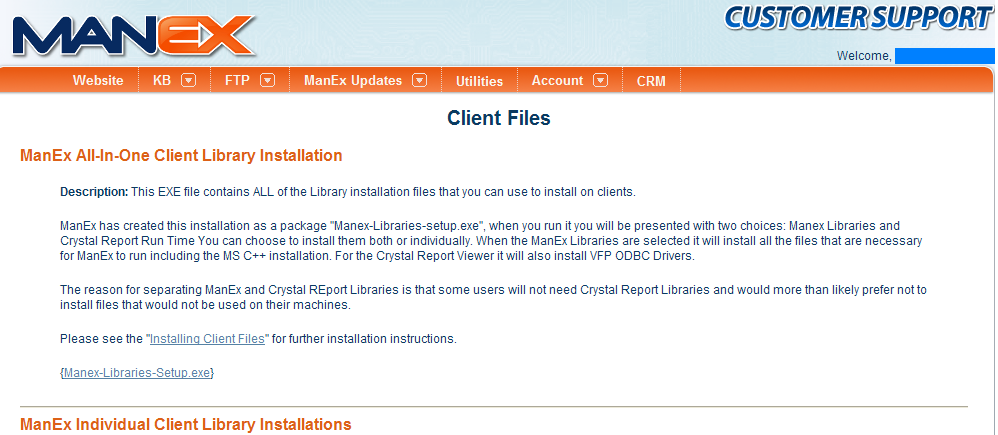 |
| 1.5.6.3. History |
Once logged into the CRM depress the ManEx Updates Page/History. This screen will display a list of all the Versions of ManEx, the date Released, if they are active, any special Notes that apply to the version listed and the pdf file describing all the updates made to the system per version. User may download or view the pdf related to each individual version that has been released. 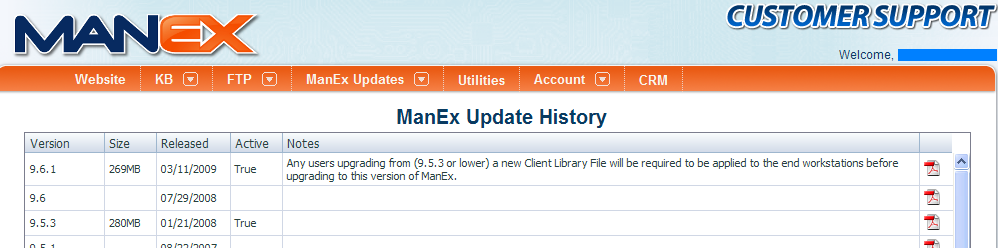 |
| 1.5.7. Utilities |
This area contains some specialized utility executables that more sophisticated users may find of value. USE THESE UTILITIES AT YOUR OWN RISK. Be sure to experiment on a test database before using on your Live. ManEx assumes no responsibility for un-intended consequences resulting from use of these utilities. However, we believe them to be save and useful. All these programs are for Version 8.0 or higher unless otherwise noted.   |
| 1.5.8. Account |
 |
| 1.5.8.1. My Account |
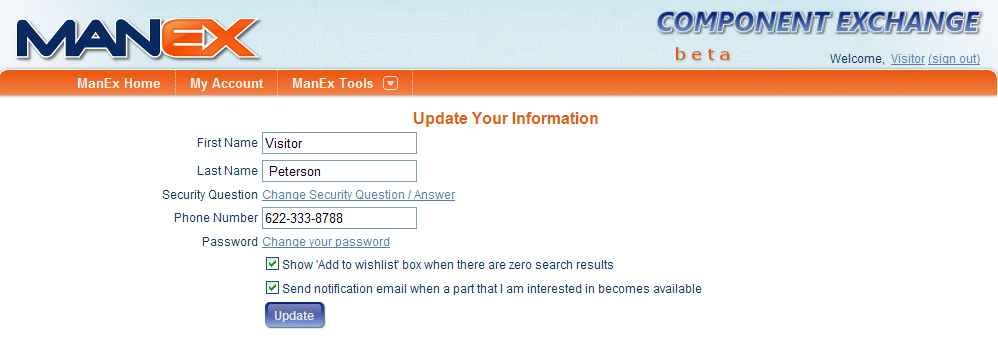 Depress the "Change Security Question/Answer" link and the following screen will appear allowing user to change their Security Question/Answer
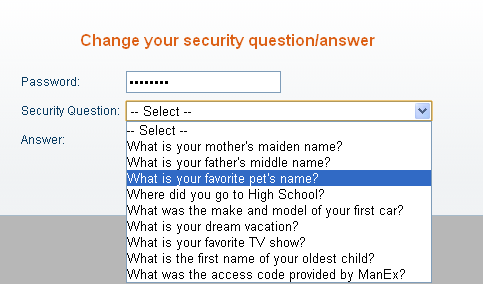
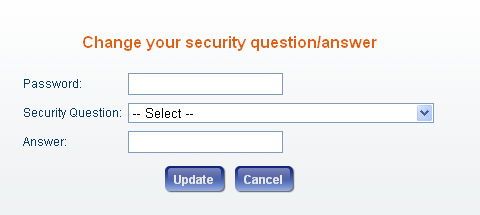 Enter your password and select a new Security Question from the pull-down
 Enter the answer
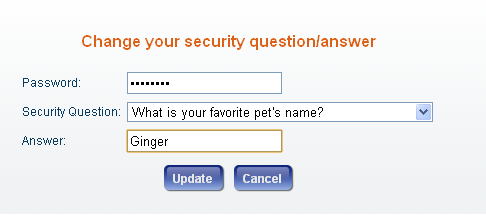 Select the "Update" button to update changes or select the "Cancel" button to cancel changes
Depress the "Change your password" link and the following screen will appear allowing user to change their password
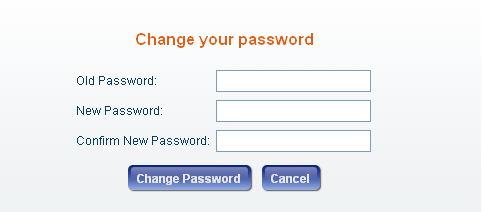 Enter the Old Password, New Password, and Confirm New Password
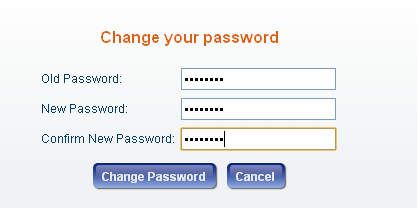 Select the "Change Password" button or
Cancel" to abandon changes. |
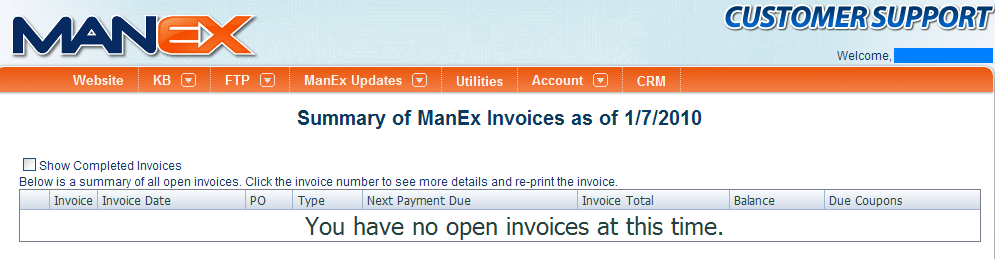
| 1.5.8.2. My Invoices |
 |