| 1. How To .... for the GL Reports |
| 1.1. Accounts | ||||
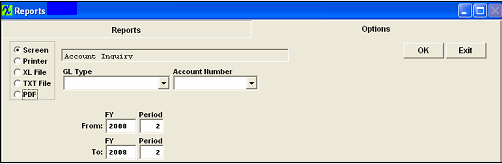
Teh following screen will appear:
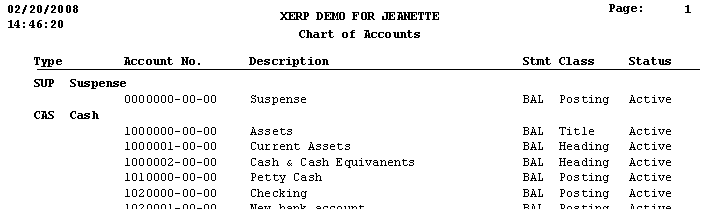
 Select the Chart of Accounts report. Then depress the OK button, the following report will be displayed.
ACCOUNT INQUIRY REPORTS
The following report will be displayed.
|

| 1.2. Journal Entries | ||||
The following screen will appear:
The following report will print: 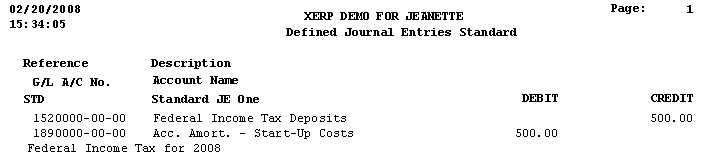
|
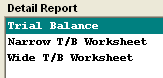
| 1.3. Trial Balance | ||||||
The following screen will appear:
Depress the OK Button and the following report will be displayed (Basic Trial Balance Report) 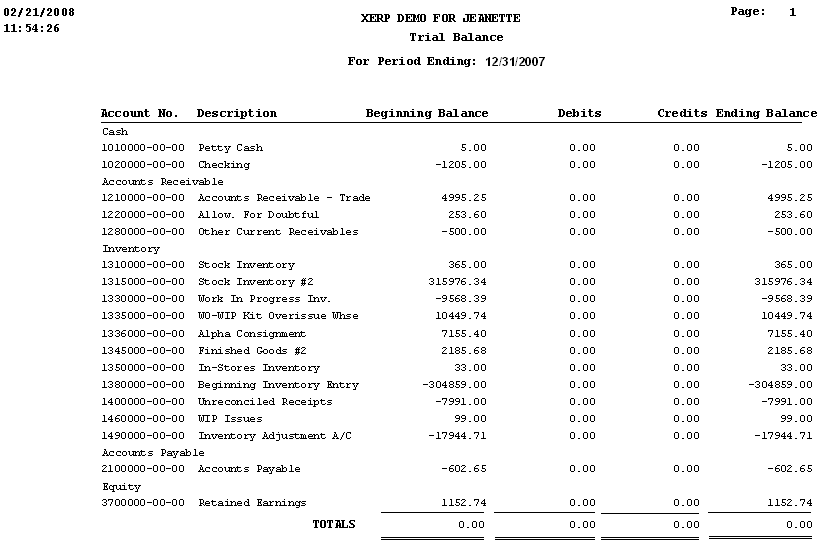
|

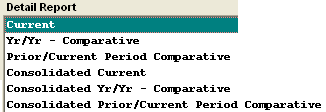
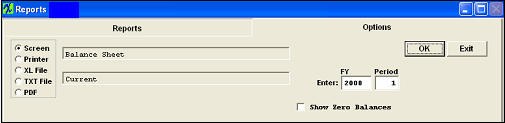
| 1.4. Balance Sheets | ||||||
The following screen will appear:
OVERVIEW
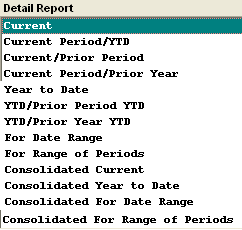
Balance Sheet reporting provides for the printout of ending balance values in a standard format as defined by the user. The Account Type, Account setup and report default definition is defined in the setup modules for the General Ledger . Current period report provides a single column of output while the comparative reports provide for two columns of data to compare one set of data with another. For example, one may compare the current period with the prior period, current period with same period in the previous year, current period and year to date, etc. The three Consolidated reports available are for the users that have multiple divisions setup within the ManEx system. They are the same as the individual balance sheets, but these reports consolidate multiple division into one report.
Note: If the user is having problems with the totaling within the Balance Sheet, the following is the way that the accounting normal balances are established within the ManEx General Ledger Account Ranges for the printing of the financial statements. All asset accounts must be set up with the normal balance value as DEBIT, including contra accounts.The system doesn’t distinguish between a liability and a contra asset on the balance sheet, therefore any contra asset must be identified with a normal balance of debit. This does not mean that the system will treat contra assets as normally having an accounting balance of debit. The debit in this field signifies only that it is part of the asset group and not a part of the liability group for the purpose of printing of the financial statements.
The following report will be displayed (Current BalanceSheet)
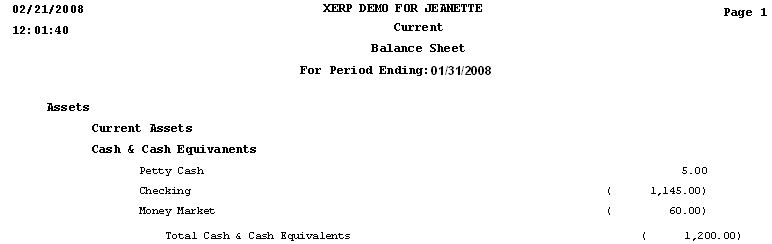 Note: Your Checking amount may not always match your Bank Balance. For more detail see Article #3262 .
|
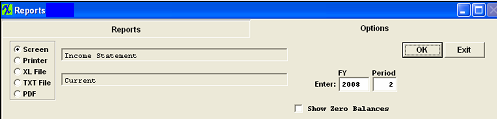
| 1.5. Income Statements | ||||||
The following screen will appear:
OVERVIEW Income Statement reporting provides for the printing of ad-hoc single period income statements as well as the more traditional period based reports. The Comparative reports provide for two columns of information, for comparative purposes. The Consolidation reports are available for users that have multiple divisions setup with the ManEx system. They are the same as the individual Income Statements, but these reports consolidate multiple divisions into one report. Output of the reports is based on definitions established by the user in the General Ledger setup area of Account Types and Report Defaults.
The following report will be displayed. (Current) 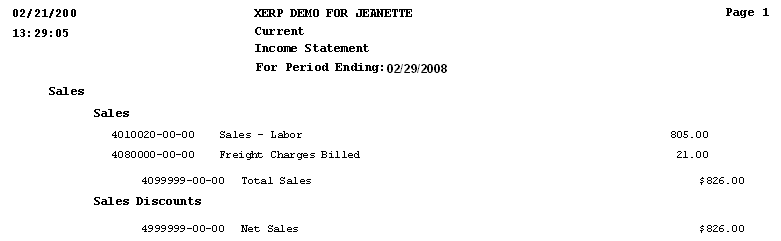
|
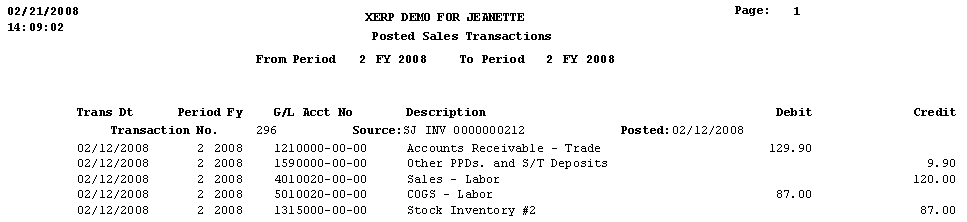
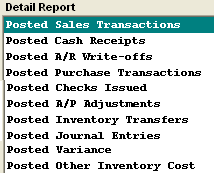
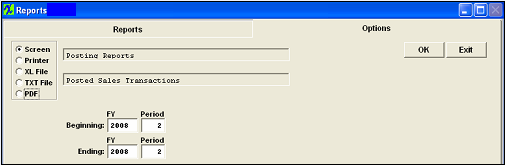
| 1.6. Posting Reports | ||||||
The following screen will appear:
The following report will appear:
 |
| 1.7. Detailed GL Cross-Tabbed Reports | ||||||
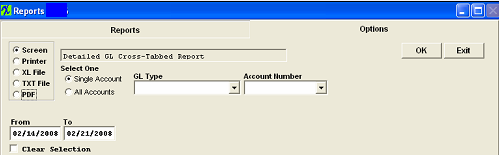
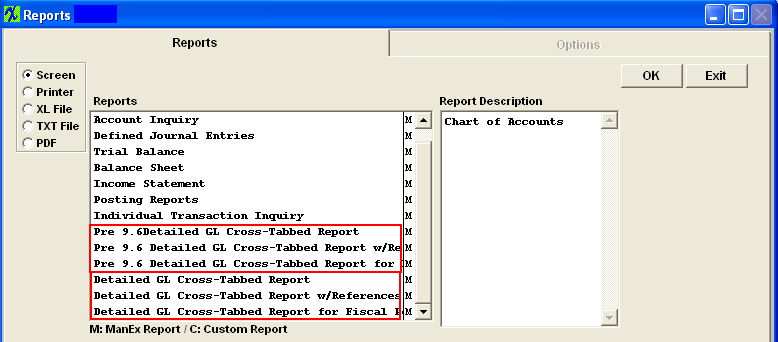
The following screen will appear: Due to the fact that we restructured the Accounting system and where/how the records are stored it was found that the previous Cross-tabbed reports would not be able to display the detailed transaction inforrmation. So we named the previous Cross-tabbed reports to included "Pre 9.6 Detailed GL Cross-Tabbed Reports". These reports will remain available so users can use them to print out any Cross-Tabbed report for Transactions that were created BEFORE updating to 9.6. We then designed new "Detailed GL Cross-Tabbed Reports" to work with 9.6 Accounting. Because of the new structure, the new reports will generate faster due to fewer interim files to be accessed. New records will be displayed on the Detailed GL Cross-Tabbed Reports as well as the Pre 9.6 Detailed GL Cross-Tabbed Reports, but on the Pre 9.6 reports it will display as "Missing Information". The "Detailed GL Cross-Tabbed Reports" and "Individual Transaction Inquiry" are available for the user to drill down into the source of the transaction, which was posted to the General Ledger.
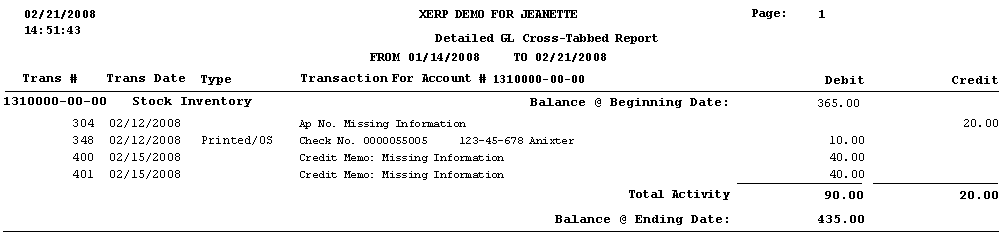
The Detailed GL Cross-Tabbed Reports provides a way to trace activity posted to all accounts during a given date range based on the Transaction date NOT the Posted Date.. The report is sorted by account number so you may see what amounts were posted to the account. A reference number is provided to assist in finding the balancing entries.
NOTE: If user happens to Transfer product back and forth (for example: if user transfers 5 into FGI, then transfers the same 5 back into Stag, then transfers the same 5 back into FGI again) the Total Qty transferred on the "GL X-Tabbed w/Reference" report will reflect 15 which is how many total qty's were transferred. The transaction value itself will be for the quantity of 5, but the reference info will be reflecting the quantity of 15. If users see this on the "GL X-Tabbed Report w/Reference" report, they may want to check the transfer history by highlighting the FGI work center and depressing the "Xfer History" button located in the Shop Floor Tracking module. This will display all the transactions that happen even though it was the for the same quantity.
Highlight one of the Detailed GL Cross-Tabbed Reports from the menu. NOTE: The Detailed GL Cross Tabbed Report for Fiscal Year is the ONLY Cross Tabbed report where the begginning balance will match the Trial Balance report beginning balance. The other Detailed GL Cross Tabbed reports are calculated a bit differently then the Trial Balance report, so they will more than likely never match the Trial Balance rpt.
The following report will be displayed.
Note: "Missing Information" could mean that the inventory part number that was assoicated to this transaction has been deleted from the system.
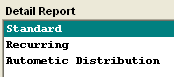
The Individual Transaction Inquiry is a sister report to the Detailed GL Cross-Tabbed reports, it provides the full entry as referenced by the transaction number, which the user has obtained in the View G/L Activity or the Detailed GL Cross-Tabbed Reports. Highlight the Individual Transaction Inquiry from the menu.
The following report will be displayed.
|