| Accept/Reject Quantity | ||
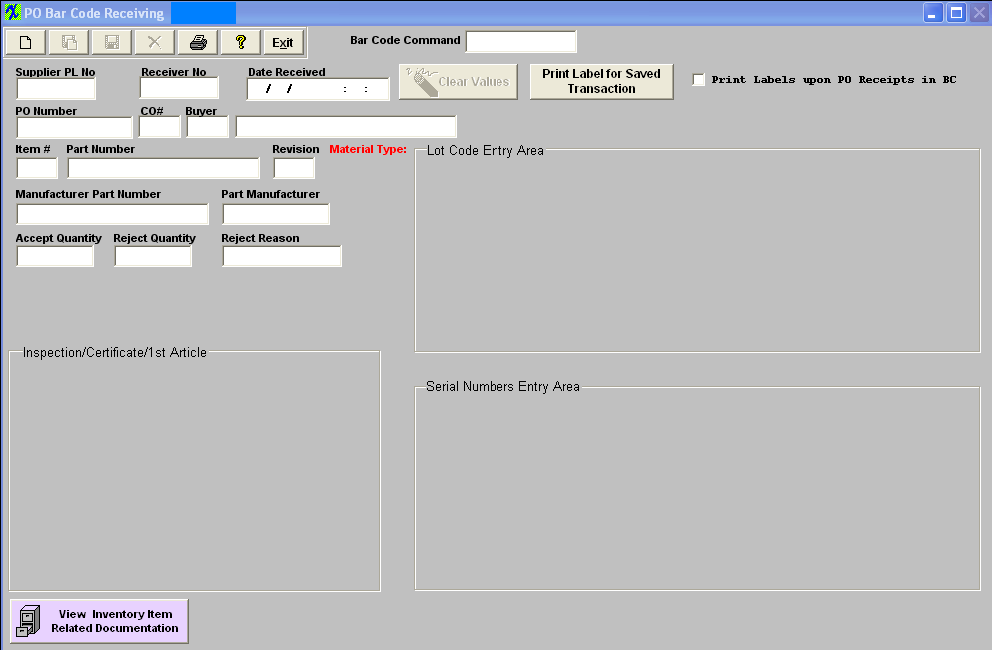
The following screen will appear:
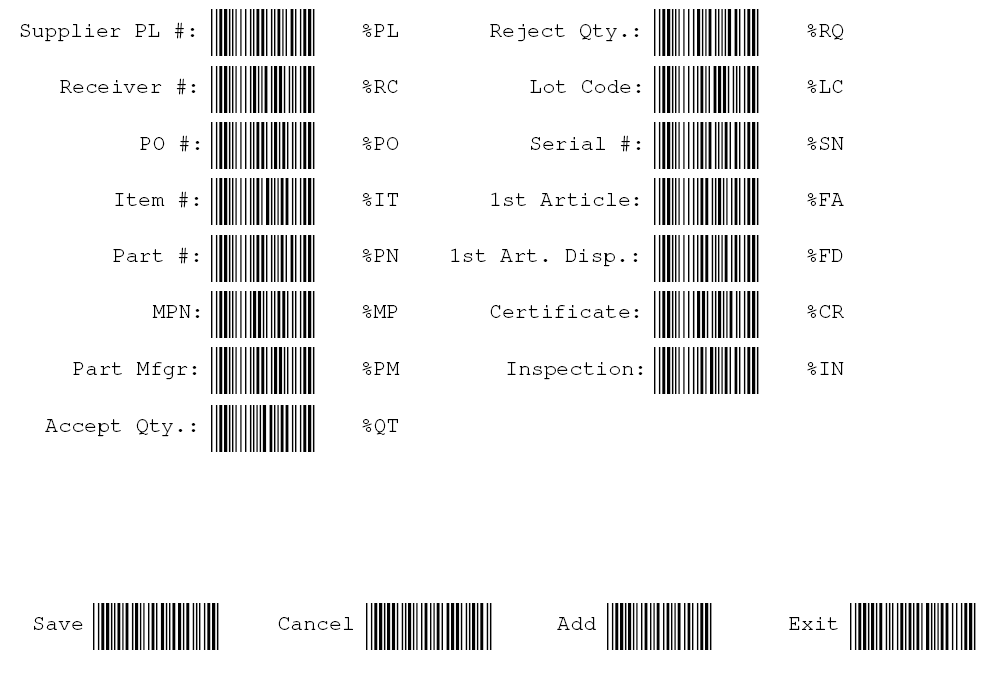
When you first open the Bar code screen your cursor will be located in the “Bar Command” text box. Use print button to print a bar code for all the commands you can use in this screen.
You can use a scanner or just type the same value as you see on the print-out to navigate this screen. For example when you first started you can just type “add” into the “Bar Code Command” space to activate the “Add” button. When in the “Add” mode cursor will be positioned in the “Supplier PL No” field you can enter or scan a supplier packing list number or if you would like to advance to the let say “PO Number” field you can type\scan “
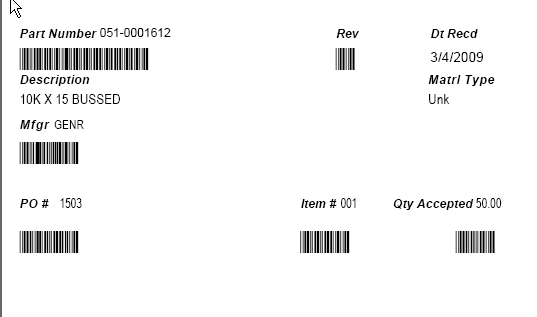
Depress the "Print Label for Saved Transaction" or check the box "Print Labels upon PO Receipts" . ManEx has designed the labels to be printed on a Zebra Label #10000281 (or equivalent) for a 4 X 6 label.
 |


