| Add a Manual AP Entries | ||||||||||||||
Adding Manual Invoices Manual AP Entry tab Note: Do NOT use for inventory receipts!
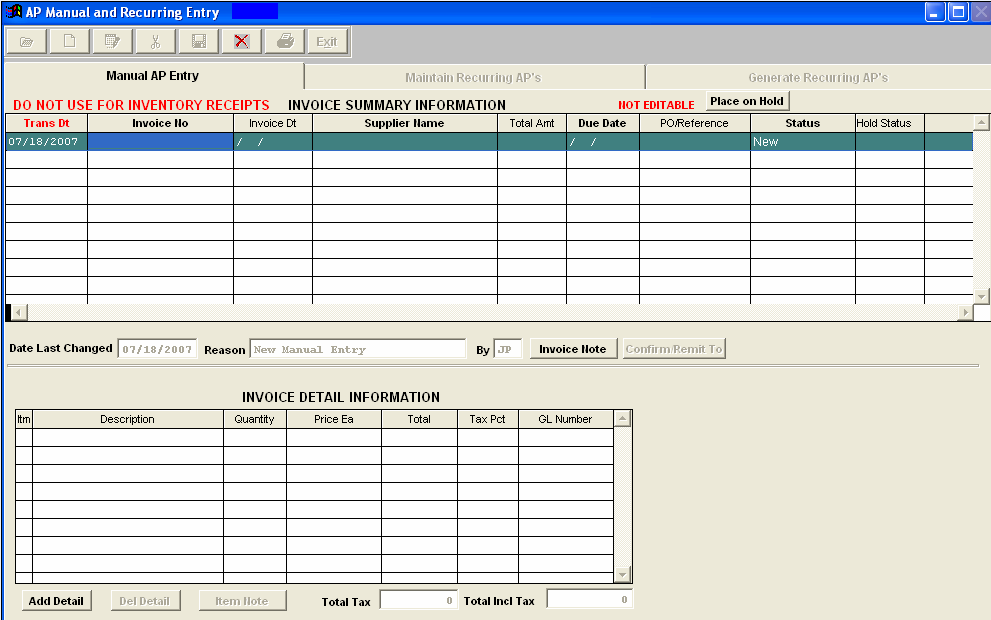
The following screen will appear:
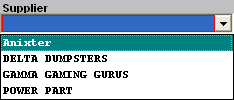
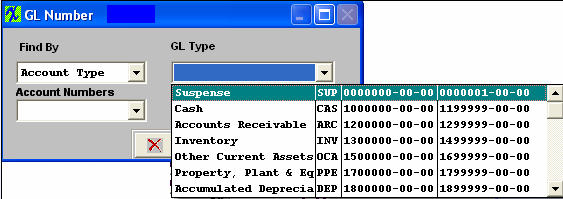
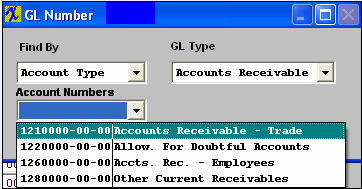
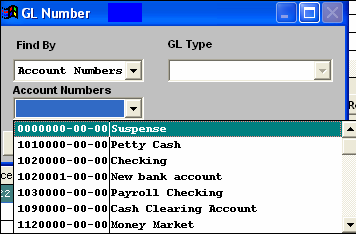
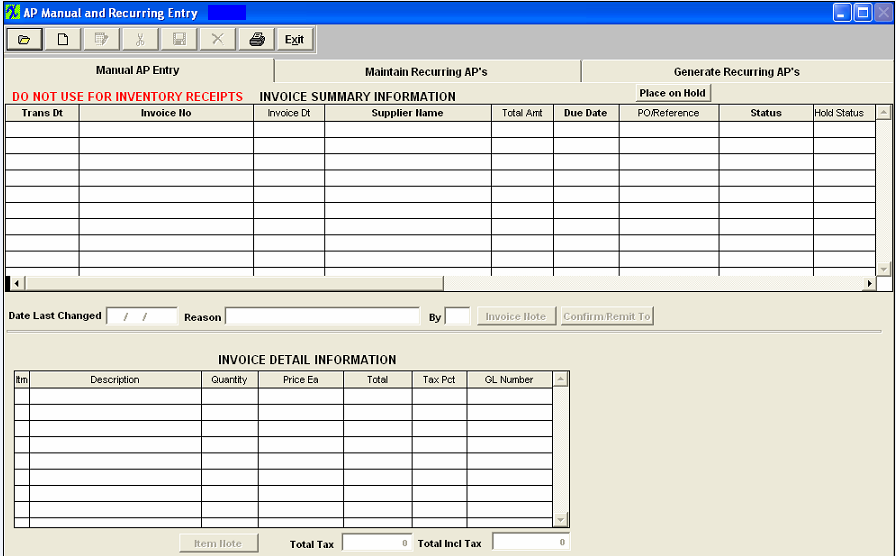 Select the Add button and enter in your password. The following screen will appear: If the transaction is for a period other than the one for the current date, enter in the changed date. Enter an Invoice Number ("DM" is disallowed as the two left characters of the invoice number) and Invoice Date.
The Due Date will automatically update to reflect the terms the Supplier has for the user. Enter in the total amount of the Invoice, and a PO/Reference number. If you want to add an Invoice Note, depress the Invoice Note button. Depress the Edit button. Type in the invoice note. Depress the Save button. Depress the Exit button. If you want to check on the Supplier’s CONFIRM/REMIT TO information, depress that button. Information regarding the Supplier addresses will appear on the screen. The user may change the TERMS by depressing the down arrow next to the Terms field and selecting a new term. The user may also change the CONFIRM TO address or the REMIT TO address by depressing the arrows next to those fields and selecting a new address.
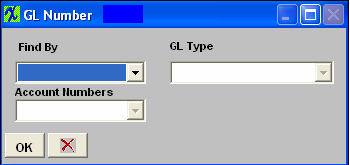
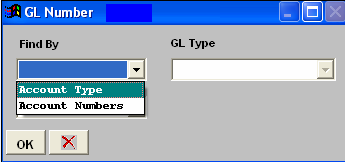
To add an Item Note, depress the Item Note button. Depress the Edit button. Type in the note. Depress the Save button. Depress the Exit button. The note button will light up in red. Continue to add detail using the above procedures until the entire invoice amount has been covered and exactly matches the total amount column in the top section of the screen.
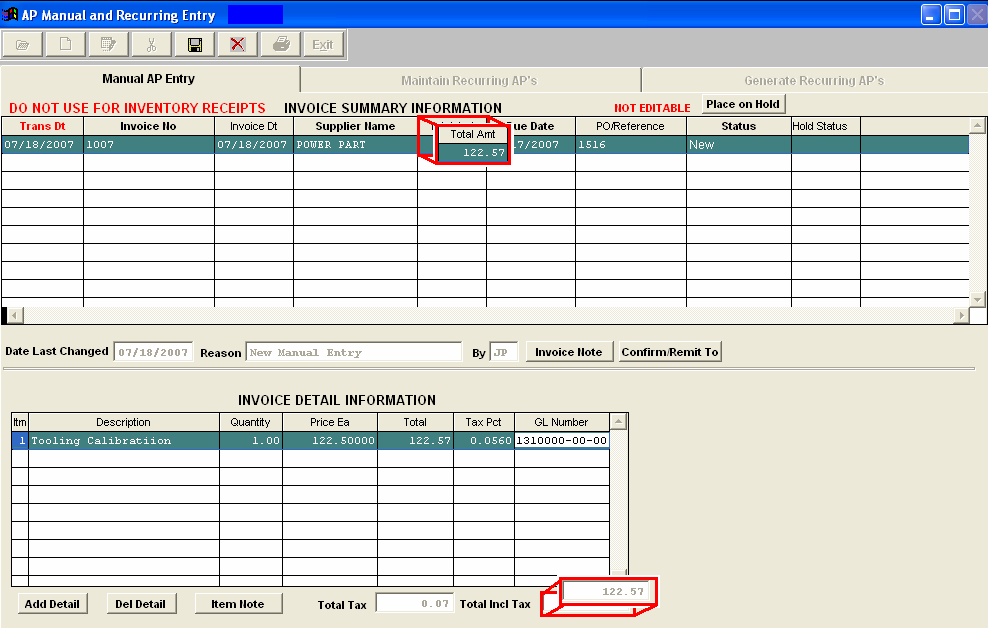 Depress the Save button at the top of the screen the Status will update from "New" to "Editable". Note: If the two total amounts do not exactly match the Save button will not be available. Invoice will then be transfered to the Release and Post screen . Once the record has been released and posted to the GL the status will updated from "Editable" to "Released to GL".
|

