| Manual Entry | ||||||||||||||||
Procedure for Manually Adding Line ItemsUse this procedure as an alternative to Drag and Dropping from the Inventory Summary screen. Open the Integrated Bill of Material & AVL BOM Main screen and Find desired Header.
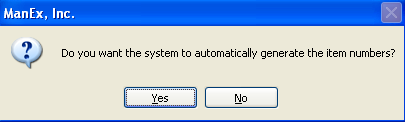
To add a component, click on the Add Record button, enter password.
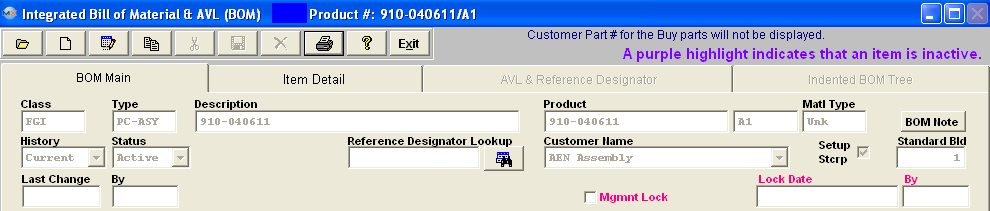
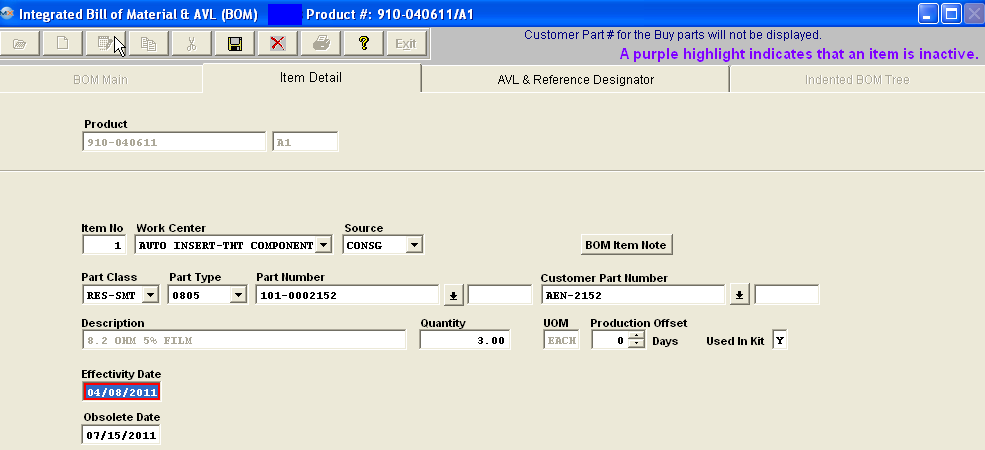
The item detail screen will appear:
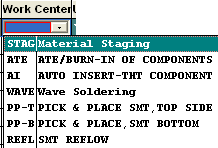
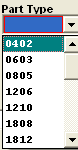
When building a BOM and you enter the source as a “Phantom”, then when entering the part number that is a “Make/Phantom”, the source changes to a Make” part. The reason the source field shows at all is to limit the number of part numbers that are available to choose from. But you can enter any valid part number and the source will change to the source of the part number entered. So, yes, the source of the sub-assemblies will show as a “Make” part, even though they are actually “Make/Phantom” parts. The details of the BOM will also show they are “Make/Phantoms”. We allow nested phantoms, of either the “PHANTOM” or the “Make/Phantom” variety. In kitting, we have the code to blow down through the first level of make/phantoms, so that the parts included in the first sub-assembly level down are listed as kit requirements. We have extended this further so that if there are Make/Phantom parts in the first sub-assembly level, those also break down to the components in the second sub-assembly level. This process extends as long as there are “Make/Phantoms” in the indented BOM. Either enter the item number by typing it directly into the Part Number field or select Part Class and Part Type, as illustrated below:
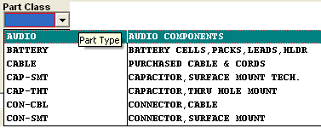
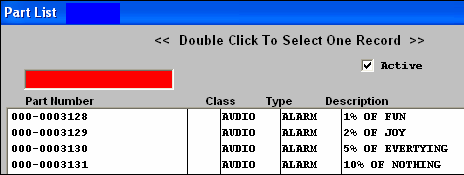
Select the Part Class. Select the Part Type. Depress the down arrow next to the Part Number box. A list of all of the inventory parts within the selected Class and Type will appear. Type the Part Number into the Red box or highlight and double click to select. If the item is a Consigned Item, enter either the Customer part number OR the Internal Part number, in the respective fields If you added an internal part and if there is a matching Customer part number in the Inventory Customer screen, it will automatically appear as soon as the internal inventory part is selected. Conversely, if you typed in a customer part number, the internal part number information will automatically appear. Enter the Quantity of the item required for each assembly produced. (Note: Extra parts for setup or run losses should be added in the Inventory Control Mgt. Item Master Run Scrap % or Setup Scrap Qty. field, not in the Bill of Material.) Enter the production offset days by toggling on the up and down buttons. If the component is to be pulled in the kit, leave the Y in the Kit box.If not, remove it. Enter the effectivity and obsolete dates, if desired.
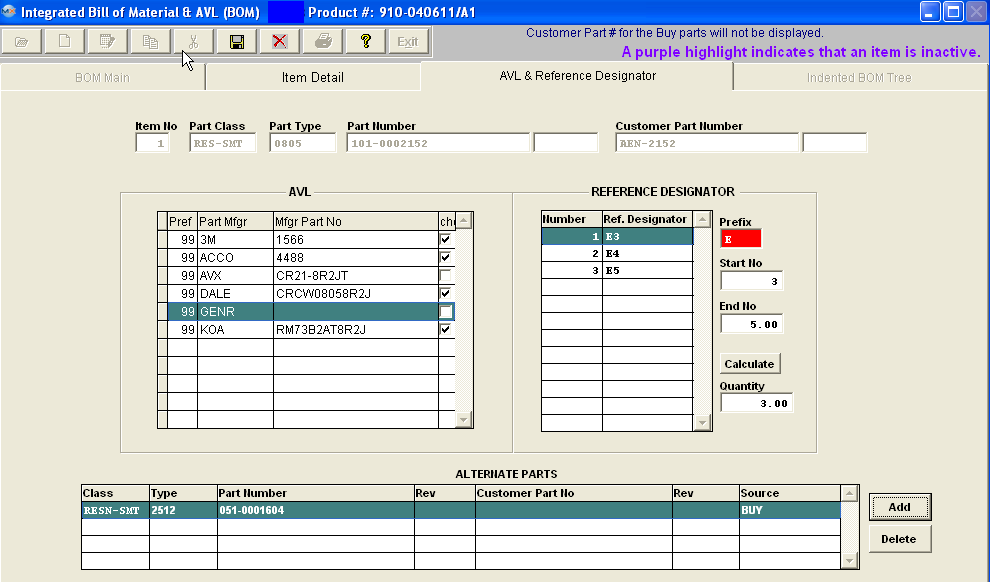
Depress the AVL & Reference Designator tab
All the AVL's will default in as approved and require the user to deselect as desired. If no AVL's are approved a popup will appear forcing the user to approve at least one AVL.
When the BOM for the assembly has a customer assigned to it, then ManEx will pull the approved AVL's from the customer side NOT the internal side. For example: Part “XYZ” may have several AVL’s and several different customers linked to it. Each customer may approve different AVL’s. So when the part is linked to a specific customer’s BOM only the AVL’s linked to that customer part will be displayed on the BOM as approved. The AVL screen looks at the accepted AVL’s for that customer on the “consigned” or “Customer” side of each part whether it was added to the BOM as a “BUY”, “MAKE” or “Consigned”. If no customer is assigned to the BOM then the AVL’s will be pulled from the internal side. NOTE: If "GENR" is approved on the BOM MRP will consider any inventory for that part even if the AVL is NOT approved on the BOM. For further detail refer to Article #2560 . Enter the Ref designators manually in the table or enter the prefix letter, Start No and End No and depress the Calculate button to auto-number.
If you want to add alternate parts, depress the AVL and Reference Designator tab. Depress the Add button next to the alternate parts section of the screen.
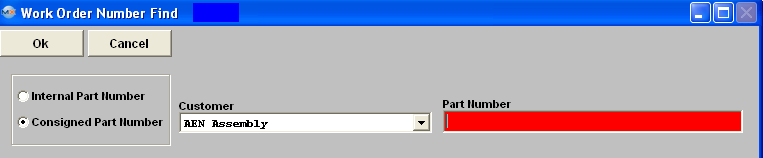
If you select Consigned Part Number, select a Customer from the pull down list, enter in the Customer Part Number in the Red Box. Information regarding the alternate part will display in the bottom section, as displayed below.
Once user has completed entering all information for line item number, depress the Save button.
|