| Add a Journal Entry | ||
|
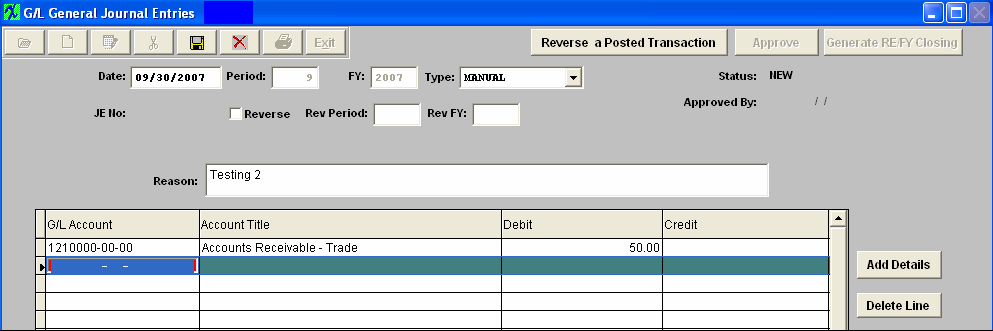
The following Screen will appear:
Depress the Add record action button. The first field (DATE) will default to the last day of the previous fiscal month, but can be changed to any date desired. The date as entered will be the Transaction Date of record so care must be taken to enter a date that lies within the Period you wish to affect with this Entry. Note: That the user will receive a warning message if they attempt to enter a date that is other than the current Fiscal Year. This is only a Warning Message and will allow the user to save the date entered. The ability to post a transaction outside of the current period is affected by the General Ledger Post Default setup, whether postings are allowed in previous periods and fiscal years and future periods.
The TYPE field is a pop up but will default properly to MANUAL when in Add mode. Other types such as STANDARD may be selected within display, if appropriate. Please refer to Standard Journal Entries. STATUS will display ‘NEW’ when adding and will display the appropriate status when displaying a previously added but NOT APPROVED entry and well as an entry that has been POSTED. REVERSE refers to whether this is should be a Reversing Entry. A Reversing Entry is one that cancels itself out upon the Closing of the Period in which it is posted. The Reverse field will default as Unchecked and may be changed if the Transaction is of an appropriate type. REASON is a required field and some text must be entered to allow a successful save of a Journal Entry. Use the TAB key to exit the Reason Field.
The actual data entry occurs in the middle section. Once you tab out of the Reason Field the system will default to the first GL Account Number to be entered. The user must enter a G/L Account directly by typing in the account number. The system will default to the nearest G/L Account match as you type. Then once you hit the Enter/Tab key the system will default in the Account Title Information. Then enter the Debit or Credit Amount.
Depress the "Add Details" button to add another G/L Account.
 Enter the Debits and Credits until the Remaining Balance at the bottom of the screen equals 0.00.
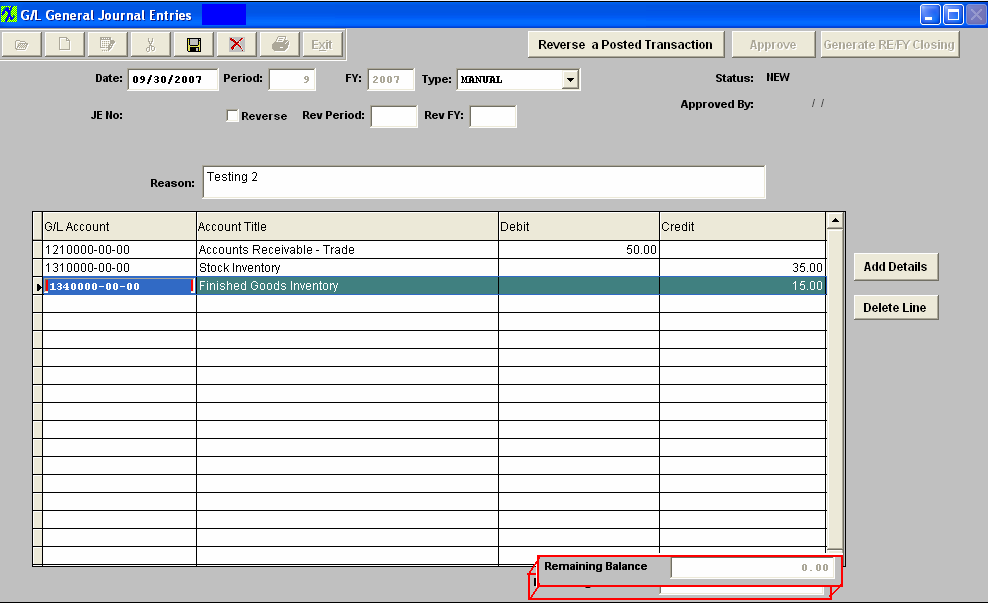 The Abandon changes action button is available at all times during an add operation. The Save record action button will also show as available but will not allow you to save the record until the entire General Journal Entry is in balance (debits = credits). Once the Entry is in Balance, the system will allow you to save the Journal Entry. A General Journal Number will then be assigned to the Transaction. 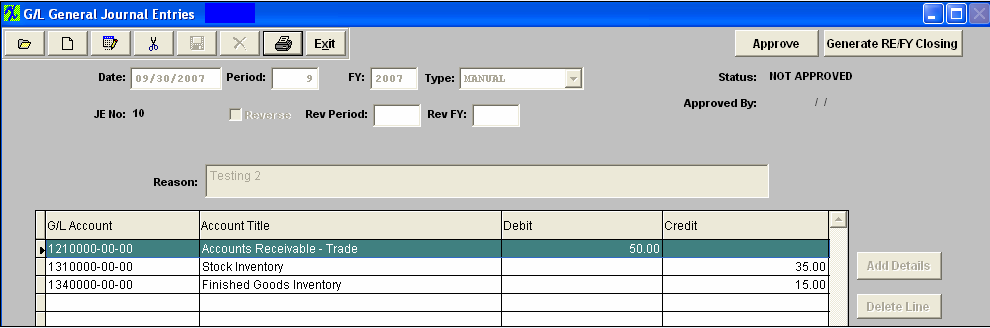 Journal Entry must be approved before it may be posted. After checking for accuracy, approve a Journal Entry by selecting the ‘Approve’ button and enter an authorized administrative password.
The JE Status will then be changed to Approved. 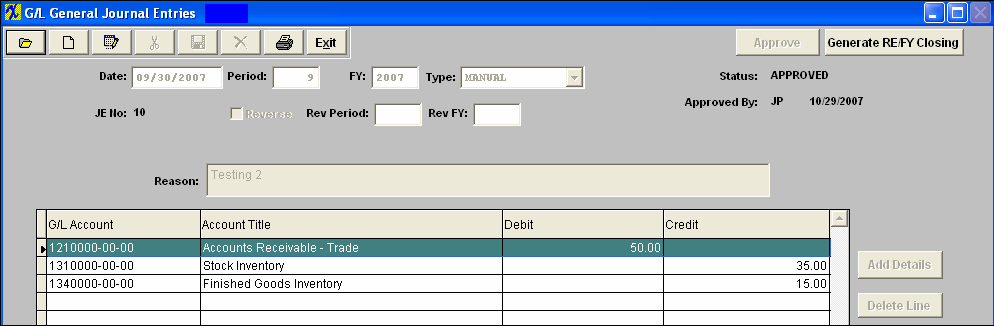 |
