| 1. How To .... for Supplier Information |
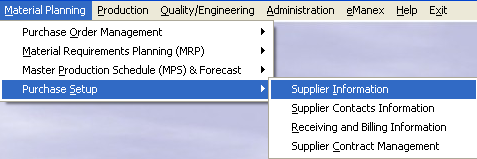
| 1.1. Find Supplier Information | ||||||||
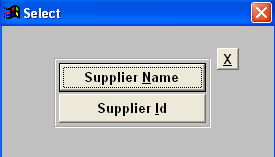
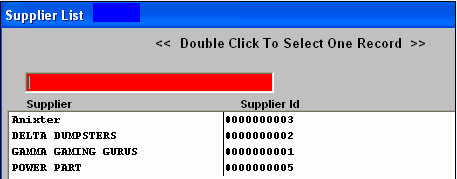
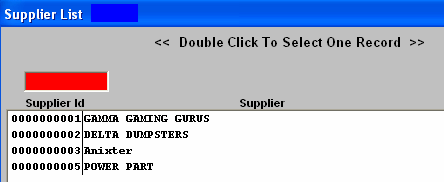
The following screen will appear:
|
| 1.2. Add Supplier Information | ||||||||||||||||||||||
|
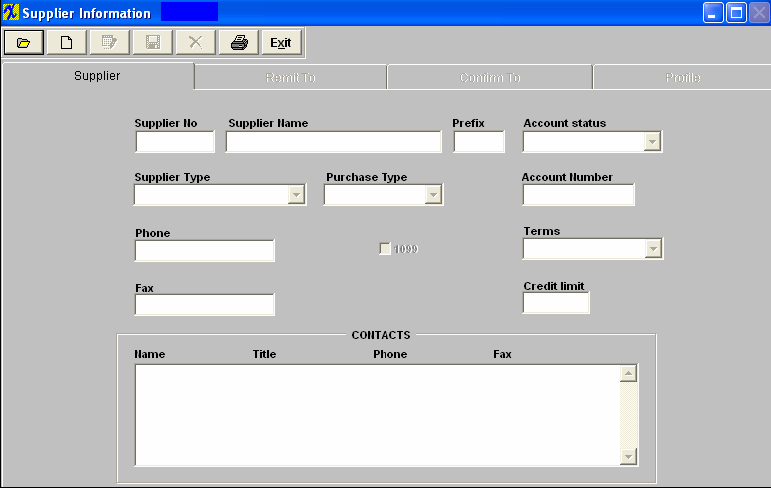
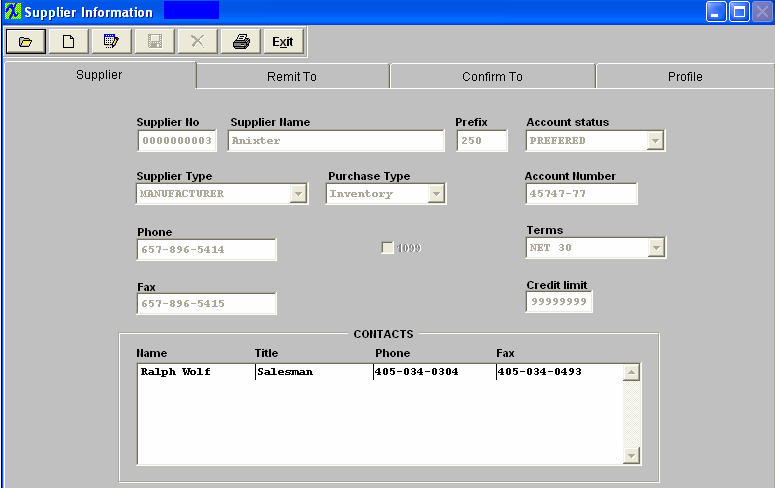
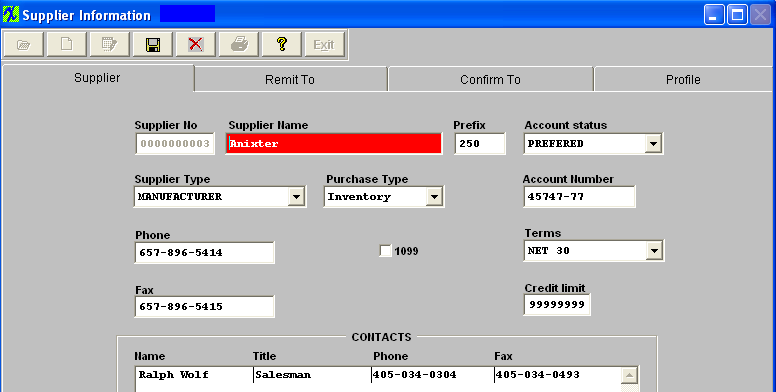
The following screen will appear:
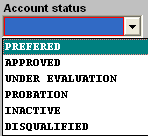
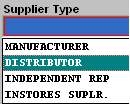
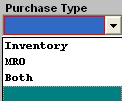
Enter the following fields: The Supplier Number assigned to the Supplier. If automatic numbering assignment was selected in Number System Setup, it will be completed when the data is saved. If manual, it must be entered. The Supplier Name. A Prefix if desired.
Enter the user’s Account Number with the Supplier. Enter the Phone Number of the Supplier. Check the box nex to (1099) if the Supplier is to receive a 1099.
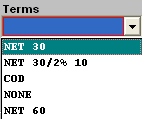
The Terms the Supplier has for the user, such as Net 30, 2% 10, COD, etc..... Select from the pull down: Enter the Fax Number of the Supplier.
Enter the Credit Limit established by the Supplier for the user.
When this screen is viewed for an existing Supplier, Contacts entered in the Contacts Module will show for this Supplier. This field is NOT editable from this module.
After completing the Supplier information screen, the user may tab (clicks on the next) to the Remit To screen.
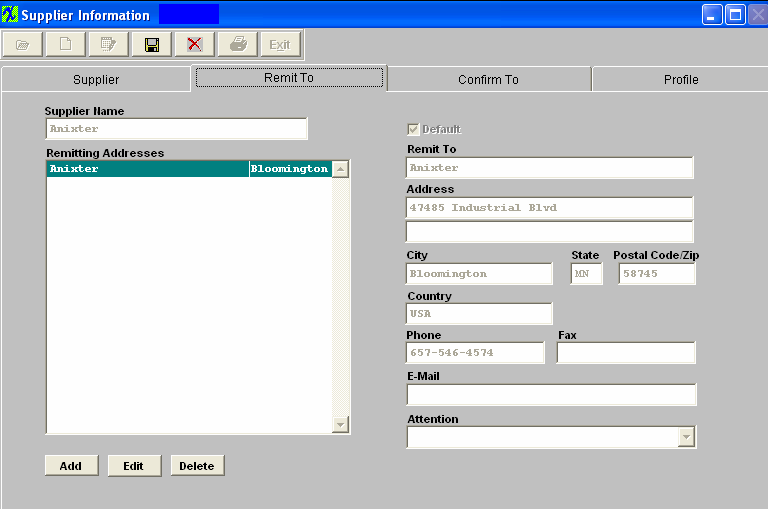
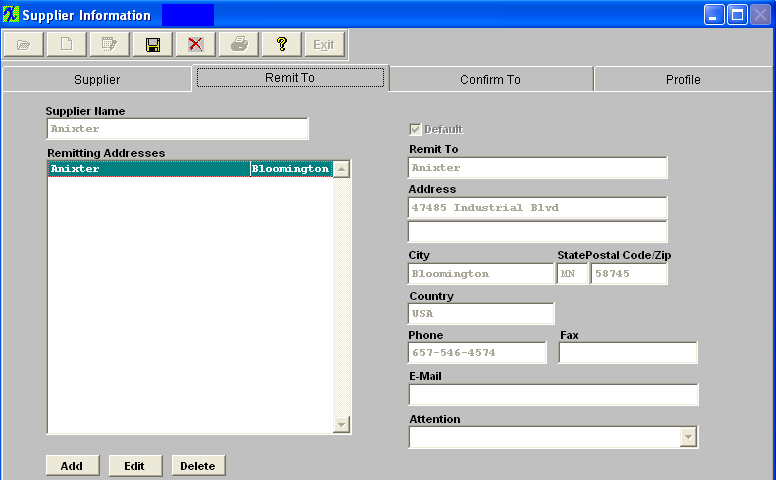
In this screen, the user defines the Supplier information for payment purposes. The Supplier Remit-To Directive buttons will now be active:
Enter information as follows: The name of the Supplier, Defaulted from the first screen, but may be over-written. A list of Remit-To addresses created for the Supplier, from which to choose for editing data. The name of the organization to which payment is to be sent. (It may be a different division.) Enter the Supplier Remit-To Address (may use two lines). Enter the City, State and Zip Code for the Supplier Remit-to Address.
Enter the Supplier Country.
Enter the phone number at the Supplier’s Remit-to Address.
Enter the Fax Number of the Supplier’ Remit-to Address.
Enter the e-mail address of the Supplier Remit-to Address.
The Contact Name at the Remit-to address (if established in the Contacts Module). After completing the Remit To information screen, the user may tab (clicks on the next) to the Confirm-To screen.
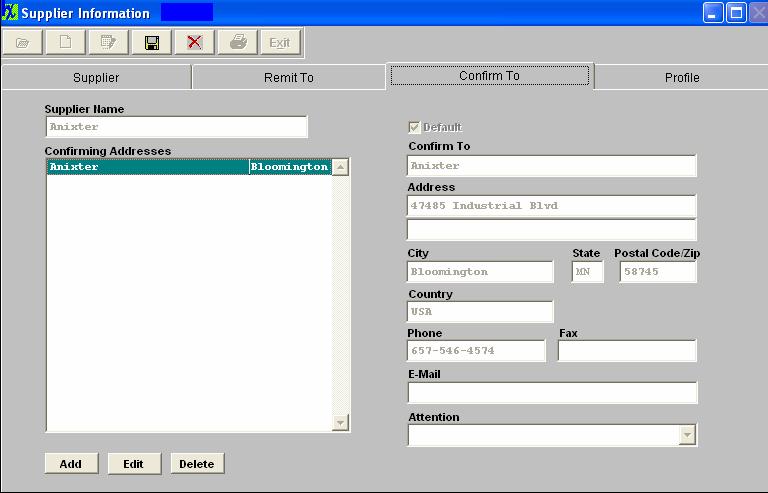
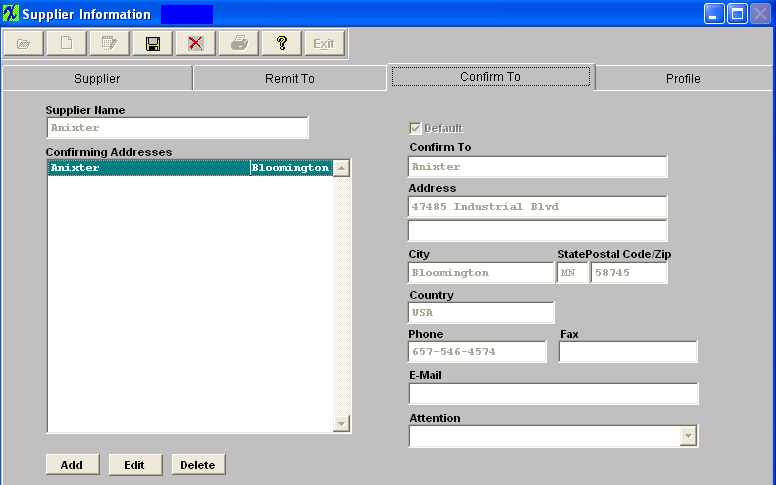
In this screen, the user defines the Supplier information for ordering purposes. This screen and fields are identical to the Remit-to screen, except that the information will be used for the mailing address of the Supplier. Pressing the Add action button will automatically fill the information from the Remit-to screen, if it has been completed. All data may be edited and saved, or new data may be added to the database. Note: There must be a default Confirm To address. After completing the Confirm-To screen, the user may tab (clicks on the next) to the Profile screen.
In this screen, the user defines the Supplier Profile notes for internal purposes. This screen is a memo field that may be used to record Supplier company information. Once all of the data entry is complete. Depress the Save action button. You will be asked if you want to create another Supplier. |
| 1.3. Edit Supplier Information |
Depress the Edit action button. All fields on the Supplier tab will be enabled for modification.
 All fields on the Remit To tab will be enabled for modification.
Note: The system will keep the address information (on existing PO's) that was actually selected at the time the PO was created. If you add a new Supplier Remit To address and mark the new address as the Default. The previously created PO's will still carry the original Remit to (ManEx cannot assume that the user wants to change all Remit To's across the board for already created and approved PO's). The user will be required to edit each PO that the change affects and update the Remit to with the new default (any new PO's created will properly take the new default).
The Invoices created through the PO Reconciliation module also carry the original Remit to Address information. Any invoice that already was created and remains on your AP Aging will need to be edited through the Manual AP Entry screen. IF it was already released to the GL at that time, I don’t think that the Edit feature would be available. If you are unable to edit the Remit to information via the Manual AP Entry, then you can control the Remit to information that will print on the AP Check, by creating a Manual check through the Check Maintenance screen.
If you completely delete a Remit To address any previously created PO's will no longer have a Remit to address to refer to, therefore the remit to information on existing PO's will be blank. The AP check module prints the checks per the Remit To information that is associated with each PO, so the address printed on the check will also be blank. So, each PO that still has invoices residing within the AP Aging, will have to be edited and the Remit To information will have to be updated with the new address, if a Remit To address is deleted. We would suggest that the person making changes to the Remit To Address information is careful before deleting one from the system. You have to make sure that any record that has already been associated with that record has been processed through the system, and/or updated with the new address information.
 All fields on the Confirm To tab will be enabled for modification.
 All fields on the Profile tab will be enabled for modification.
 |
