1. How To ..... for Inventory Allocation
1.1. Find an Inventory Allocation

To access this module, select Inventory Mgmt/Kitting, Allocating & Shortage Management/Inventory Allocation


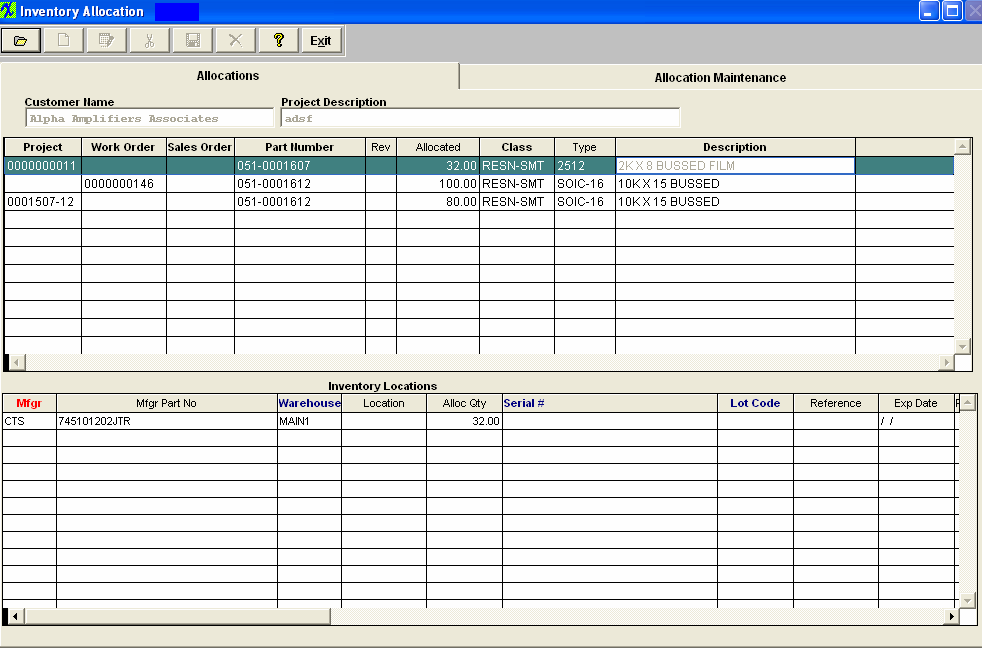
The main screen will appear:

Find an Inventory Allocation

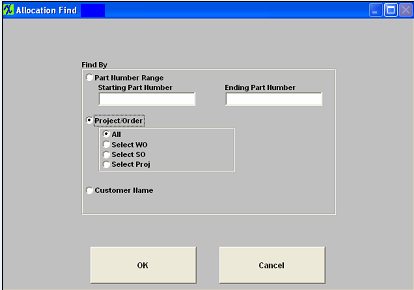
Depress the Find button . The following selection will be presented:

If you now the specific part number or range of numbers you are interested in, enter it into the Part number Range fields.

You also have the option to find allocations based on Projects, Work orders, Sales Order or Customer Name
 

For the selections entered into the find criteria screen, the allocations will display in the bottom of the screen for the highlight part number.
 

1.2. Add a New Inventory Allocation

Enter Inventory Mgmt/Kitting, Allocating & Shortage Management/Inventory Allocation Module   

The following screen will appear:

Depress the Allocation Maintenance tab

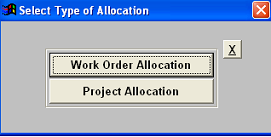
Depress the Add record action button and type in your password will bring up the following selection.

Depress the “Work Order Allocation” button.


The following prompt will appear.

If you select “YES” then all available inventory will be allocated automatically to the selected work order. Edit any quantities allocated by selecting the Part Number (highlighted) in the upper screen table and changing the Alloc Qty for the desired manufacturer in the lower part of the screen.  Save after all allocation editing has been completed.

If you select “NO” then the system will list out all part used within the Work order (per BOM) and require the users to go through and manually allocate inventory to each desired part.  


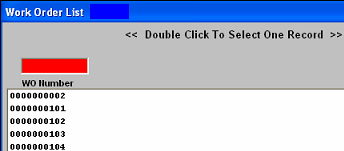
The following Work Order selection screen will then become available. Select the desired work order by Typing in the Work Order Number or highlight the Work Order and double click.


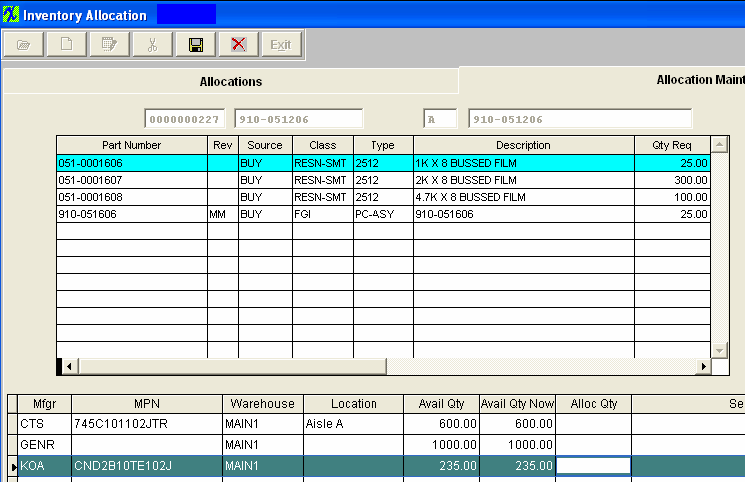
Particulars regarding that Work Order will populate the screen as displayed below:
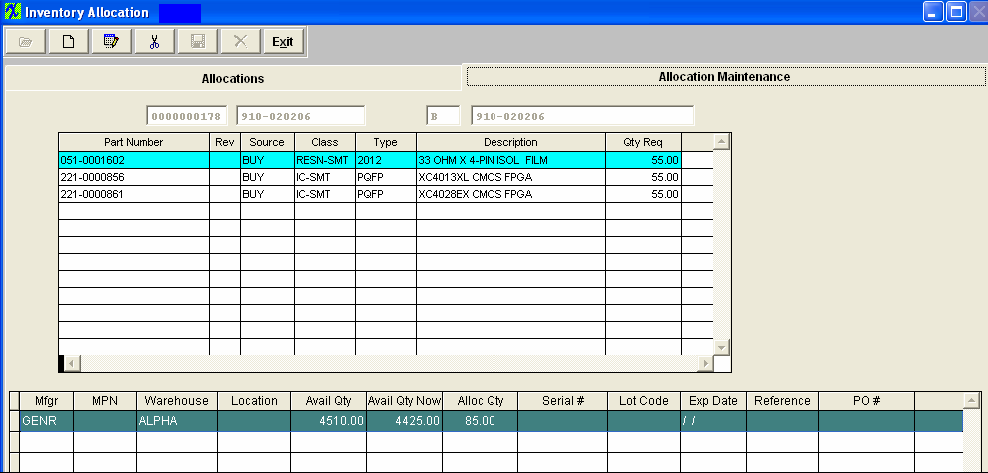
  1. Highlight the desired part number you want to allocate. Inventory AVL information for that particular part will populate the lower portion of the screen.
  2. Type in the amount you want to allocate in the Alloc Qty column.
  3. Depress the Save record action button. The screen will update as follows:  


Note that the Avail Qty column has updated to reflect the amount allocated. 
The Inventory Master has also automatically updated, and will now display the amount allocated (“reserved”).
 
 
1.3. Change the Allocation Quantity

To Change the allocation qty, thus freeing up the amount allocated to a Work Order or Project, first go to the Allocation Maintenance screen.

Depress the Edit Record button.

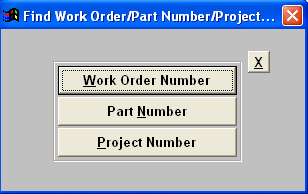
The following find record options will be displayed


If you had selected to find per Work Order or Project the following screen will appear which lists all open WO numbers or project numbers with allocations.

Type the WO or project number in the red box or double click on the number and the screen below will appear with the allocation information listed. 


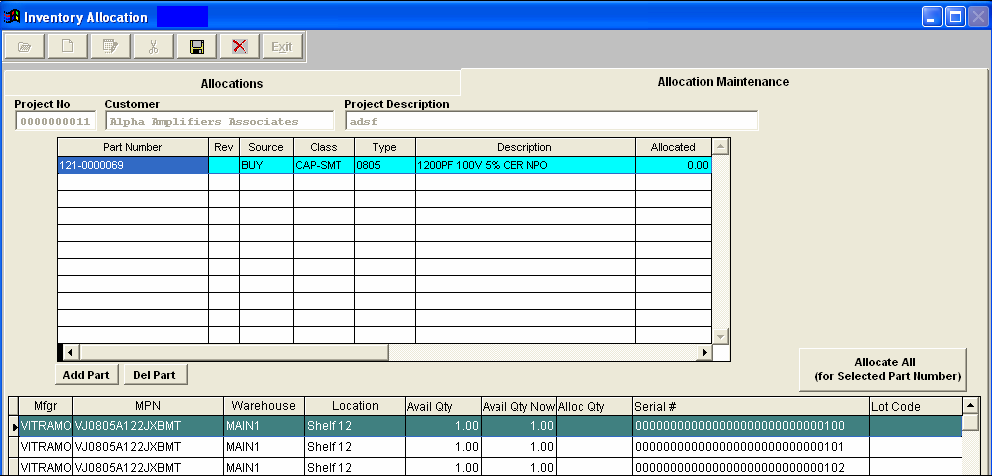
The following screen will appear, and the user will be allowed to modify the Alloc Qty. 

Highlight the desired part number and modify the Alloc Qty. 

Depress the Save record action button.  The program will unallocate all original qty and allocate the new quantity again.  This will create two records in the Inventory Transaction report

1.4. Un-Allocate an Allocation

To Un-allocate an allocation, thus freeing up the amount allocated to a Work Order or Project, first go to the Allocation Maintenance screen.

Depress the Edit Record button.

The following find record options will be displayed


If you had selected to find per Work Order or Project the following screen will appear which lists all open WO numbers or project numbers with allocations.

Type the WO or project number in the red box or double click on the number and the screen below will appear with the allocation information listed. 


Depress the Delete button. 

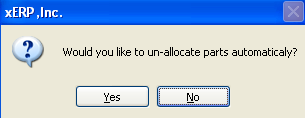
Enter your password and the following prompt will appear which is defaulted to "No"

“No” will allow you to select which ones to un-allocate individually

Yes” will un-allocate all items on screen automatically


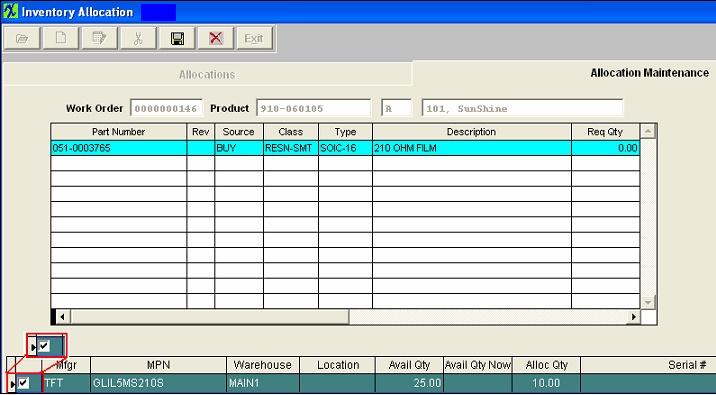
Highlight the desired part number and then Check mark which items you wish to un-allocate.

Depress the Save record action button and any marked item should now be unallocated and be considered available inventory.
 

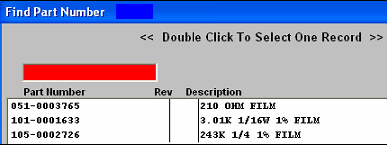
If you had selected to find by Part Number the following screen will appear which lists all Part Numbers with allocations.

Type the Part number in the red box or double click on the number and the screen below will appear with the allocation information listed. 


Depress the Delete button.

Enter your password and the following prompt will appear

YES” will un-allocate all items on screen automatically

“No” will allow you to select which ones to un-allocate individually


Highlight the desired part number and then Check mark which items you wish to un-allocate.


Depress the Save record action button and any marked item should now be unallocated and be considered available inventory.


The Inventory Control Item Master will update automatically. Note: For reports on Allocated Inventory, please refer to the ICM reports