| 1. How To ..... for Sales Price List Information |
| 1.1. Find a Sales Price List | ||||||||
|
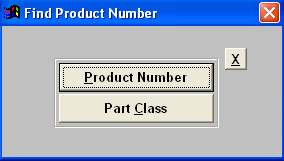
Pressing the Find Button displays the following sequences: First, a dialogue box appears asking how the user wishes to find or search for an existing pricing: by entering the PRODUCT Number, or by entering PART CLASS. Note that the part number must have been set up in the item master.
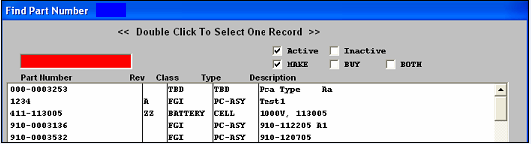
If the user elects to find a PRICING by the Product Number, a screen appears listing Products in numerical order, along with the Rev, Class, Type and Description. The user may elect to show only Active products, or Inactive products, or all products by checking one or both action boxes. The user may also select Make parts, Buy Parts or Both. The user selects the Product by either entering it into the red box, or scrolling down the list and clicking on the selected product. Then the PRICING Product screen is populated with the appropriate data.
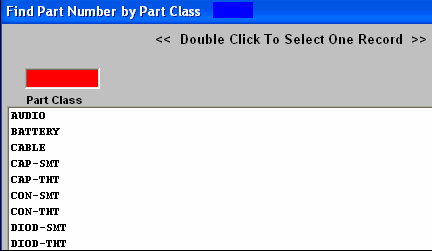
If the user elects to find a PRICING by the Part Class, a screen appears listing all of the part classes in alphabetical order. The user selects the Class by either entering it into the red box, or scrolling down the list and clicking on the selected Class. Then the user finds a Product Number, the same as above, except that only the products associated with the selected class are shown. Then the PRICING Product screen is populated with the appropriate data.
|

| 1.2. Edit/Add Sales Price List Information | ||
|
The following screen will appear:
In this screen, the user may elect to add additional customer pricing for a product by using the Edit function. Note: Only the customers listed here will be available for this Product within the Sales Order module.
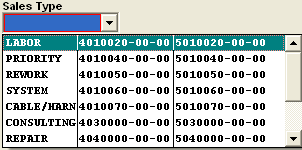
Depress the Find Action button to find a Product. See Article #1652 for further information on how to find a record. After a Product has been found or entered, it may be edited by selecting the Edit Action button. Once the password is entered, the ADD, Delete and Reorder buttons are activated. Pressing the ADD button then activates the Customer Field for the user to enter a customer name, or pressing on the down arrow brings up a list of customers from which to choose. Clicking on a customer adds that customer to the product pricing information. Clicking on Reorder reveals buttons by each customer and the order may be changed by dragging the buttons to the desired order. When sorting is completed, pressing the Done button completes the action. Clicking on Delete allows the removal of a customer from the product information. Add Sales Type Depressing the down arrow next to the field will display a list of sales types:
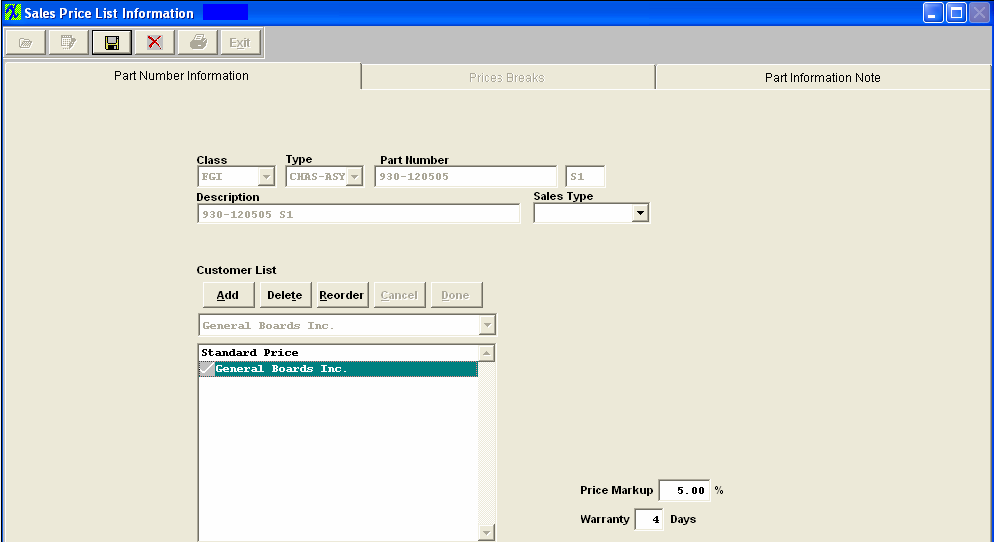
Select the desired Sales Type. Add Price Markup Percentage If applicable, enter the markup percentage in the box. Add Warranty Information If applicable, enter the number of days for the warranty. The completed Part Number Information tab will look like this:
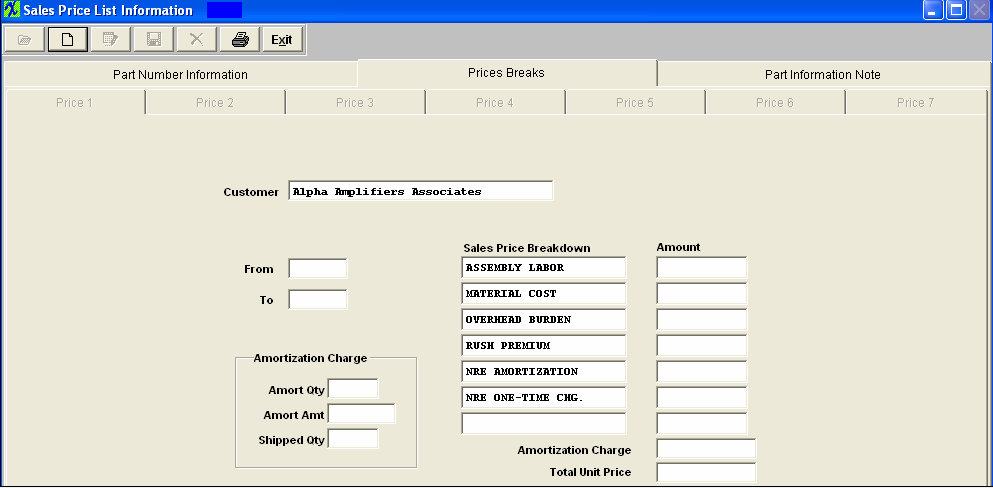
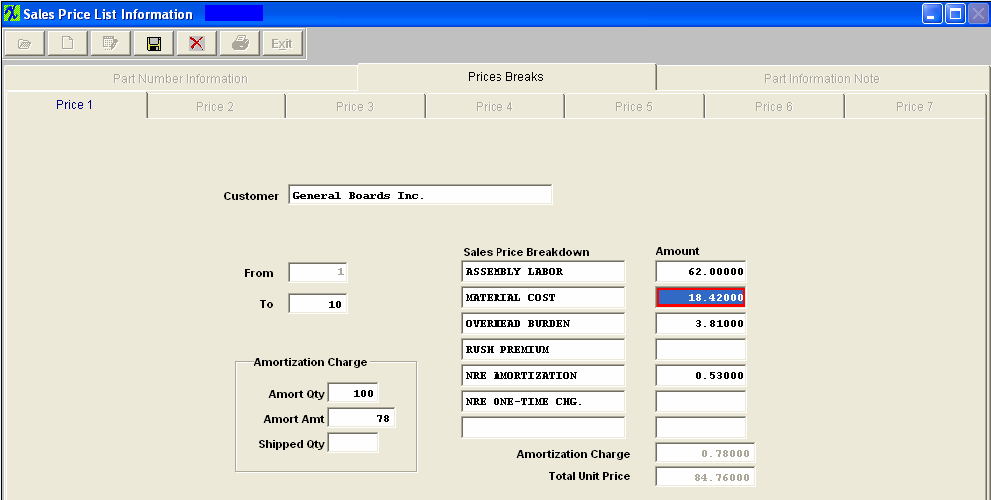
Depress the Save Action button to save changes or the Abandon changes Action button to abandon changes. ADD PRICING After completing the PART NUMBER INFORMATION tab, the user may (clicks on) to the PRICES BREAKS SCREEN. Then the Price Break screen for a specific customer is presented to the user, based on the customer selected in the first screen:
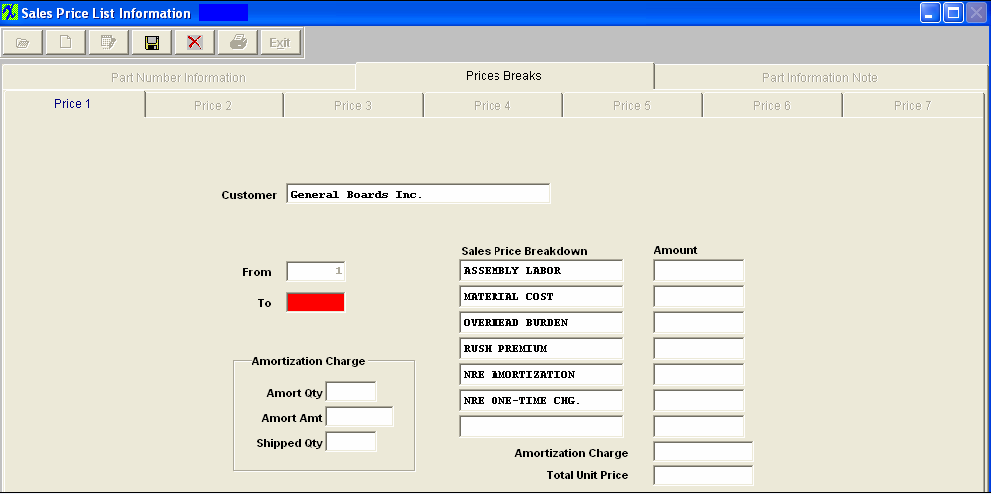
And the Add Action button becomes active. If the user is creating the first pricing screen, then the Edit Action button is not yet available. The user may create up to seven different pricing levels for each customer. To add the first pricing screen, the Add Action button must be pressed and the password entered. The “Price 1” screen is activated, allowing the user to enter pricing for the customer shown.
The first prompt is for the beginning number of items to be priced, defaulting to one (1). The next field is for the upper number to be included in the price structure, e.g., 100 (pricing is for 1 to 100 items).You can input pricing up to 999,999, but you are limited to seven price breaks. Then the user is prompted for the amortization quantity and amount. This is the amount of charges to be amortized over a fixed quantity of parts, and to be included in the price of the parts until the amortization is exhausted. When both these values are entered, the cost is automatically calculated. The cursor then moves to the first Sales Price Breakdown section where the user may define the pricing used for individual units. The definition of the pricing is established in the System Setup, and may be selected with the “pulldown arrow” and clicking on a definition, or typing the definition. After selecting a definition, the pricing associated with the definition is entered. (e.g., the definition might be “Total Material Cost” and $350 per unit. Or, perhaps a definition simply called “Standard Price” is used.) On the next line, another pricing definition may be included, e.g. “Priority Charge”, with an additional charge of $50 per unit. Manex will continue to total up the unit pricing and show it on the screen. The completed screen looks like this:
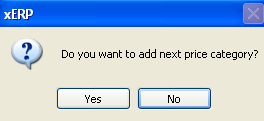
When the user has completed the information for the 1st price break, the screen is either saved or canceled. The following message will appear asking if the user wants to add another price break.
If there is another price category to be added, depress the Yes button. The user may then add an additional price break, which will default to a beginning quantity equal to the top of the first price break quantity plus one. The fields used in the first price break will be carried over to the second price. Changing the definition in any price break screen changes all the others for that product. Pricing for a different customer for the SAME product may be established by selecting the customer in the first screen, then adding a new price break for that customer. After completing this PRICING customer information screen, the user may tab (clicks on) to the Part Information Note screen. The Part Information screen for the product is presented to the user, and may be edited. Information placed in this screen is common to all customers, (it is based on information about the product), and the Tab Label turns RED. Press the Save Action button Save new or edited data. Press the Abandon changes Action button to Cancel any new or edited information without saving the information in the database. Press the Exit Action button to exit the current screen and returns the user to the previous screen. |