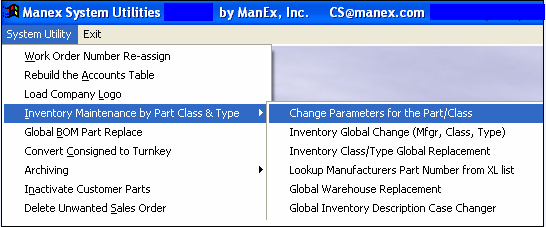
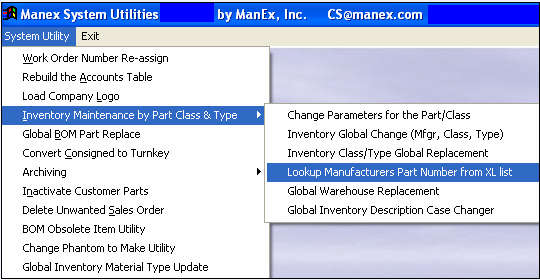
| 1. Inventory Maintenance by Part Class & Type |
| 1.1. Change Parameters for the Part/Class | ||
After activation, System Utility access for each user must be setup in the ManEx Security module. Users with “supervisor’s rights” will automatically have access.
The following screen will appear:
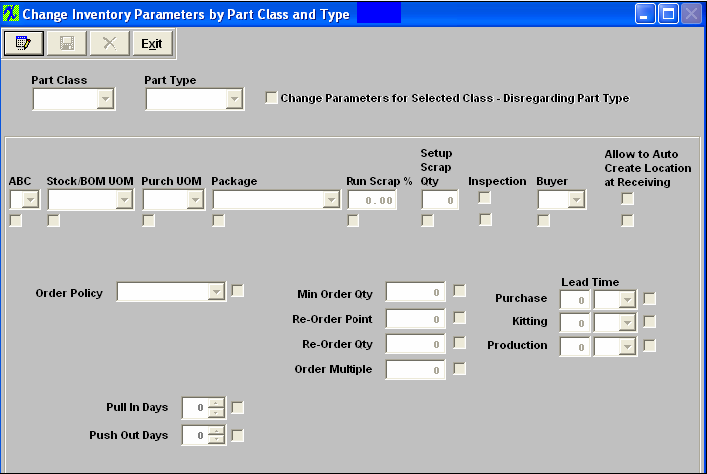 Depress the Edit action button, Select the Part Class and Type you want changes to affect. (Note: If you want the changes to affect all part types within the Part Class Check the "Change Parameters for Selected Class - Disregarding Part Type" box)
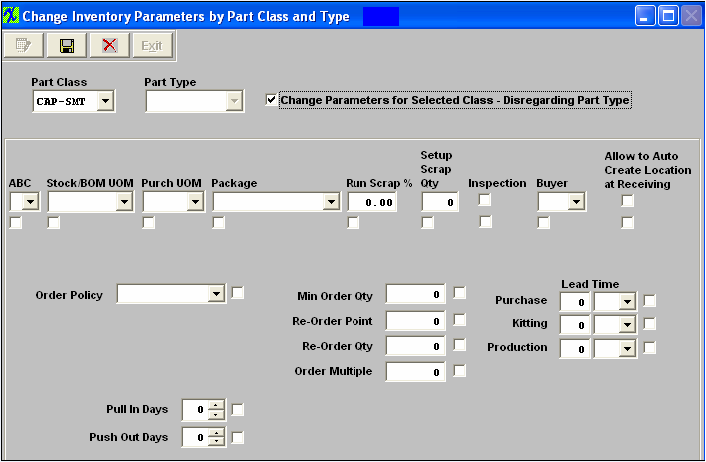 Enter the changes, the boxes next to the fields being changed must be checked also for the changes to be implemented. If this box is NOT checked the change will NOT be implemented.
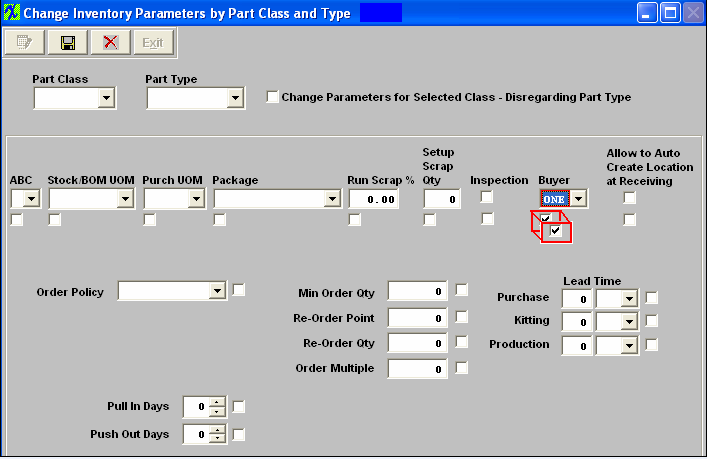 Depress the Save changes action button to incorporate changes to part class and type, or depress the Abandon changes action button to abandon changes.
|
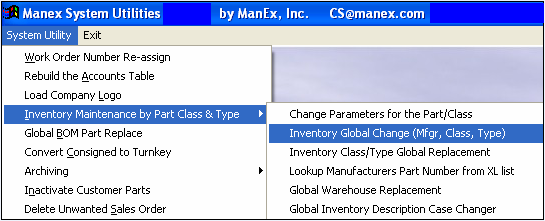
| 1.2. Inventory Global Change (Mfgr,Class,Type) | ||
After activation, System Utility access for each user must be setup in the ManEx Security module. Users with “supervisor’s rights” will automatically have access.
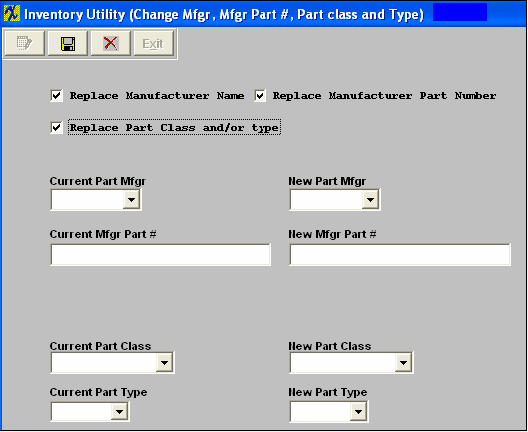
The following screen will appear:
 Check the box for which changes you want to make, additional fields will appear on screen for more information as shown below:
 Enter the Current information and the New information as shown below:
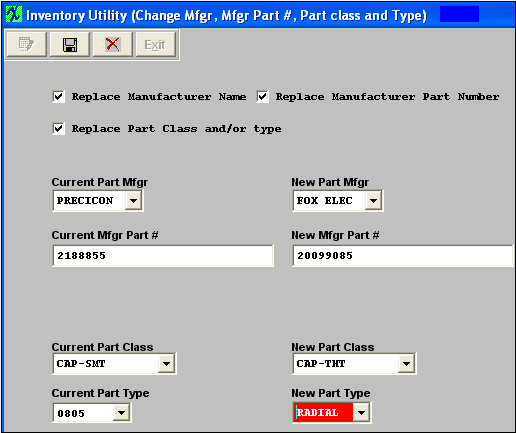 Depress the Save changes action button to proceed with the changes, or depress the Abandon changes action button to abandon changes.
Note: All Purchase orders with Status of Open and Closed will be updated when changing the MFGR info. Users will NOT loose history when replacing a mfgr, part class and/or type. The history reports will still retain the transactions but the reports will show the new manufacturer, Class and/or type. They will NO longer display the old mfgr, class and/or type.
User will receive the following message upon save if they are attempting to change parameters from Lot Coded parts to Non Lot Coded parts or visa versa. This change can only be done within the Inventory Control module.
 |
| 1.2.1. Manex Minutes for Mfgr Change |
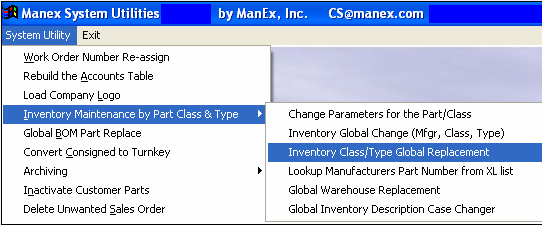
| 1.3. Inventory Class/Type Global Replacement | ||
After activation, System Utility access for each user must be setup in the ManEx Security module. Users with “supervisor’s rights” will automatically have access.
The following screen will appear:
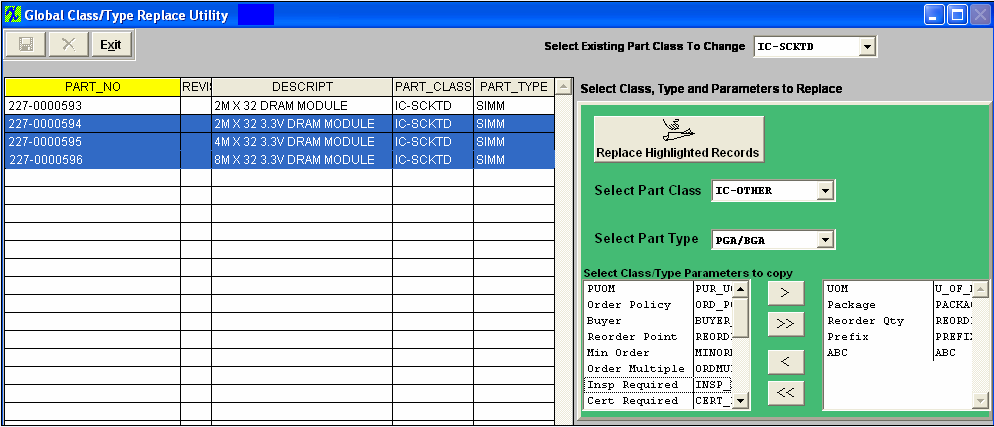
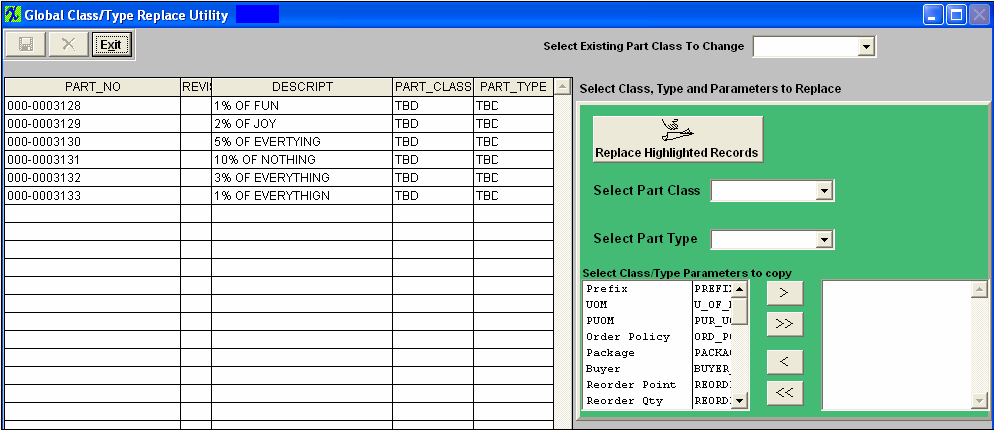 Select the Existing Part Class from the Pull Down, and the part numbers that exist in this Part Class will be listed in the left as shown in the screen below.
Select the Part Class and Type you are replacing the highlighted records with from the Pull downs. Select the Class/Type Parameters you want copied.
Highlight the part numbers you want replaced. Once you have completed all of the required fields, depress the "Replace Highlighted Records" button, the Save action button, and the Abandon Changes button will become available. Depress the Save action button to make the changes, depress the Abandon changes action button to abandon changes.
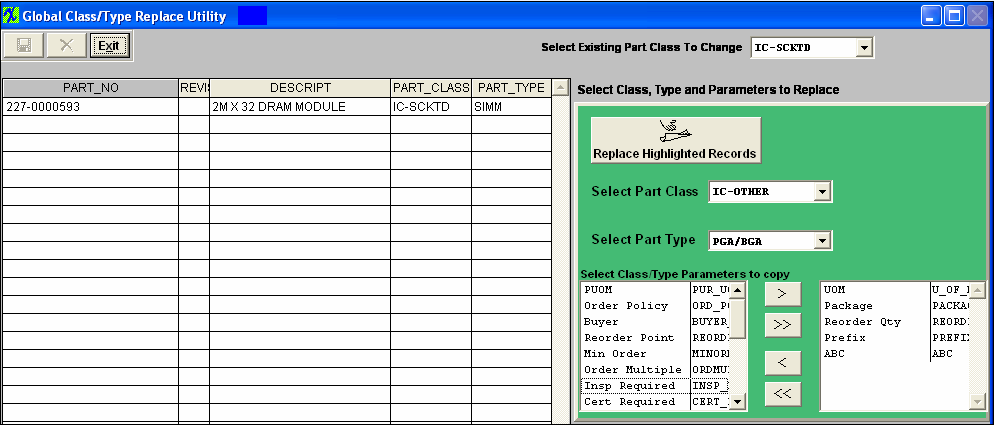
 After the parts have been updated the parts replaced will disappear from the screen, and user may select another part class to change or depress the Exit button to exit this screen.
 User will receive the following message if they try and change a part from Lot Coded to Non- Lot Coded or visa versa using this utility. This change can only be done within the Inventory Control module.
 |
| 1.4. Lookup Mfgr Part Number from XL List | ||||
After activation, System Utility access for each user must be setup in the ManEx Security module. Users with “supervisor’s rights” will automatically have access.
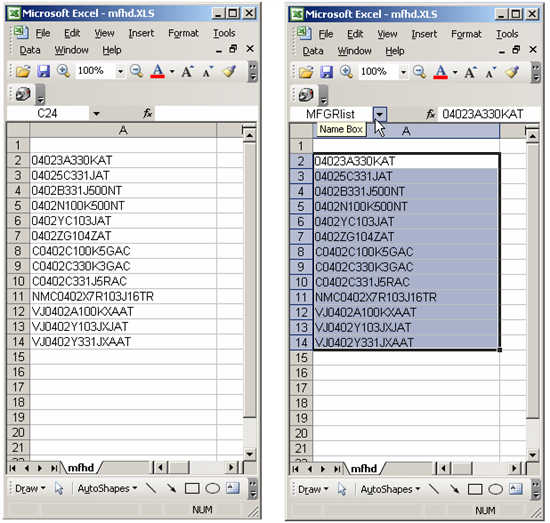
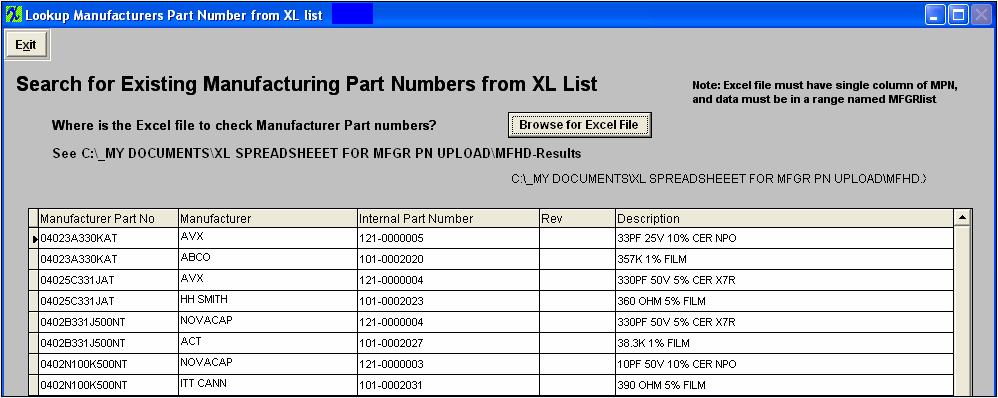
The following screen will appear: (Be sure to read the Note)
 Browse and find the spreadsheet. 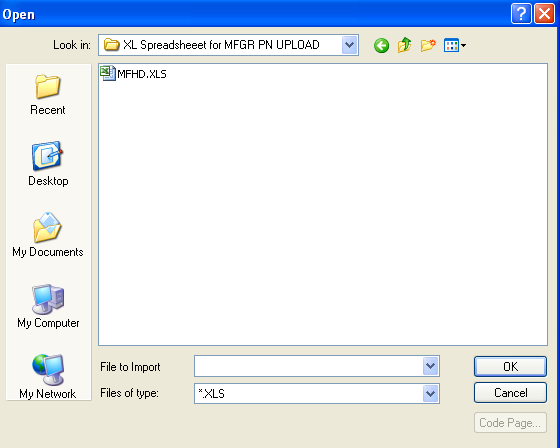 View the results:
 |
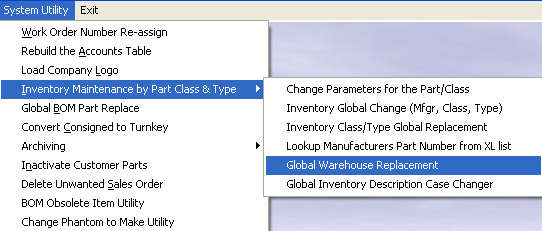
| 1.5. Global Warehouse Replacement | ||
After activation, System Utility access for each user must be setup in the ManEx Security module. Users with “supervisor’s rights” will automatically have access.
The following screen will appear: 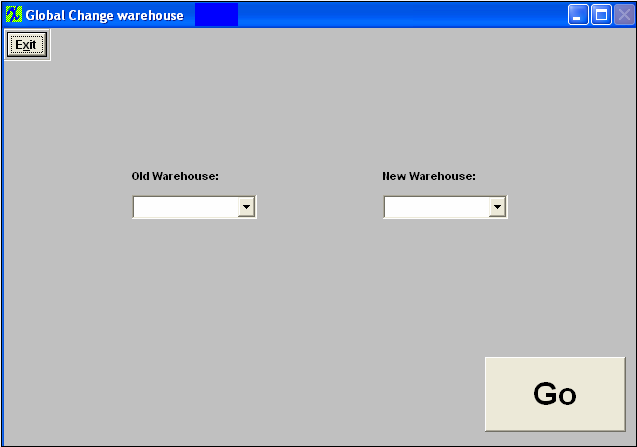 Enter the Old Warehouse and the New Warehouse, depress the "Go" button and the old warehouse will be replaced with the new warehouse. System will NOT allow you to replace the existing warehouse with a warehouse that previously existed and then deleted. If system locates these types of records the following message will be displayed and a 'NewWhemoved.xls' spreadsheet will be created with detailed information.  If the system finds parts in inventory which display both the old and the new warehouses, the following message will be displayed and a 'NewWhExists.xls' with detalied information will be created. 
|
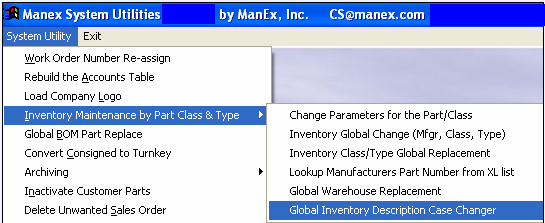
| 1.6. Global Inventory Description Case Changer | ||
The following screen will appear:
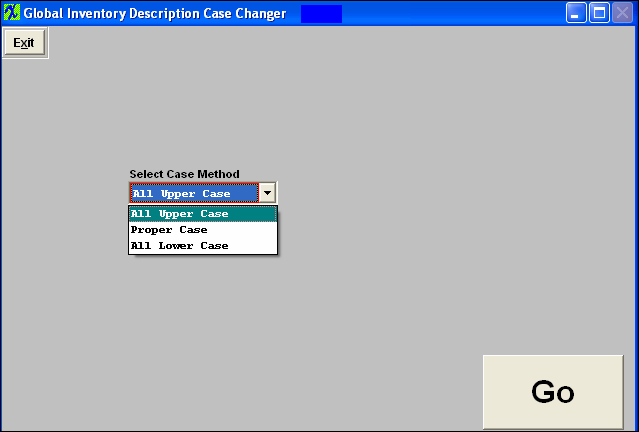 Select the Case Method from the Pull down, and depress the "Go" button. NOTE: This will change ALL the existing Inventory Description Case.
|
