| 1. How To ..... for Forecast Setup |
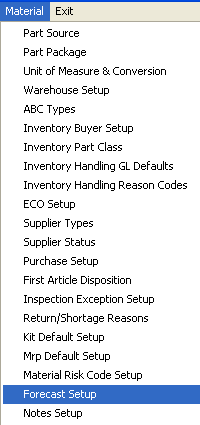
| 1.1. Setup the Forecast Setup Module | ||
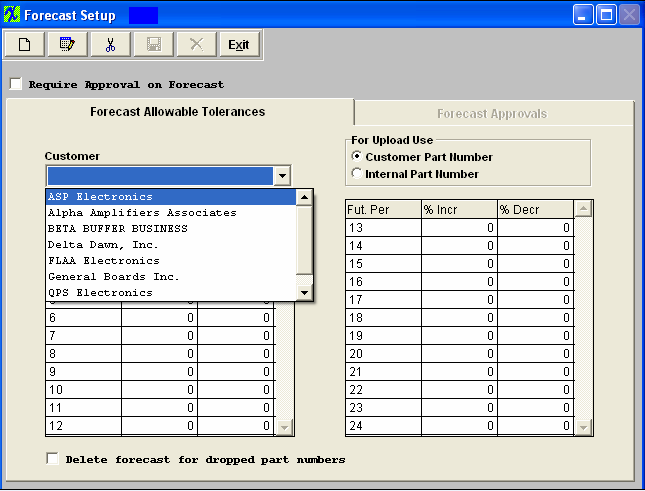
The following screen will appear:
To enter new customer tolerances, the User would select a customer from the dropdown list of customers.
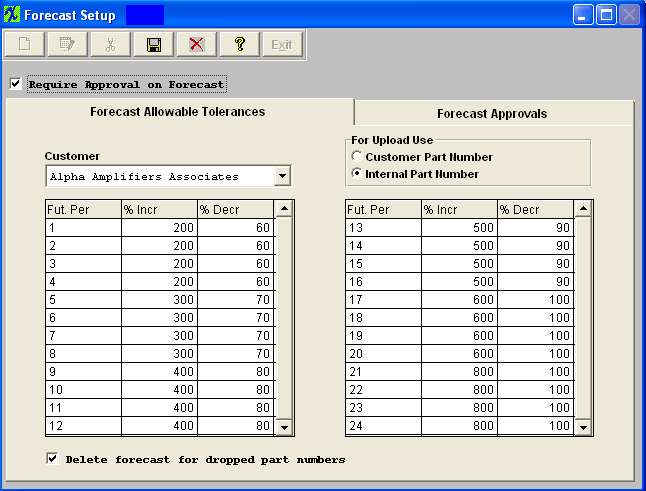
Once you have choosen the customer. Depress the Edit action button to enter the tolerances acceptable for a forecast to change within a given number of periods out from the current period. You may enter any percentage allowable for both the increased forecast and the decreased forecast. The definition of this Forecast Allowable Tolerances (FAT) is the amount the customer is allowed to change a forecast from the previous forecast in the future periods from the current period.
In this screen, as it is set up, we can see the tolerance for 1 future period out allows the forecast change to be up to 200 percent of the last forecast input into the system. In other words, in the next period (notice there isn’t a tolerance for the current period, assuming the current period is already in process) the customer can change the forecast for any given product upwards of 200%, or reduce it by 60%. So if the most recent forecast entered for the product for the next period is 100, then as of the current date, that forecast can be increased to 200% or to 300 units (100 + 100*200%). It also may be decreased by as much as 60% or down to 40 units in the next period. It is important to note that these tolerances are based on periods, or months, not weeks. Also in this screen is the ability to require approvals before forecasts are made active. By clicking on the “Require Approval on Forecast” checkbox, the second page becomes active and can be utilized. Depress the Save or Abandon changes button. If save is depress you will receive the following message:
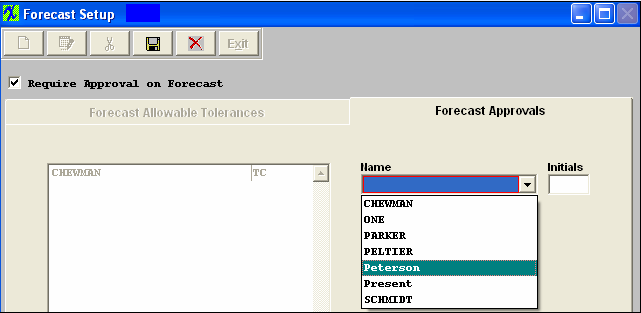
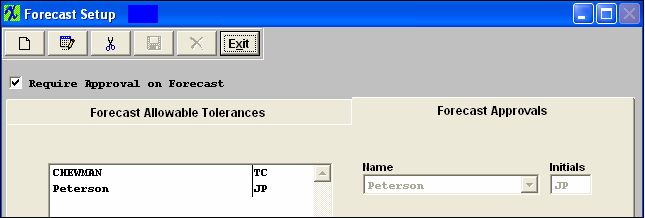
Depress OK and the Forecast Allowable Tolerances will be saved. Users may elect to require specific approvals for each new and modified forecast. If the Require Approval on Forecast checkbox is checked the approval page wil be active. Click on the Forecast Approvals tab and depress the Add record action button. Select from a dropdown list of users to identify which users have authority to approve new and modified forecasts. When a user is added and the approvals are required, then in the main forecast screen, the "Approval" button will be visable.
HOWEVER – at this time, the reset carryover button does require an approval, whether or not the Approval is required for the Forecast itself. So to enable a user to reset the carryover, they must be added in the system setup as allowed to approve forecasts, but then the “Require Approval on Forecast” can be unchecked, and the user still allowed to use the reset carryover button.
If it becomes necessary to remove a users authority, highlight the users name and depress the Delete button
Once selection is complete depress the Save or Abandon changes button. If saved the new user with approval privileges will be shown in the listing.
|
