| 1. How To ..... for Invoice Mgmt |
| 1.1. Find an Invoice | ||
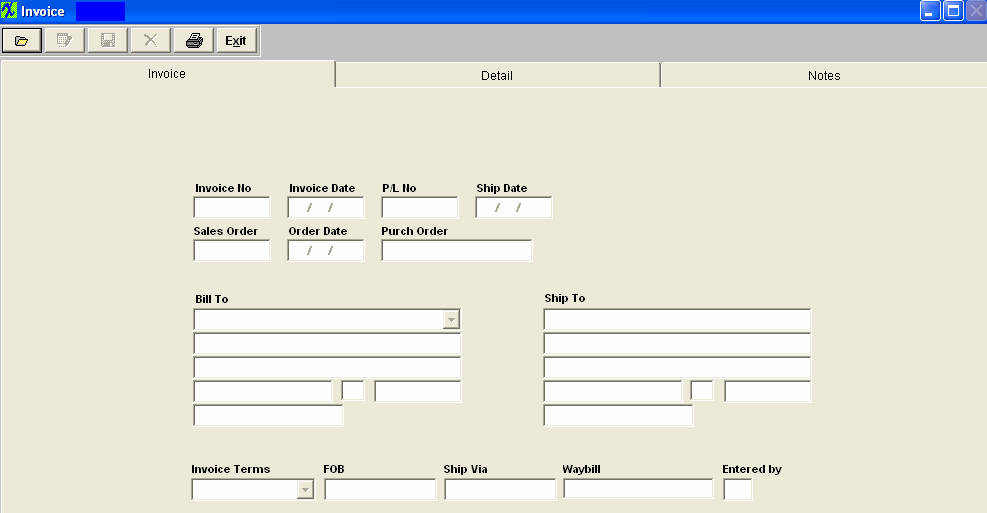
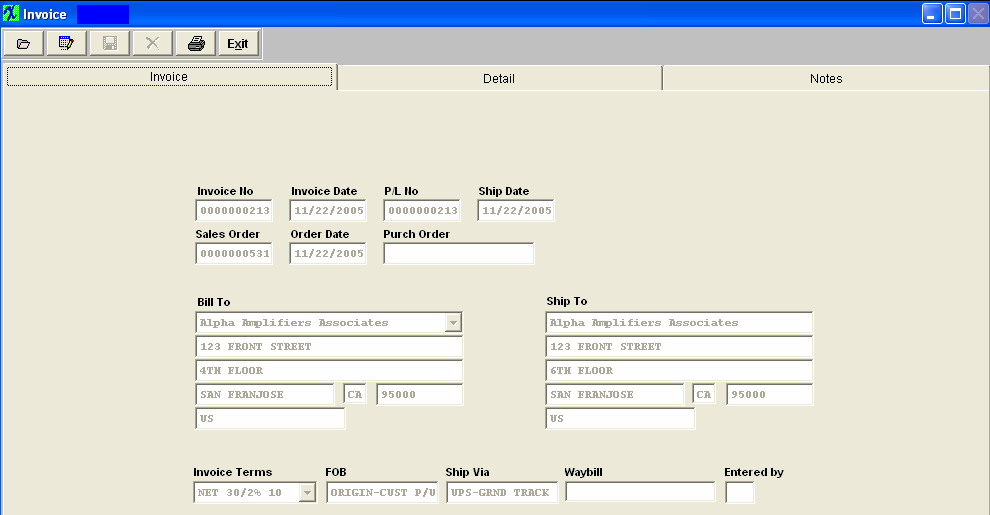
The following screen will appear:
Pressing the Find Action Button displays the following screen:
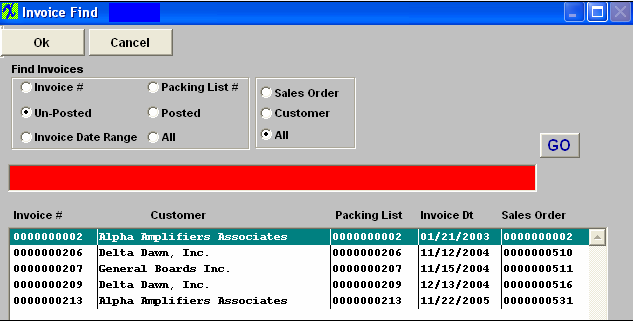
Invoice # will require the user to enter in the invoice number desired into the field. Depress the “GO” button and the record will be pulled forward. Selecting the Un-Posted radial will bring up the following selections.
The user will then need to select Sales Order, Customer, or All. If user selects Sales Order, or Customer, then you must enter a Sales Order number or Customer Name in the Red Box. If user selects All and depresses the "GO" button the following information will be listed:
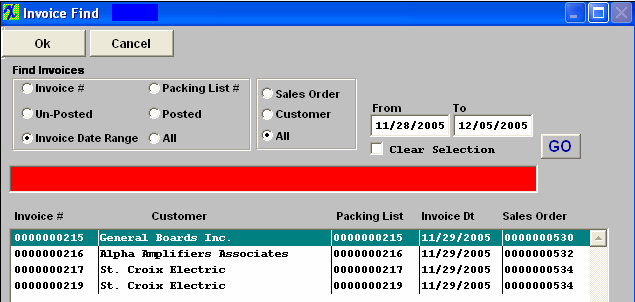
Selected the desired Invoice, by double-clicking on the listed record and the record will be pulled forward. Selecting the Invoice Date Range radial will bring up the following selections and fields.
Enter in the Sales Order number or Customer (depends on your selection) then select the desired date range. Enter All, then depress the “GO” Button and the following information will be listed. This find will bring up both Posted and Un-posted Invoice records.
Selected the desired Invoice, by double-clicking on the listed record and the record will be pulled forward. Selecting the Packing List radial will require the user to enter in the desired Packing List number. Depress the “GO” button and the record will be pulled forward. Selecting the Posted Radial will bring up the following screen:
The user will then need to select Sales Order, Customer, or All. If user selects Sales Order, or Customer, then you must enter a Sales Order number or Customer Name in the Red Box. If user selects All and depresses the "GO" button the following information will be listed:
Selected the desired Invoice, by double-clicking on the listed record and the record will be pulled forward.
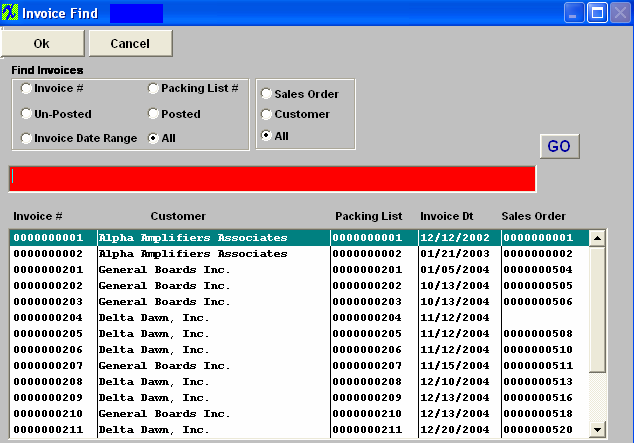
Selecting the All will bring up the following screen: The user will then need to select Sales Order, Customer, or All. If user selects Sales Order, or Customer, then you must enter a Sales Order number or Customer Name in the Red Box. If user selects All and depresses the "GO" button the following information will be listed:
Selected the desired Invoice, by double-clicking on the listed record and the record will be pulled forward.
|
| 1.2. Edit an Invoice | ||
After pressing the Find Action Button the Edit button is available to modify certain fields on an un-posted invoice. Note: As soon as the Invoice is printed either via this screen or via the Reports button, it is considered to be “Posted” and therefore can’t be changed, even if it’s just printed to the screen or file output. Also, once the invoice is posted the packing list is no longer editable either. Once the desired Un-posted Invoice Record has been found, the screen will be populated as follows:
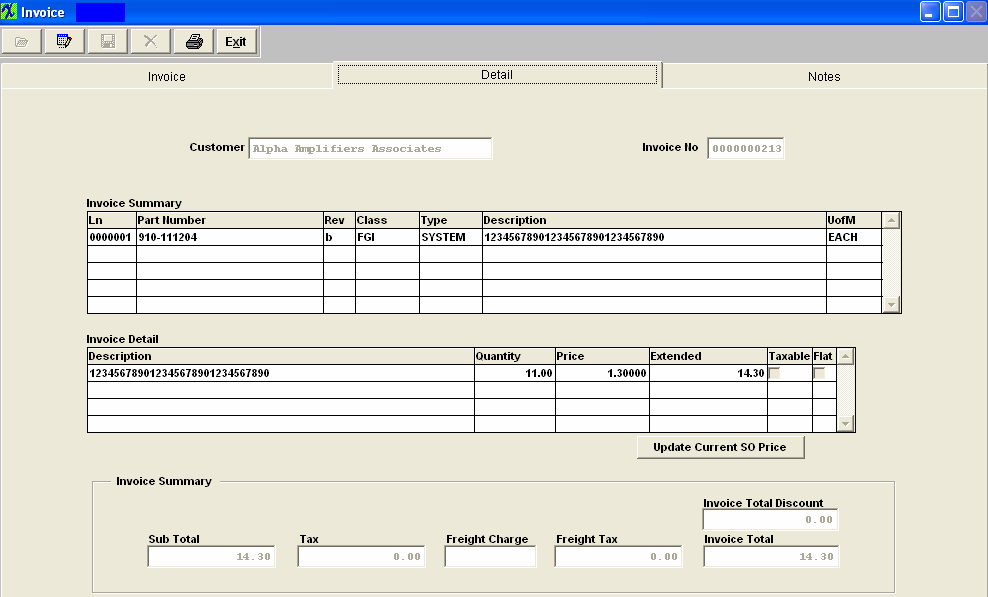
In the Invoice screen, the changeable fields are limited to the Invoice date, the Bill to Customer, and the Invoice Terms. Enter into the Detail screen:
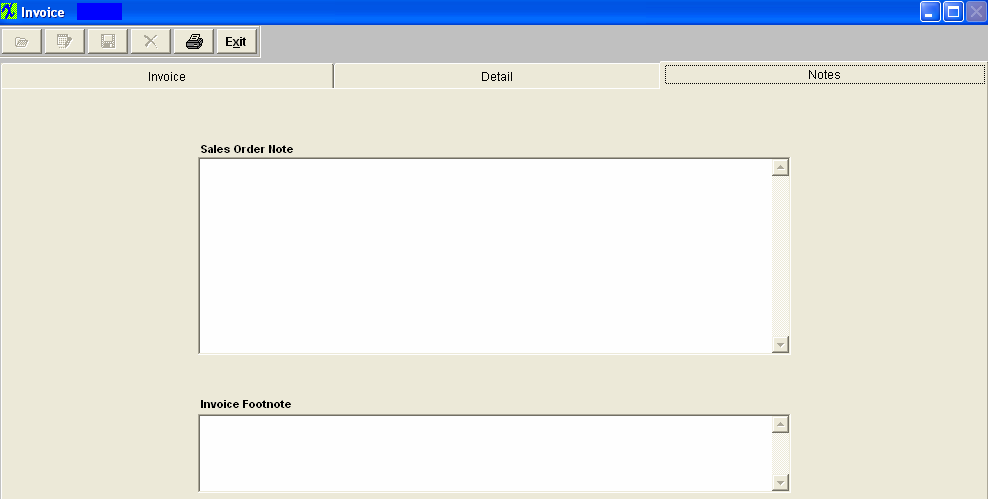
In the Detail screen, the changeable fields are limited to the Price, Taxable box and Freight Charge. Enter into the Notes screen, and here the user may add Sales Order Note, or Invoice Footnote.
Because the Packing List has already been Posted and is usually on its way to the customer, other items within this module can not be modified.
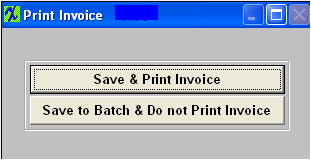
Depress the Save record icon. The following options will appear. If the user selects the “Save & Print Invoice,” the invoice WILL BE posted and printed to the Default Printer. The appropriate accounting entry will be created and will forward into the Accounting Module. If the User Selects the “Save to Batch & Do Not Print Invoice.” The invoice WILL NOT post and will be forward to the Invoice Batch to be printed/posted at a later time. |
| 1.3. Create a Manual Invoice |
Note: A manual invoice is NOT created in this module. Instead, it’s created in the Packing List module as a Stand-Alone Packing List. |
| 1.4. E-mail Invoice(s) | ||
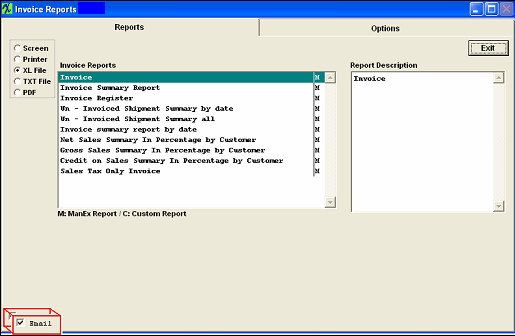
To e-mail an Invoice report(s), depress the Reports button.
Note: You MUST have the e-mail setup within the Trigger.exe setup and working before the
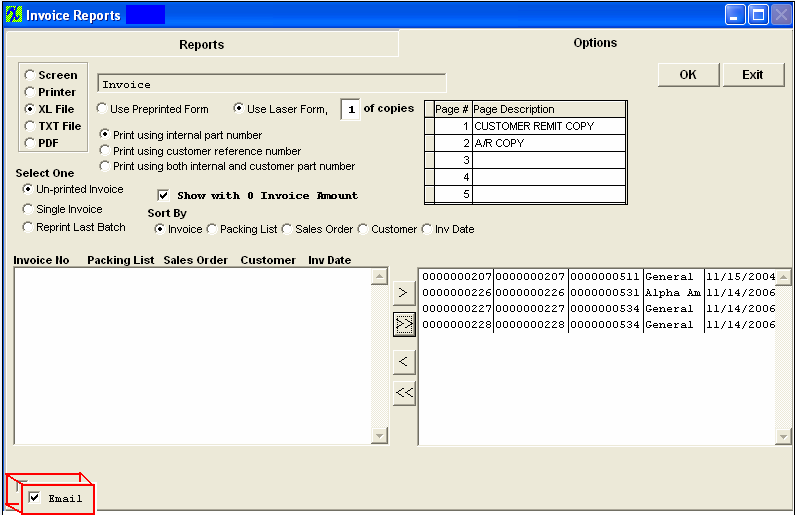
Complete the Option tab with the information required: Note: User has the option to check the Email box on the Options screen also.
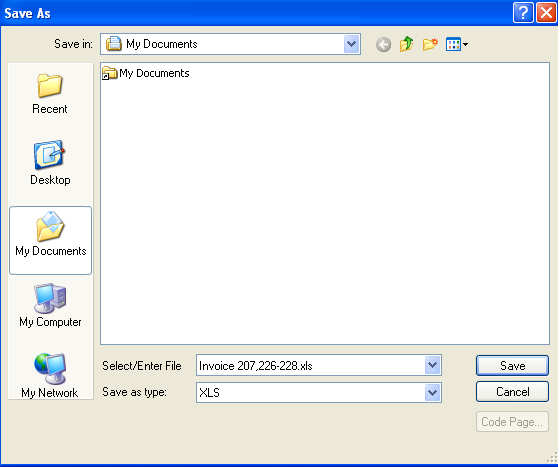
Depress OK. The following screen will appear. Select or Enter File Name.
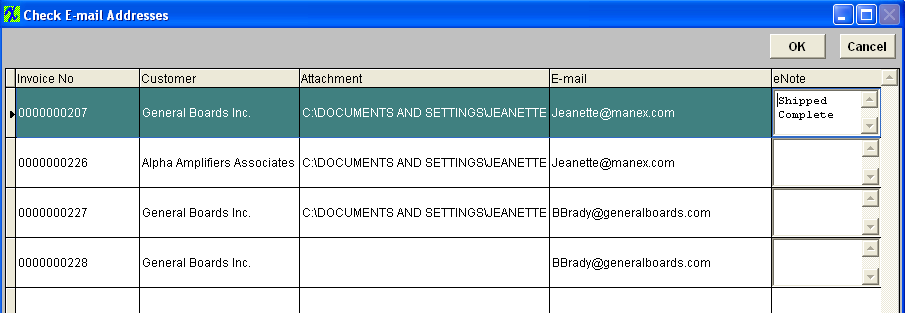
Depress Save, the following Check Email Addresses screen will appear. Within this screen you can enter an e-mail address (this e-mail address has to be listed in the Customer Information module) or add any special notes needed:
Depress OK and documents will be sent to e-mail addresses assigned. The following is what the receiver will receive:
|

