| 1. Project Setup Module (OPTIONAL Module) |
| 1.1. Prerequisites for Project Setup |
ManEx’s standard module configuration allows most users to accomplish their daily tasks. For those users wanting to get more from ManEx by leveraging the total solutions, this is one of the optional modules available for purchase. The Project Setup module gives the user the capability to tie multiple Sales Orders and Work Orders together. To place an order or to learn more about this specific module or any of the other optional modules please contact us at http://manex.com\contactus.aspx You have the option to have the Project # either assigned automatically or manually, within the Number System module.
Note: If you choose to use the Project Management module for separating internal inventory per customer, then you can abbreviate the customer name as an on-going project number. To do this you will have to change the numbering setup to Manual. Customer must be setup in the Customer Information module .
|
| 1.2. Introduction for Project Setup |
The Project Setup module gives the user the capability to tie multiple Sales Orders and Work Orders together. Projects can also have sub-projects or Parent projects associated with them. Multiple Projects can be established for a specific sales order. A Project (only one) may be assigned to each line on the sales order. Multiple lower level Projects (“sub-Projects”) can be established within a Project if necessary. These Projects do not have an assembly number, and do not drive MRP requirements. They simply define a structure into which Work Orders (WOs) are assigned and cost information is collected. Once a sales order and related Projects are established, one or more WOs are released at a level equal to or below the Project. These WOs are identified as belonging to the Project, they have an assembly number, and they drive MRP requirements through an indented BOM. Following release of this top level WO(s) and assignment of the WO to the Project, ManEx knows that all lower-level proposed WOs driven by that assembly also belong to the same Project. MRP reports will define all those actions required for the full assembly build, and will clearly indicate the Project number assigned to the top-level WO that is driving MRP demand. MRP will, for Sales Orders and Work orders with Project tags, necessarily revert to a MRP is done without regard to allocations. It runs strictly off of the demand and supply requirements, and the timing for each. Therefore, when MRP runs, if a part is on hand and allocated to another Project, MRP will consider it available for all Projects which have requirements for the part. If there are insufficient parts available to meet the total demand, then MRP will create order actions for the part (and Project) at the point the part becomes unavailable. Parts may be purchased and “pegged” to the Project at purchase by the buyers, using the MRP order action information. Purchases into general inventory and to specific work orders are also allowed. Through the receiving process, parts are automatically allocated to the Project consistent with the For the purposes of allocation to or kitting of lower level WOs that belong to the same Project, ManEx considers any part allocated to the Project to be available (without deallocation/reallocation) for the lower level WO, as long as the work order refers to the project. The Project Management module is designed to operate in two modes and they are:
In the Electronic Contract Manufacturing environment, it is important to be able to identify materials purchased for each customer and provide visibility to the current status of the inventory balances and open purchase orders. The Inventory Control module is able to keep track of all internal material and customer consigned material but it does not track the internal inventory by the customer for which the material was purchased. Keeping track of internal material by customer is important because if a customer’s order for products are cancelled or becomes obsolete, you will need to know the FGI and raw material exposure (quantity in the inventory and open purchase orders) for back billing the customer. Also, some customers request the status of inventory material value purchased specifically for them, including the open purchase orders. There are several possible ways to track open purchase orders and inventory quantity by customer not using the ManEx’s Project Management module but they requires number of manual processes, and the system has to be bent in a creative way to make these work. A couple of those methods are: 1. Assign a warehouse for each customer, with manual provision for tracking the material requirements by customer. Track the inventory requirements through the purchase process and during the kitting and shortage process. Some custom reports are needed to report the material activities by Customer. The option prevents the use of auto-kitting. 2. Use customer’s part number, with customer prefix at the front of each part number, as the internal part number. This will give the users the visibility for the demand, the purchase process and in the kitting and shortage process. The disadvantage with this method is that the company will not be able to aggregate the consolidated requirements for a lower unit cost. Users will need to open and track a lot more purchase orders and increase the volume for receiving and inspecting the parts. This will add manual labor hours to many functions and increased chances for errors at each step. Additionally, each time a customer is added, the users will be increasing the size of the item master file. Users lose the visibility and efficiencies of common parts for use in the inventory if each customer has their part numbers as the internal part number. Finally, the company also has to create some custom reports to get inventory information by customer.
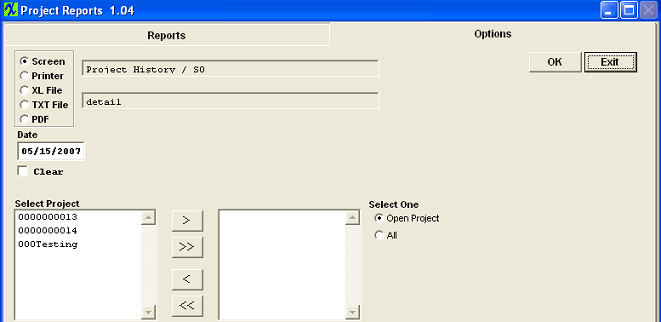
This module tracks purchased material by assigning a sales order/work order product (or even a specific components) by customer to the Project in the Project Management module. The demand is created with traceable customer identification when the Project Management module is active. When issuing a purchase order, the module allows the user to peg the order to one or more projects with the same part, and with multiple quantities and delivery splits for easy control. When the parts are received, they are automatically allocated to the assigned projects and the material received can only be used by work orders associated with the same project. This is accomplished in the various work order kitting and shortage process. For the integrated visibility, all this can be tied to the Sales Order, Work Order, Inventory and to the customer. Customer material can be monitored through the inventory control module or through the Project Management module reports. Through these reports, user will be able to analyze inventory balances by customer, view open sales orders backlog by project and view sales order history by project allowing user to see the amount of business transacted with a specific customer.
Track Various Sales Orders and/or Work Orders by Project
Customers requiring the ability to track Project or a Manufacturing Program Management that has multiple sub-projects and/or multiple products can use this module until the end of the product life cycle. This module allows user to track all associated project sales orders, work orders and purchased materials. Use of the material tracking by project method is described above.
|
| 1.3. Fields and Definitions for Project Setup |
| 1.3.1. Project List Tab | ||||||||||||||||||||

|
| 1.3.2. Project Details | ||||||||||||||||||||
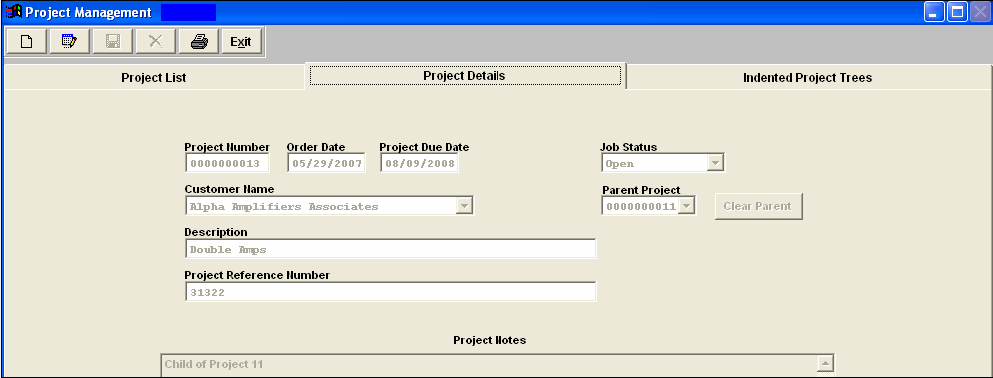
|
| 1.3.3. Indented Project Trees | ||||||||||||||||||||||||
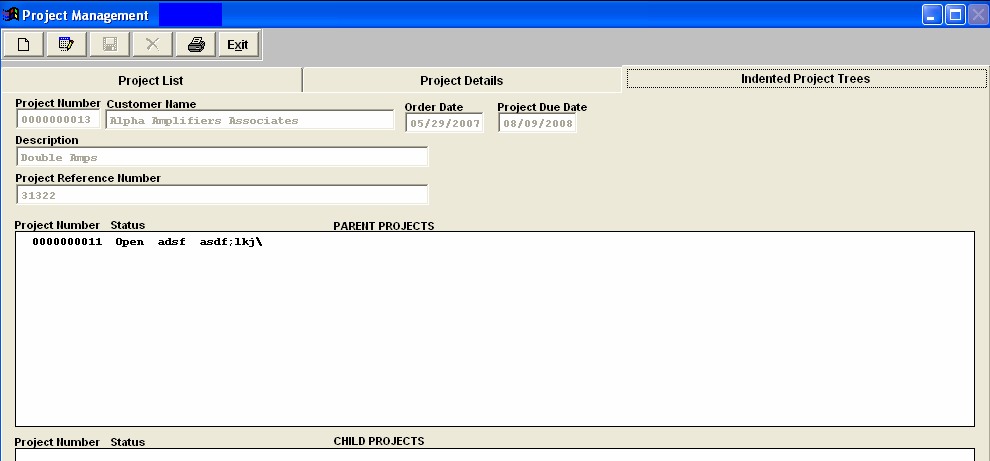
|
| 1.4. How To ......... for Project Setup |
| 1.4.1. Find a Project | ||||
The first tab that appears is the Project List. This will list summary information regarding all open projects.

Only the projects for the customer selected will appear. To change the selection from just Open Projects to ALL Project records, choose the “All” radial under the Status Filter. Depress the Apply Filters button. All types of Statuses will appear, as follows:
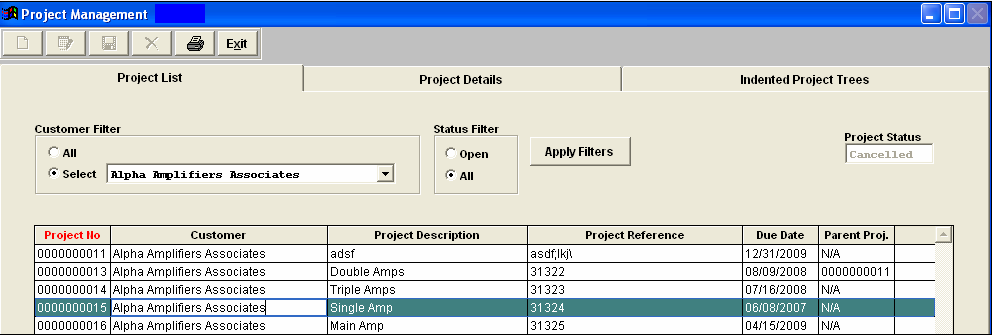 Highlight the Project of Interest.
 Depress the Project Details tab and the following screen will appear:  Depress the Indented Project Trees tab. The following screen is available:
 |
| 1.4.2. Add a Project | ||
The first tab that appears is the Project List. This will list summary information regarding all open projects.
 Depress the Project Details tab and the following screen will appear:
 Depress the Add action button and enter password. The following screen will appear:
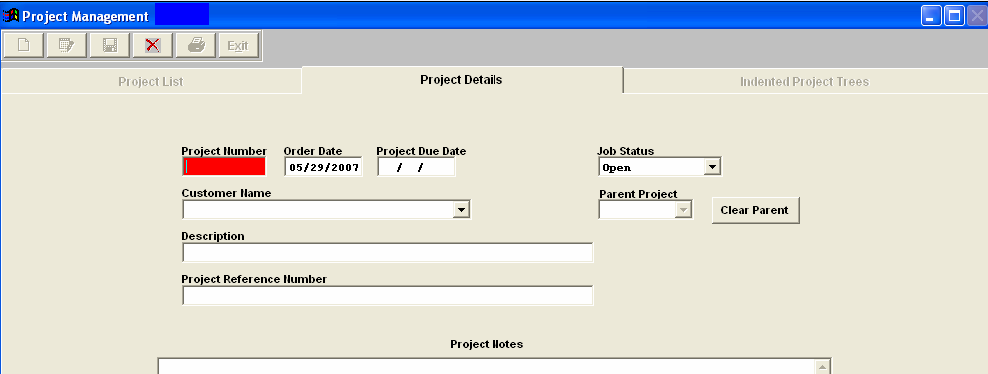 Enter in the following information: Project Number (if setup to manual), New Order Date (if desired), Project Due Date, Select the Customer from the pull down list.
Assign a Parent Project (if desired) to this project (another project that is identified with the SAME customer), depress the down arrow next to the Parent Project filed. A list of all of the project associated with the SAME customer will appear. Choose one from the list. Project Description, Project Reference Number, and any project notes (if desired). Depress the Save record action button to save changes or depress the Abandon changes action button to abandon changes. |
| 1.4.3. Edit a Project | ||
The first tab that appears is the Project List. This will list summary information regarding all open projects.
 Highlight the Project you want to Edit. Depress the Project Details tab and the following screen will appear:
 Depress the Edit action button and enter password. The following screen will appear:
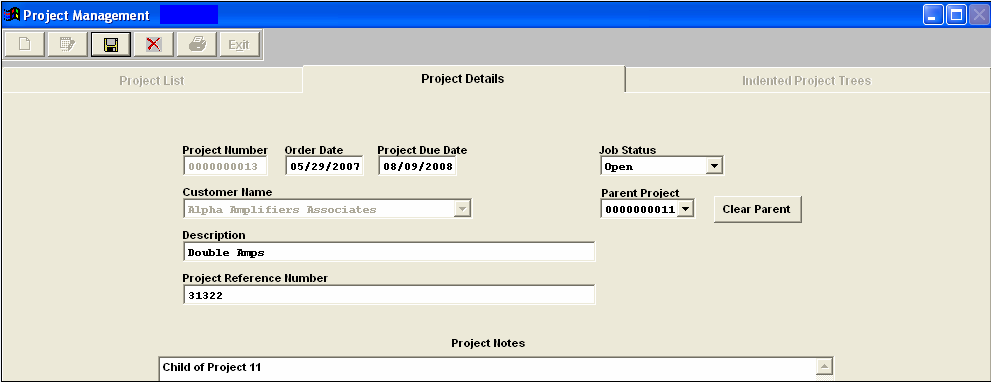 Edit the following information: New Order Date (if desired), Project Due Date, Job Status, Parent project, Description, Project Reference Number, or Project Notes.
|
| 1.5. Reports - Project Setup | ||||||
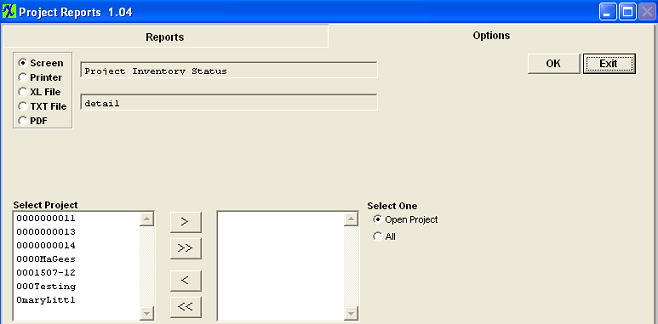
Depress the Reports menu icon, the following selections will appear. 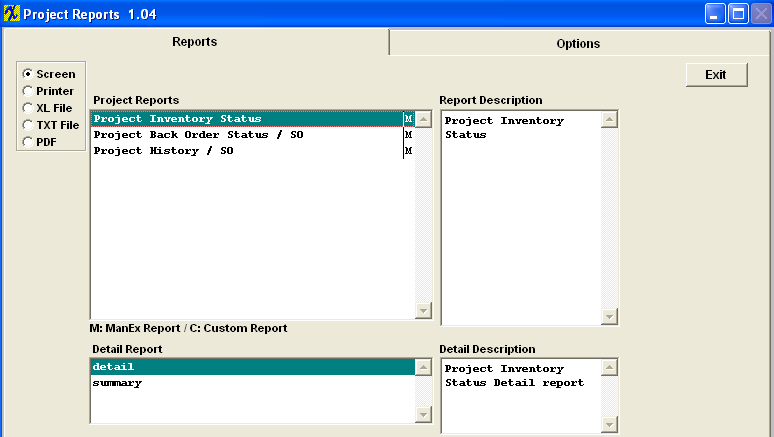 Project Inventory Status Report - This report shows all of the inventory and inventory value on hand that is allocated to open projects.
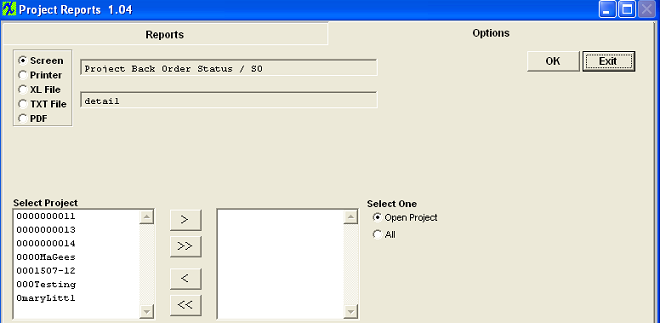
The following report will be displayed.  Project Back Order Status / SO Report - This report set shows all of the assemblies and their value that are open for shipment against open projects.
The following report will display:

The following report will be displayed:

|
