| 1. Master Production Schedule (MPS) & Forecast (OPTIONAL Module) |
| 1.1. Master Production Schedule |
| 1.1.1. Prerequisites for MPS & Forecast | ||||||
Prerequisites Required for Entering a New Master Production Schedule:
ManEx’s standard module configuration allows most users to accomplish their daily tasks. For those users wanting to get more from ManEx by leveraging the total solutions, this is one of the optional modules available for purchase. The forecast module is designed to be the controlling factor for a product when it is used. To place an order or to learn more about this specific module or any of the other optional modules please contact us at http://manex.com\contactus.aspx After activation, "Master Production Schedule" access for each user must be setup in the ManEx System Security module. Users with “Supervisor Rights” will automatically have access.
|
| 1.1.2. Introduction for MPS & Forecast |
| ManEx’s standard module configuration allows most users to accomplish their daily tasks. For those users wanting to get more from ManEx by leveraging the total solutions, this is one of the optional modules available for purchase. The forecast module is designed to be the controlling factor for a product when it is used. To place an order or to learn more about this specific module or any of the other optional modules please contact us at http://manex.com\contactus.aspx |
| 1.1.3. Fields & Definitions for MPS & Forecast |
| 1.1.3.1. Forecast | ||||||||||||||||||||||||||||||||||||||
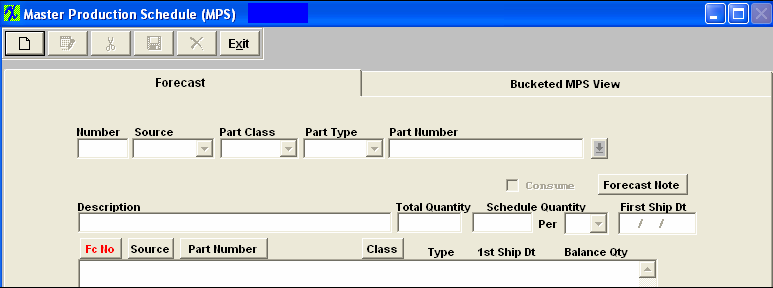
Master Production Schedule Forecast tab Field Definitions: Header Portion of Screen
The number assigned to the forecast. The classification of the Part. The Type assigned to the part number. The unique number assigned to the part. The box is checked if the user expected to ship eventually under a Sales Order. The description of the part. Total Quantity The total quantity of the Forecast. The portion of the total quantity scheduled and the frequency of the schedule. First Ship Date The Date the schedule quantity displayed is expected to ship. Body of Screen
The number assigned to the forecast for the part listed. Whether the forecast involves a Make or Buy Part. The unique number assigned to the part. The revision character assigned to the part Number, if such exists. The classification of the Part. The Type assigned to the part number. First Ship Date The Date the schedule quantity displayed is expected to ship. Balance Quantity The unshipped quantity amount.
|
| 1.1.3.2. Bucketed MPS View | ||||||||||||||||||||||||||||||
Bucketed Master Production Schedule tab Field Definitions: Top of Screen:
The unique number assigned to the product. The description of the Product Number highlighted. The radial selection dictates how the buckets are viewed, by Week or by Month. Last (MPS) Material Requirements Planning Run This is the date of the last Material Requirements Planning run.
Left Side of Screen:
Week of or Month of Displays the quantity of the amount scheduled, by week or by month. This column indicated the quantity scheduled beyond the Weeks or Months displayed.
Right Side of Screen:
Week of or Month of Displays the quantity of the amount scheduled, by week or by month. This column indicated the quantity scheduled beyond the Weeks or Months displayed. |
| 1.1.4. How To ..... for MPS & Forecast |
| 1.1.4.1. Adding A New Master Production Schedule | ||
|
The following screen will appear:
To ADD a new Master Production Schedule, depress the Add action button. Enter your password. Select the Source from the Drop down menu. Select the Part Class from the Drop down menu. Select the Part Type from the Drop down menu. Select the Part Number from the Drop down menu. Either type the Part Number into the red box or scroll down until the part number is located.Then, double click to select. On the main screen, type in the total forecasted quantity for the part.Type in the scheduling parameters.For example, if the forecasted need is 1000 and your plant has the capacity to make 250 units per week, schedule 250 over the next 4 weeks. Type in the first ship date or type a ? in the First Ship Date box and a calendar will appear on the screen: Click on the date of interest.To advance into the next month, depress the right hand > button.To advance into the same month next year, depress the right hand >> button. To go back to last month, depress the left hand < button.To go back a full year, depress the << button. Click on the date desired. Check the consume box if the forecast will eventually be replaced by a Sales Order. If you want to add a Forecast note, depress that button.The following Forecast Item Note screen is available: Depress the Edit button.Type in the note.Depress the Save button.Exit. Once you’ve finished the data entry in this screen, depress the Save button |
| 1.1.4.2. Bucketed Master Production Schedule Tab | ||||||||||||||||||||
Depress the Bucketed Master Production Schedule tab.The following screen will appear:
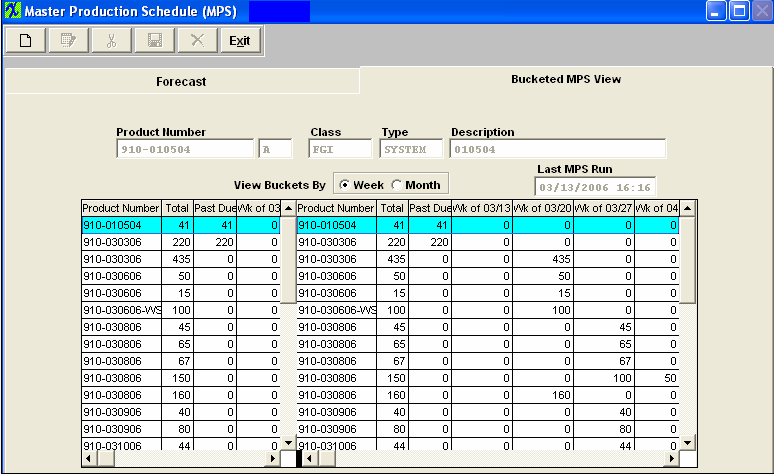
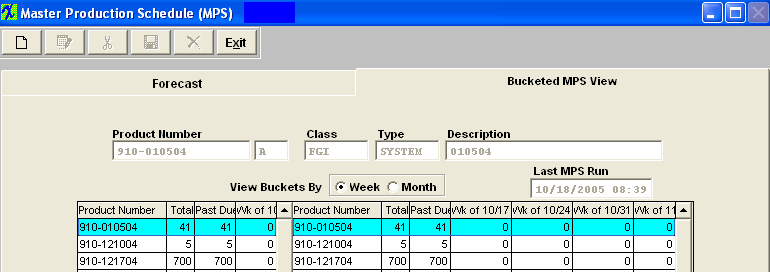 This screen displays the results of the latest Material Requirements Planning run. Highlight the Product Number of Interest. Bucketed Master Production Schedule tab Field Definitions: Top of Screen:
The unique number assigned to the product. The description of the Product Number highlighted. The radial selection dictates how the buckets are viewed, by Week or by Month. Last Material Requirements Planning Run This is the date of the last Material Requirements Planning run. Left Side of Screen:
Right Side of Screen:
Week of or Month of Displays the quantity of the amount scheduled, by week or by month. This column indicated the quantity scheduled beyond the Weeks or Months displayed. Once a new Material Requirements Planning run is made, this screen will update
 |
| 1.2. Forecast |
| 1.2.1. Prerequisites for Forecast |
|
ManEx’s standard module configuration allows most users to accomplish their daily tasks. For those users wanting to get more from ManEx by leveraging the total solutions, this is one of the optional modules available for purchase. The forecast module is designed to be the controlling factor for a product when it is used. To place an order or to learn more about this specific module or any of the other optional modules please contact us at http://manex.com"contactus.aspx After activation, "Master Production Schedule" access for each user must be setup in the ManEx System Security module. Users with “Supervisor Rights” will automatically have access. The Forecast Allowable Tolerances (FAT) must be setup.
|
| 1.2.2. Introduction for Forecast | ||||||||||||||||||||||||||
The forecast is designed to be the controlling factor for a product when it is used. There are rules in the Forecast Setup that the user can use to establish the maximum increase or decrease for the product by how far out (how many months) the order is. The Forecast module will reduce the requirement to MRP as a forecast is consumed by ships, but will not increase the requirements to MRP beyond the forecast guidelines. It will, however, provide a warning to users that their Sales Order Demand exceeds the forecast (when there is one, and the item is a forecast item on the Sales Order) and refer to a report generated whenever the forecast is regenerated or run by MRP. It is the users responsibility to either adjust the forecast, or adjust the Sales Order accordingly. If the user really does want the extra product over and above the forecast, they can add a line to the sales order that is NOT a forecasted item, and then both the forecast and the sales order should drive demand. The Forecast checkbox is defaulted as True within the SO Module whether or not there actually is a forecast. By doing this, we minimize the possibility of the MRP double ordering parts for the SO. If there is no forecast for the product, MRP will look at the SO as normal and create the demands. As soon as a Forecast is created for that product (regardless if Forecast Detail is blank) the system will then consider the Forecast information over the SO schedule for MRP. The users can un-check the Frcst check box within the SO/WO for that item if desired. The user will then receive a warning message that the orders exceed the forecast and to read the report to verify that’s what the user wants. (This is done so that the customer doesn’t try to sneak in last minute upswings that exceed the forecast).
Note: The programmers have confirmed that we do have a bit of a disconnect. The Forecast setup has 24 "Future Periods", and the Forecast Module "Detail" tab is setup for 26 weeks. At the time it was originally designed it was not seen as a need to go out that far within the Forecast module itself. We do recognize that this needs to be addressed by making changes to the Forecast module to add another page to extend the weeks out further.
The 2 principal methods ( Firm Planned WO being the only other) of driving demand in the MRP system are:
It is important to draw the distinction between the two kinds of Sales Order items that exist in Manex.
The default during Sales Order Entry is that the Flag is set to consuming. If the sales order has an active forecast, the Sales Order will not drive demand – shipments against it will reduce Forecast by the same amount. If there is no active forecast, it will behave exactly the same way as a non-consuming SO. If an item is dropped from the Forecast (revision change or otherwise), what do we do with the consuming Sales Order? Should the system prompt if there are Sales Orders with consuming set to “yes”, yet there is no Sales Order. Forecasts Forecasts can be loaded for up to 24 weeks for any assembly/rev into the Manex Forecast Module. Forecasts are uploaded from an XL template. Forecast module buckets the loaded demand into weeks. The calculation of “net demand to MRP” is as follows: Forecast Qty-shipments ( consuming sales orders only) In other words as we ship against the Forecast the net demand decreases by that amount. As Consuming Sales Orders are created they may have schedule ship dates that do not align with the Forecast. For example , customer may provide Sales Orders with quantities that are due on a date before the Forecast due date. Since we are driving material to the Forecast date, this might create a condition where we cannot meet the date. The Forecast module generates a report where you can view the alignment of the Sales Orders to Forecast. This is an important report to review with the customer.
In the event that the total consuming Sales Order qty exceeds the entire forecast ( you can see in the afore mentioned report) you should advise the customer that we will not be driving demand for the excess. They must either amend the forecast or clearly indicate. in the PO ( or through some other dependable means ) that the
Each new Forecast is compared to the previous to look for differences. The following analysis is performed by the system:
The responsibility of the Forecast analyst or PM is to review the reports and seek appropriate resolution from the customer before the end of the week.
|
| 1.2.3. Fields and Definitions for Forecast |
| 1.2.3.1. Main | ||||||||||||||||
|
| 1.2.3.2. Detail | ||||||||||||||||||||||||||||||||||||||||||||||||||||||||||||||||||||
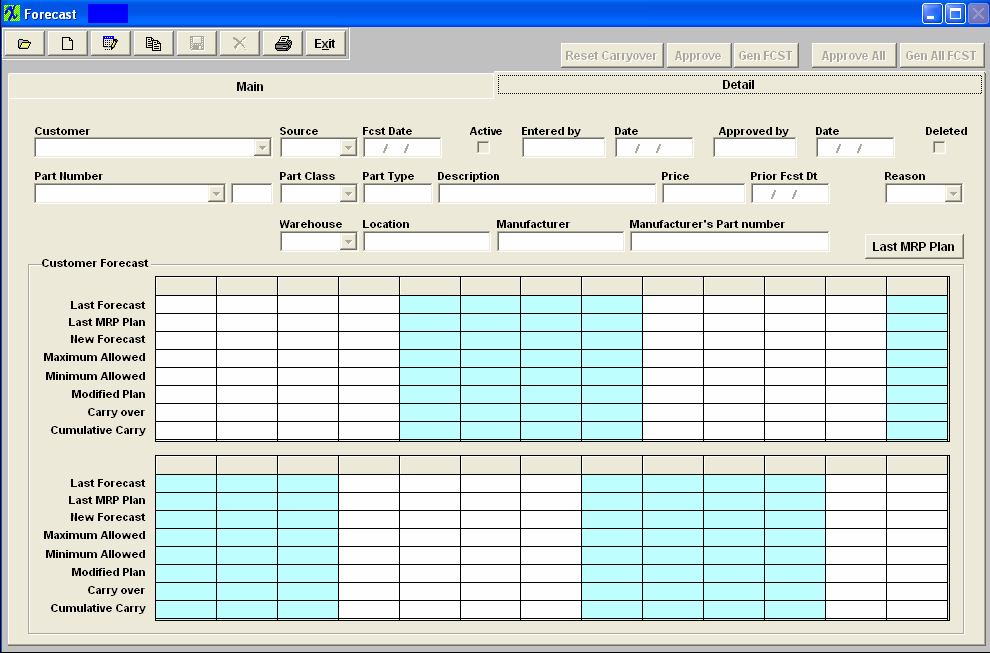
Fields and Definitions
Action Buttons
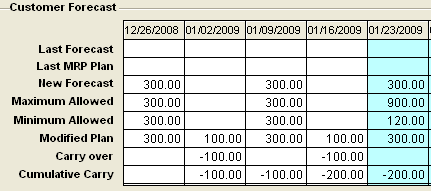
Customer Forecast
|
| 1.2.4. How To ..... Forecast |
| 1.2.4.1. Find a Forecast | ||||
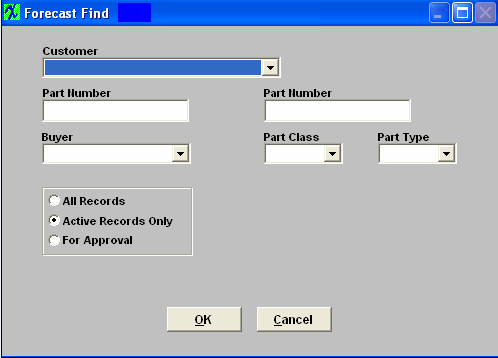
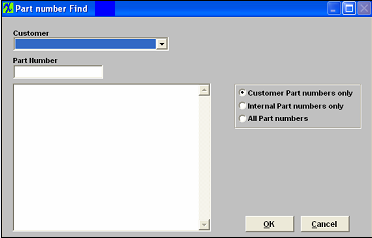
The following screen will appear:
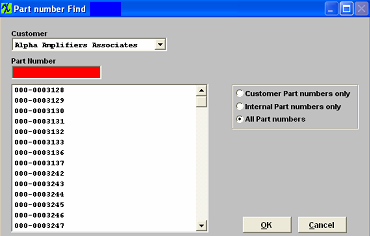
After depressing the OK button the following screen will appear:
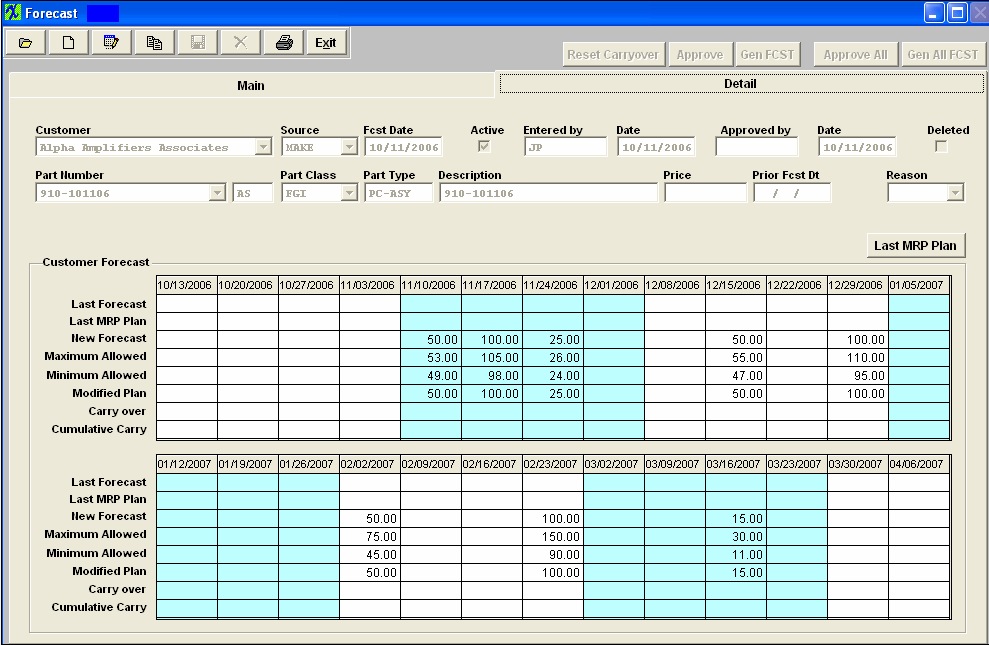
Highlight the PN of interest, then click on the Detail tab and the forecast detail for that PN will be displayed
The weekly buckets are established as of the end date of the current week. Any data loaded from an excel sheet will aggregate the data by these week end dates. The Maximum Allowed and Minimum Allowed rows of data are calculated based on the tolerances provided for the customer in the Forecast Setup module.
|
| 1.2.4.2. Add a Forecast | ||||||
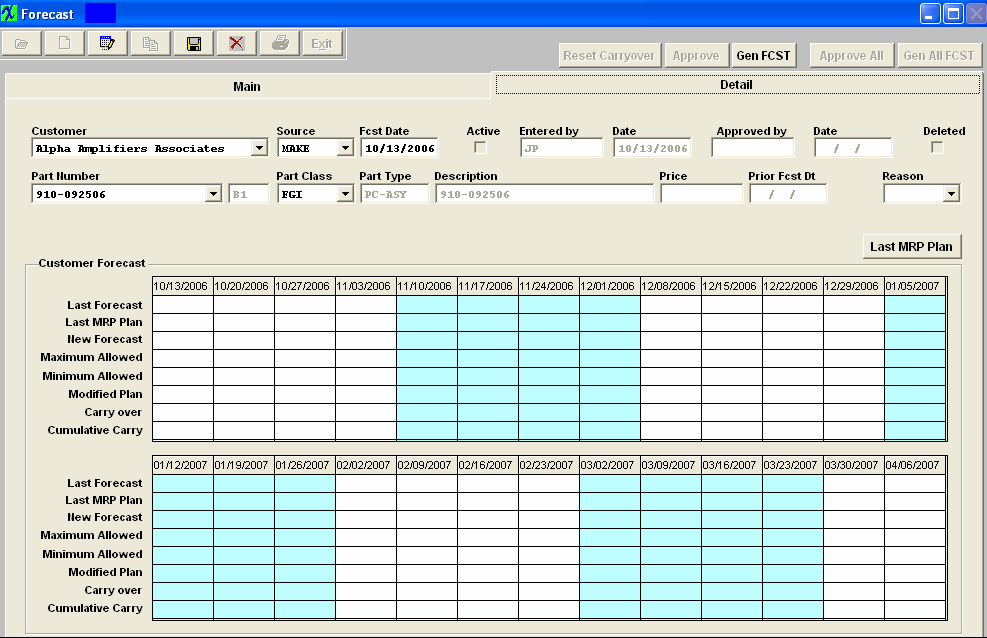
The following screen will appear:
Go to the Detail Tab Screen. The header information will deafult in;
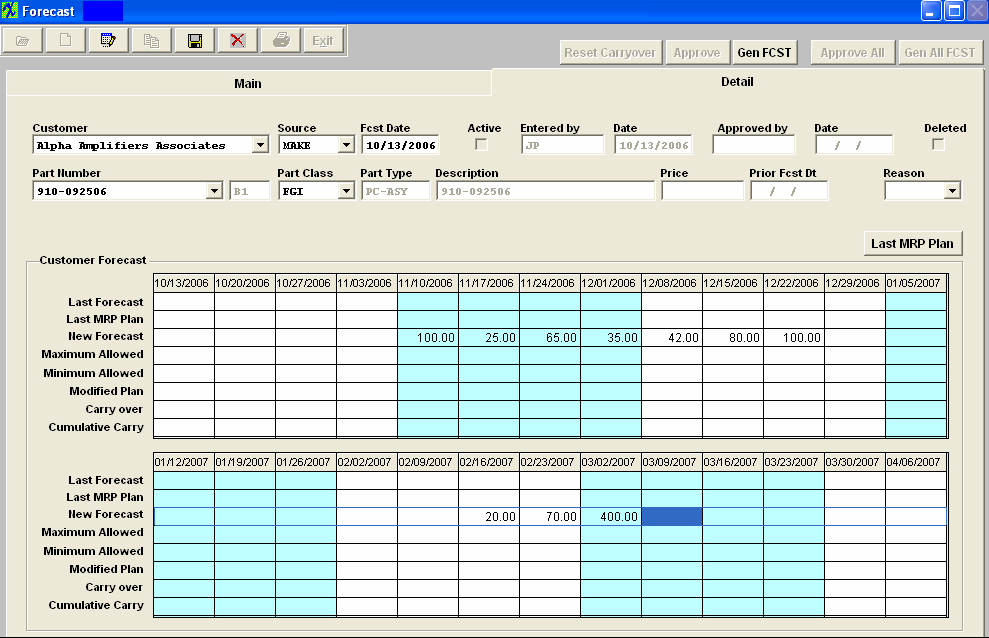
Enter in the new forecast;
Once the forecast is entered, the User should save the information by depressing the Save record action button, and/or depress the GenFCST button to extend the Original forecast to the Planned Forecast, based on the system setup for the customer. The user may also approve the forecast, if they have the authority. If the Forecast Setup indicates that approval is NOT required, the Approval button will be inactive, and saving the forecast will automatically make it active. 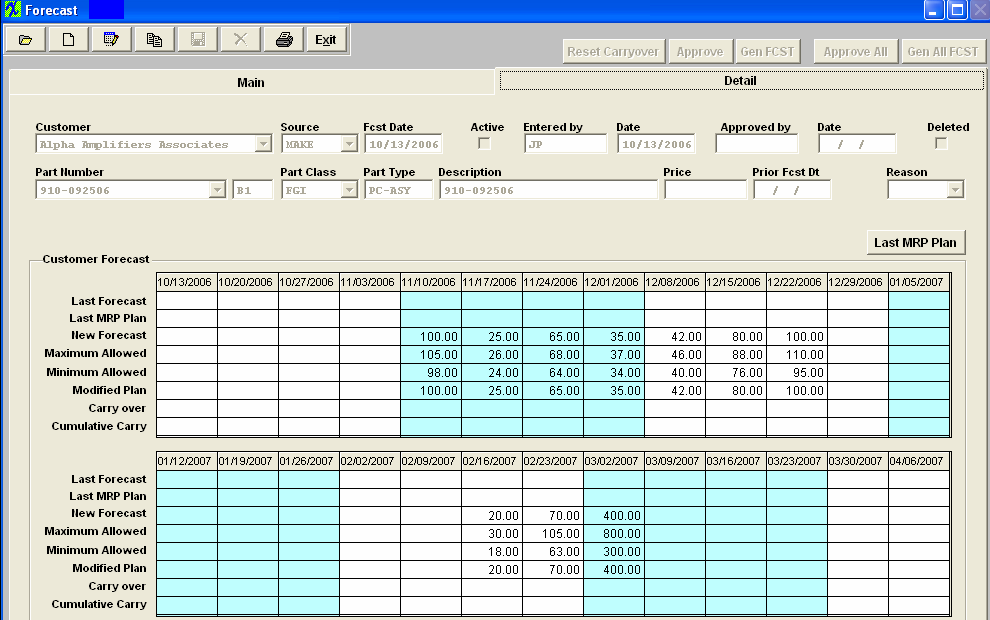 |
| 1.2.4.3. Edit a Forecast | ||
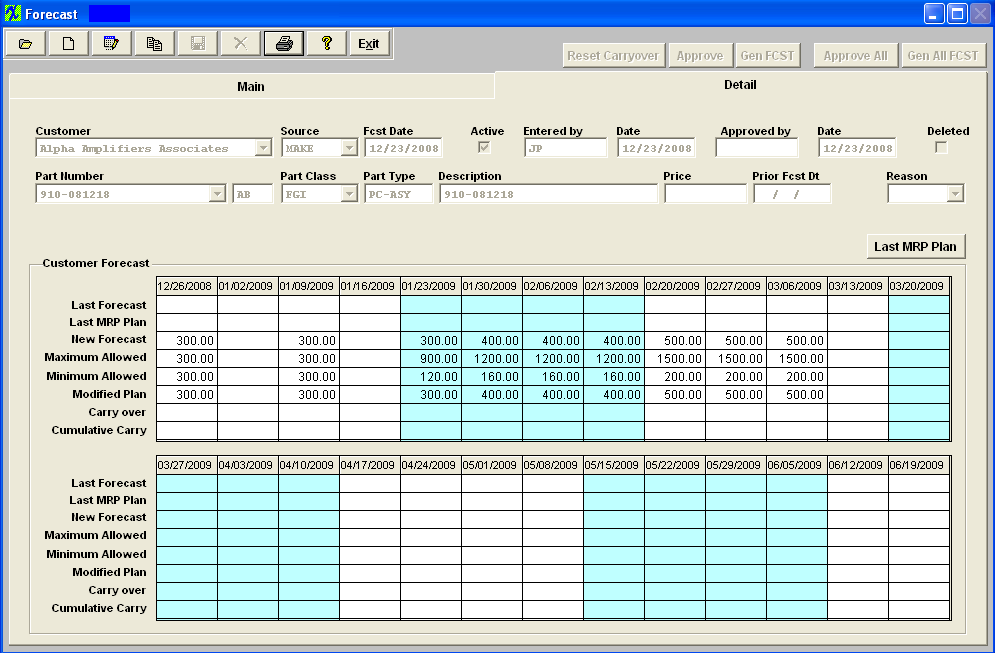 Depress the Edit button. Then the NEW FORECAST line can be edited. If there was a previous forecast, it will be shown on the top line. In order to move forward with the forecast, the ACTIVE checkbox needs to be unchecked (in edit). After saving the changes and checkbox, then re-entering the same forecast in edit mode will activate the Approval and Gen FCST buttons. (If approvals are not required in the system setup, the Approval buttons will not be displayed.) The Reset Carryover button can be used but as mentioned earlier, needs to have an approval entered in the system setup. The purpose of this button is to allow the user to eliminate any items carried over from previous or unfulfilled forecasts. When activated and password entered, the prompt is for a date on which the carryover will be eliminated.
|
| 1.2.5. Reports - Forecast | ||||||||||
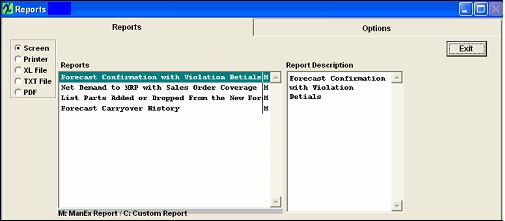
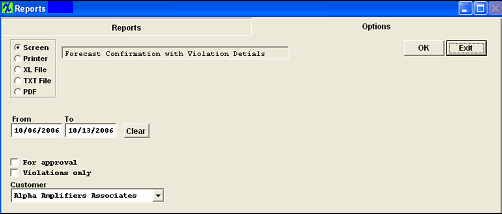
Forecast Confirmation with Violation Detail
The following report will print:
Net Demand to MRP with Sales Order Coverage
The following report will print:
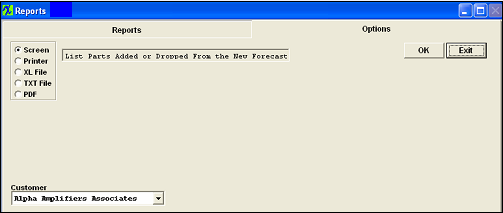
List Parts Added or Dropped from the New Forecast
The following report will print:
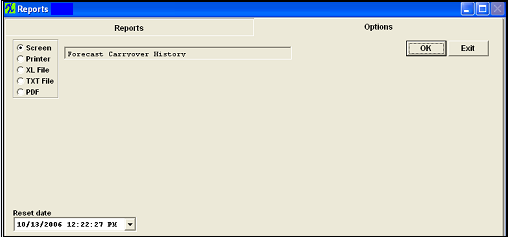
Forecast Carryover History
The following report will print:
|
| 1.3. Forecast Loader |
| 1.3.1. Prerequisites for Forecast Loader |
ManEx’s standard module configuration allows most users to accomplish their daily tasks. For those users wanting to get more from ManEx by leveraging the total solutions, this is one of the optional modules available for purchase. The Forecast Loader is used to add new forecasts to the system from an Excel template. To place an order or to learn more about this specific module or any of the other optional modules please contact us at http://manex.com"contactus.aspx After activation, "Master Production Schedule" access for each user must be setup in the ManEx System Security module. Users with “Supervisor Rights” will automatically have access.
Forecast Loader Template Complete
|
| 1.3.2. Introduction for Forecast Loader |
The Forecast Loader is used to add new forecasts to the system from an Excel template.
|
| 1.3.3. Fields and Definitions - Forecast Loader | ||||||||||||||||
|
| 1.3.4. How To ..... for Forecast Loader |
| 1.3.4.1. Load Forecast | ||
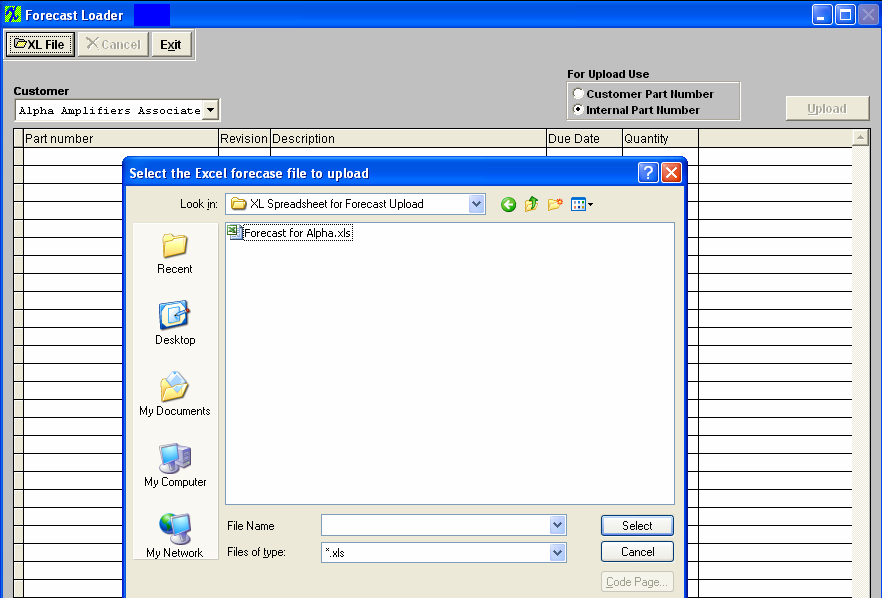
The following screen will appear:
Select a customer from the pulldown, then click on the XL File Button to locate the file to be loaded.
Double click on the file you choose to import and the information will be imported into the Forecast Loader screen as shown below. You can change the Part numbers to internal part numbers or leave them as the Customer Part numbers for the Upload.
Depress the Upload button and a forecasst will be created. Then depress the exit or Cancel button to exit this screen.
|
| 1.4. FAQ's - Forecast Loader |
| FAQ - Master Production Schedule (MPS) & Forecast |
