| Create a Work Order in ManEx | |||||||||||||||||||||
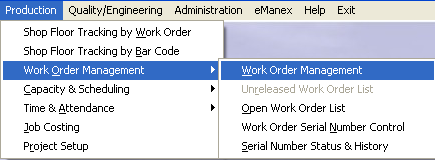
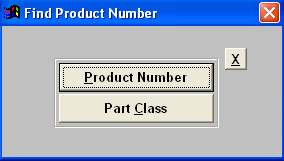
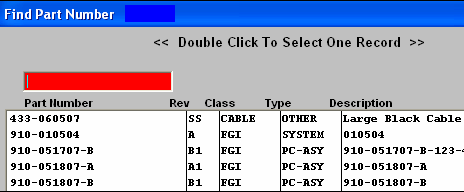
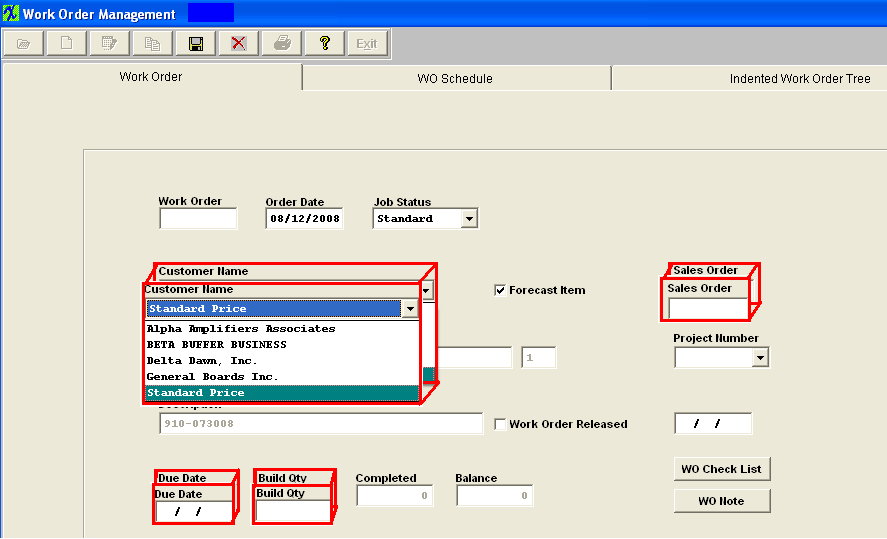
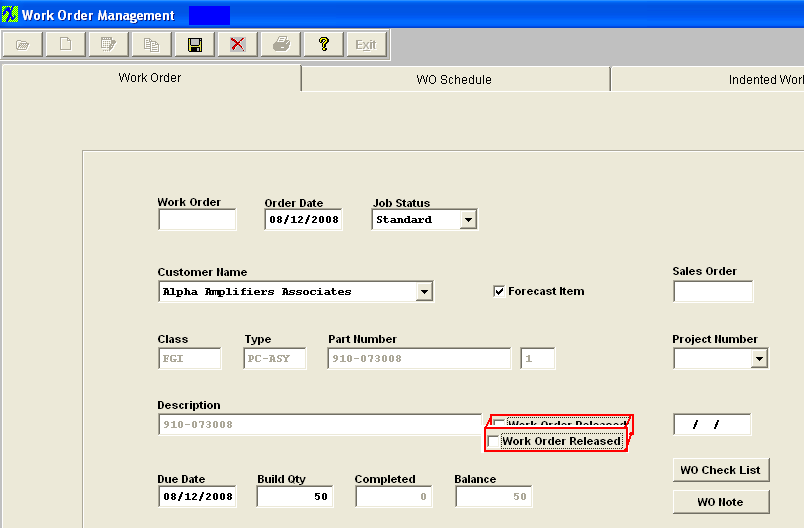
Creating a Work Order (WO) in ManEx is very easy. Simply follow the 7 easy steps below.
Congratulations, you have now created a Work Order in ManEx! When you are ready to have ManEx run your business, you can also use the "Job Status", "WO Check List", and other fields for additional tracking and system utility. For the purpose of this tutorial, this is all that is required. For an in-depth explanation on completing the work order information or using the Sales Order module to create work orders, please refer to the Work Order Management article. |
