| Create a Part Number in ManEx | ||||||||||||||||||||||
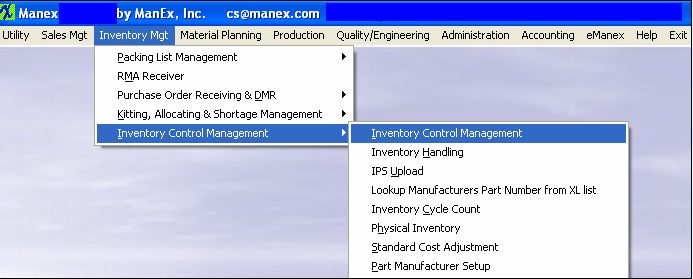
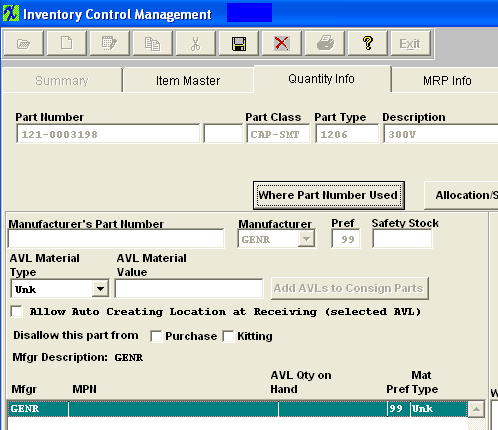
To create a part number in ManEx, simply follow the easy steps outlined below:
This tutorial will explain how to create a top level part number in ManEx. To add components to the system you can follow these steps, but alter Step 4 by setting the Part Source to "Buy" or "CONSG" and selecting a different part class and type. Click HERE for a video demonstration
Congratulations, you have now created a part in ManEx! ManEx also has the ability to track MRP information, set-up and run scrap, mfg drawings and much more! We strongly recommend that you get in-depth training on the features, uses, and benefits of inventory control management in ManEx. For more information, please refer to the Inventory Control Management article. |


