To obtain the Kit reports, select the Print button from the ManEx action buttons at the top of the screen.

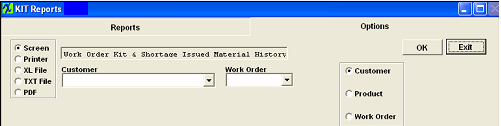
The following screen will appear:
| Select the appropriate radio for the output format you desire: Screen, Printer, XL File, TXT File, or PDF.
Highlight the desired report and then depress the Option tab if applicable.
|
 |
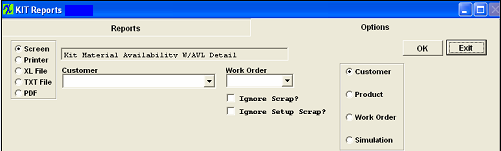
Kit Material Availability W/AVL Detail report
|
Select the appropriate radio on the right hand side of the screen: Customer, Product, Work Order or Simulation. Select the Customer from the drop down list. Select the Work Order from the drop down list. Check the Ignore Scrap check box to exclude Scrap % and/or Setup Scrap from the report. If these boxes are unchecked the report will include the Scrap % and Setup Scrap quantitys if they exist within inventory (regardless of the BOM setup).
Depress the OK button.
|
 |
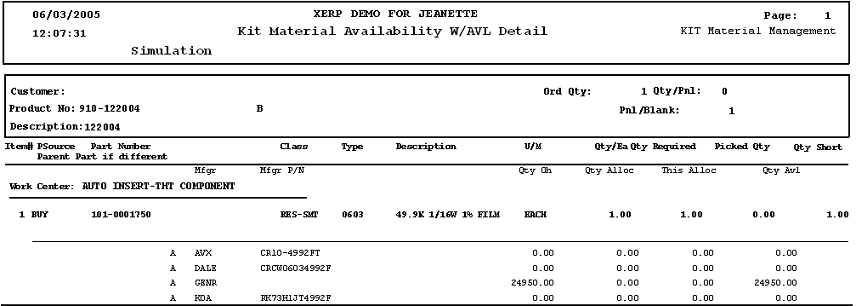
The following report will be displayed:
For simulation, select the Product Number from the drop down list. Select the quantity to simulate. Enter OK and the following report will print.
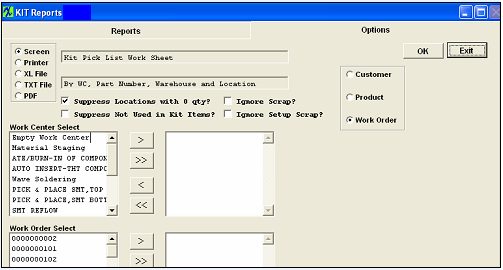
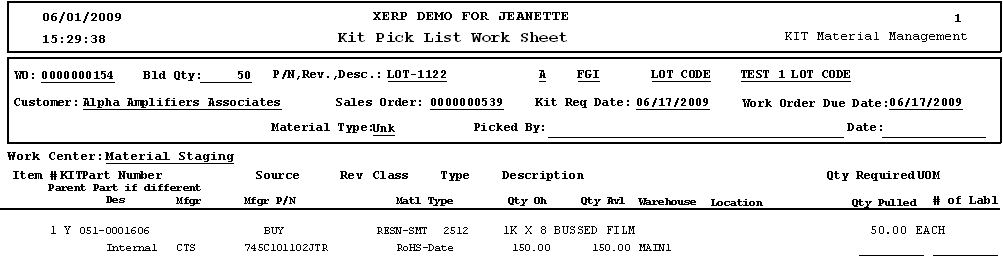
Kit Pick List Work Sheet report
Select the appropriate radio on the right hand side of the screen: Customer, Product, or Work Order. Select the Work Center and depress the > button. If you want all work centers, depress the >> button. Select the Work Order by highlighting and depress the > button. If you want all of the Work Orders, depress the >> button. Check the Ignore Scrap check box to exclude Scrap % and/or Setup Scrap from the report. If these boxes are unchecked the report will include the Scrap % and Setup Scrap quantitys if they exist within inventory (regardless of the BOM setup). Check or uncheck the radio's "Suppress Locations with 0 qty" and/or "Suppress Not Used in Kit Items" for the report to display these items or not. These radios can be setup to default in checked or unchecked within the Inventory Part Class and Type Setup .
This report displays the requirements (from the original BOM) for the selected work order. This report will NOT display any added Line Item Shortages. The added line item shortages can be viewed on the Work Order Shortage report.
Depress the OK button.
|
 |
The following report will be displayed:
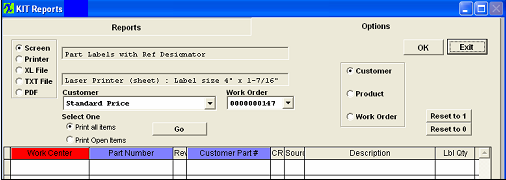
Part Labels or Part Labels with Ref Designators
|
Highlighting the Part Labels or Part Labels with Ref Designators brings up a selection of printers to be used. Highlight the printer and depress the option tab.
|
 |
|
The following screen will appear:
Select the appropriate radio on the right hand side of the screen: Customer, Product, or Work Order. Select the Customer from the drop down list. Select the Work Order from the drop down list. Depress go and the items that require labels for that work order number will appear in the bottom section of the screen.
Type in the qty of labels required and depress OK.
|
 |
|
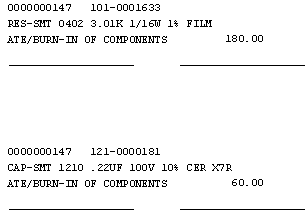
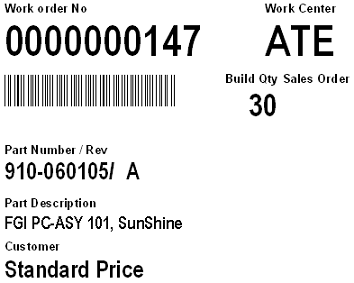
The labels printed will appear like this:
|
 |
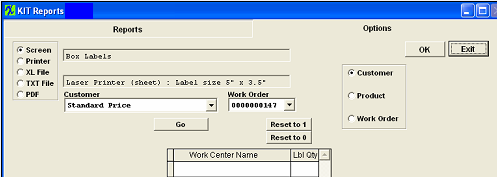
Box Labels
|
Highlighting the Box Labels brings up a selection of printers to be used. Highlight the printer and depress the option tab.
|
|
The following screen will appear:
Select the appropriate radio on the right hand side of the screen: Customer, Product, or Work Order. Select the Customer from the drop down list. Select the Work Order from the drop down list. Depress go and the items that require labels for that work order number will appear in the bottom section of the screen.
Depress go and the items that require labels for that work order number will appear in the bottom section of the screen
Type in the qty of labels required and depress OK.
|
 |
| The labels printed will appear like this |
 |
Kit Traveler by WC report
|
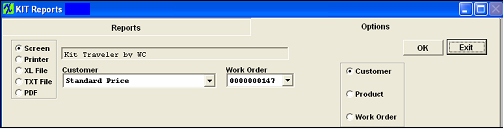
Select the appropriate radio on the right hand side of the screen: Customer, Product, or Work Order. Select the Customer from the drop down list. Select the Work Order from the drop down list. Depress the OK button.
|
 |
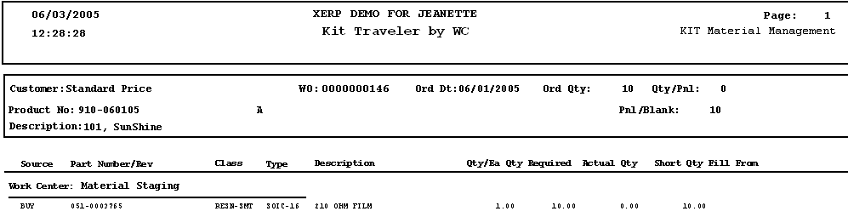
The following report will be displayed:
Over Issued Material report
|
Select Inventory type: Internal or Consign.
Depress the OK button.
|
 |
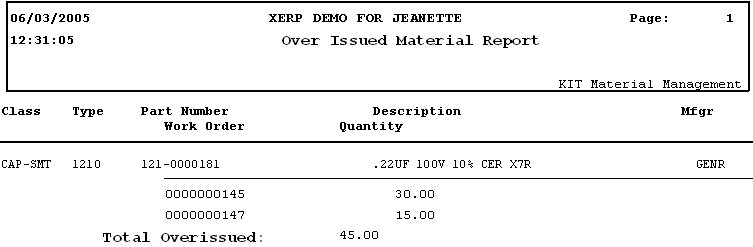
The following report will be displayed:
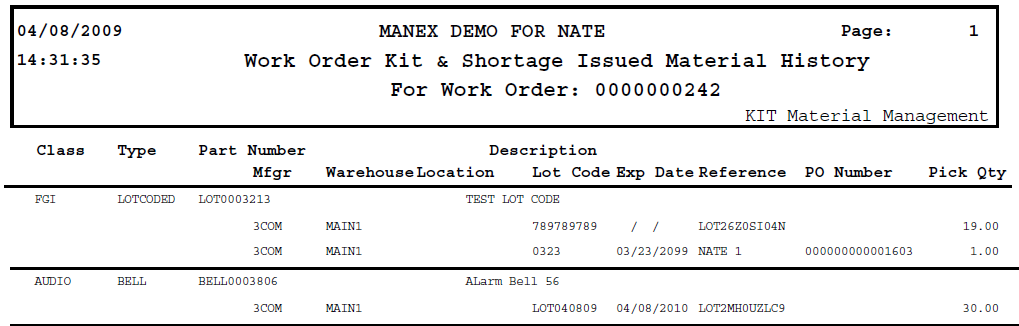
Work Order Kit & Shortage Issued Material History
Select the appropriate radio on the right hand side of the screen: Customer, Product, or Work Order. Select the Customer from the drop down list. Work Order from the drop down list. Depress the OK button.
This report will also give you Lot Code and Serial Number History for parts used on Work Orders.
The leading zero's for serial numbers will be removed from report.
|
 |
The following report will be displayed:
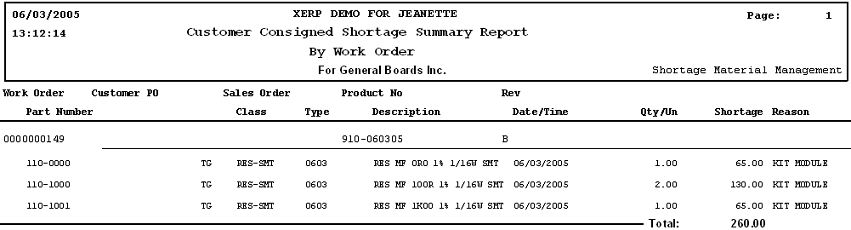
Customer Consigned Shortage Summary report
|
Highlighting Customer Consigned Shortage Summary report brings up a detail screen:
Highlight By Work Order or By Part No. Depress the option tab.
|
 |
|
The following screen will appear:
Select the Customers by highlighting and depress the > button. If you want all customers depress the >> button.
Depress the OK button.
|
 |
The following report will be displayed:
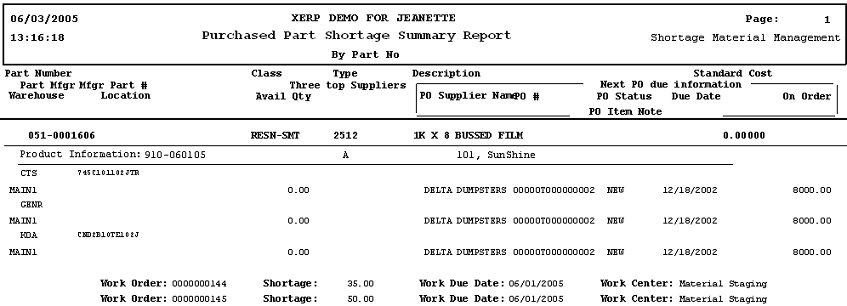
Purchased Part Shortage Summary report -
NOTE: The kit has to be in process in order for the parts to show as a shortage on the Report
|
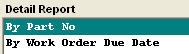
Highlighting Purchased Part Shortage Summary report brings up a detail screen:
Highlight By Part No. or By Work Order Due Date
Depress the OK button.
NOTE: This report will ONLY display the actual scheduled qty’s on the PO NOT the ordered qty on the PO. It will also, ONLY display the next due PO info. it will not display all the Open POs. (View the PO Detail Report to get the detail PO info)
|
 |
The following report will be displayed:
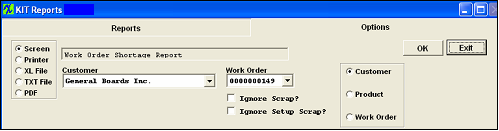
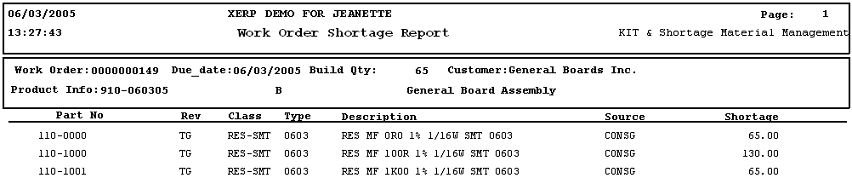
Work Order Shortage report or Work Order Detail Shortage report
NOTE: The kit has to be in process in order for the parts to show as a shortage on the Report
|
Select the appropriate radio on the right hand side of the screen: Customer, Product, or Work Order. Select the Customer from the drop down list. Select the Work Order from the drop down list.
Depress the OK button.
|
 |
The following report will be displayed:
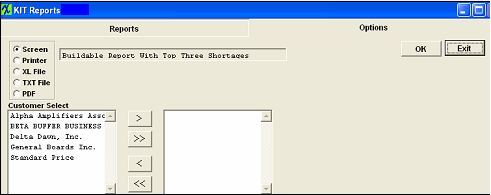
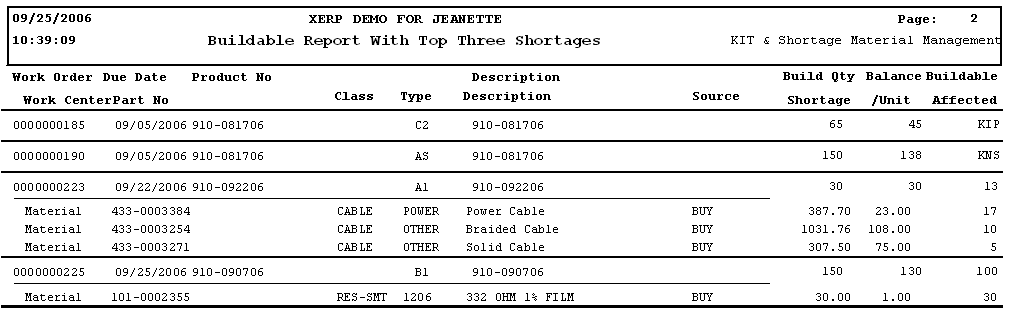
Buildable report or Buildable Report with Top Three Shortages
|
Select the Customers by highlighting and depress the > button. If you want customers depress the >> button.
Depress the OK button.
NOTE: Buildable column will display KNS (Kit not started), or KIP (Kit in Process) until the Kit Complete checkbox is checked in the Kitting module. At this time the Work Order will be listed on the Buildable reports, and the buildable qty will properly display the correct qty based on any shortages. The Work Order Released box MUST be checked for this report to work properly.
The Buildable reports are intended to be used during the Scheduling meeting for Production scheduling only.
|
 |
The following report will be displayed:
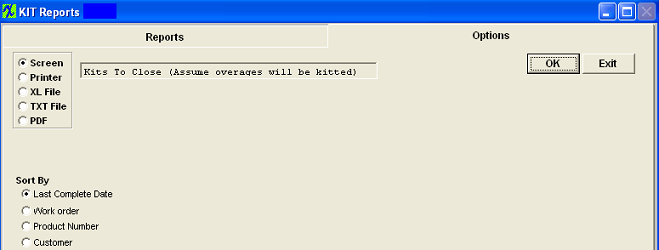
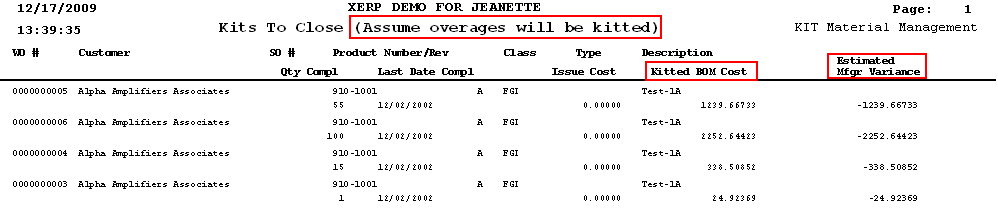
Kits to be Closed
|
For the Kits to close selection, mark the radial for the desired Sort by: Last Complete Date; Work Order; Product Number; Customer:
Depress the OK button.
The Estimated Manufacturing Variance being displayed on this report is calculated by taking the sum of the components (including all overissues (including line shortages)) issued to the work order at their standard cost at the time of the kit close and comparing it to the costed BOM at the time of the kit closing. Note: The user will still have the option to disposition the shortages and overages at the time the kit is closed.
|
 |
The Kitted BOM Cost calculations is based off the WO Due date and compares that to the EFF/OB dates on the BOM. So users need to be very careful with the WO Due Dates and make sure that they stay current along with the EFF/OB dates on the BOM.
The following report will be displayed:
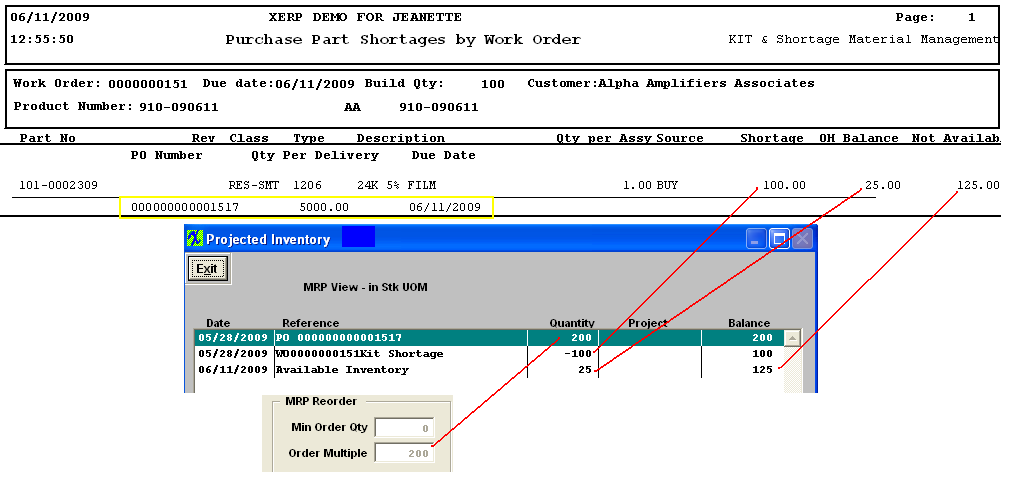
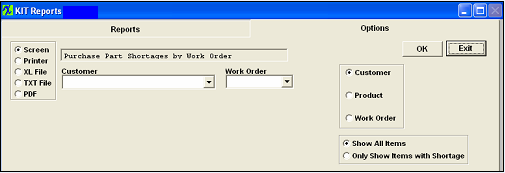
Purchase Part Shortages by Work Order report
NOTE: The kit has to be in process in order for the parts to show as a shortage on the Report
|
Select the appropriate radio on the right hand side of the screen: Customer, Product, or Work Order. Select the Customer from the drop down list. Select the Work Order from the drop down list.
Depress the OK button.
This report will display all the Open POs (displayed in Yellow box below) for the parts with shortages per Work Order, displays all shortages including Consigned and Make parts along with the Purchase parts and On-Hand Quantity. The "Not Available" qty displays what the on-hand qty will be once all open PO's are received, and Kit Shortages fulfilled.
|
 |
The following report will be displayed: The "Shortage" will be the total from Kit Shortages, etc; the "OH Balance" will be Available Inventory, and the "Not Available" displays what the Balance or on-hand qty will be once the Purchase Order has been received, and Kit Shortages fulfilled. (Multiple of 200 minus shortage of 100 and OH balance of 25 equals a balance of 125). The report is assuming a head of time that the users will order the minimum/multiple buy qty's setup in the MRP info setup on that part.
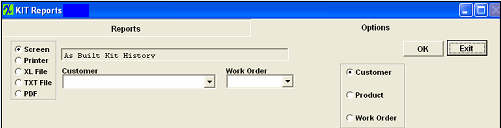
As Built Kit History form
|
Select the appropriate radio on the right hand side of the screen: Customer, Product, or Work Order. Select the Customer from the drop down list. Select the Work Order from the drop down list.
Depress the OK button.
|
 |
The following report will be displayed:
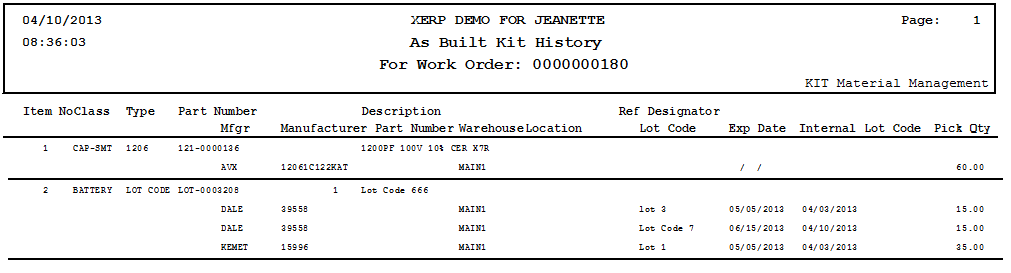
|