To view the Inventory on Hand, highlight the Part number of interest, depress the Inventory Qty button and the following screen will appear:
|
 |
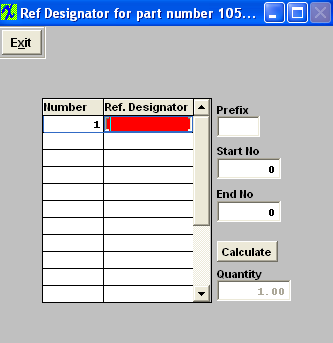
To Enter Reference Designators, depress the Edit button, depress the Ref Designator button and the following screen will appear:
|
 |
Material 2 Tab
These are the components for the new assembly when the item is NOT included in the Inventory Master. NOTE: When the parts from Material 2 screen are transferred from quote to BOM, inventory item master part numbers are created for each item. The system does NOT search the inventory item tables for an existing part number and will create new item master part numbers, even if the manufacturers and part numbers are the same.
The user has the option to auto or manual number new inventory parts created in the Material 2 screen. (If "AUTO" numbering is selected in the Number System screen for Inventory parts, the system will automatically assign the next part number in sequence (with no revision). If "MANUAL" numbering is selected in the Number System screen for Inventory parts, user will need to manually assign a part number and revision to the item added in the material 2 screen. ManEx suggests using the manual numbering if user would like to assign a revision to the internal part numbers.
Depress the Material 2 tab. Depress the Edit button, enter password.
|
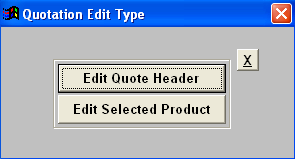
The following Quotation Edit Type selection will appear:
Select Edit Selected Product.
|
 |
The following screen appears:
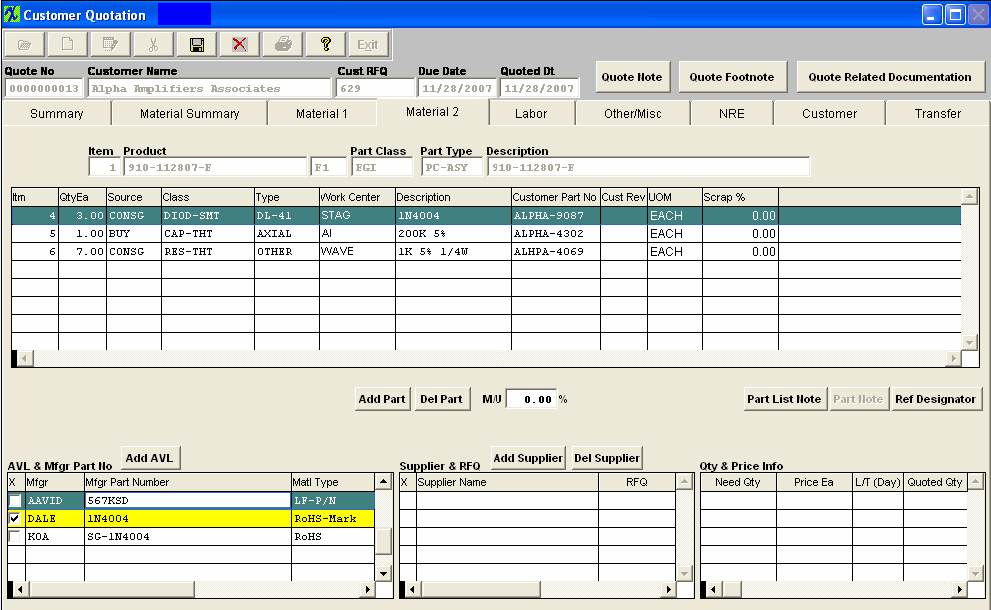
Depress the  button.
The following message will appear:
Depress the OK button. Enter the Item number, Quantity each, select the Source, Class, Type, and Work Center from the pull downs. Enter the Description, Customer PN and Rev (if applicable), select Unit of Measure from pull down, and enter scrap % if applicable.
If "MANUAL" numbering is selected in the Number System screen for Inventory parts, the Material 2 screen will display three additional fields shown below in Red box:

Select AVL
|
Highlight the Part Added. Depress the Add AVL button.
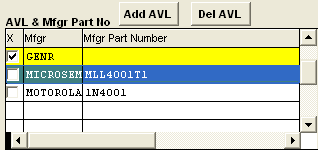
Select the manufacturer from the drop down list, all the part mfgr's from system setup will be available to select. Enter in the Manufacturer’s Part Number.
X - A check in this box is NOT for the approval of AVL's. When transfering quote there is an option located on the "Transfer Tab" to select to transfer "ALL AVL's" or "Only the selected AVL's". If user chooses to transfer "Only the Selected AVL's", this box MUST be checked, if this is one of the selected AVL's you want transfered to inventory and/or BOM. If user chooses to transfer All AVL's then this box does NOT need to be checked. When a quote is transfered All AVL's transfered will be checked as Approved.
At least one AVL MUST be entered or the quote will NOT transfer to BOM.
If more than one manufacturer is displayed, highlight the manufacturer desired before selecting the Supplier name. The mfgr and mfgr part number selected will be highlighted in yellow. |
 |
|
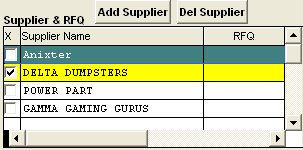
The Supplier for that Inventory Class will appear if added in the Supplier Line Card Information. The Supplier Request for Quote number will display to the right of the Supplier, once a quote has been requested in Component Quote Management. Once the supplier has been checked it will be highlighted in yellow.
|
 |
Quantity and Price Information

There are two ways to fill in this information:
1. The Quantity and price information sections are forwarded by depressing the Update Quote button in the Component Quote Management module. To view, highlight the selected Supplier and the quote information will appear.
2. You may enter the price each in the Quantity & Price Information section in this screen. The price source will display as manual.
Continue to Add parts,AVL & Manufacturer’s Part Number, Supplier Name and Quantity & Price information until all components (not included in Inventory Master) are included.
Depress the Save button. The completed screen will appear as follows:

To add a Part List Note or a Part Note.
- Depress the Edit button.
- Type in your password.
- Select Edit Selected Product.
- Depress the Part List Note or the Part Note button. A Note window will appear.
- Depress the Edit button.
- Type in the note.
- Depress the Save button.
- Exit.
- Depress the Save button.
To Enter Reference Designators, depress the Edit button, depress the Ref Designator button and the following screen will appear:
|
 |
Labor Tab
Depress on the Labor tab and the following screen will appear:
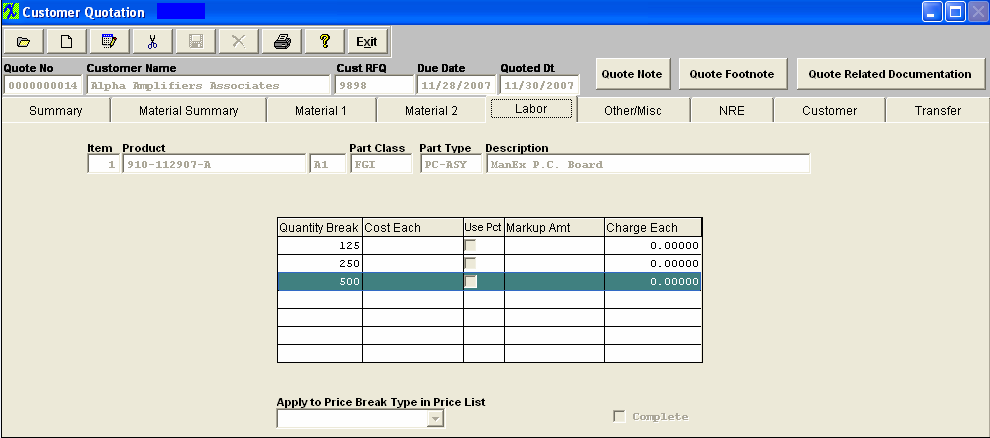
Depress the Edit Button, enter password.
|
The following Quotation Edit Type selection will appear:
Select Edit Selected Product.
|
 |
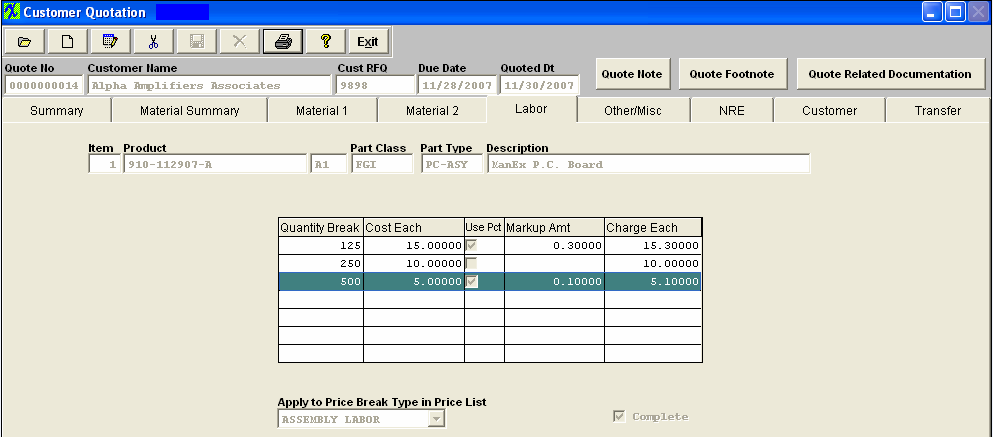
Enter the Cost Each of labor, then check the "Use Pct" box if the percentage is be used, do this for each quantity break.
- The Markup Amount and Charge Each will update automatically, on the initial data entry.
Thereafter, changing the “Cost Each” will NOT change to the markup amount. This is so that users may manually change the mark up to whatever they want, without having the default percentage override it. If the user wants to have the percentage create a new markup, go to the customer screen and depress the "Refresh Markup & Scrap" button and the new percentages will be applied to all existing parts for all Products within that quote.
|
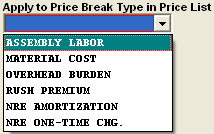
Press the down arrow for" Apply to Price Break Type" in Price List. Select the type pertaining to Labor.
|
 |
|
Check the Complete box.
Depress the Save button.
|
 |
The completed screen will look like this.
Other/Misc. Tab
Depress the Other/Misc. Tab and the following screen will appear:
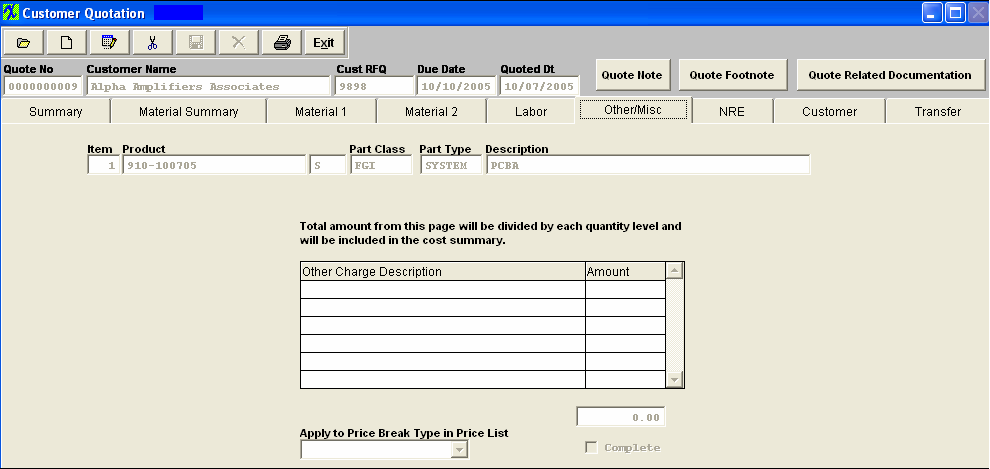
Depress the Edit button, enter password.
|
The following Quotation Edit Type selection will appear:
Select Edit Selected Product.
|
 |
Depress the Add button. The following message will appear:

5. Depress the OK button.
|
6. Depress the down arrow in the Other Charge Description section. A listing of Other Charge Descriptions will appear. Select the pertinent one.
7. Type in the amount pertaining to that charge.
|
 |
| 8. Depress the down arrow for "Apply to Price Break in Type List". Select one pertaining to the other or miscellaneous charge. |
 |
|
9. Check the Complete box.
10. Depress the Save button.
|
 |
The completed screen will look like this:
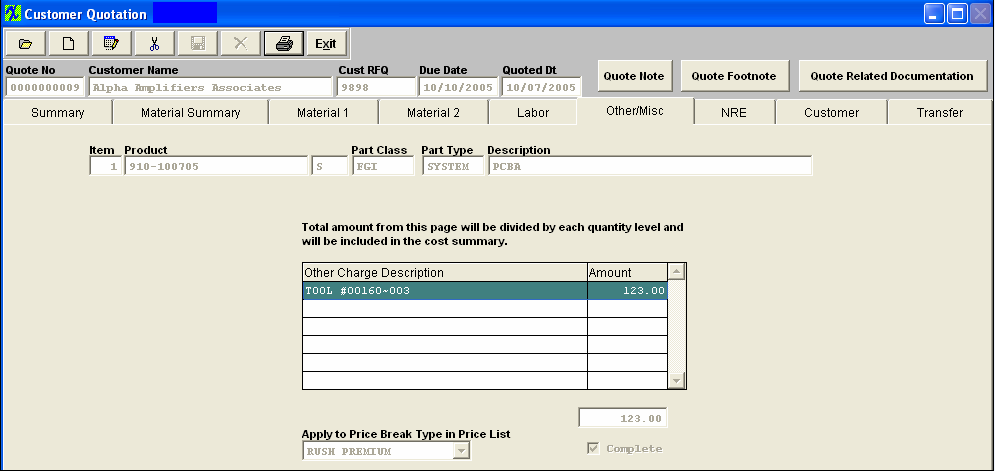
Note: That any amounts entered here are amortized over the quantity quoted.
NRE Tab
Depress the NRE tab and the following screen will appear:
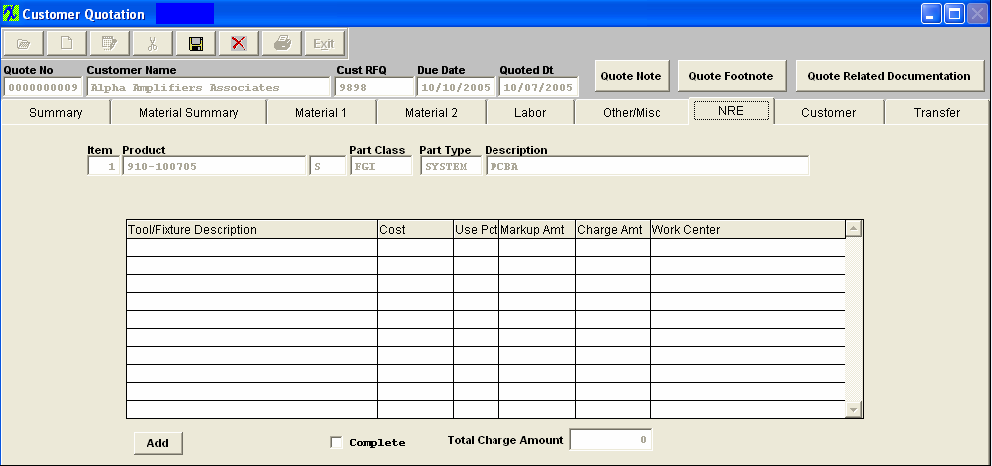
Depress the Edit button, enter password.
|
The following Quotation Edit Type selection will appear:
Select Edit Selected Product.
|
 |
The following message will appear:

|
Select the preferred Tool/Fixture description from the drop down list.
|
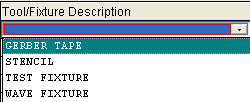 |
Enter in the Cost, then check the "Use Pct" box if the percentage is be used. The Markup Amount and Charge Amount will update automatically.
|
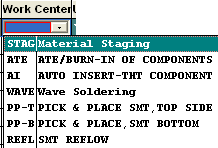
Select the Work Center pertaining to the non-recurring expense from the drop down menu.
|
 |
Check the Complete box.
Depress the Save button.
|
 |
The completed screen will look like this:
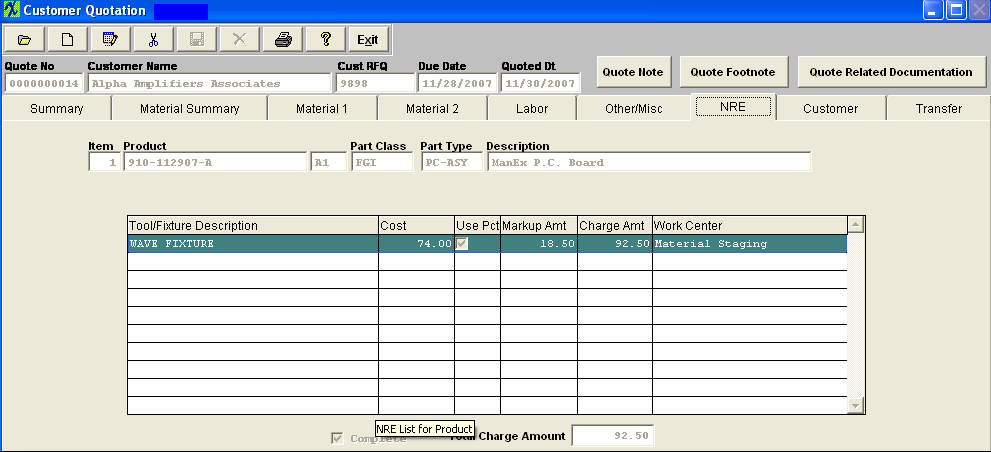
Note: That any amounts entered here represent a one time cost.(The quantity of units to be made, have no bearing on this number.)
Before entering the Transfer tab, user will want to complete the Material Summary tab and Summary Tab.
Material Summary Tab
If you are NOT going to update costs from the Component Quote module and have entered all of the pertinent costs manually, depress the Material Summary tab. Depress the Calculate & Display Material Costs button. The Markup and Charge Each will automatically update for items included in the Inventory Master for the Material 1 tab and any manually added costs in the Material 2 tab. The total number of components is calculated from the qty each column in Material 1 and Material 2.
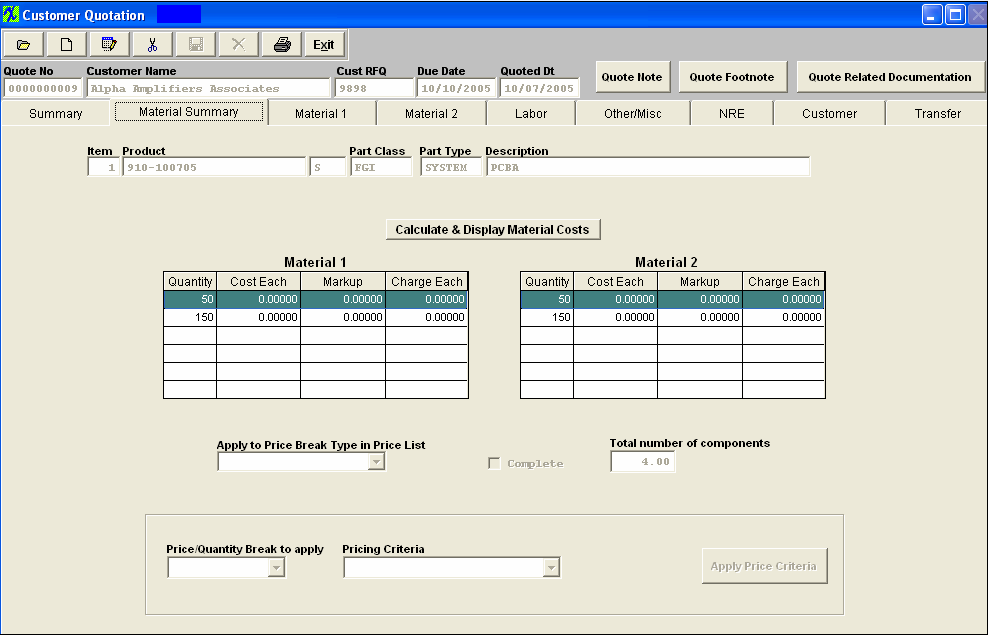
Depress the Edit button, and enter password, the following Quotation Edit Type selection will appear:
Select "Edit Selected Product" if you would like to:
|
 |
|
This gives the user the option to Apply a Price Break Type to the Price List to the existing quote
|
 |
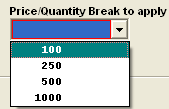
| This gives the user to option to Apply a Price/Quantity Break to the existing quote |
 |
|
This gives the user the option to Apply a Pricing Criteria to the existing quote
|
 |
|
Once all the selections have been made depress this button to apply them and prices will be updated
|
 |
Check the Complete box.
Depress the Save button.
|
 |
Summary Tab
If you are NOT going to use the Component Quote Management module and have entered all of the material costs manually, return to the Summary Tab.
|
To add a Quote Note or a Quote Footnote.
The following Quotation Edit Type selection will appear:
Select Edit Quote Header.
|
 |
Depress the Quote Note or the Quote Footnote button.
Depress the Edit button in the Note screen.
Type in your note.
Depress the Save button.
Exit.
|
Check to be sure that Material, Labor, Other and NRE boxes are checked.
|
 |
If you want to add a product note:
Highlight the product.
Depress the Edit button.
|
The following Quotation Edit Type selection will appear:
Select Edit Selected Product.
|
 |
Depress the Product Note button or the Product Footnote button.
Type in the note.
|
Depress the Calculate Product Cost Summary button.The Cost Each, Markup, Charge Each and Order Amount will automatically update.
|
 |
The completed screen will appear as follows:
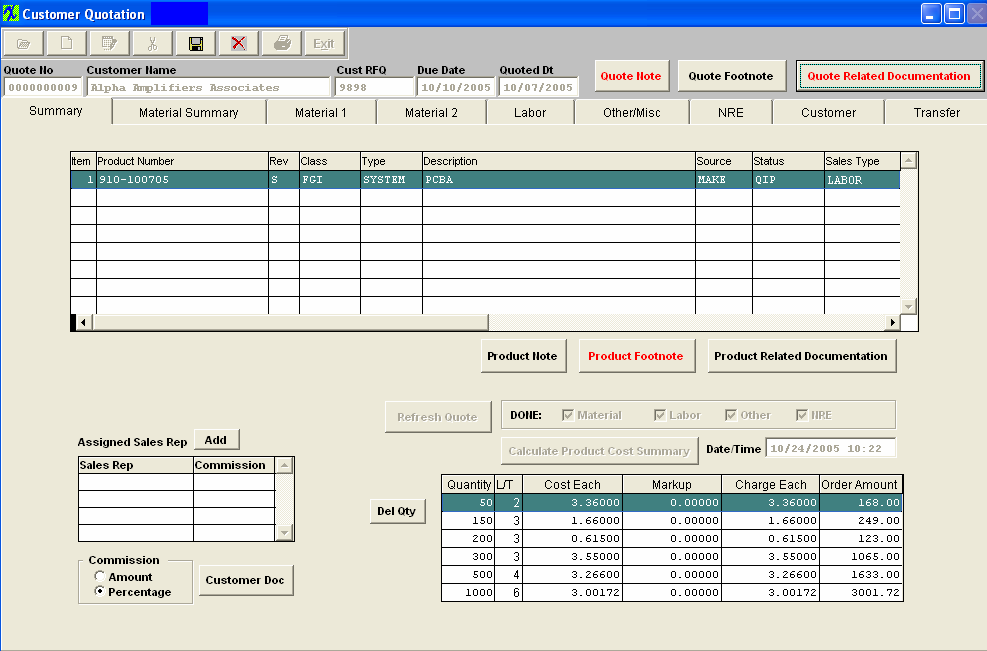
Add another product number, if desired.
|
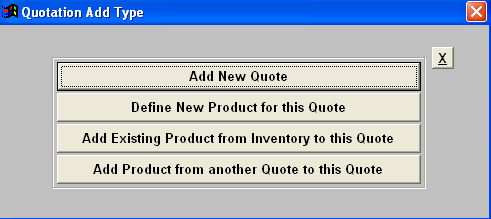
To ADD a new product, depress the Add button.
The Quotation Add Type Selection will appear:
Select Define New Product for this Quote.
Follow the "Define New Product for this Quote" procedures, but skipping over the Customer Tab procedures.
|
 |
Transfer tab
If the user did NOT use the Component Quote Management module, once the customer has accepted the quotation and the user now wants to add the new product to the Inventory Master and create a new Bill of Materials for the new product, the user may accomplish this by depressing the transfer tab. Note: Once the Transfer process is completed, no further changes are allowed to the Quote and that the status of the quote will change to Transferred.
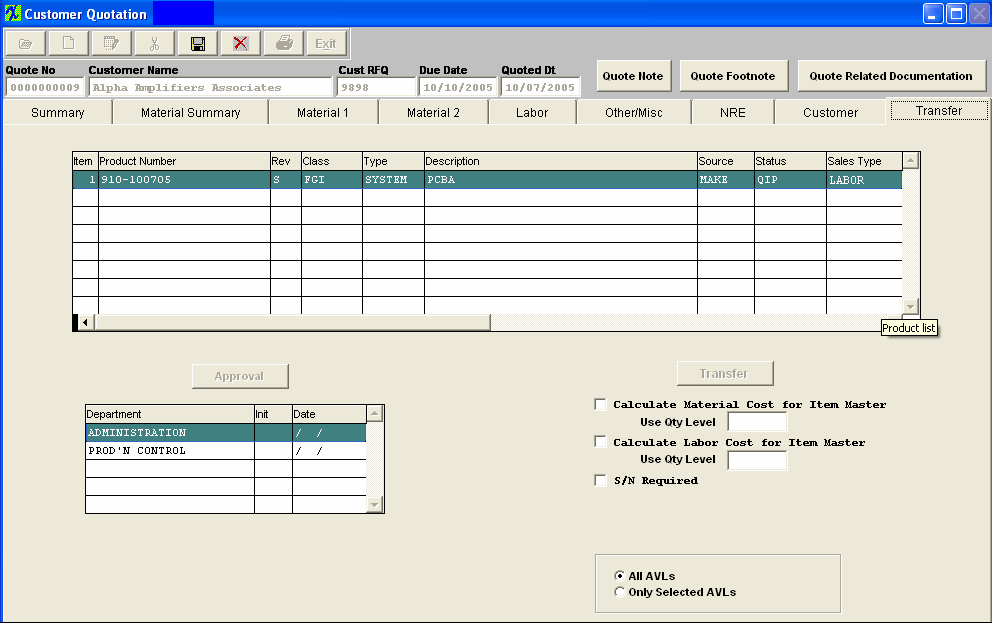
NOTE: For this tab, a serial of approvals must be entered. In this example, approvals are required by a user assigned to the departments listed. Depress the Approval button. Have a user from engineering (for example) type in his/her password. Continue down the list until every department has the initials and date displayed. Once all the approvals have been entered the Transfer button will become available. The approvals will need to be re-entered after every Edit.
Depress the Edit button, and enter password to select any of the following options:
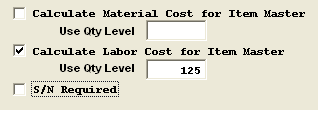
To select "Calculate Material Cost for Item Master, check that box and indicate the Quantity Level which is to be selected.
To select "Calculate Labor Cost for Item Master, check that box and indicate the quantity level.
To mark this product as serialized, check the "S/N Required" box.
|
 |
| If either "Calculate Material Cost for Item Master" or "Calculate Labor Cost for Item Master" and the quantity level field is left blank the following prompt will be displayed. Depress the OK button and the transfer will abort, allowing user to enter the Qty level. |
 |
Select the radial to either transfer "All AVLs" or "Only Selected AVLs" to BOM and item master.
When adding AVL's on Material 2 page, because it is a new part, the system will add all or selected, based on what is checked, on material 1 page, it will transfer all existing AVL's plus add any new AVL's based on what is check. For more detail see Select AVL section above.
ALL AVL's transfered will be check as approved on the BOM.
|
 |
Depress the Save button. Note: Once the Edit button has been depressed the Approvals will clear and need to be re-entered again.
Depress the Transfer button, enter password.
The Status of the Quote will be updated to Transfered, as displayed below:
The system will run several validations at this point these are a few:
| If there are No AVL's listed for a part in the Material 2 screen, or no AVL's selected as approved on each item the following prompt will be displayed. Depress the OK button and the transfer will abort, allowing user to correct the missing AVL. |
 |
|
If there are duplicate item numbers within the Material 1 and Material 2 tab the following prompt will be displayed. Depress the OK button and the transfer will abort, allowing user to correct the duplicate item numbers.
|
 |
| If there are inactive items selected to be used in the transfer the following prompt will be displayed. Depress the OK button to continue the transfer. |
 |
Once all the validations have been ran the BOM will be created with a Status of "Active: