After Finding a kit and if it has NOT been previously pulled, the following procedure is performed
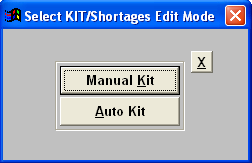
Press the Edit action button. This selection will appear:
Select between Manual Kit and Auto Kit. The user may abort the process by clicking on the X button to exit without pulling the kit.
|
 |
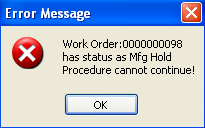
| When Selecting either "Manual Kit" or "Auto Kit" and this message appears the WO has a status of Mfgr Hold and the kitting procedure cannot continue until this WO status has been changed. |
 |
MANUAL KIT
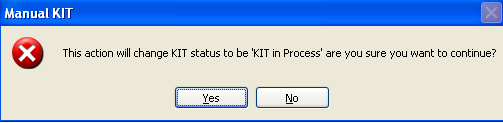
Selecting Manual Kit and typing in the password will bring up this selection screen:
Depress the "YES" button and user will be presented with this screen: (Note: the Kit Status has been updated to "Kit in Process")
NOTE: If user selects "Yes" to continue and is using the WO Release CheckList the "Kit Released" box will be checked at this time.
|
 |

If you would like to see if there is part availability for the highlighted part number before going to the next step depress the "Inventory" button.
|
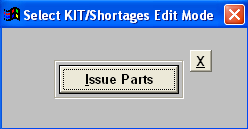
Depress the Edit action button again and the following selection will appear:
Depress the Issue Parts button to continue or X to cancel. If you depress the Issue Parts button and type in the password the Issue Tab screen is displayed:
|
 |
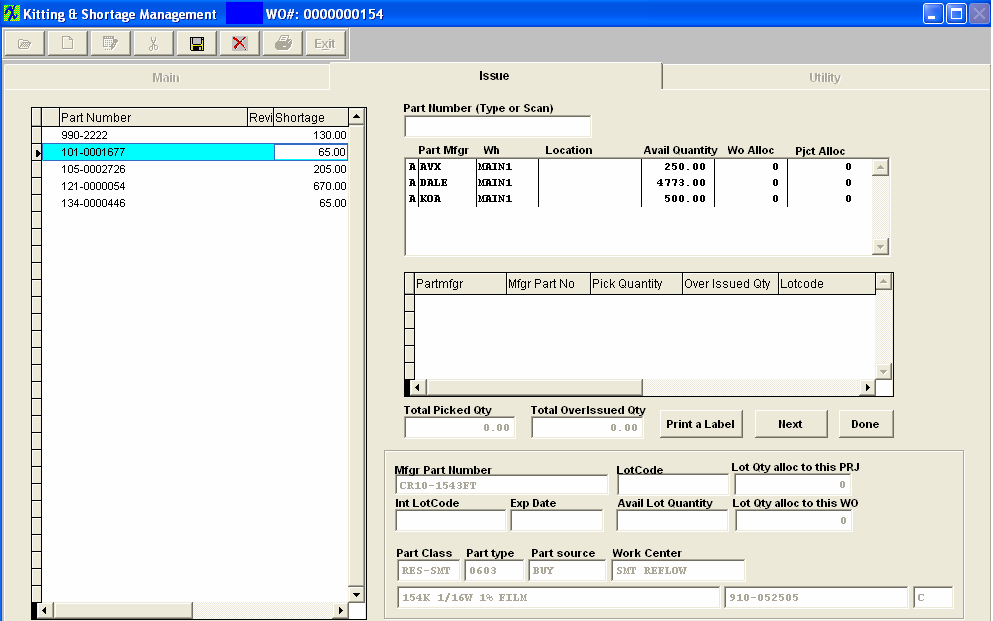
This screen is divided into four operational sections.
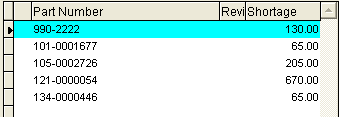
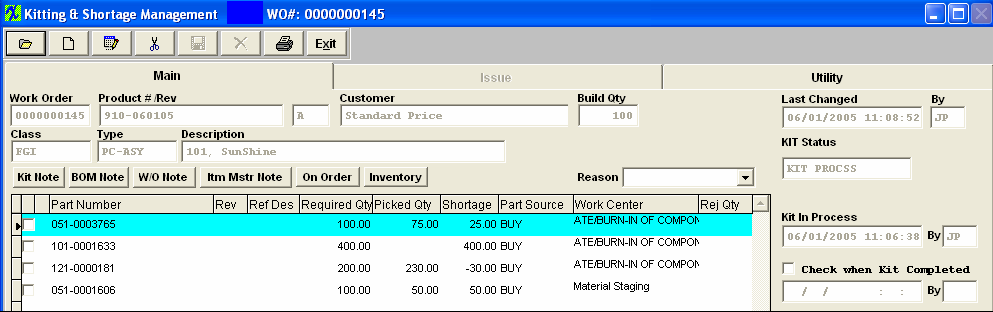
| The left side of the screen will show the kit status, or parts to be kitted, and the current shortage for each part |
 |
On the upper right side of the screen, ManEx will display either all the AVL's or only the approved AVL's depending on how the Kit Default setup is setup.
If the "Show all Manufacturers" is selected in the Kit Default screen the kitting module will display ALL AVL's and then indicate the approved ones with an "A" on the screen and will allow user to pick from the non-approved AVL's as well as the approved AVL's.
If the "Show only Approved Manufacturers" is selected in the Kit Default screen the kitting module will ONLY display the approved AVL's and so users will only be able to pull parts from the Approved AVL's.
An "A" will appear in the left column for the approved AVL's. Then the Mfgr, WH and Location will be displayed along with the current inventory status of the part highlighted on the left side of the screen, plus whether or not there has been any quantity allocated to this Work Order or project.
User also has the option to Allow use of non-nettable warehouse locations by checking or unchecking the box located in the Kit Default Setup screen.
|
 |
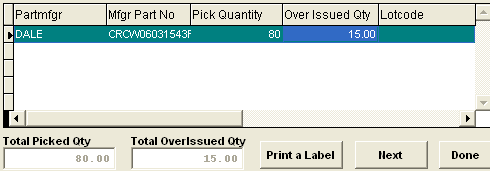
| In the center of the right side of the screen, the Picked Status section, ManEx will display the part manufacturer/mfg. part number, kit qty, over issued qty, and lot code for the work order. |
 |
|
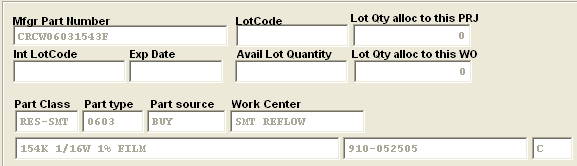
In the lower right side of the screen, Mfgr part number, Lot code information, Part Class, Type, source, Work Center, and Description, about the inventory part highlighted in the upper right side of the screen, along with the Product number and Revision.
|
 |
The user first selects a part from the kit status section.
Place the cursor on a part manufucturer in the inventory status screen and drag it to the Picked Status section in the center of the right side of the screen. To drag, place the cursor on the line indicating an available quantity. Do not remove your finger from the mouse. While you are in the process of dragging, you will see an outline of a hand holding a document. Pull the cursor down to the Pick quantity section. To drop, remove your finger from the mouse. Those manufacturers approved for the bill of material will have the manufacturer preceded with an A.
When inventory from the Inventory Status section is dragged to the Picked Status section, the quantity required for the work order is subtracted from the original quantity in inventory. If there is insufficient quantity in inventory, an additional lot may be dragged to the picked status section. If the quantity of parts needed is less than the quantity in inventory, only the quantity needed will be transferred.
While still in the Pick Status, the user may modify the quantities being picked. Increasing the quantity that is required for the kit (if there is more available in inventory) will place the extra parts in the overissued qty column. The shortage column will display the over-issues as negative shortages. By reducing the quantity, the remainder of the parts will be returned to inventory. If not returned to Inventory, unused parts in the overissued inventory will continue to be considered as available for use by MRP actions. Other kits may be kitted using these parts.
To change the amount Picked, place the cursor on the amount picked. A white box will display. Type the revised amount picked in the white box and depress the Enter key.
REAL TIME KITTING FEATURE
When you first enter the ISSUE screen and if you just continue through and Drag & Drop items as described above all of the transactions will be saved to the system upon depressing the Save Record Icon. But as soon as you depress the Next button the system will begin to save the records immediately and the Save and Cancel icons will became inactive. This has been added so our users can begin real-time kitting and since intended for a wireless network connection we need to save individual pulled records instead of the entire kit pull save. Below is a description of how this feature is intended to operate:
- User has a Pull Cart with a wireless laptop along with a wireless label printer.
-
The barcode scanner will be hooked to the laptop.
-
User takes the Kit Pick Worksheets with the items needed to be pulled.
-
Goes down the isles and scans the part being pulled and enters in the pick qty.
-
Then depresses the Next button. That record will be saved immediately.
-
Prints the 4 x 3 label by depressing the Print a Label button. (if you need 3 labels, then depress the Print a Label button 3 times).
-
Continue going through pulling parts for that kit as you go through the isles.
-
Then when user is finished pulling parts for that kit they can depress the Done button.
This will then bring them back to the Main Kitting screen.
 |
This field will allow you to type or scan in the Part number you are wishing to pick parts for. |
ENTER SERIAL NUMBERS
If the Part Number highlighted in the left column, is a serialized part, highlight the Available Quantity. Drag and drop into the Pick Quantity space (as described above). The quantity will appear as 0 in pick quantity. Click on pick quantity and manually fill in quantity. The following screen will appear:
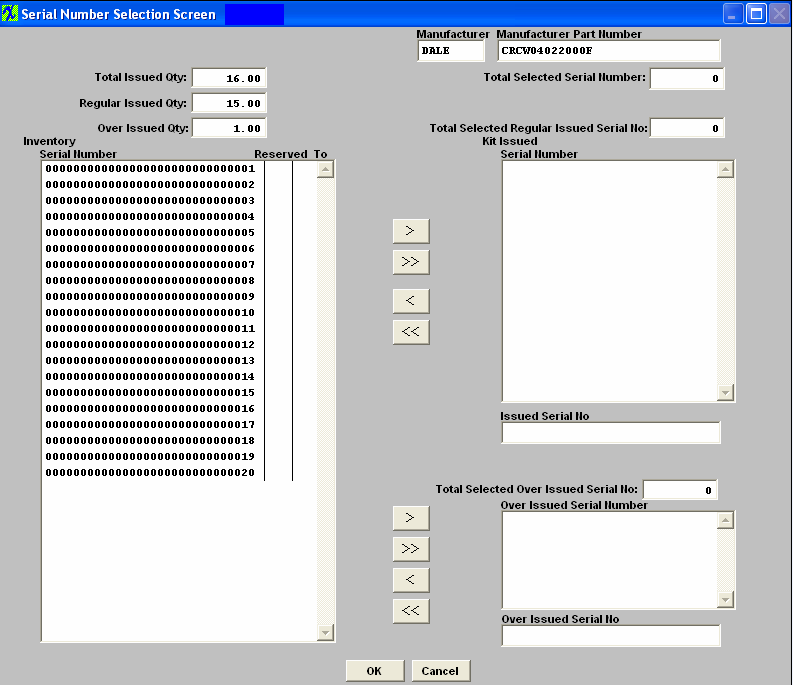
All serial numbers for this part number will appear in the left hand column. Highlight the serial numbers you want used for this work order click on the > arrows. They will appear in the right hand column. If you overissued you must highlight the serial numbers for the overissued quantity click on the > arrows and they will appear in the bottom right hand screen. Once the serial numbers that are to be used for this work order appear in the right hand column depress the OK button.
Depress the ‘DONE’ Button or ‘Save’ button.
The completed Main tab screen appears as below:
NOTE: MRP is designed to calculate from the Kit Shortage and not from the Lead times once the parts have been pulled to the kit and the kit status is changed to "Kit in Process". Once the parts have been pulled to the kit, the systems is assuming that the shortages are needed by the WO due date, rather than the Prooduction lead time, so MRP then calculates using the due date of the WO as the date the materials must be on hand, MRP no longer takes the production lead time into consideration.
AUTO KIT
| If you select Auto Kit, user must enter in a password, and the parts will be pulled automatically to the kit. Parts will ONLY be pulled from Stock, Allocation, or Lot Coded Parts and Approved AVL's. Note: Auto Kit will NOT pull parts from WO-WIP locations. |
|
|
If there are serialized parts assigned to the work order you will receive the following message and will NOT be allowed to Auto kit. The system will allow you to auto kit the non-serialized parts within that kit. But if there are any serialized parts you will have to pull those items manually.
|
 |
If the Bill of Material does not have any components that are kitted, then no kitting will be done.
Kitting Preference Hierarchy
When Kitting
Manex picks from Approved AVL's then in numeric sequence. (1 before 2, 2 before 3, etc.) "99" is the default preference number, if no preferences are entered, then other un-controllable factors affect which is picked first.
If the user wants to have a specific warehouse picked first, then they are to enter a preference number such as "1" in the preference field within the Quantity Info screen within Inventory Control Mgmt .
COMPLETING KIT
|