Find the desired Work Order record within the system.
Highlight the current Work Center where quantity is displayed, as illustrated:
|
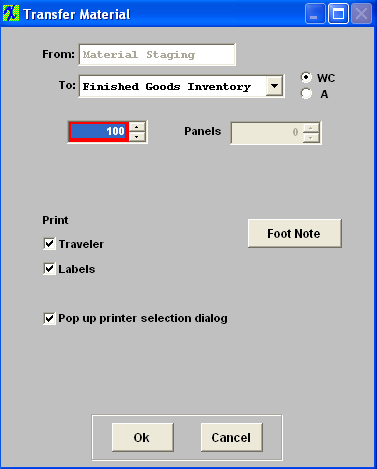
Depress the “Transfer” button. The system will prompt for a password. The following dialogue box will be displayed.
The user may elect to transfer material within work centers (WC) or within activities (A) by pressing the appropriate radial button on the screen.
Manex will determine the next area to transfer product based on the product routing, and enter the location in the “To:” field.
The user may elect to change this location by pressing the down-arrow button next to the field and selecting a different location.(NOTE: The user MUST have "Skip rights" or "Supervisor rights" setup within the Security module in order to skip work center locations, or move product backwards)
|
 |
|
Next, Manex lists the number of products at the current location. The user may move all items, or select the quantity to be moved. This may be done by simply over-writing the quantity or by using the “arrows” to raise or lower the quantity shown.
The user may also elect to print a traveler to accompany the parts at this time. Once the Print Traveler box is checked, a Footnote button appears, as shown. Any Footnotes that a person enters within this screen is just temporary and is only printed on the Traveler report.
The user may also elect to print a label to accompany the parts to material to finished goods, identifying the work order, product date, work center, etc.
If the user elects to have the “Pop up printer Selection dialog” marked. The system will not print directly to the default printer. It will then bring up the Printer dialog box and allow the user to select which printer to send the traveler to.
|
 |
Depressing the Footnote button will bring up a note screen.

Depress the Edit button, Type in the footnote. Depress the Save button. Depress the Exit button.
Depress the OK button. The material will transfer and the Traveler will go directly to the default printer. (This report requires that the user have the bar code font available).
|
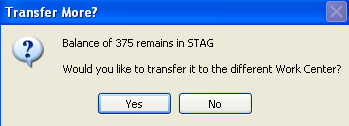
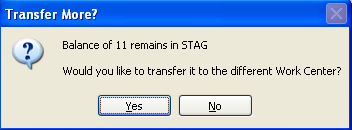
If a balance still remains in the selected work center then the system will prompt the user if they would like to transfer to a different Work Center.
Yes – will bring up the Transfer Material screen again.
No – will bring you back to the regular Shop Floor Tracking module.
|
 |
If the product is included in an active Cycle count, or Physical Inventory count, the following message will appear after depressing the OK button on the transfer screen anud user will not be allowed to transfer product until the count has been completed and posted.

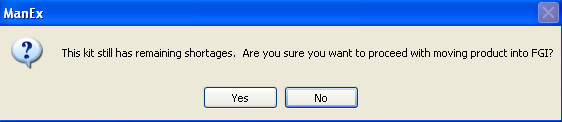
If user is transfering product into FGI and the Work Order has any item(s) that has short qty > 0 and the "Ignore Kit" box is NOT checked the following message will popup giving the user the option to continue moving the product or not.
Transferring Serialized product
If the work station being used to transfered serialized material is assigned to use a default work center in Production Work Center/Activity Setup module, when the user first opens the module, the module will use the default work center assigned for this workstation, if the transfer is "FROM" a different work center other than the default and user is NOT a supervisor or has the option "Allow Changing Default Work Center for Serial Number Transfer" box checked within the Security module, they will receive the following message:
 When user depresses "OK" a supervisor approval is required to continue. After supervisor’s password is entered, the default work center will be changed to the one that the supervisor entered password for. For example: the workstation is assigned to use “TU” as default work center, now if user chooses to use “AI” to transfer, the system will ask for supervisor’s password, if user cancels the password, the default work center will still be “TU”, but if the supervisor enters his/her password on this machine, the default work center will be changed to “AI”. If now the user tried to transfer from “TU” again, the system will ask for supervisor’s password again. If user exits the module and come back, the default work center will be “TU” again.
If the user is tracking by serial numbers, and if the user is transferring a lesser quantity than displayed, Manex will display a screen from which to select the serial number(s) to be moved in the transaction.
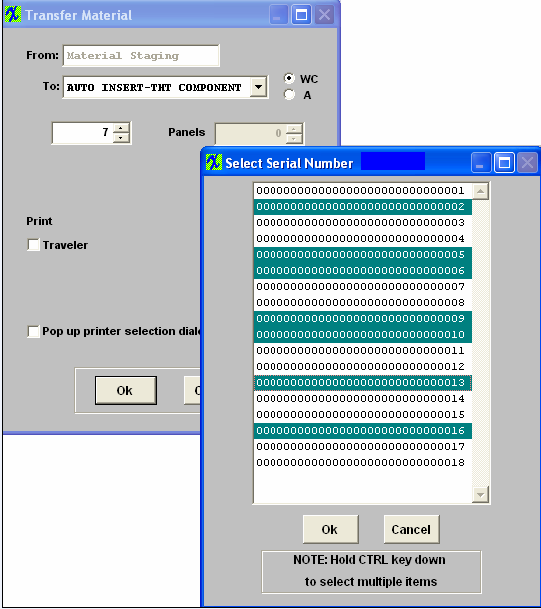
The user may select one or more serial numbers to match the quantity being transferred, and then press the OK button.
The user must select the proper number of serial numbers or the transaction will be cancelled.
|
Since less is being transferred, the following message will appear:
Yes – will bring up the Transfer Material screen again.
No – will bring you back to the regular Shop Floor Tracking module.
|
 |
Discussion on the Accounting Entries
If the user also has accounting installed, then the appropriate journal entries will forward to the Accounting “Release to General Ledger” screen. Briefly, assuming that the user has the material cost set up in the Inventory Control Item master, then when the product reaches the Work Center “Finished Goods Inventory”, the entry will be to debit Finished Goods Inventory (or the warehouse home general ledger number of the product) and to credit WIP .If the product ended up in the Work Station “Scrap”, then the debit would be to the default scrap general ledger account, as set up in the Accounting Set Up.
Configuration Variance
If the Material Cost per the product was not equal to the sum of the standard costs per the BOM components, then a configuration variance will be created.
Please refer to the “Wip Value" Article #913 for further explanation.
|