| Enter Sales Mgt/Order Configurator/Configuration |
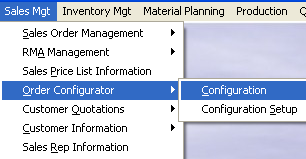 |
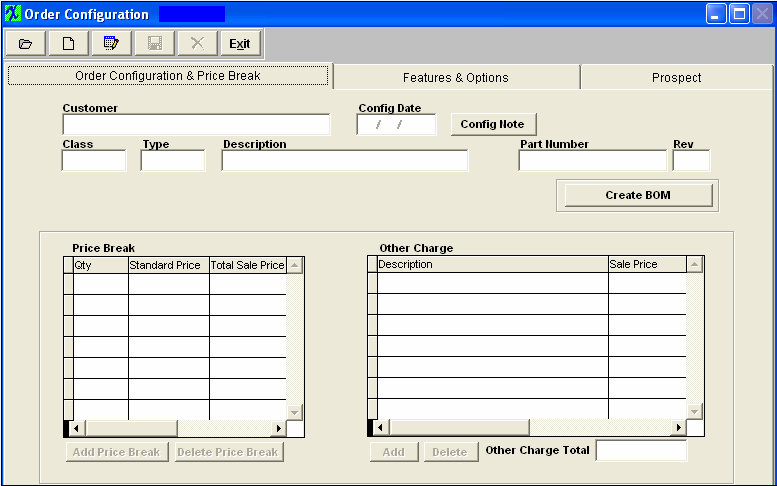
The following screen will appear:
Go into the Sales Price List Information module. Using the Find Record Action button, find a Part Number. Depress the Edit Action button. You will be prompt for your password. Depress the Add Button located under the Customer List Section and add the prospective customer to this part number. Depress the Save record Action button.
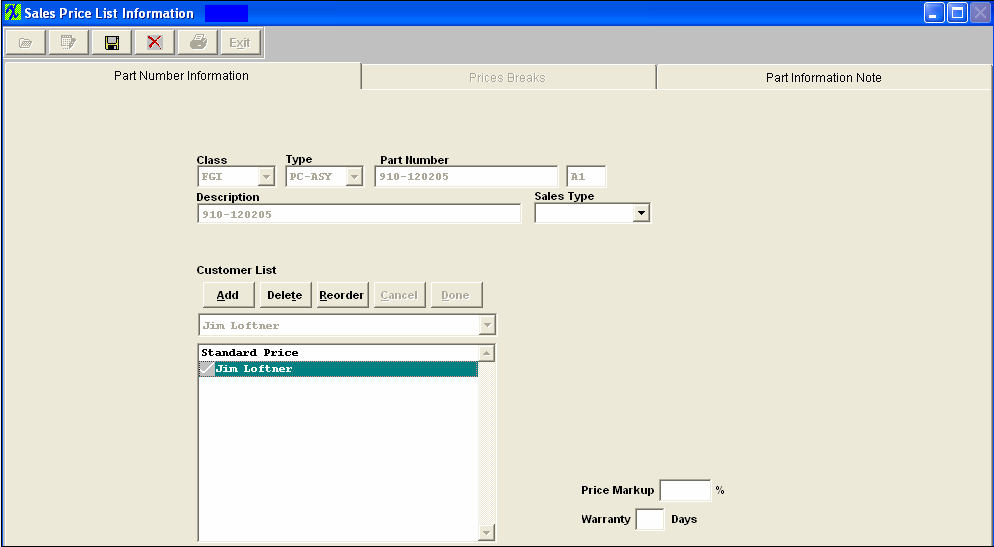
Note: If the product only has standard price without any other customer in the list, then the system will use the standard price to calculate price later in SO or in Order configuration modules.
Add the applicable Price Breaks.
Return to the Configurator module. Within the Order Configuration & Price Break tab, depress the Add Record Action button.
You will be prompted for your password.
A Product Type list as set up in Order Configuration Setup, will appear:
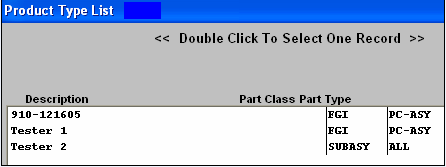
Highlight the Product Type you desire and double click.
The following information will populate the screen based on what was entered within the Order Configuration Setup module.
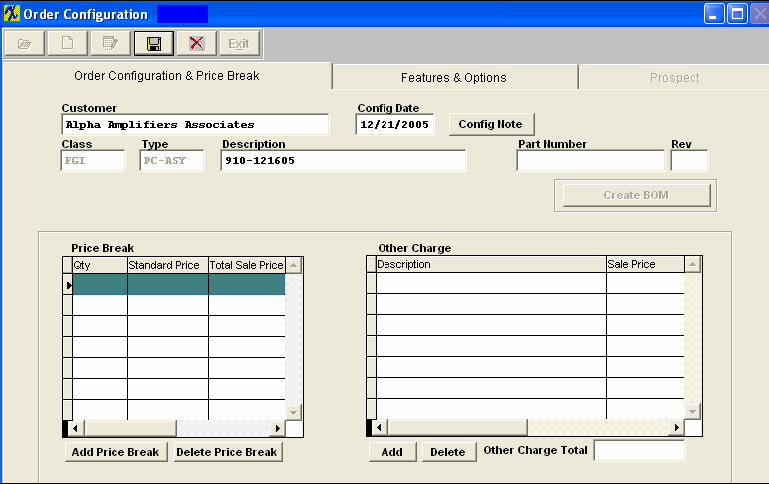
Type in the Part Number. Type in the Revision number and depress the Enter key.
If you want to record a note regarding this Order Configuration, depress the Config Note button.The following screen will appear:

Depress the Edit Action button. Type in the note. Depress the Save Action button. Depress the Exit Action button. The Config Note button will light up in red.
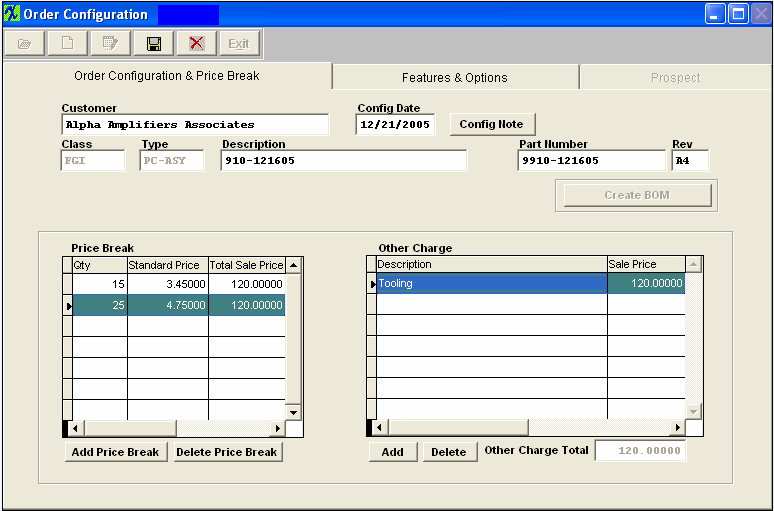
In the Price Break section, type in the Break Quantities. (The standard cost will default in from the Sales Price List Information module). The total Sale Price will default in from the Features & Options screen. To add another Price Break, depress the Add Price Break button.
To add an Other Charge, depress the Add button at the bottom of the Other Charge section. Type in the Description of the Other Charge. Type in the Sales Price of the Other Charge.
The completed tab will appear as follows:
Highlight the Price Break quantity you are interested in. Depress the Features & Options tab. The following screen will appear:
Highlight the feature in which you are interested. The part numbers and information assigned to that feature within the Order Configuration Setup will populate the screen.
Type in the quantity per for each item. The extended quantity will automatically update.
The Standard Price information will forward from the Sales Price List Information module for that particular part number.
Then type in the Sales Price for each item.
Repeat the above steps in the Order Configuration & Price Break tab and in the Features & Options tab until the Sales Price has been added to all of the Price Breaks.
Depress the Order Configuration & Price Break tab, notice that the Standard Price updated in this tab.
Depress the Save Action button.
Note that the act of saving the Order Configuration has also created a new make Part number in the Inventory Control Master. Enter that module and complete the addition of the new part number. Please refer to the Inventory Control Management manual to assist you in this task. It is especially important that the standard cost and warehouse information be entered into the Inventory Master.
The Create BOM button has now become available.
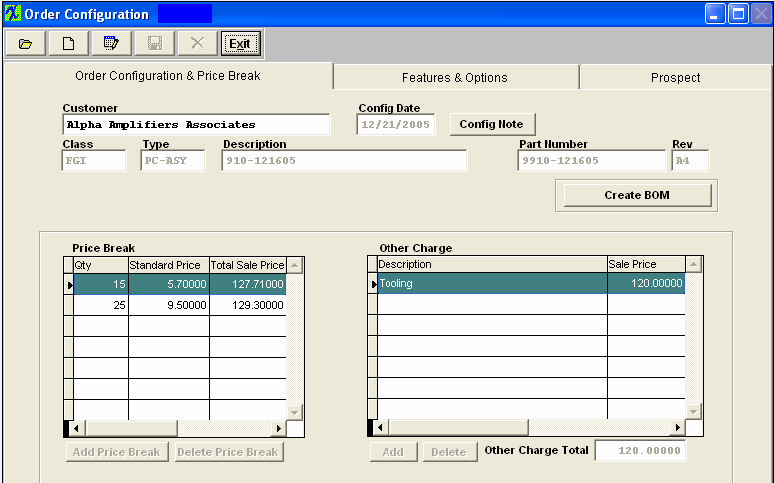
Depress the Create BOM button, the following message will then appear.
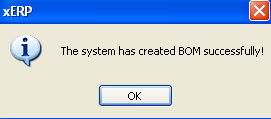
The system has now setup a new Bill of Materials for this Part number.
|