|
|
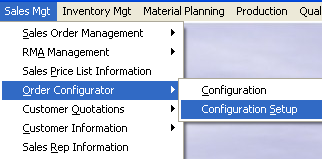
Enter Sales Mgt/Order Configurator/Configuration Setup Module.
This section is used to setup configuration by Type, then by features, then by Part Numbers.These defaults will be used in the Order Configuration Module.
|
 |
The following screen will be displayed:
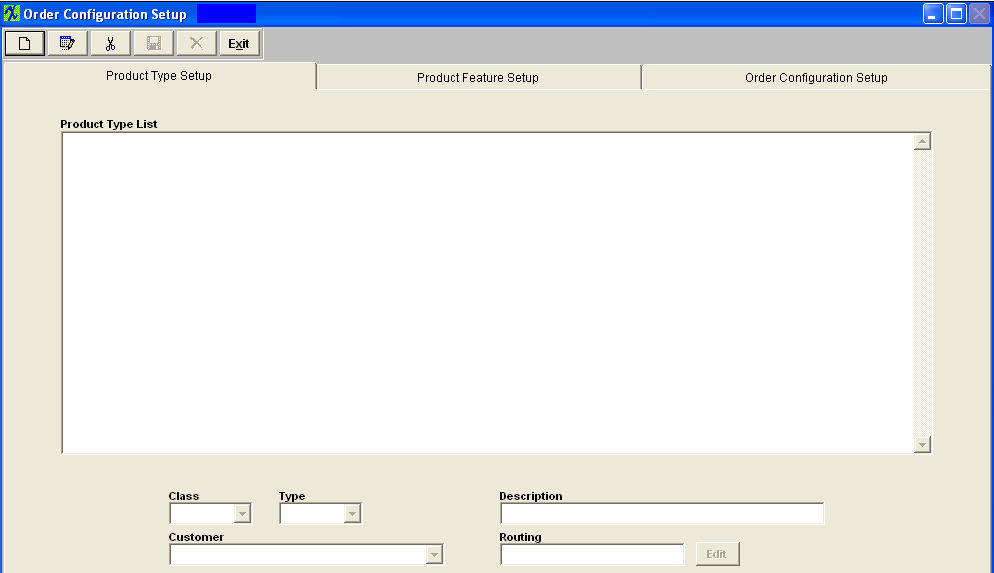
Depress the Add Record icon.
The system is going to require you to enter in the Class, Type, Description and Customer.
At this point the user has the option to leave the Routing field blank or the user can enter a part number of an existing assembly in inventory, by depressing the Edit button, select the desired assembly from the find screen. The system will then automatically copy the routing from the selected assembly when the “Create BOM” button has been activated within the Order Configuration module (see below section).
Save the record and the completed screen will appears as follows:
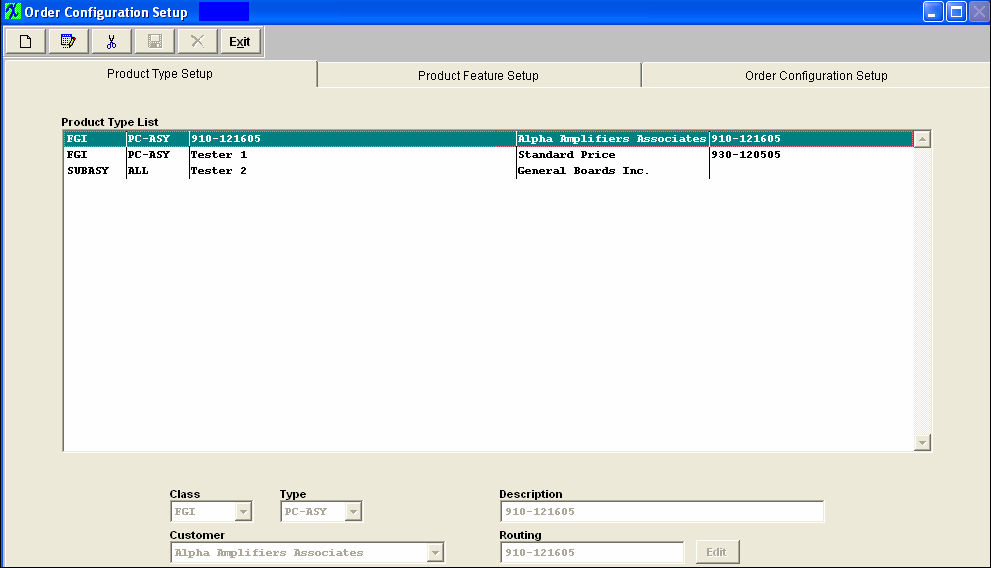
To edit, highlight the desired Product Type. Depress the Edit Action button. The system will allow you to edit the Class, and Type. Depres the Save Action button to save changes or depress the Abandon changes Action button to abandon changes.
To delete an item, highlight that item. Depress the Delete Action button.
The second screen is the Product Feature Setup. This is where you will setup the Product Features List Descriptions.
Depress the Add Record icon. Then enter in the desired Description.
Depress the Save Record Action button and the completed screen will appear as follows:
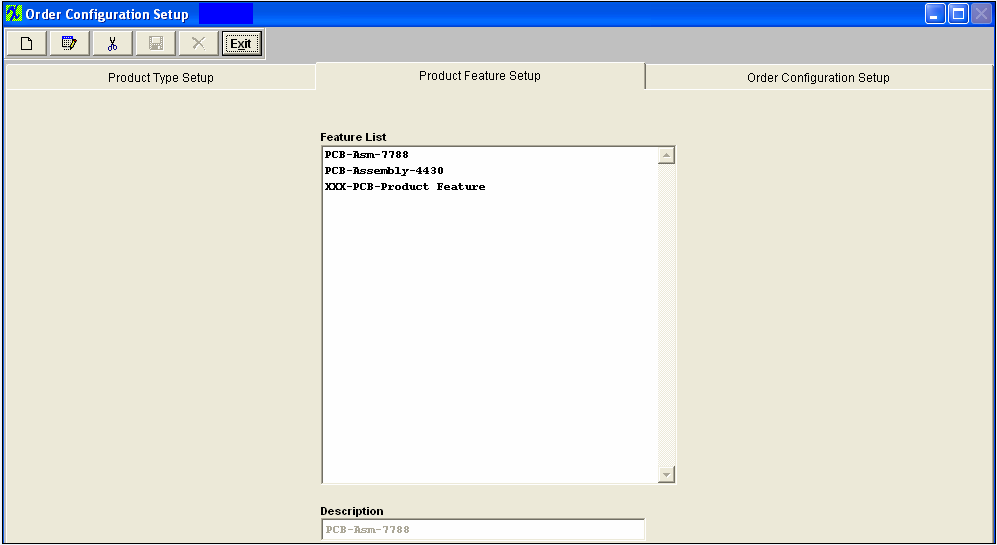
To Edit, highlight the item, depress the Edit Action button, type in the desired changes and depress the Save Record Action button.
To Delete, highlight the item, depress the Delete Record Action button.
The third screen is the Order Configuration Setup. This is where you select what inventory part numbers will be assigned to each Product Type.
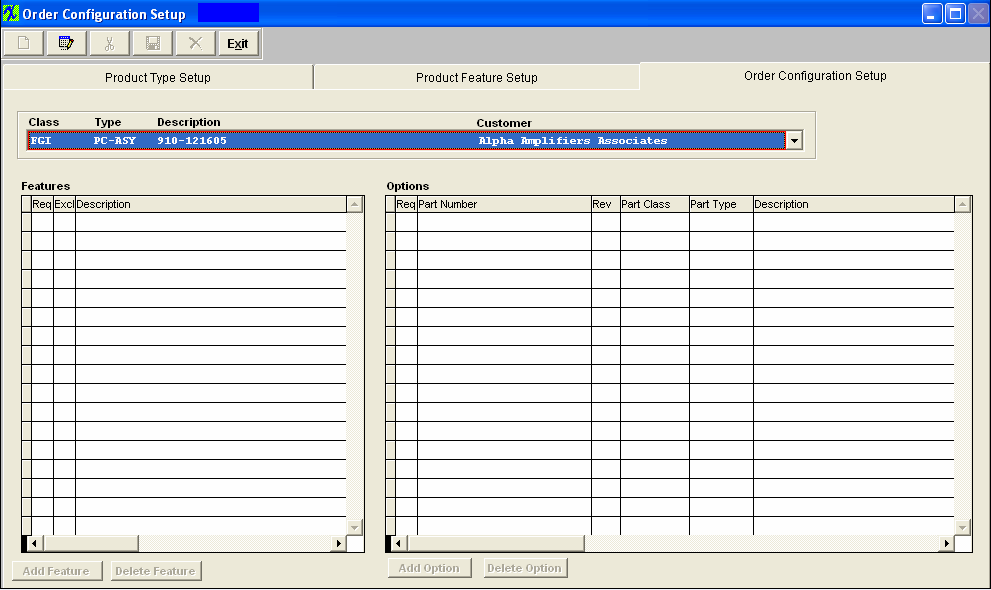
Depress the down arrow at the right of the Class, Type, Description field. All of the Product Types will then become available for selection.
Select the desired Product Type. Then depress the Edit Record icon.
The Add & Delete Feature and Add & Delete Option buttons will then become available.
|
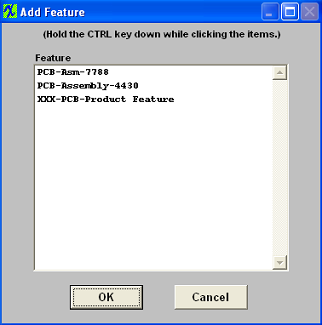
Depress the ‘Add Feature’ button. The available Product Features will be displayed.
You may select more than one Feature at a time to add. Highlight the items, while holding the Control key down. Depress the OK button.
The features you selected will populate the Feature side of the screen.
|
 |
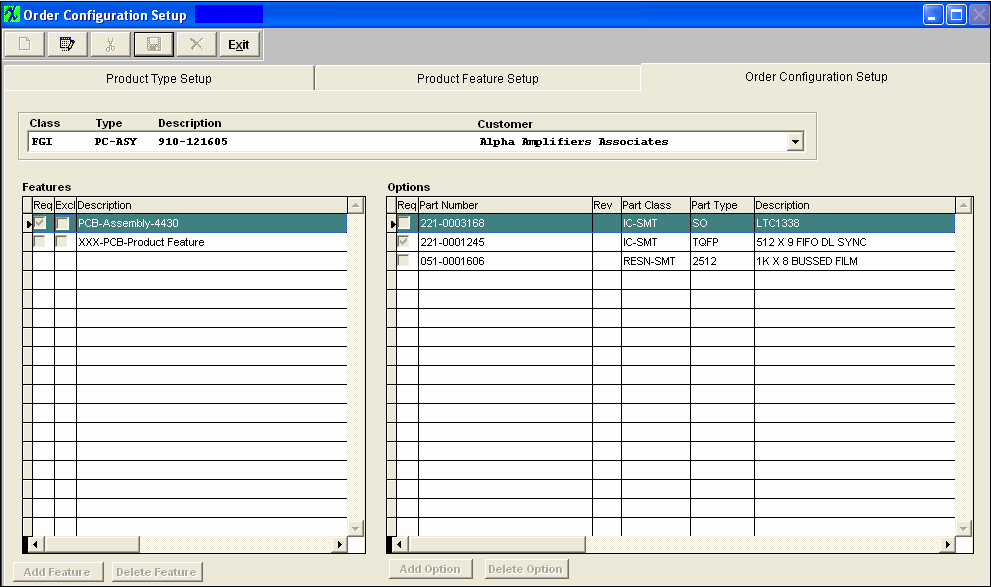
The “Excl” column has been added to this screen. Meaning if the highlighted feature has Excl marked it can have only one option selected within right section. Selecting a second option would uncheck the first checked option.
Highlight the Feature for which you want to add options.
|
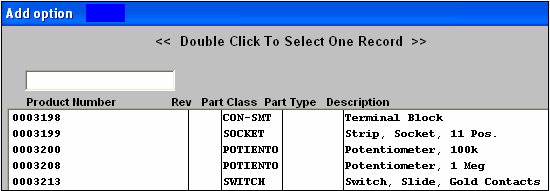
Depress the Add Option button. The following selection screen will appear:
Go through the process and add as many desired Inventory Part numbers to the Options section.
|
 |
Then mark which options are to be defaulted as Req.
Scroll to the right of the Options sections and enter in the desired Qty Per. This will be the default Qty Per the user will see when they depress the ‘Edit Config” button within the Sales Order module (the user will be able to edit if needed). This amount will also default the Qty Per within the Order Configuration screen.
The completed screen should appear as follows:
|